Baking is a science. It is the science of organic chemistry. Unlike cooking, baking requires precision and very careful measuring and mixing, in a specified order, that produces a chemical reaction with the carefully measured ingredients for a certain specific, uniform outcome. There’s no room for adding a little of this and a little of that in baking. There’s no room for estimating; measurements must be accurate and precise and the order of the recipe must be followed precisely. Many people who are great cooks are not successful bakers because baking is not forgiving. So, let’s start with cakes. Following these guidelines, you can make a perfect scratch cake.
Begin with Fresh Ingredients
Begin with fresh ingredients. Check expiration dates. Fresh is best. When in doubt, toss it out. 
Know and Trust the Recipe Source
Know and trust the recipe source. Make sure that the recipe is tried and true and from a reliable source. A lot of bloggers will copy and paste recipes that look good but have not tested them. I wouldn’t consider posting a recipe that I personally have not tried and approved. All of my recipes are tested, tried, and true.
Read the Recipe Thoroughly
Read the recipe thoroughly from start to finish before you begin and then gather ingredients, utensils, and bakeware. Often times there is something important in the directions that could be overlooked if you don’t read the recipe all the way through before beginning. Pay very close attention to mixing time and speeds; some ingredients should be mixed on high speed and require a longer mixing time (eggs, whipping cream, butter) and some only briefly on low speed (flour and other dry ingredients).
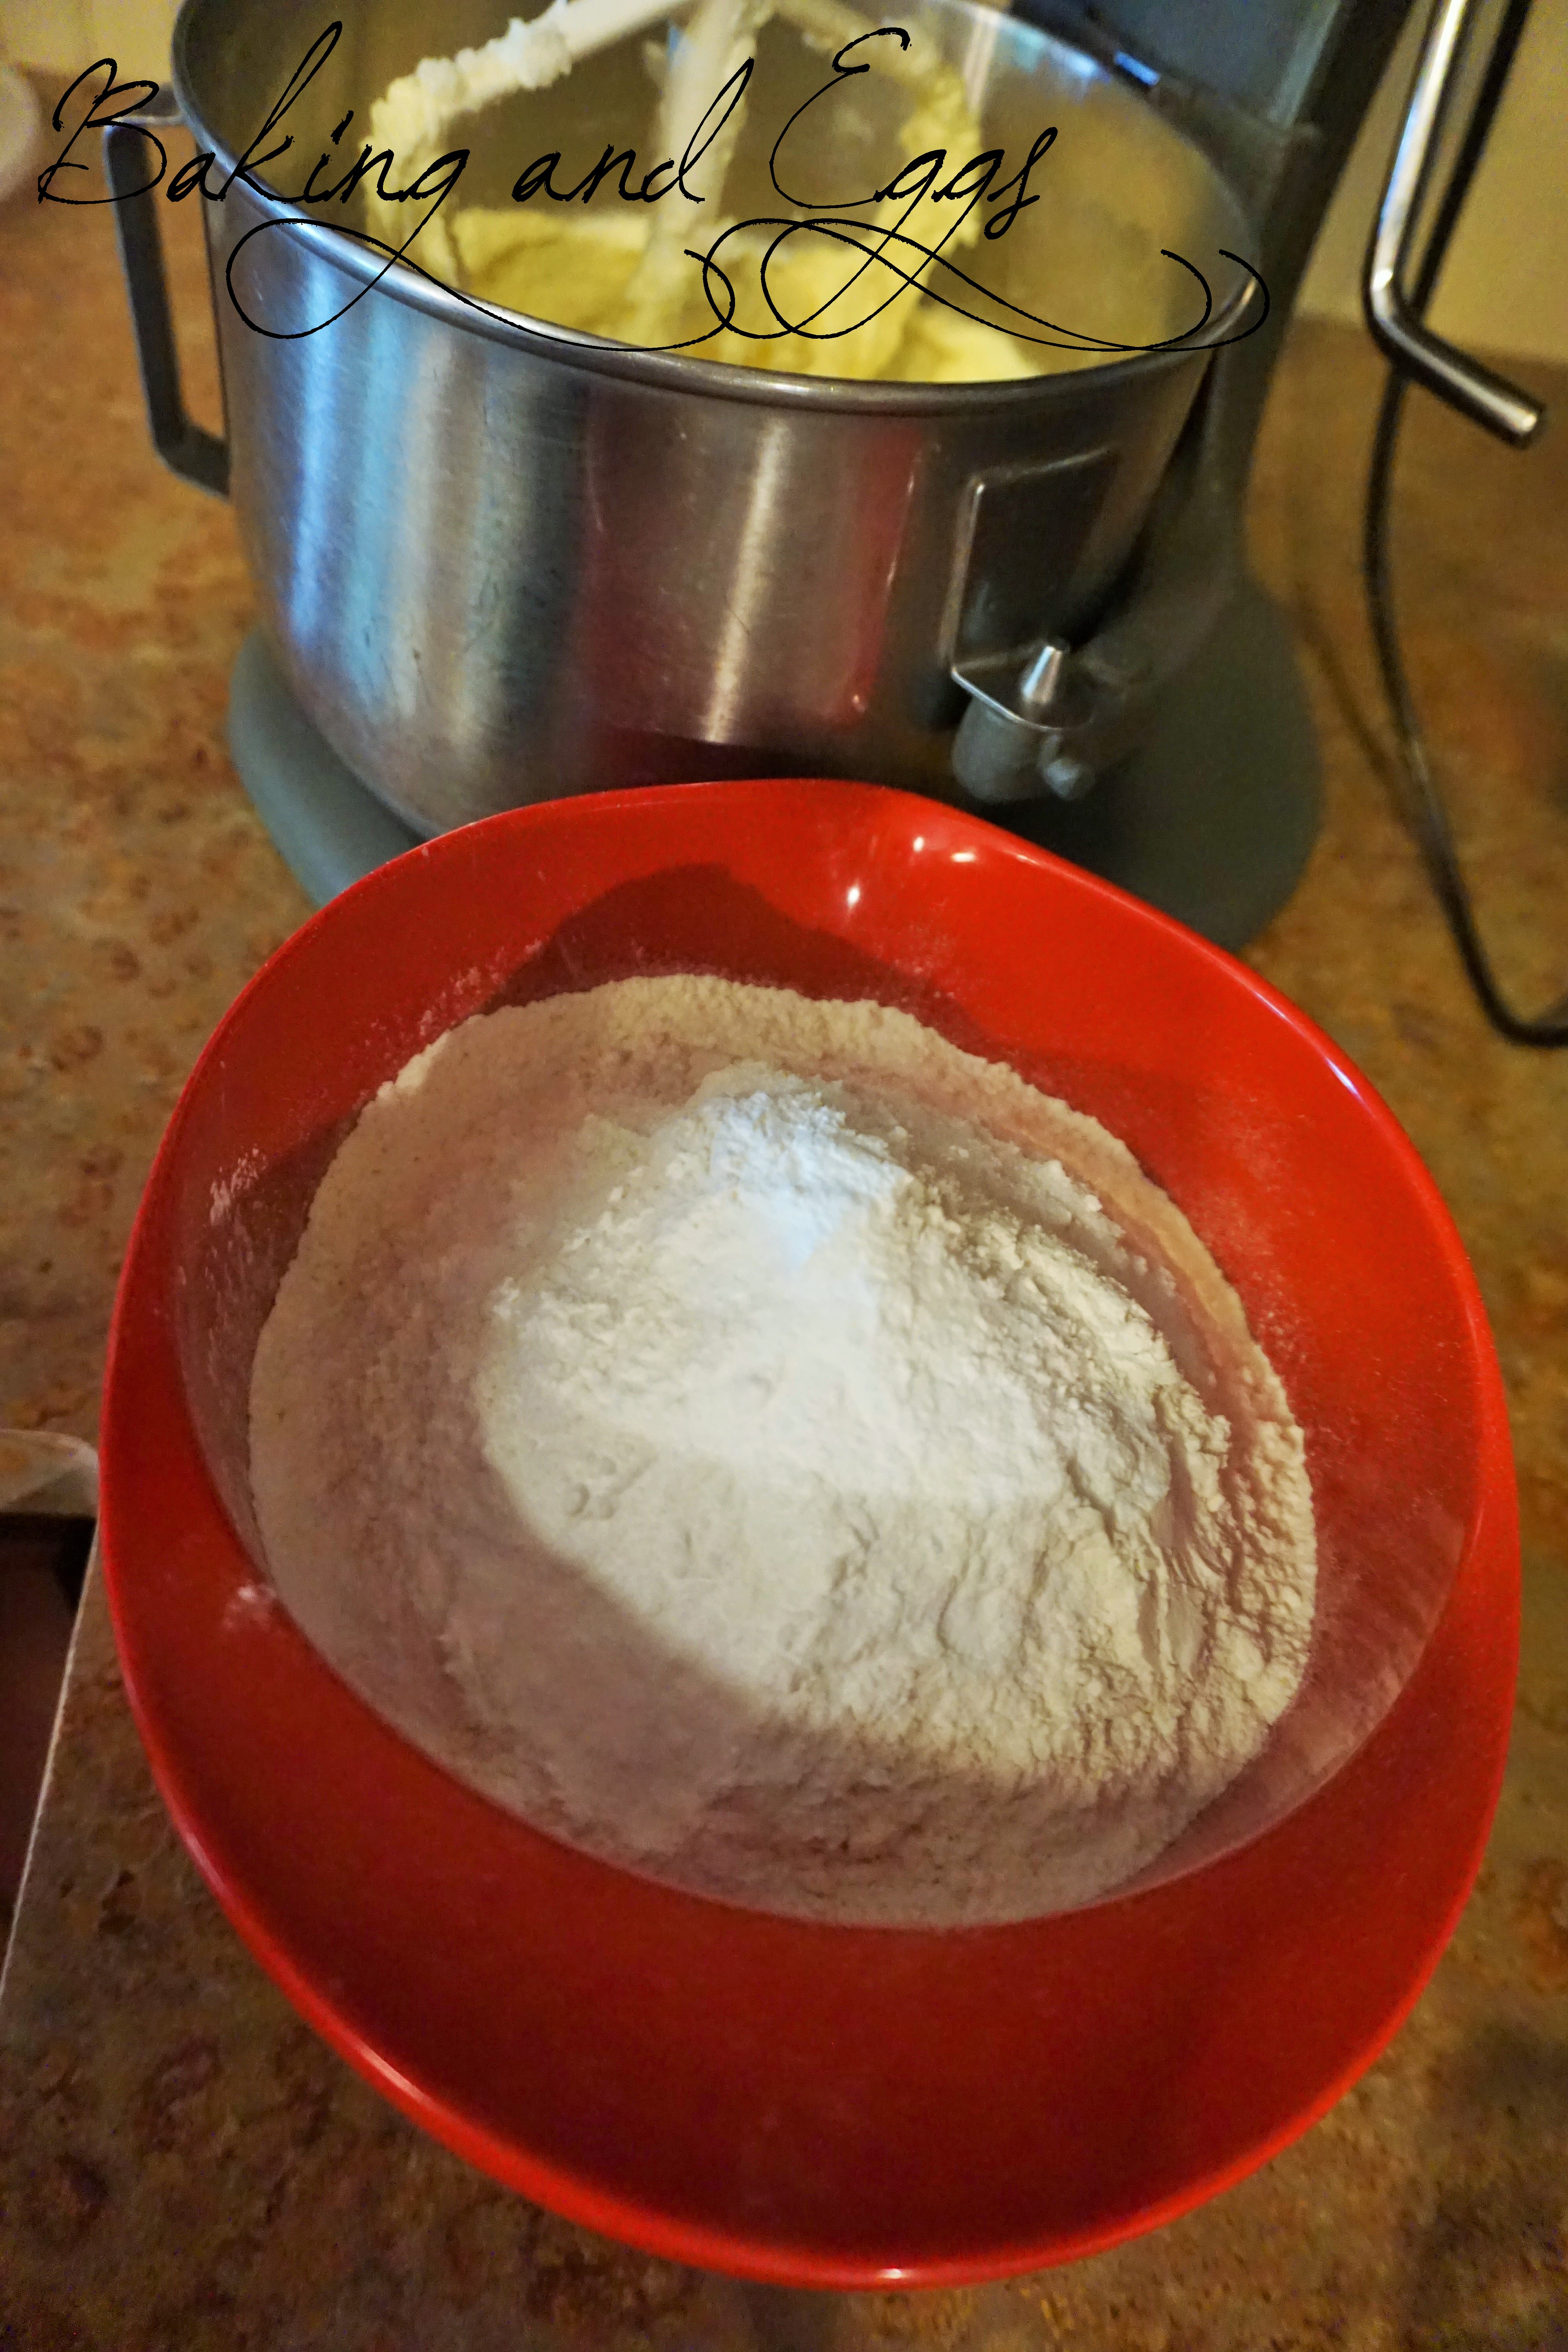
Gather Ingredients
First, gather all your ingredients and measuring utensils. It is easy to accidentally omit an ingredient if you don ‘t have all of them out.

Use Proper Pans & Prepare Pans as Directed in the Recipe
Use proper pan size or calculate for any differences. If you use a pan smaller than the recipe calls for, then your baking time may be a little longer; a larger pan, shorter baking time.
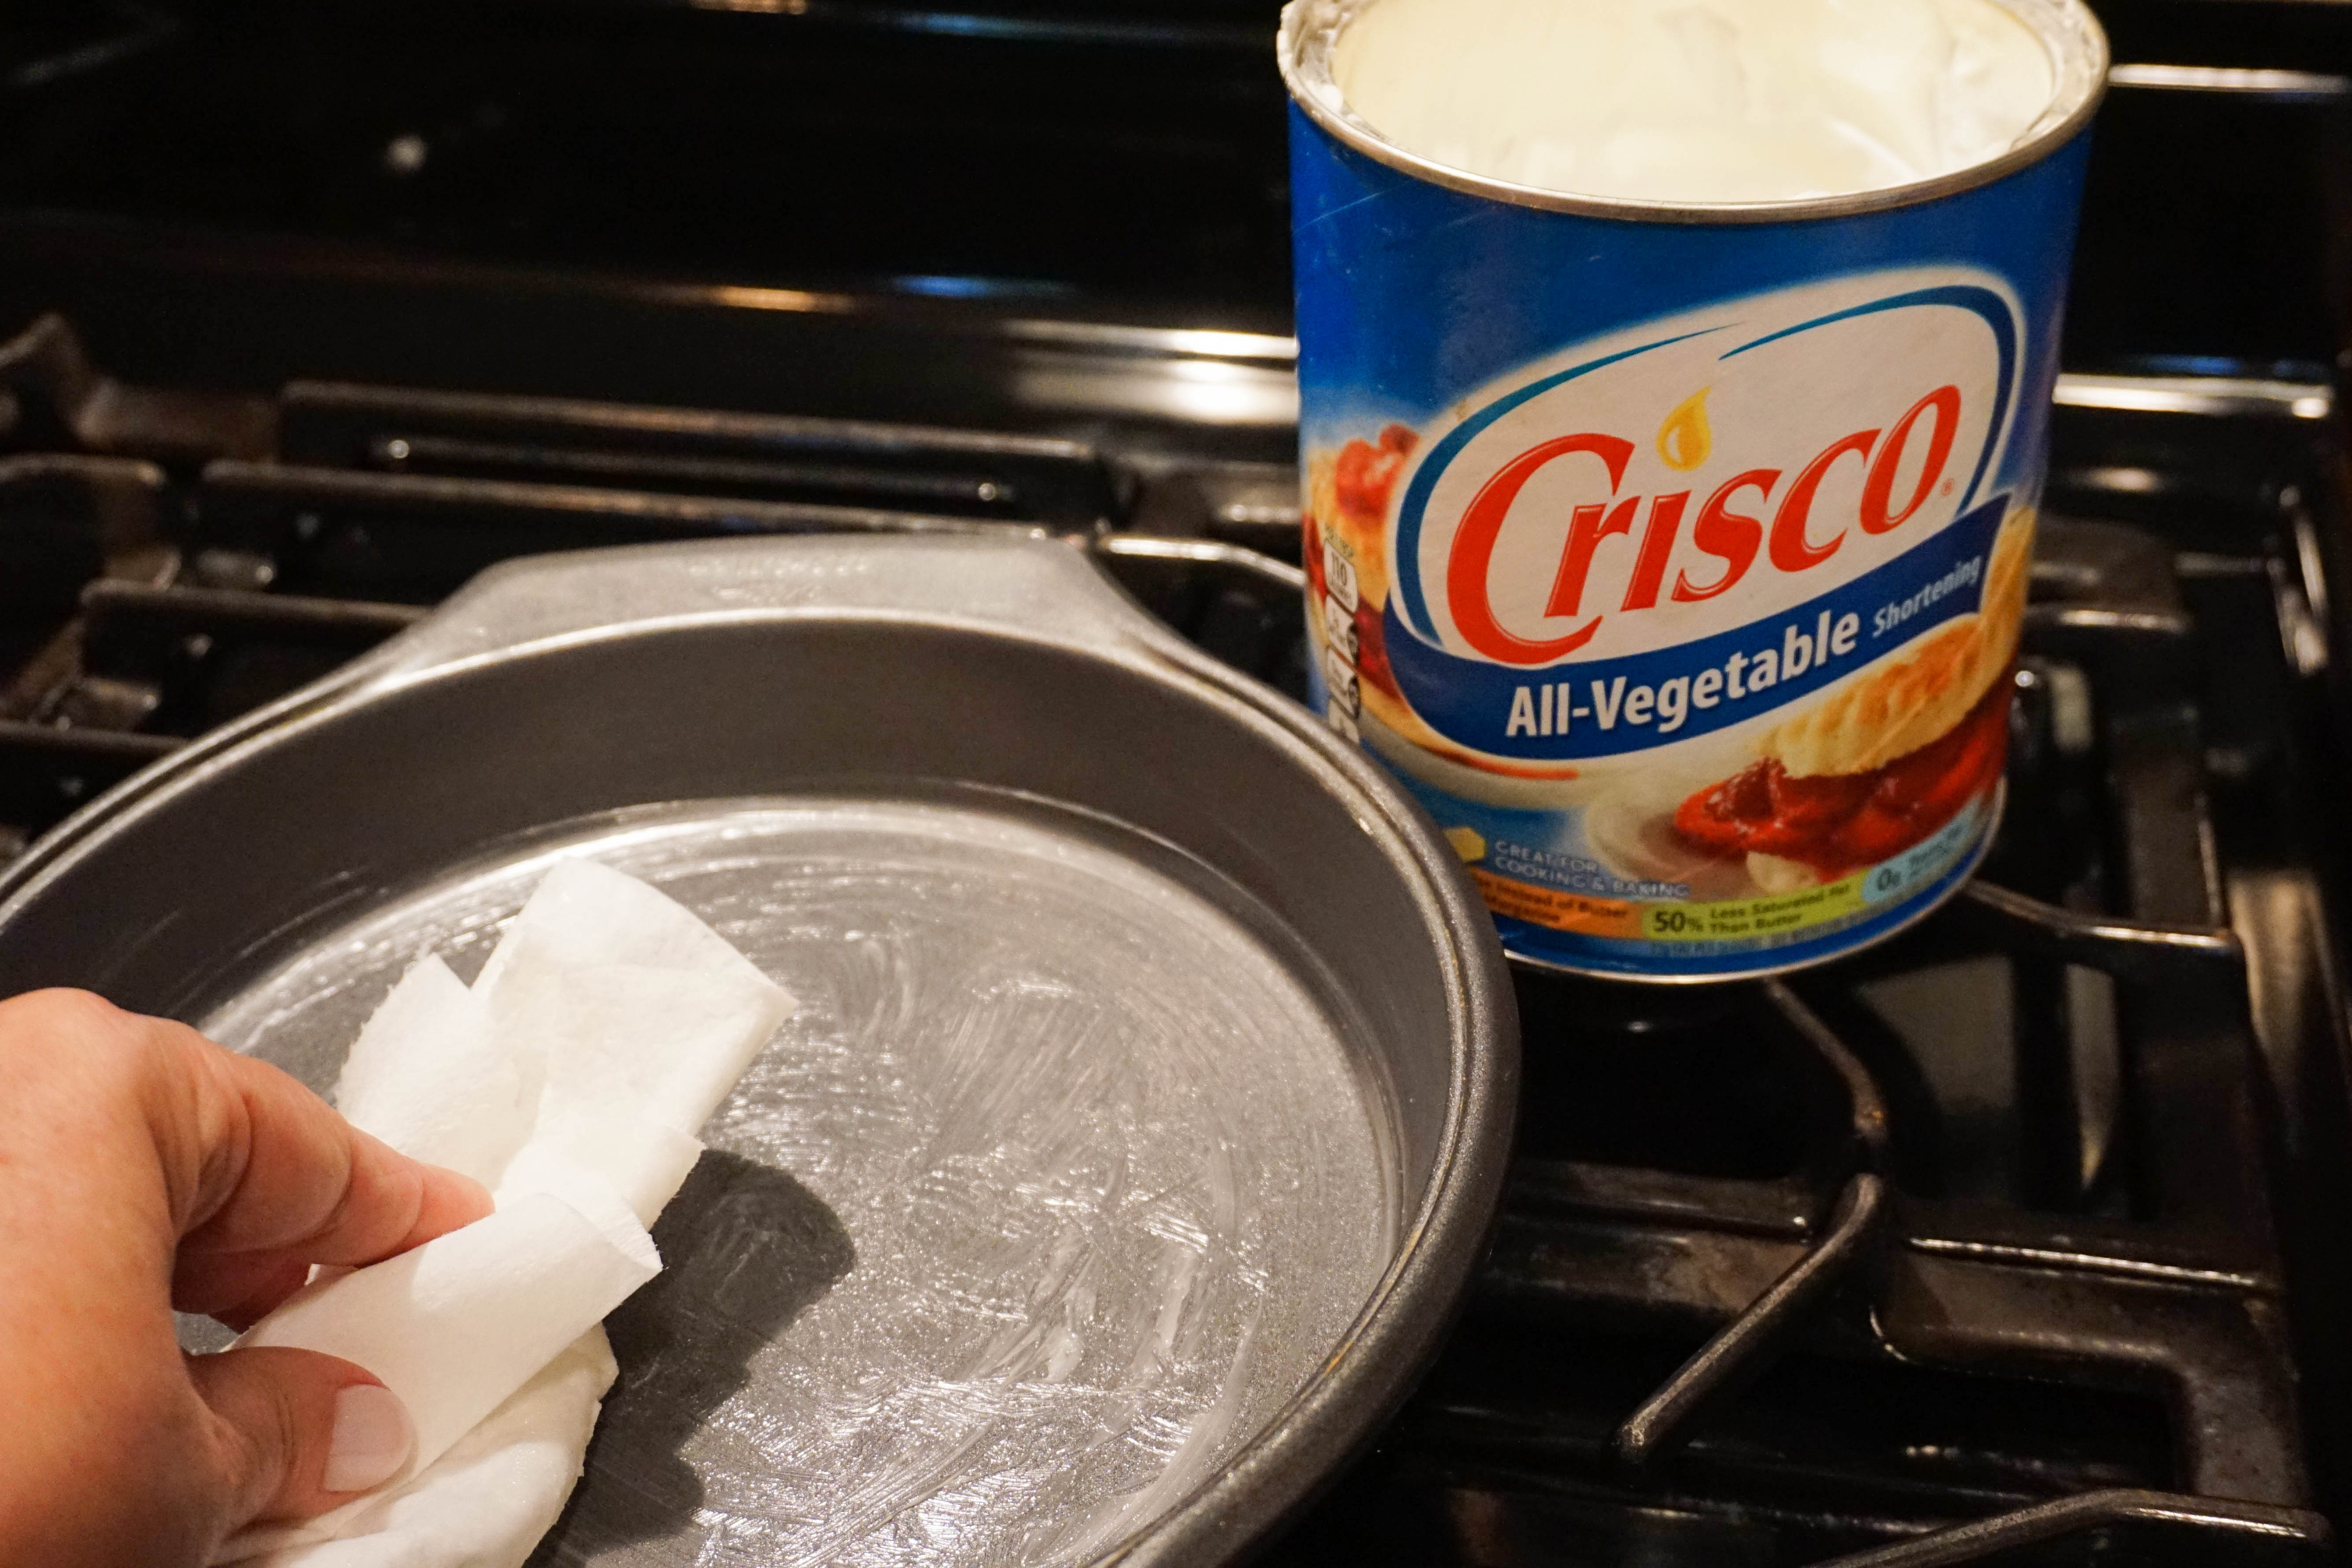
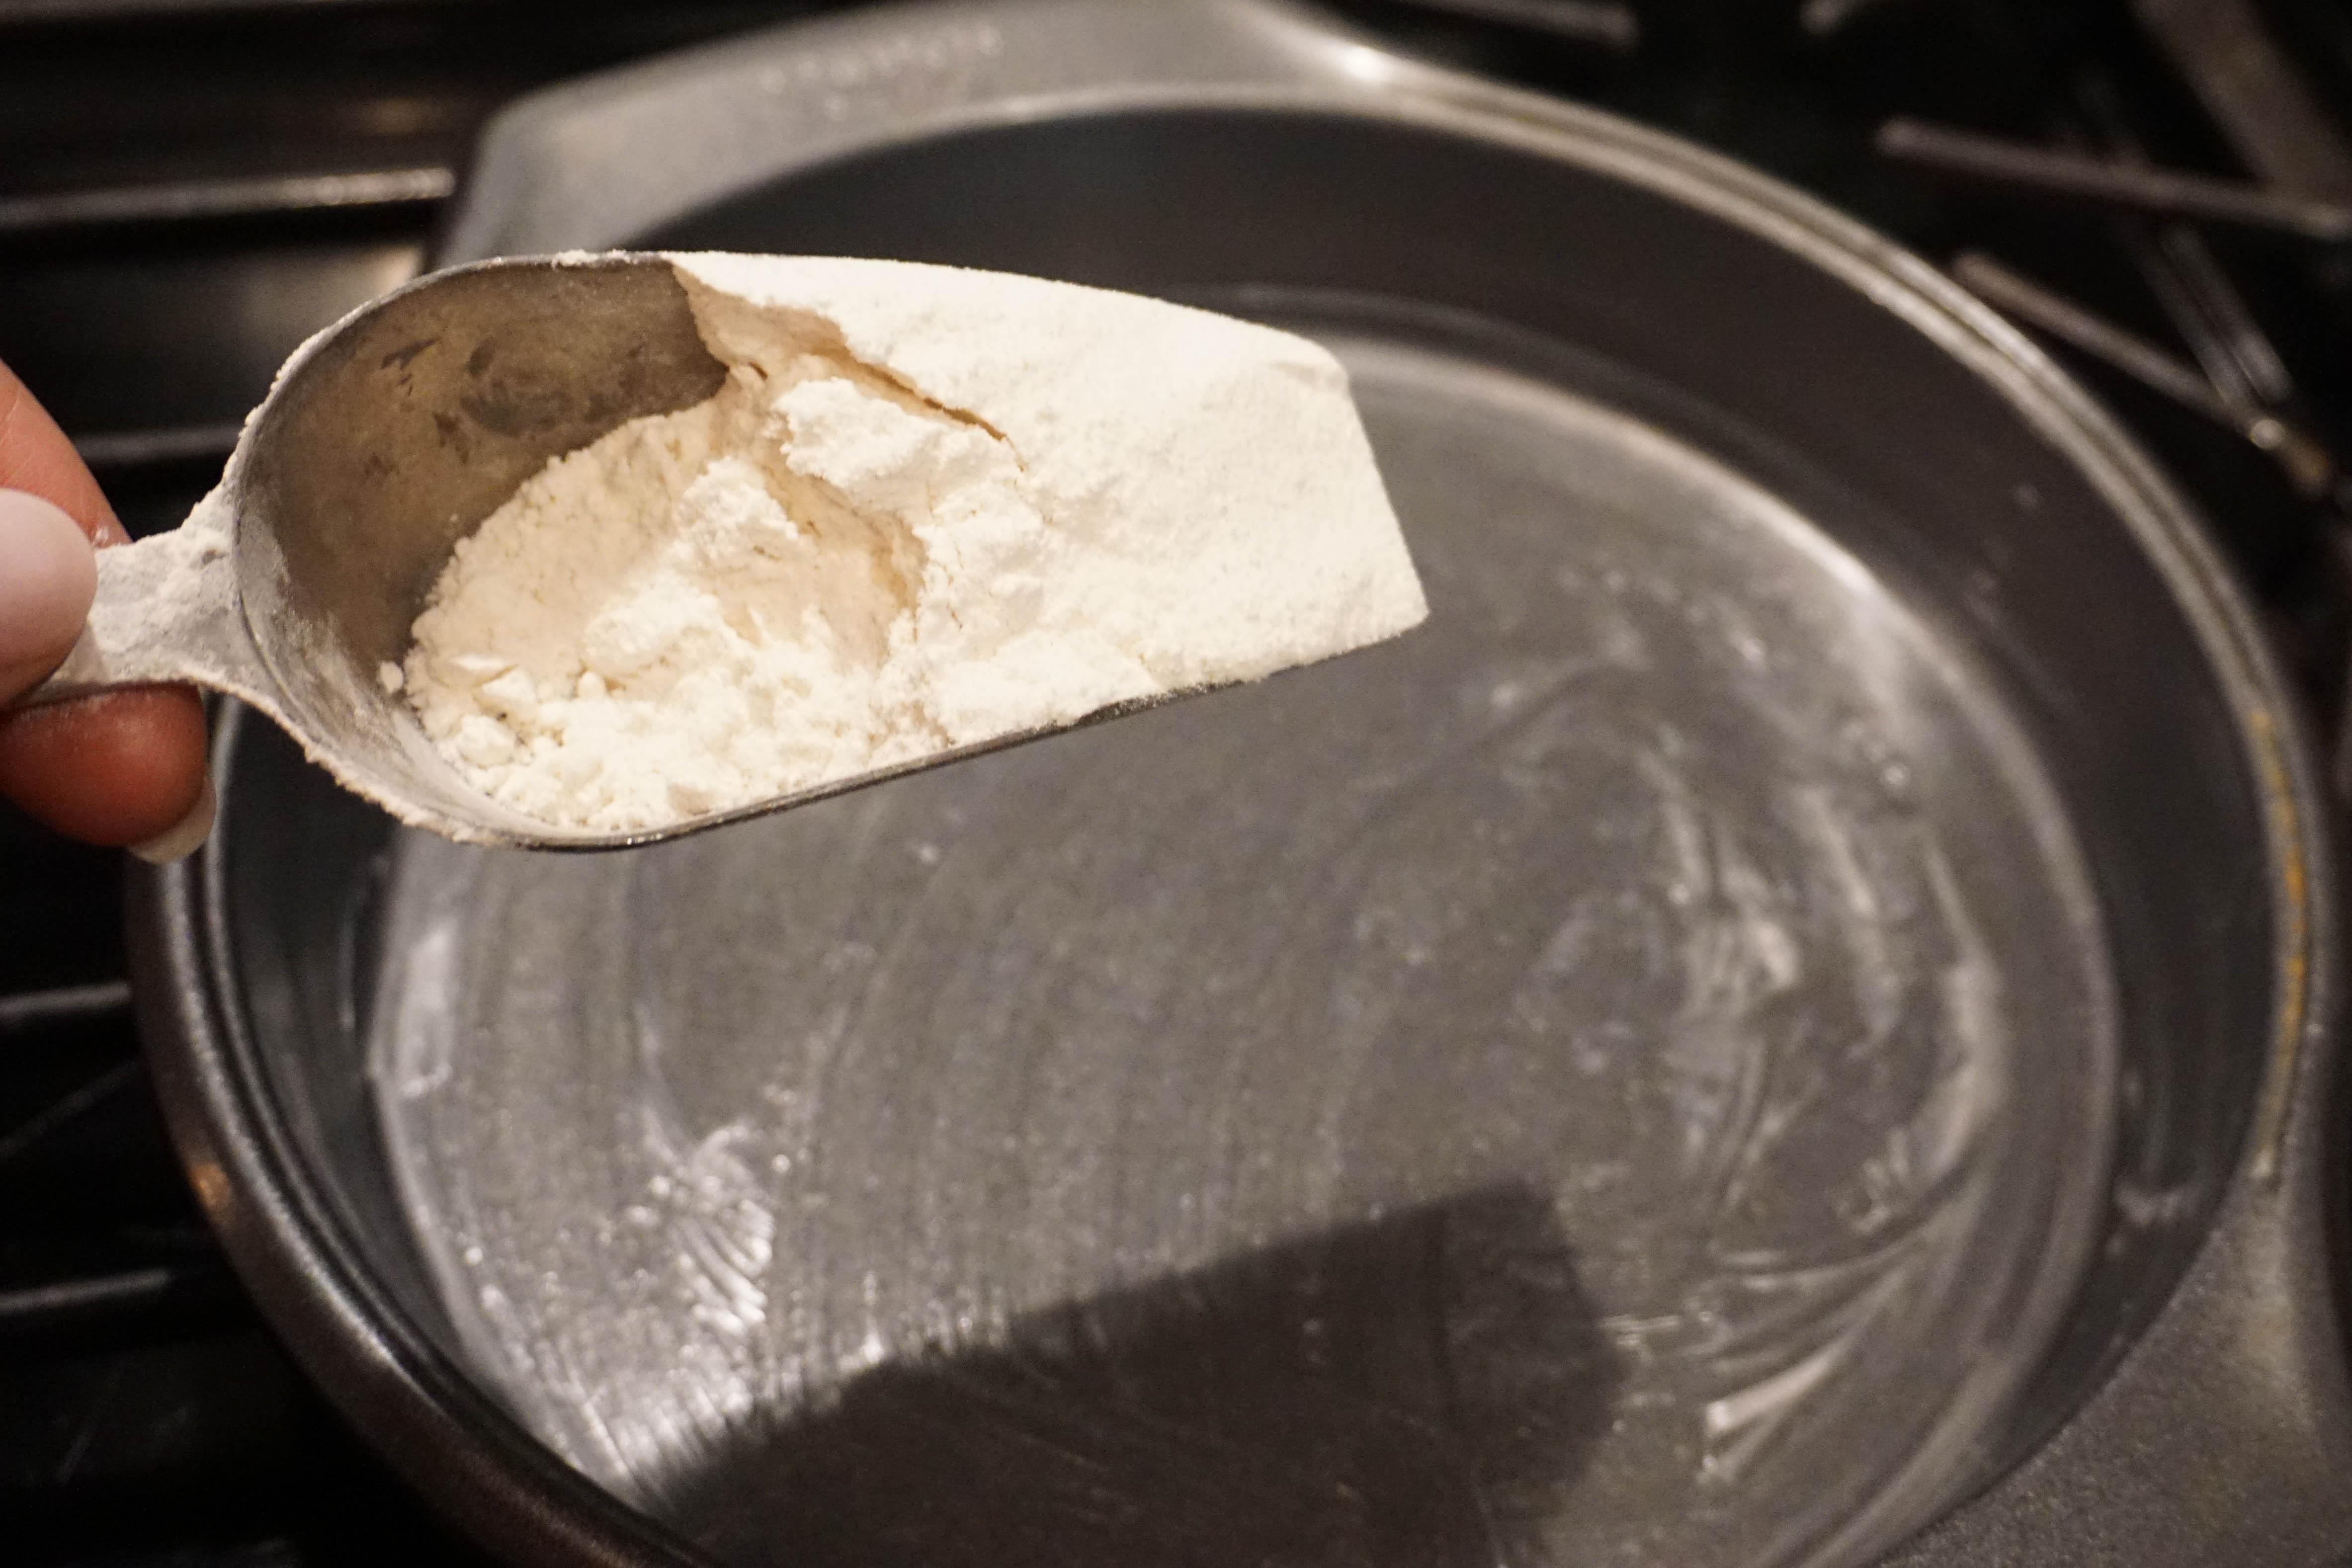
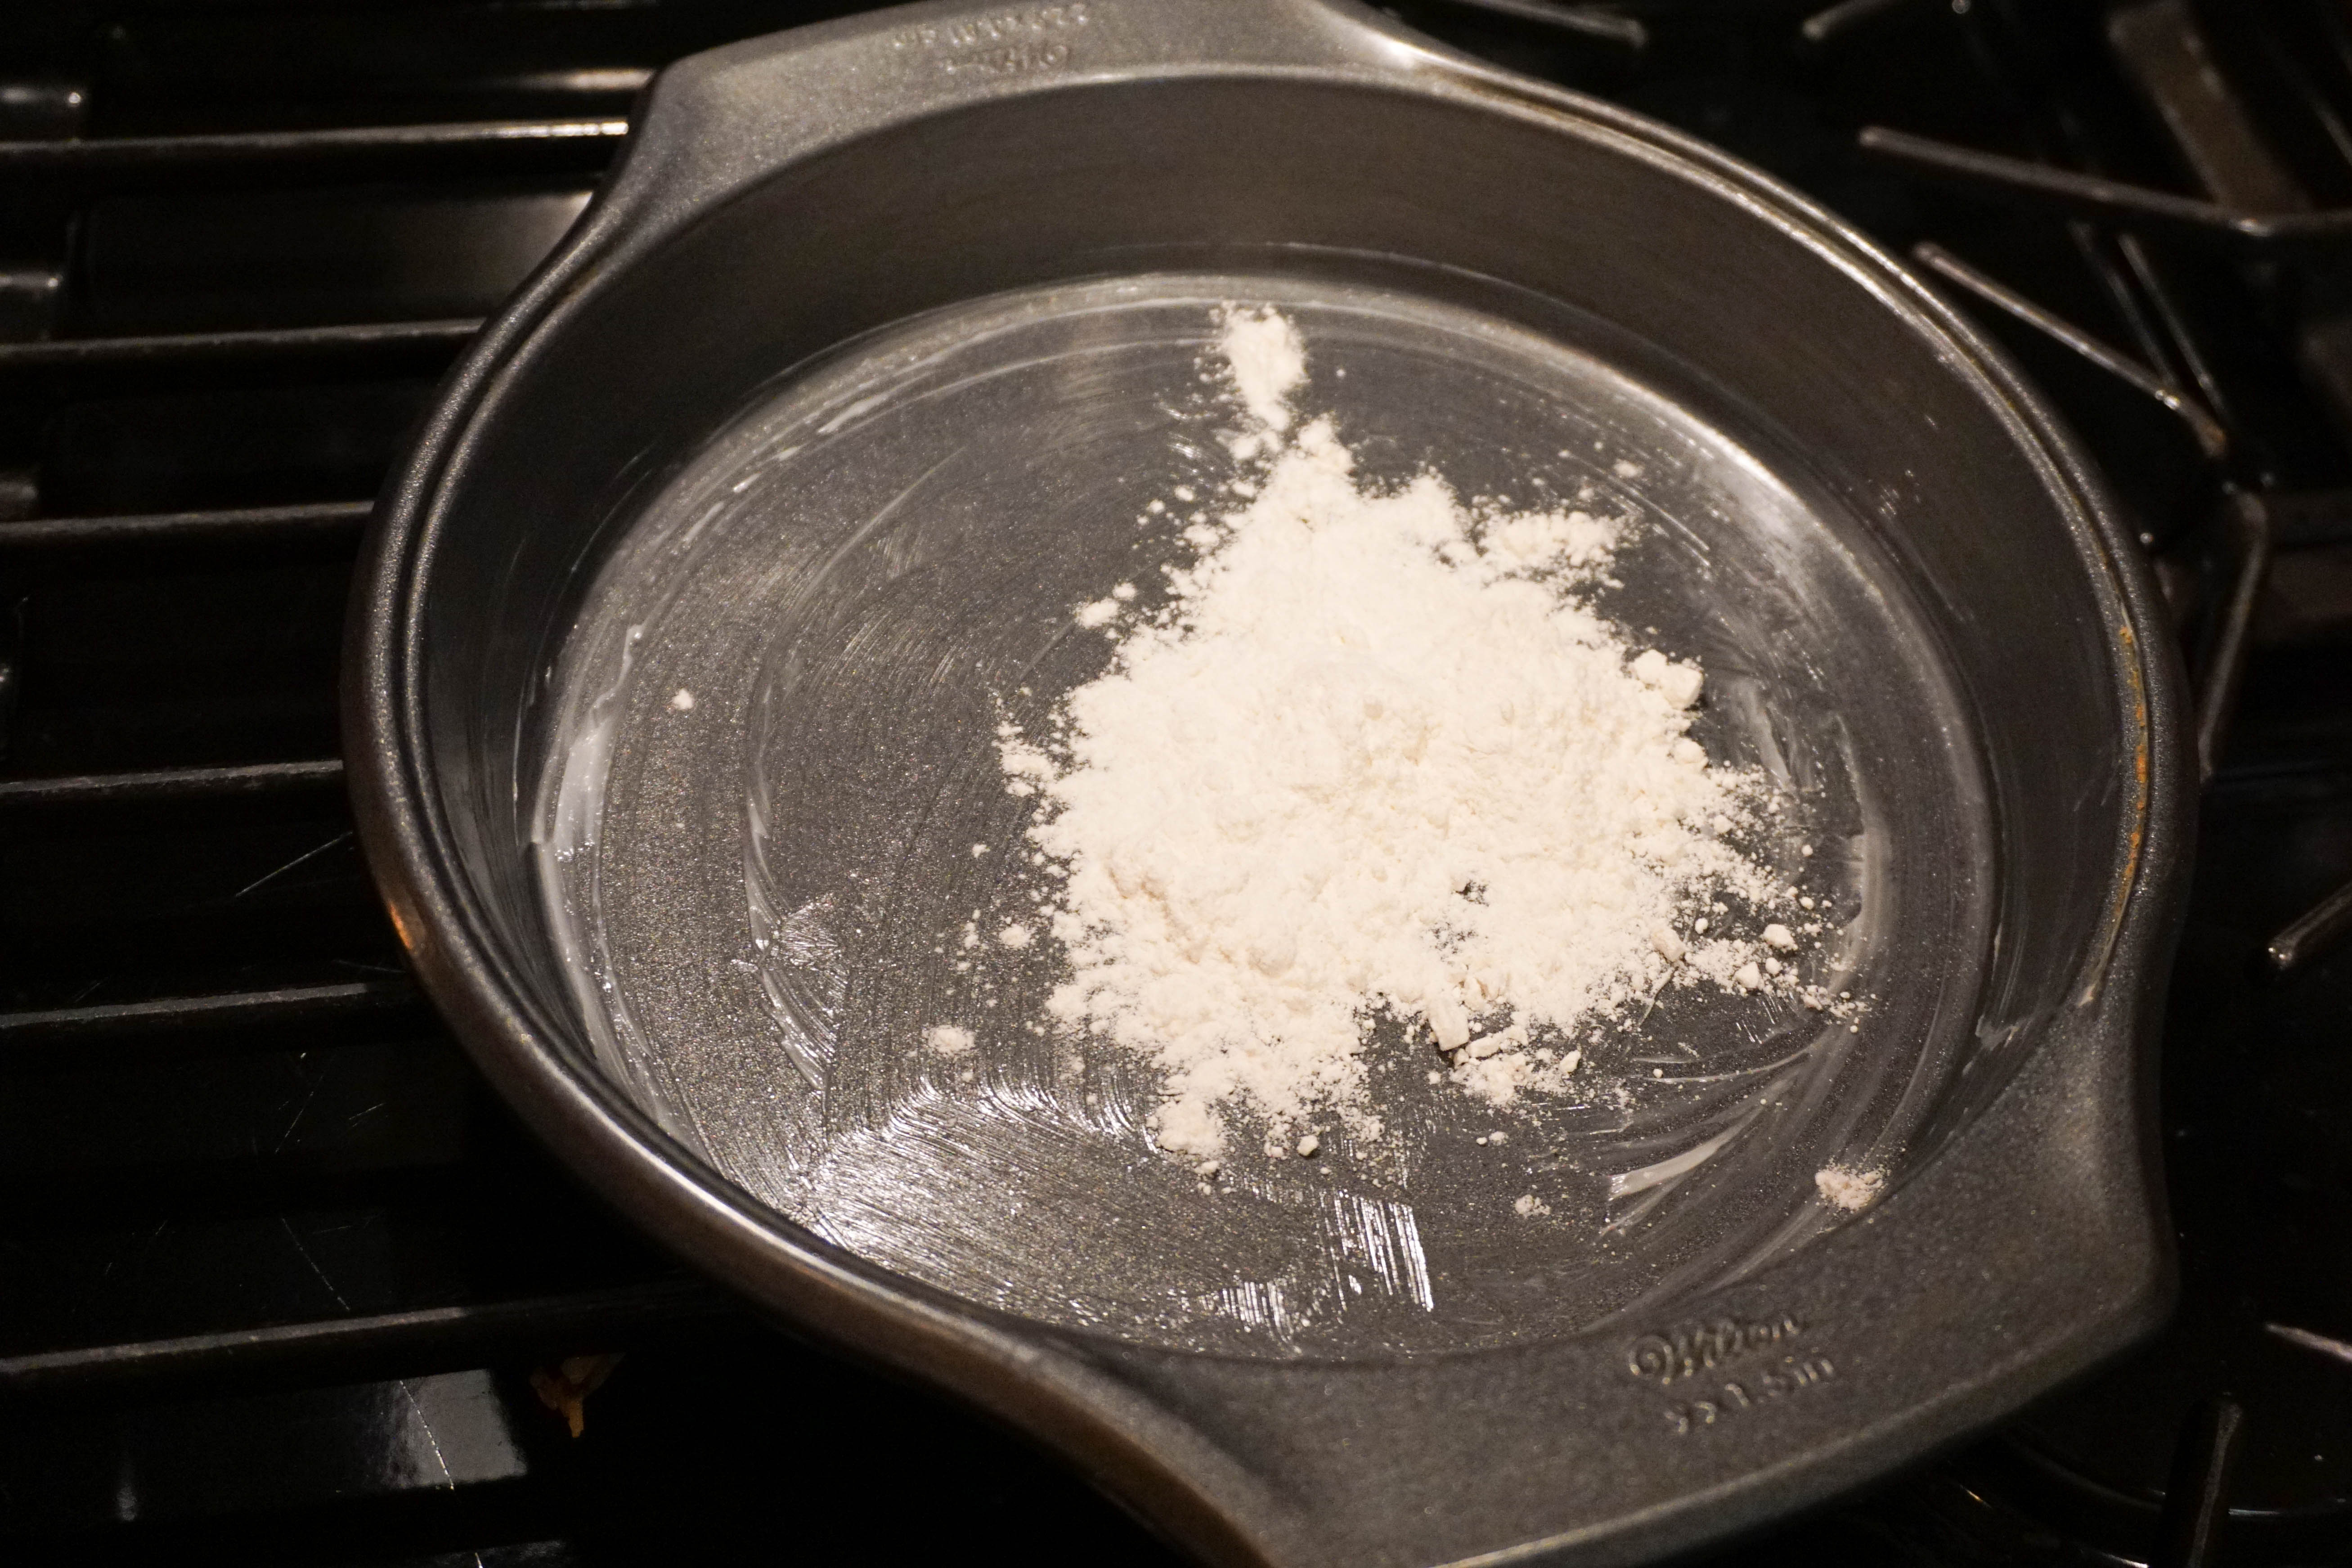
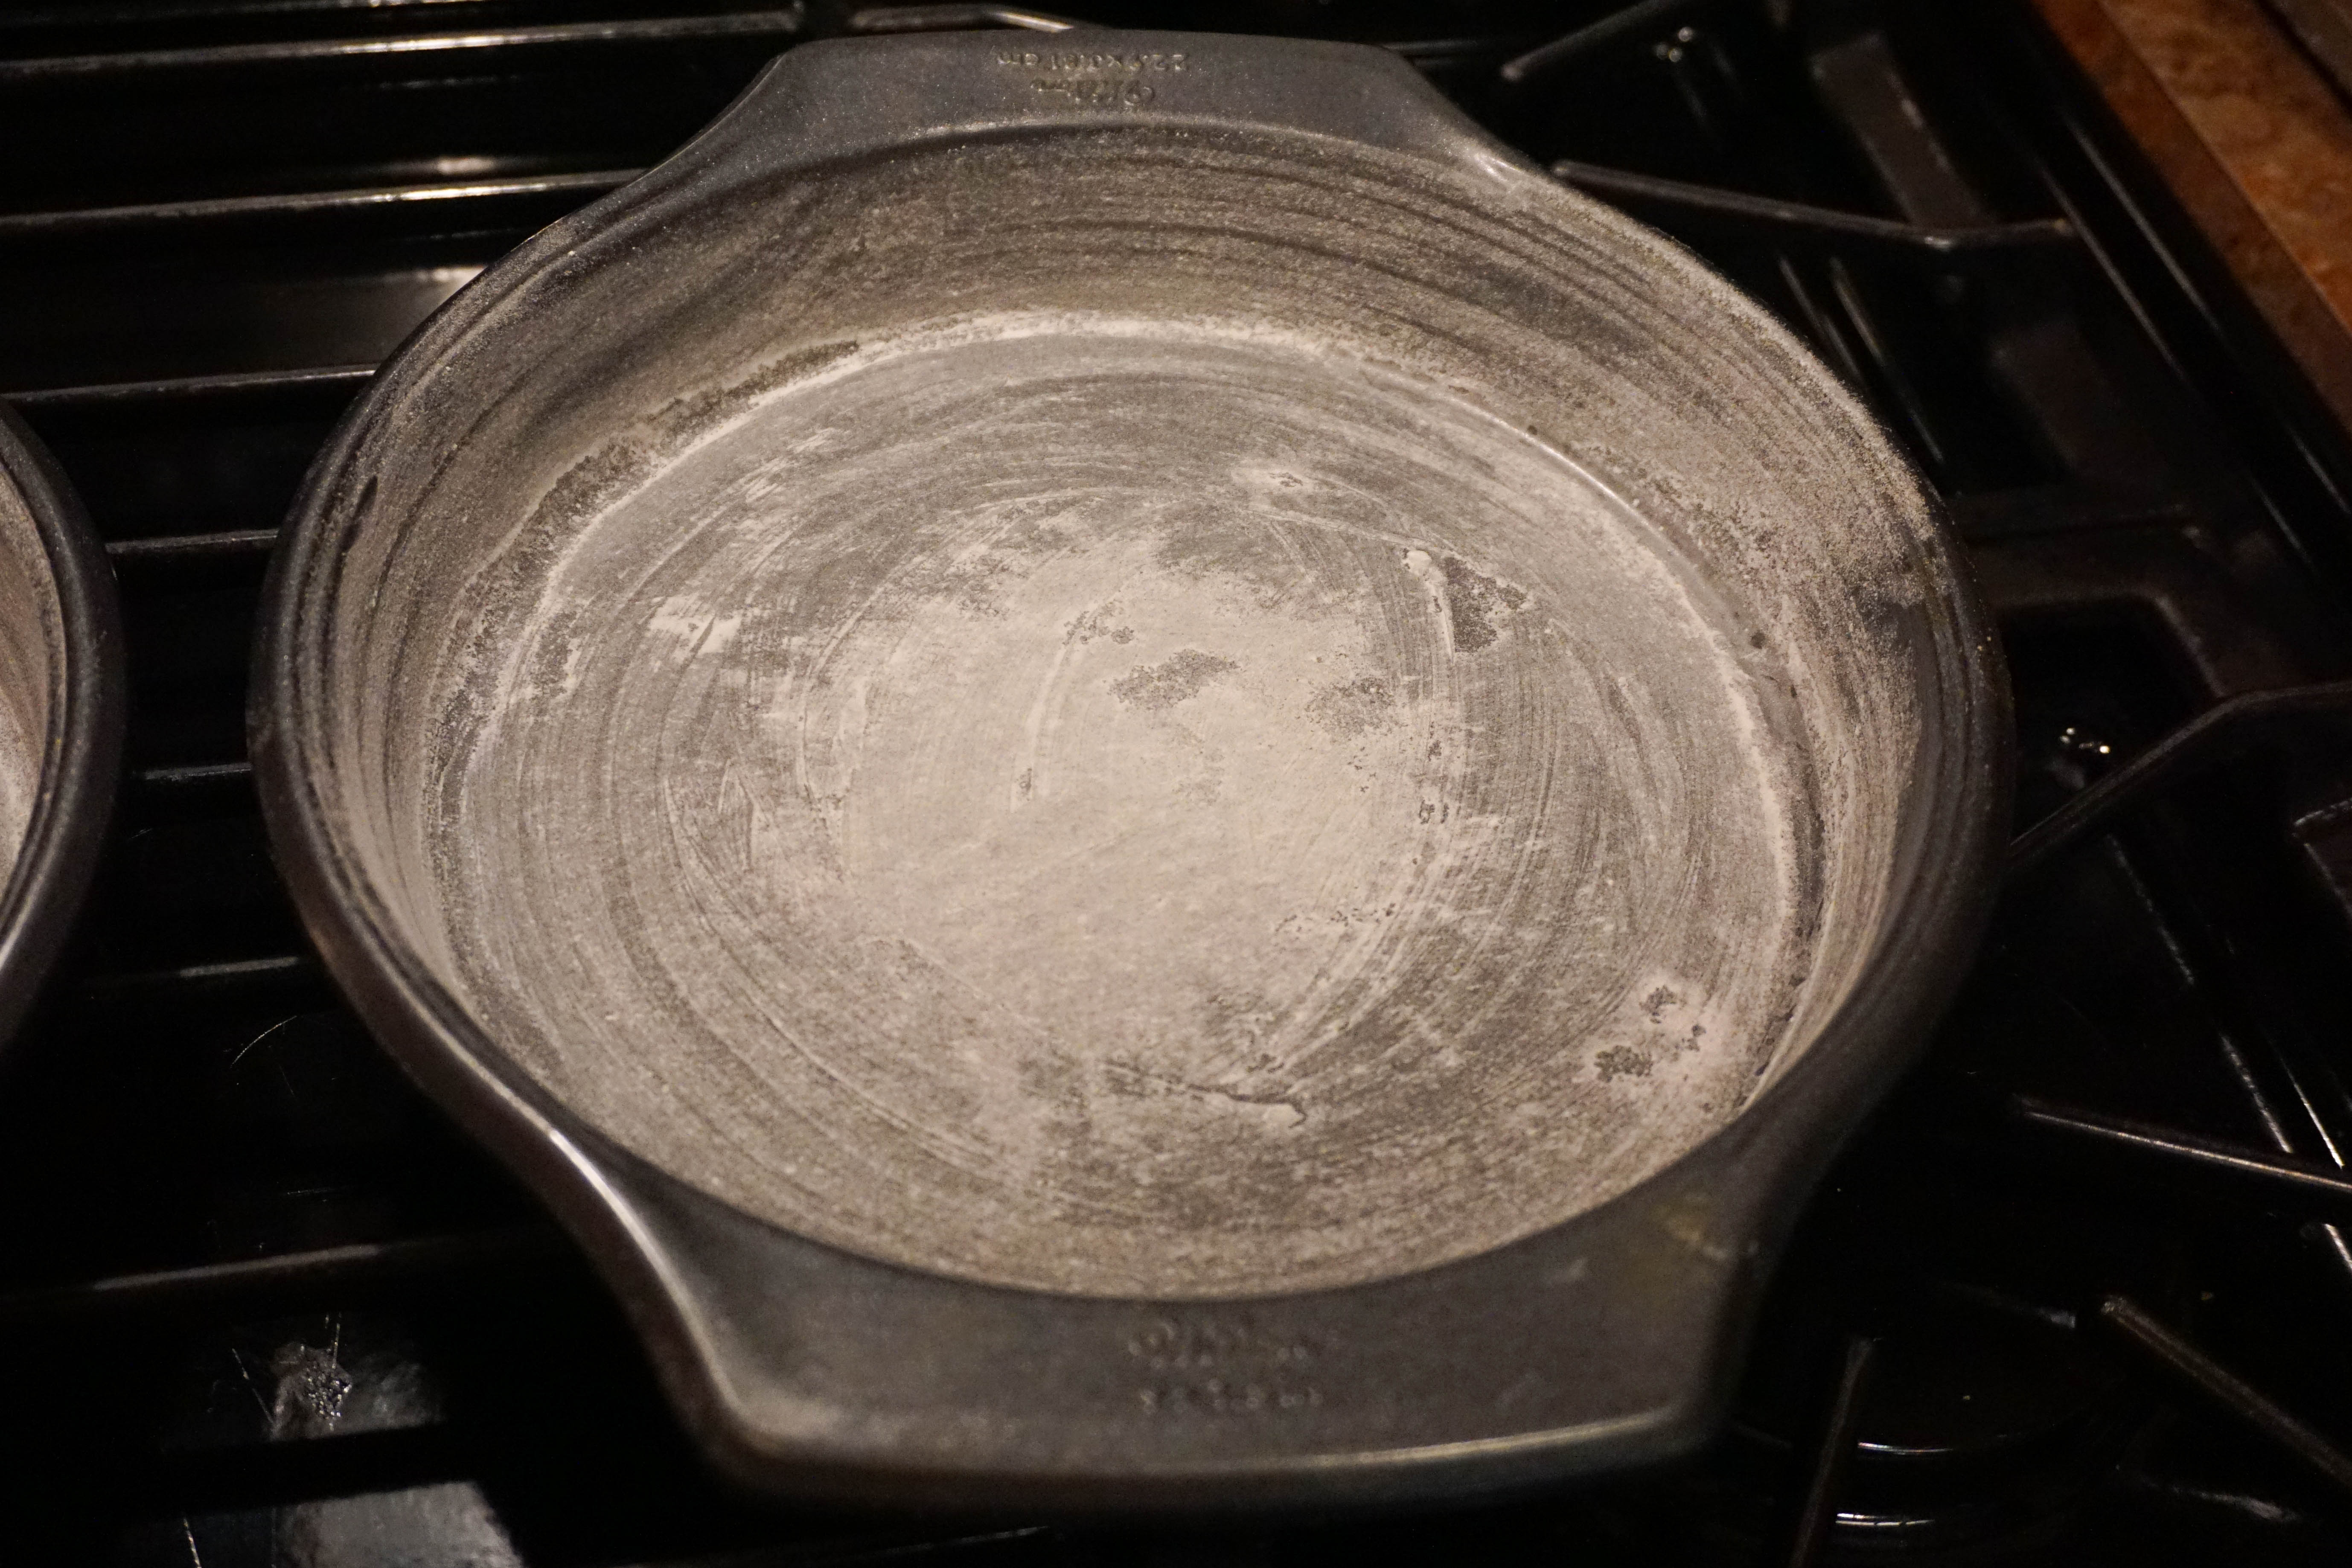
Prepare your bakeware as directed in the recipe. Usually, cake pans are buttered (or greased with vegetable shortening) using a paper towel or waxed paper, making sure to get into all corners and seams. Add a bit of flour and shake to the pan to cover all the pan’s surface with a thin layer of flour. Tap out any excess flour. Alternatively, you can use baking vegetable oil spray and then flour the pan if it’s called for. I like to spray or grease my pans and then use parchment paper cut to the pan size for easy cake removal. You will need to spray or grease and flour the parchment paper as well. Greasing and flouring cake pans keeps the cake from sticking and helps it to rise up the sides of the pan.
Oven Temperature
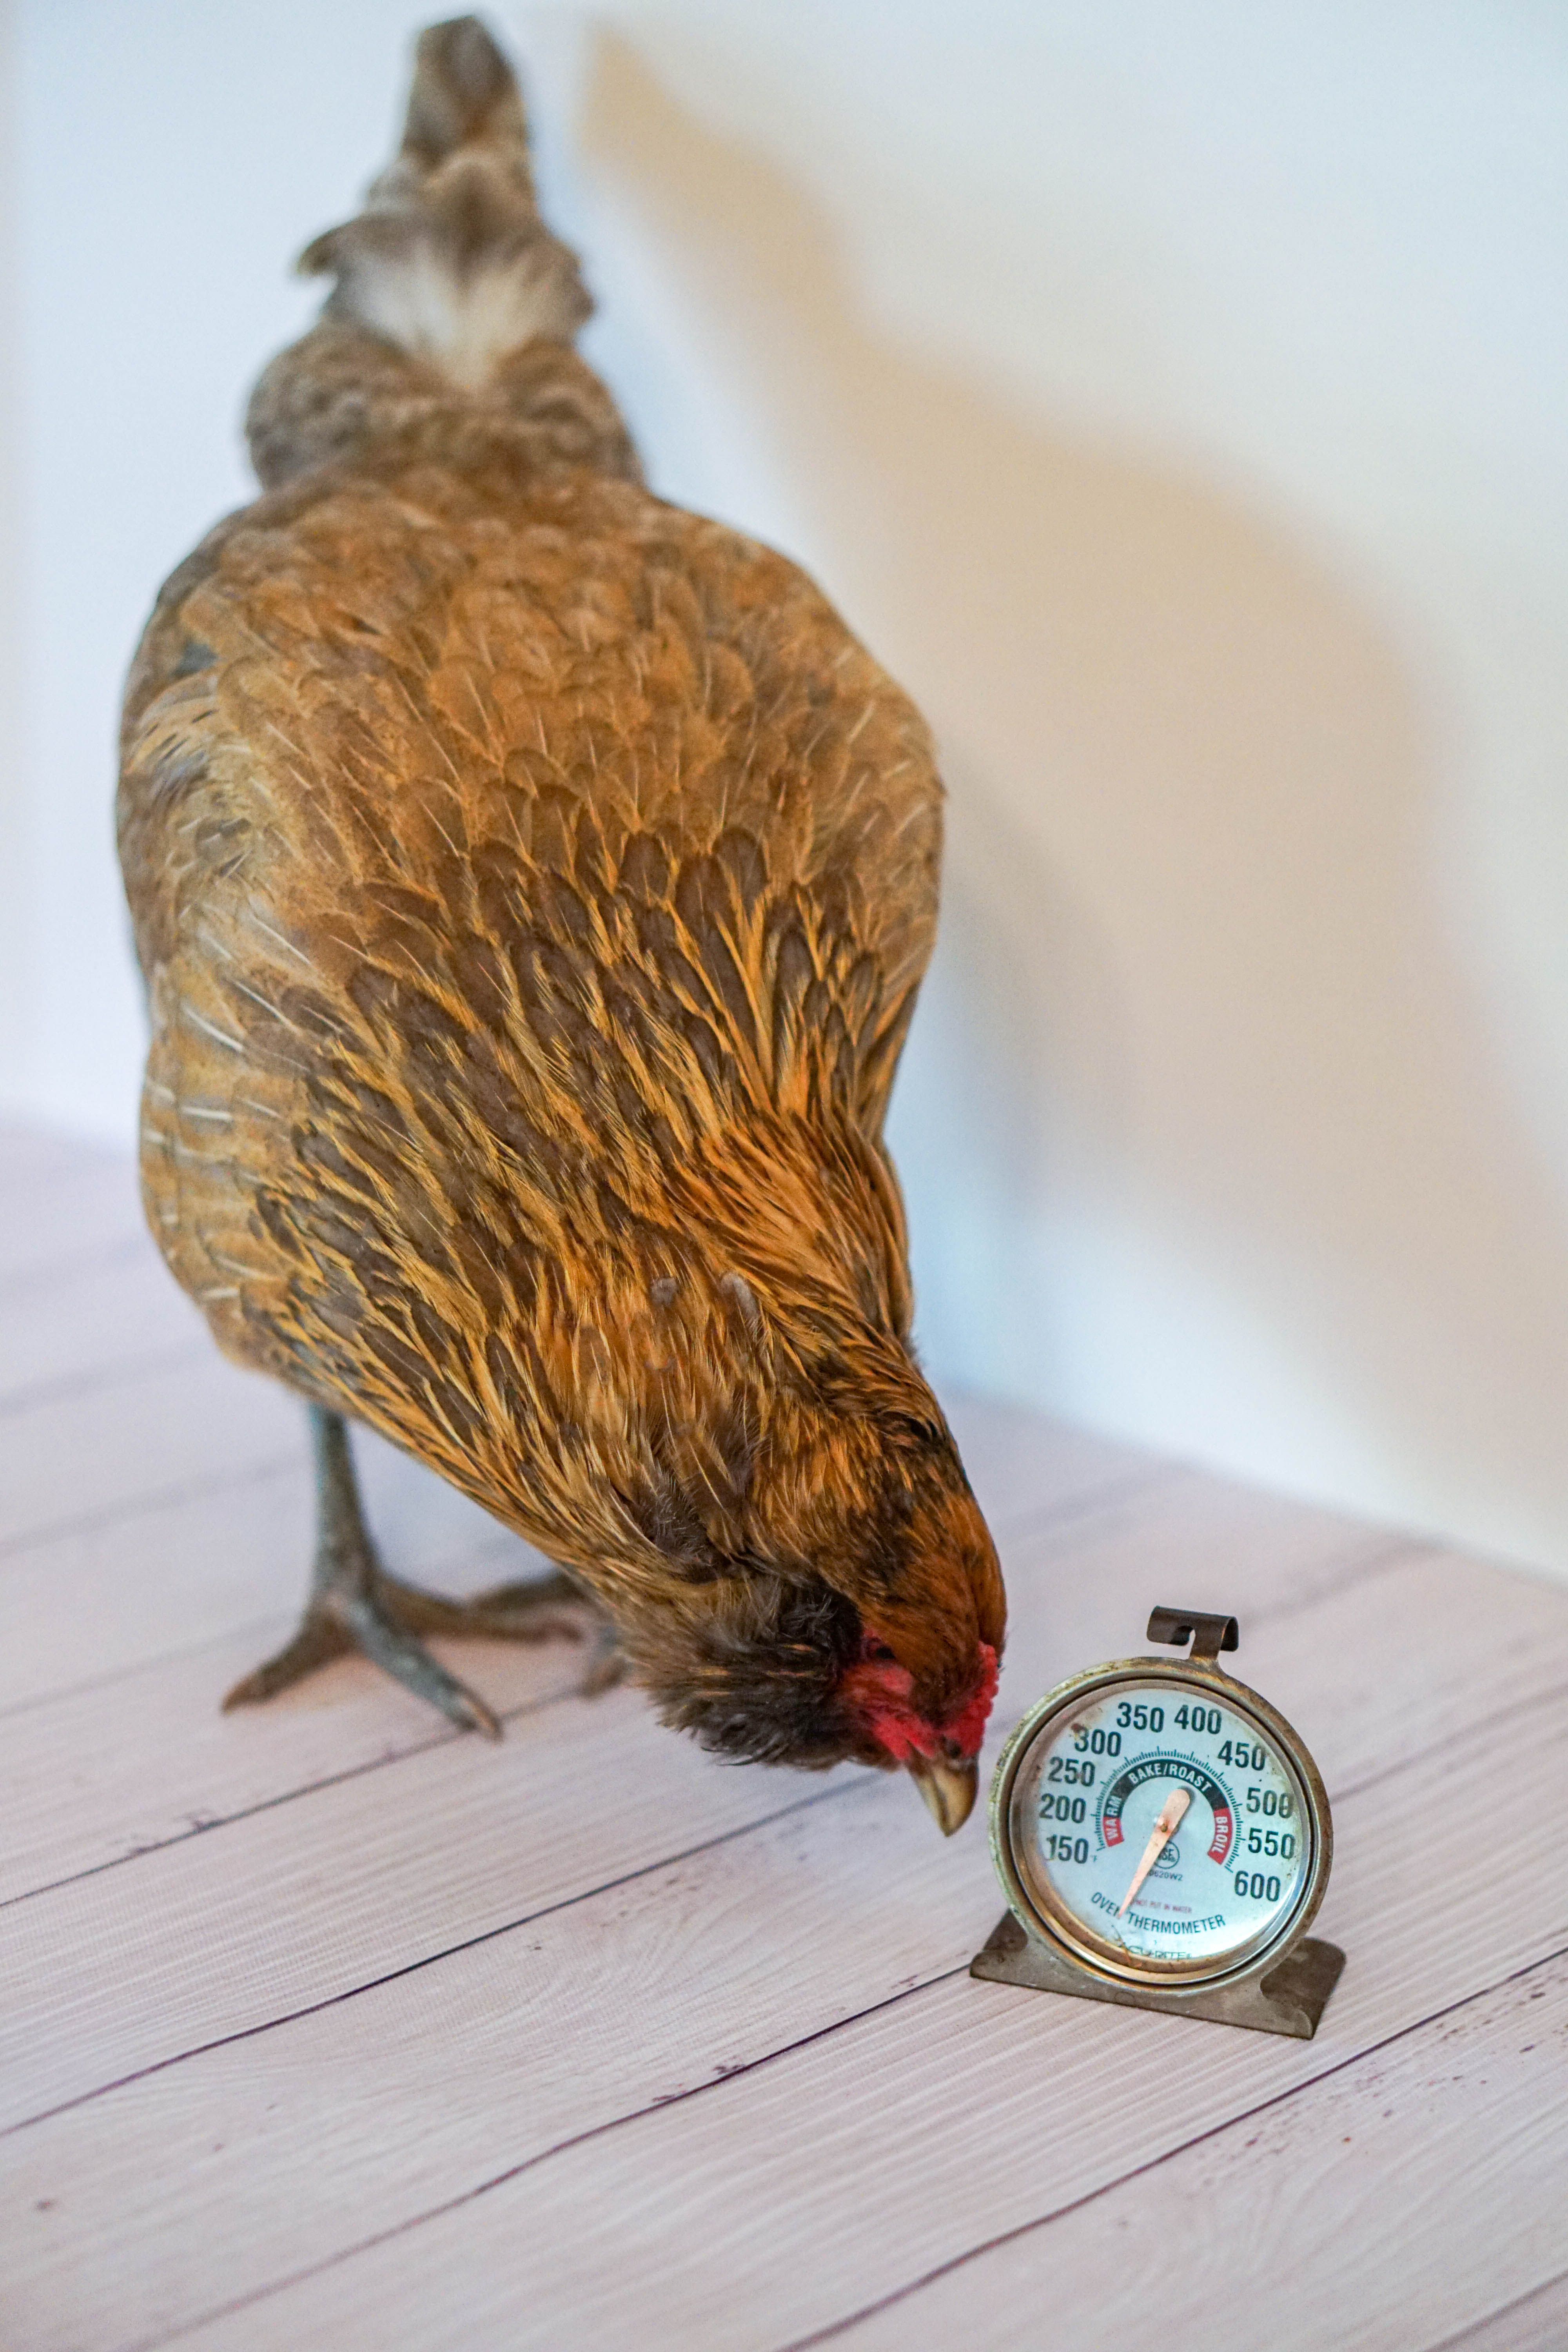
Always preheat the oven until it reaches the required baking temperature and do not put your cake in the oven before it has reached the required temperature. It’s also important to know your oven’s temperature since ovens can vary as much as 50 degrees. To ensure oven temperature accuracy, use an oven thermometer.
Measure Correctly
Use the correct measuring utensils. Correct measuring is critical in baking and using the correct utensils designed for measuring is a must. Do not use tableware for measuring. A coffee spoon is not the same measurement as a teaspoon. A coffee mug is not the same measurement as a measuring cup. Wet and dry ingredients are measured with different utensils. Liquid measuring is done in a clear glass or plastic cup with a spout for pouring. Always place your cup on a flat, level surface and get eye level with it for accuracy. Also, don’t measure dry ingredients such as flour and cocoa powder in a liquid measuring cup. You cannot accurately level a cup with a spout.
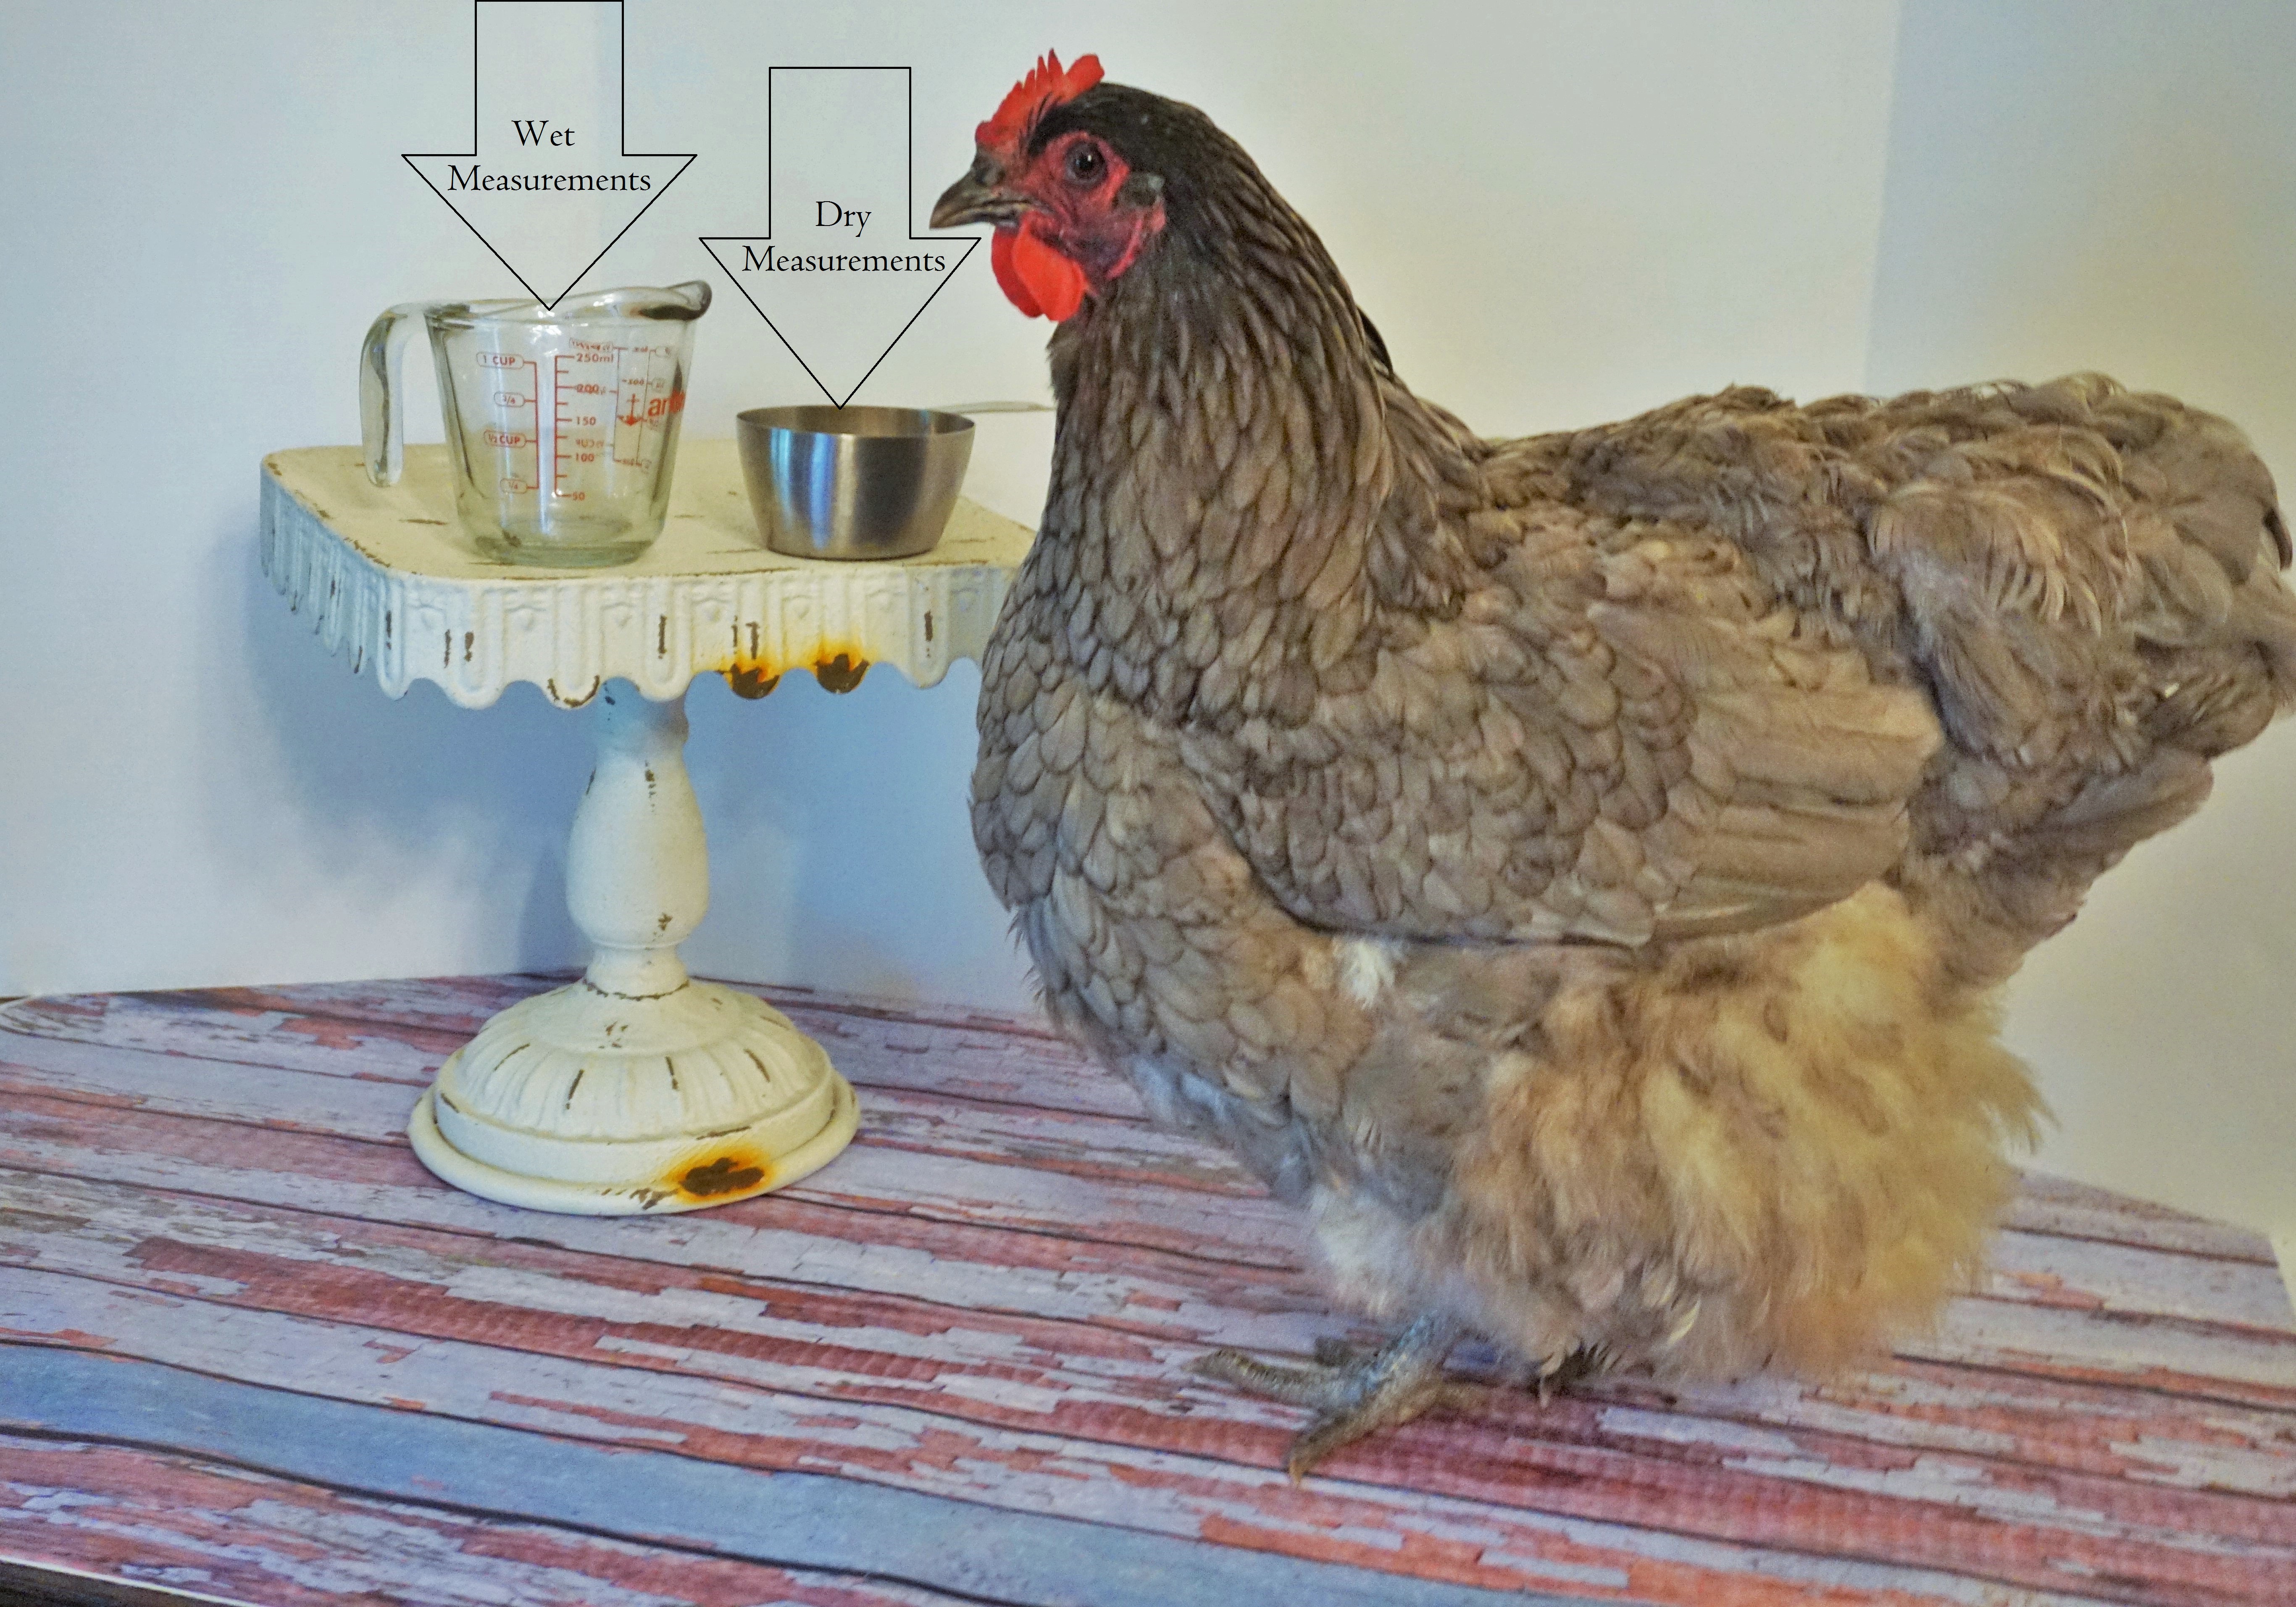
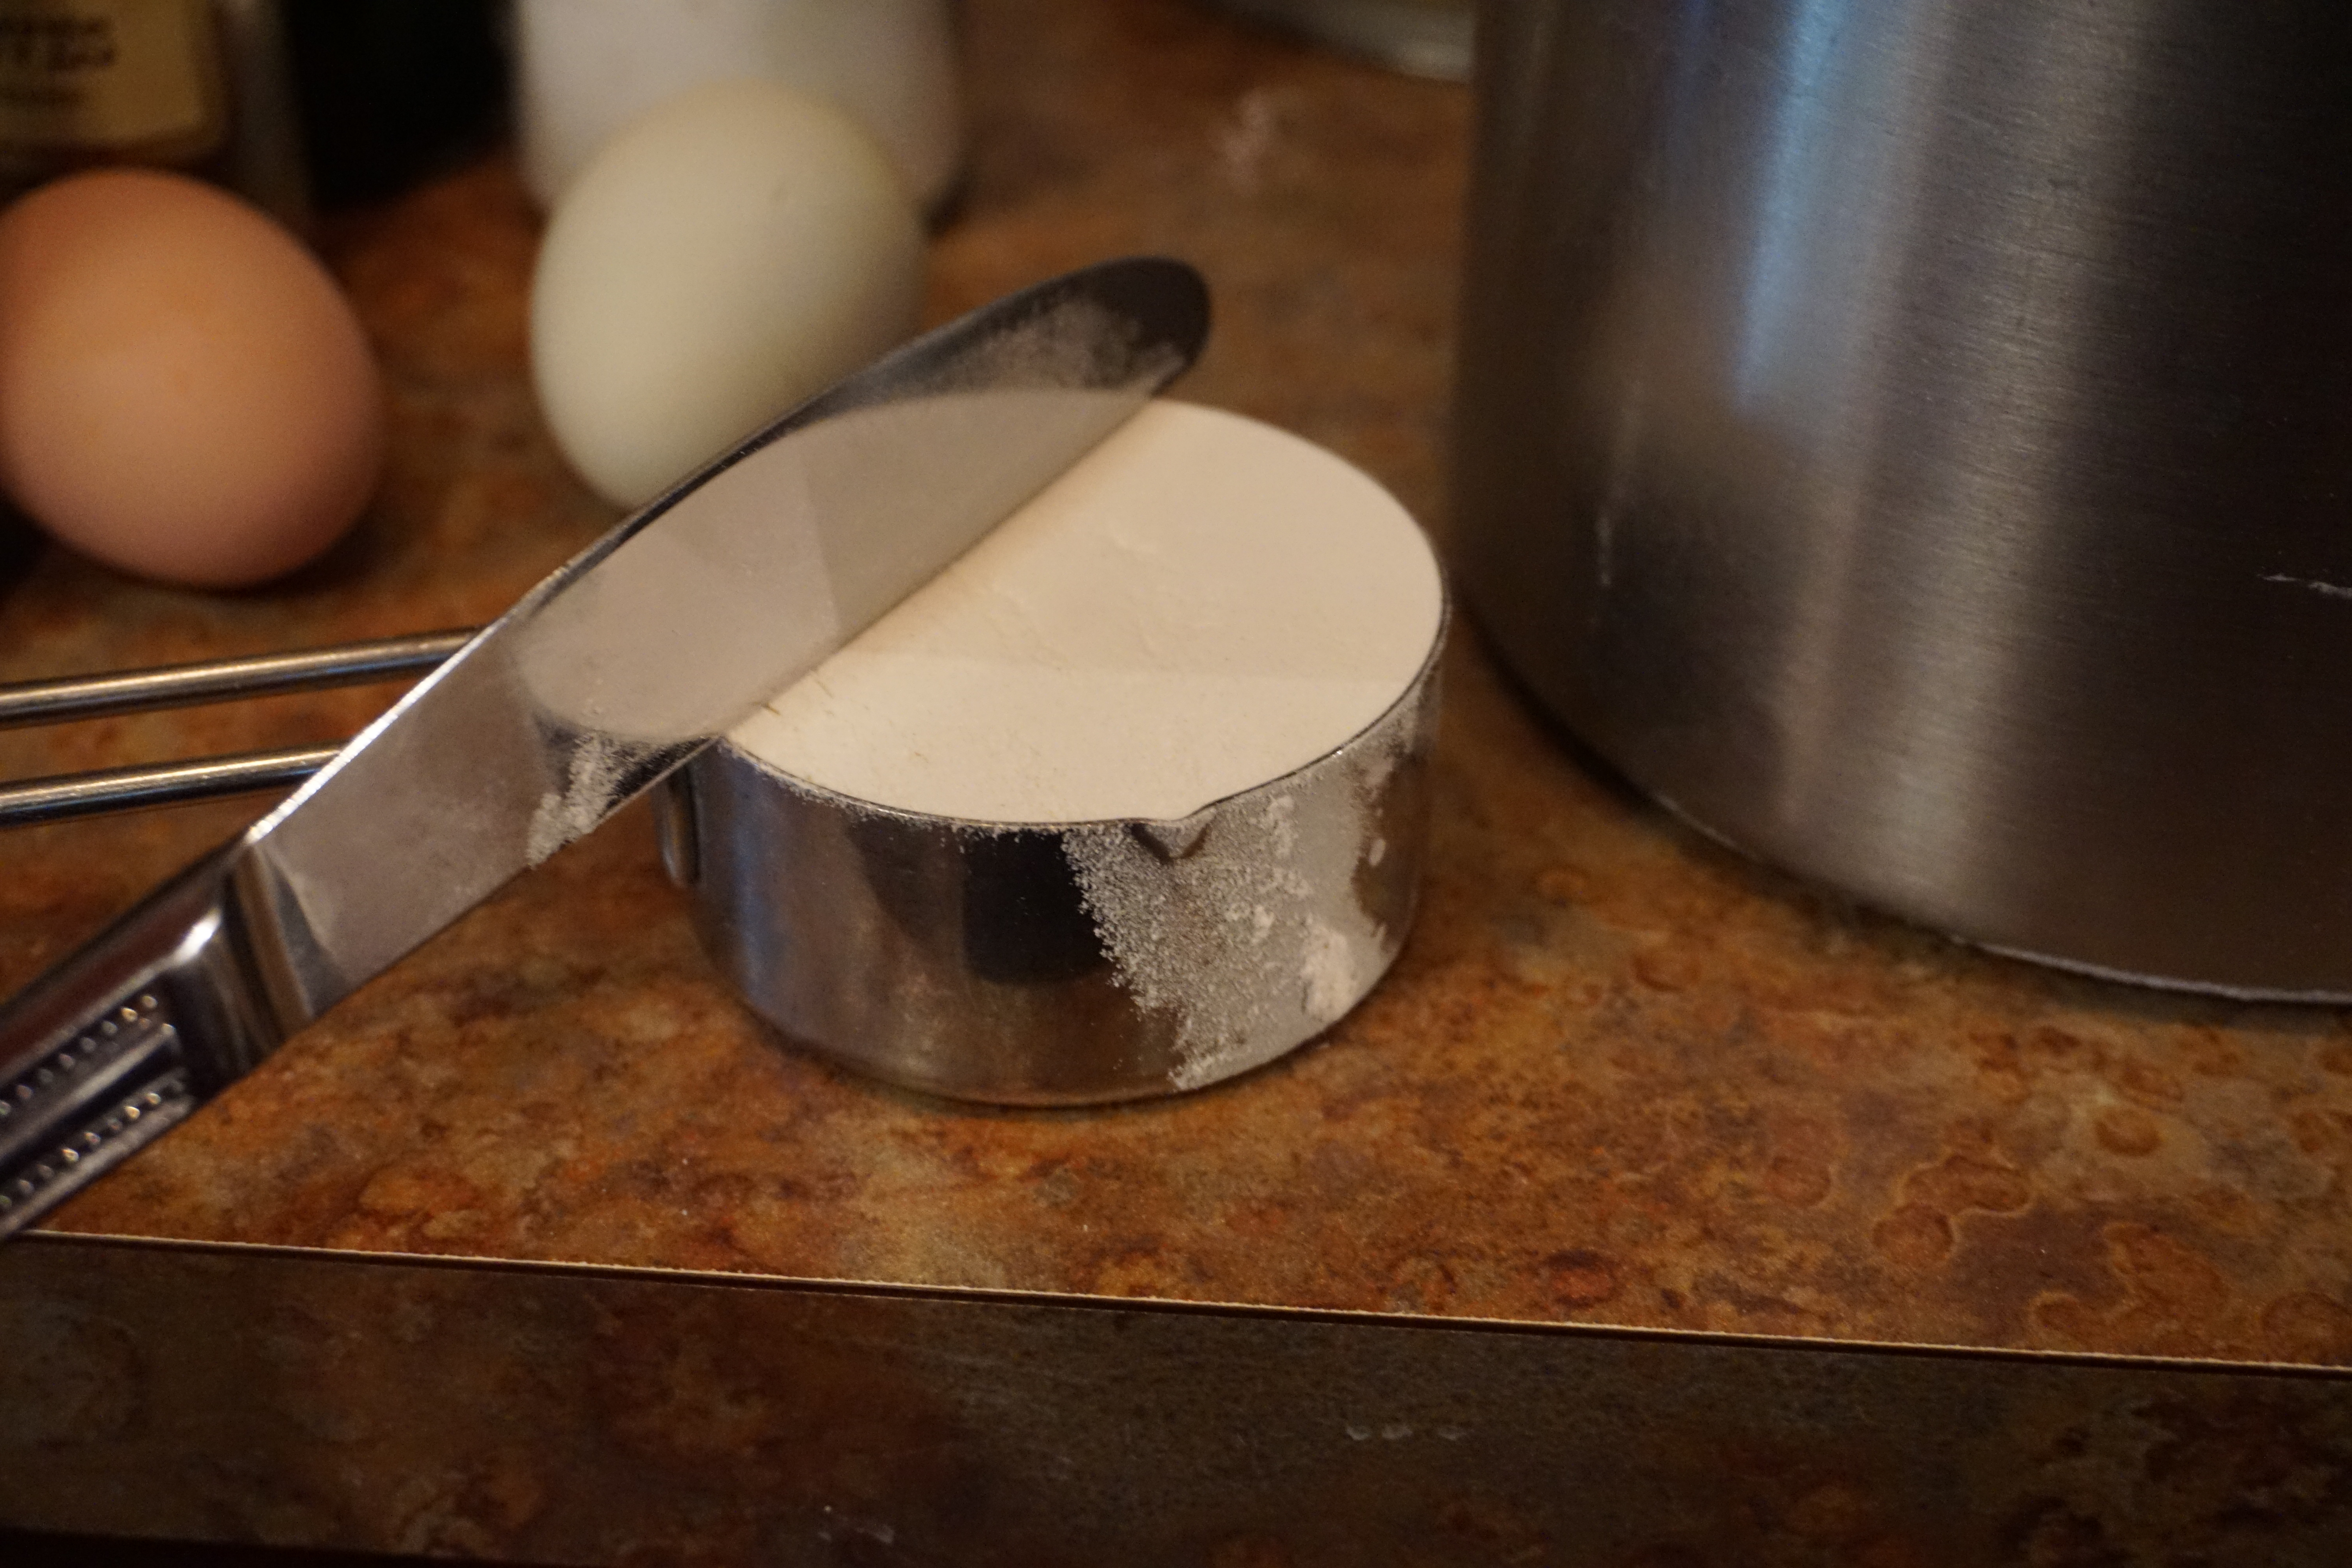
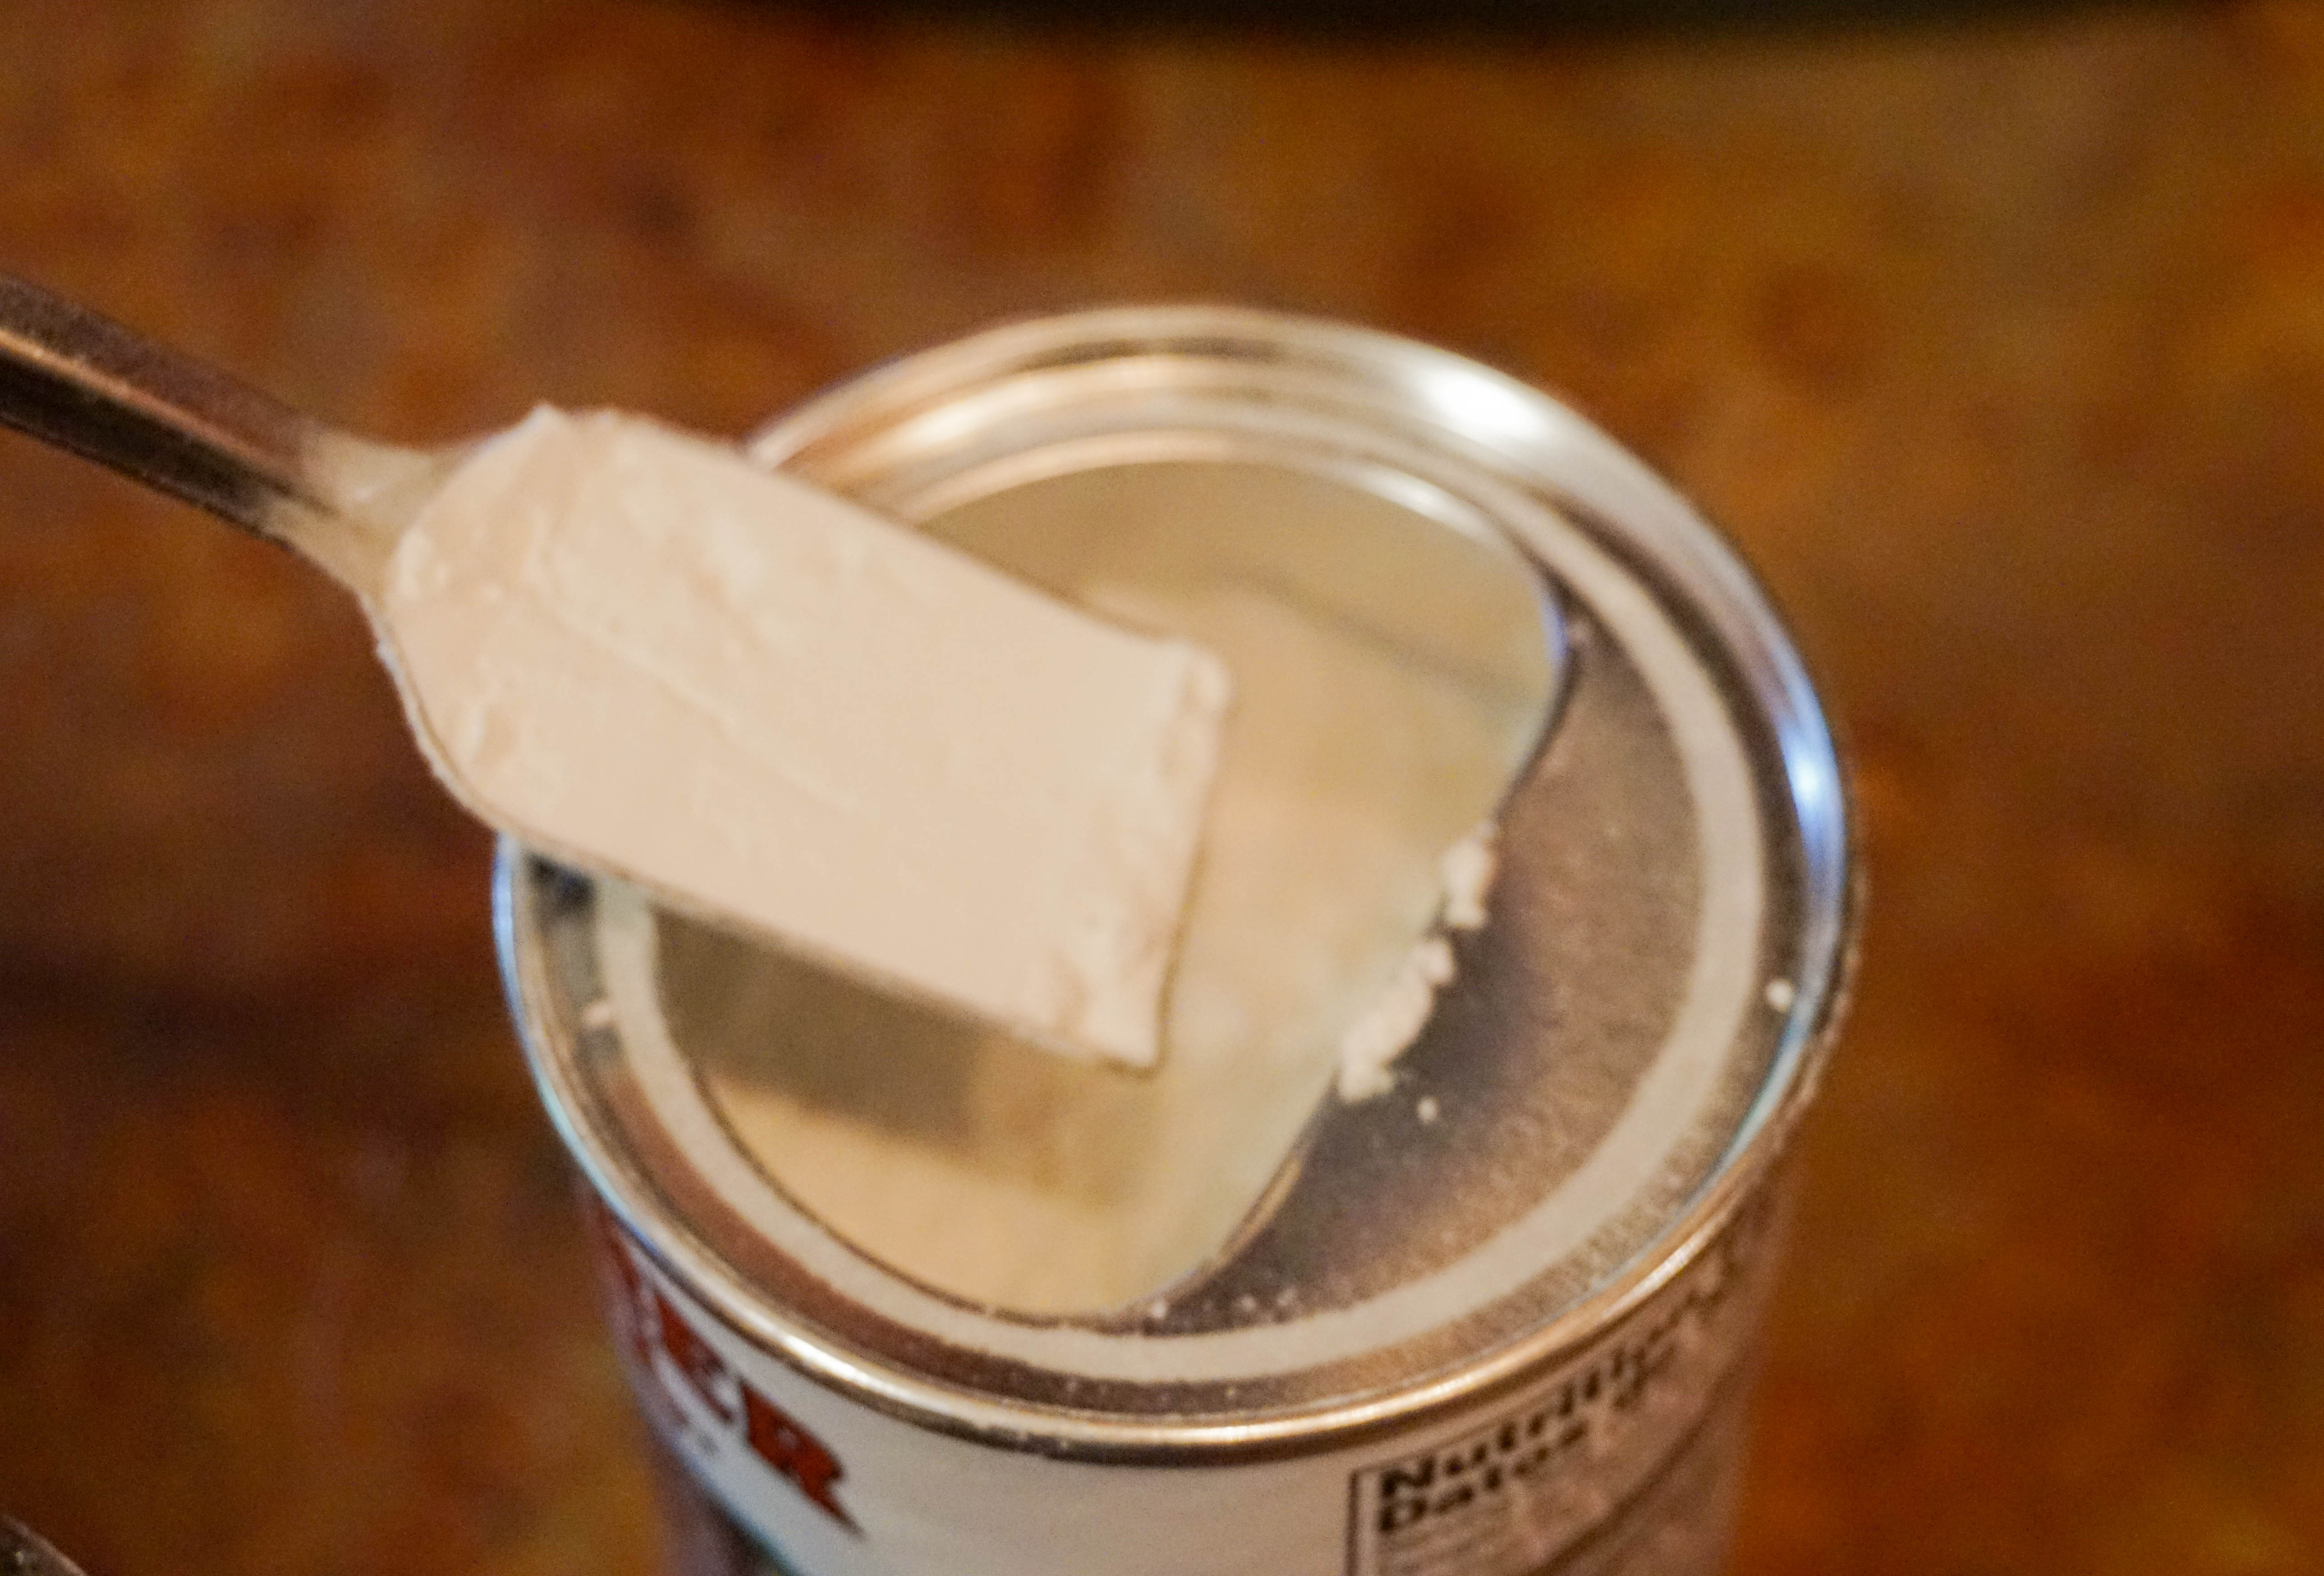
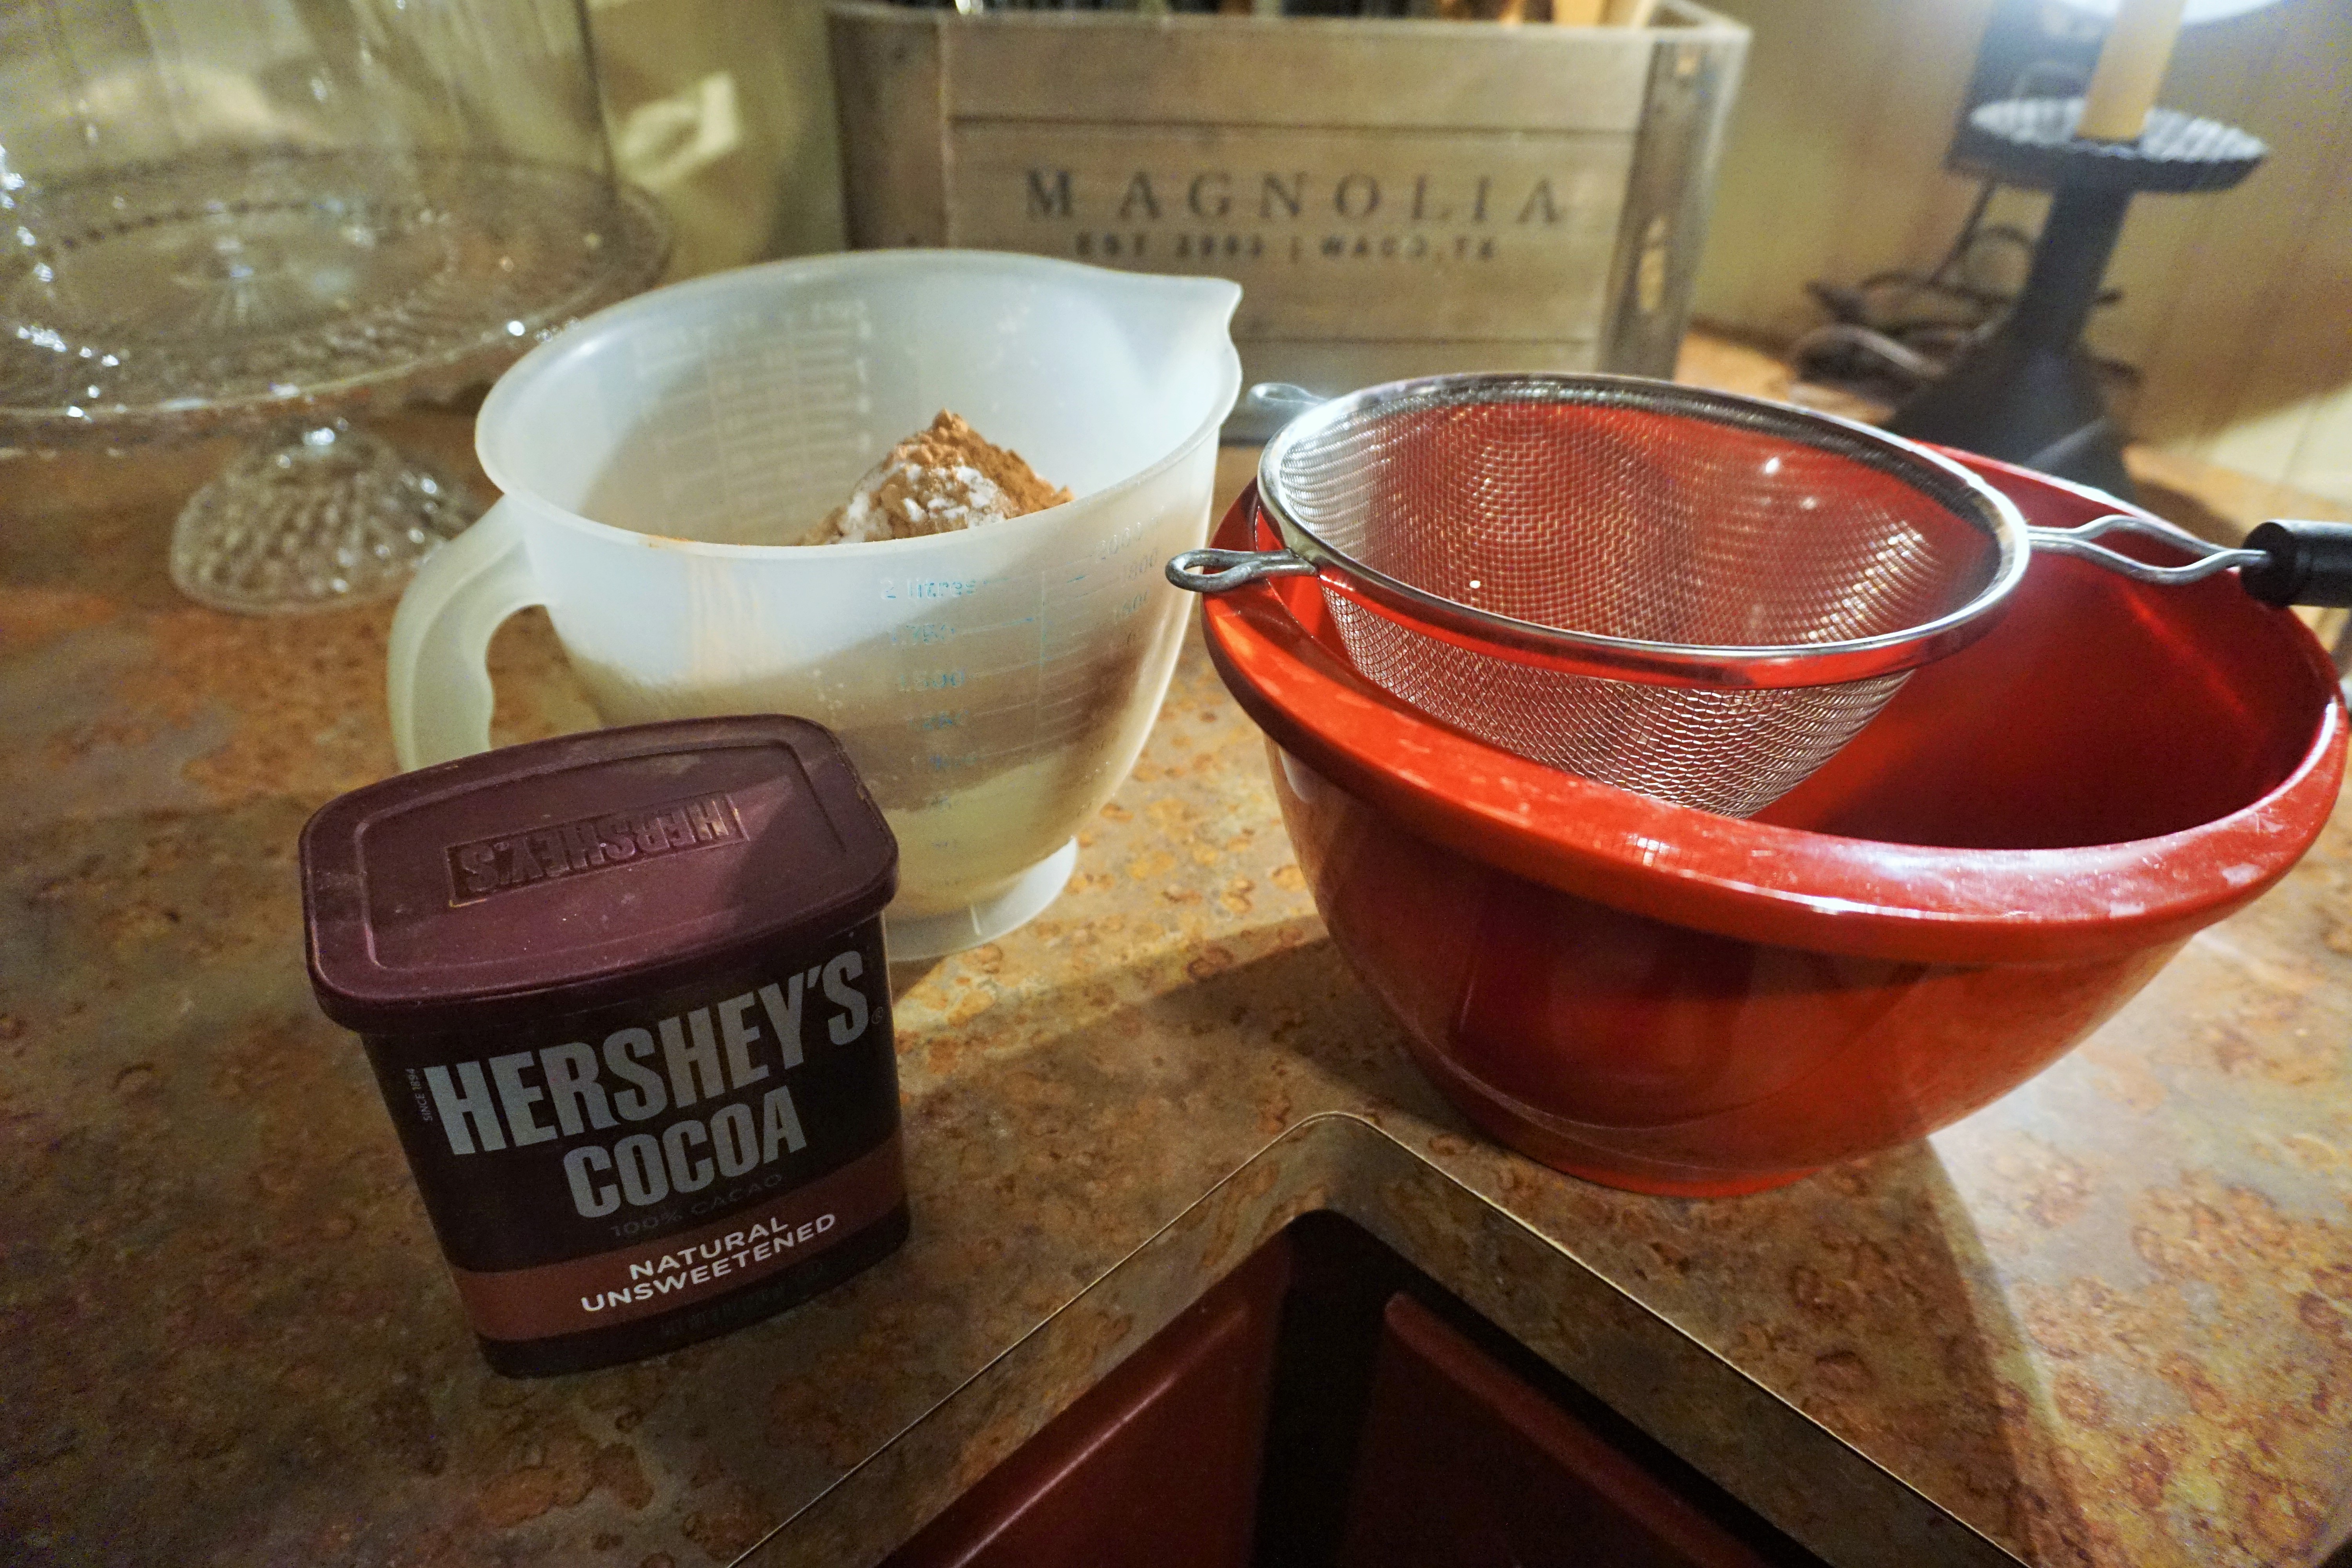
Measure dry ingredients (flour, cocoa, sugar, cornstarch, etc.) in measuring cups without a spout and level your ingredient with the flat side of a butter knife. When measuring flour, don’t pack the flour in the cup and don’t tap the cup on the counter as this also packs the flour. Scoop the flour into the cup and then level with the flat side of a knife. It is better to weigh flour because the amount can vary depending on how much it is packed into the cup.
1 cup confectioners’ sugar, sifted means that the sugar is sifted after measuring.
1 cup sifted confectioners’ sugar means that the sugar is sifted before measuring.
This is the case with any ingredient, not just confectioners’ sugar. Use those handy-dandy leveling surfaces to level baking spoon additions.
Weighing vs. measuring; Weighing will give you exact measurements and a good digital scale can be found for $15 to 20. If a recipe offers both weight and volume measuring, I always use the weight method for more accuracy and less room for error.
Ingredients
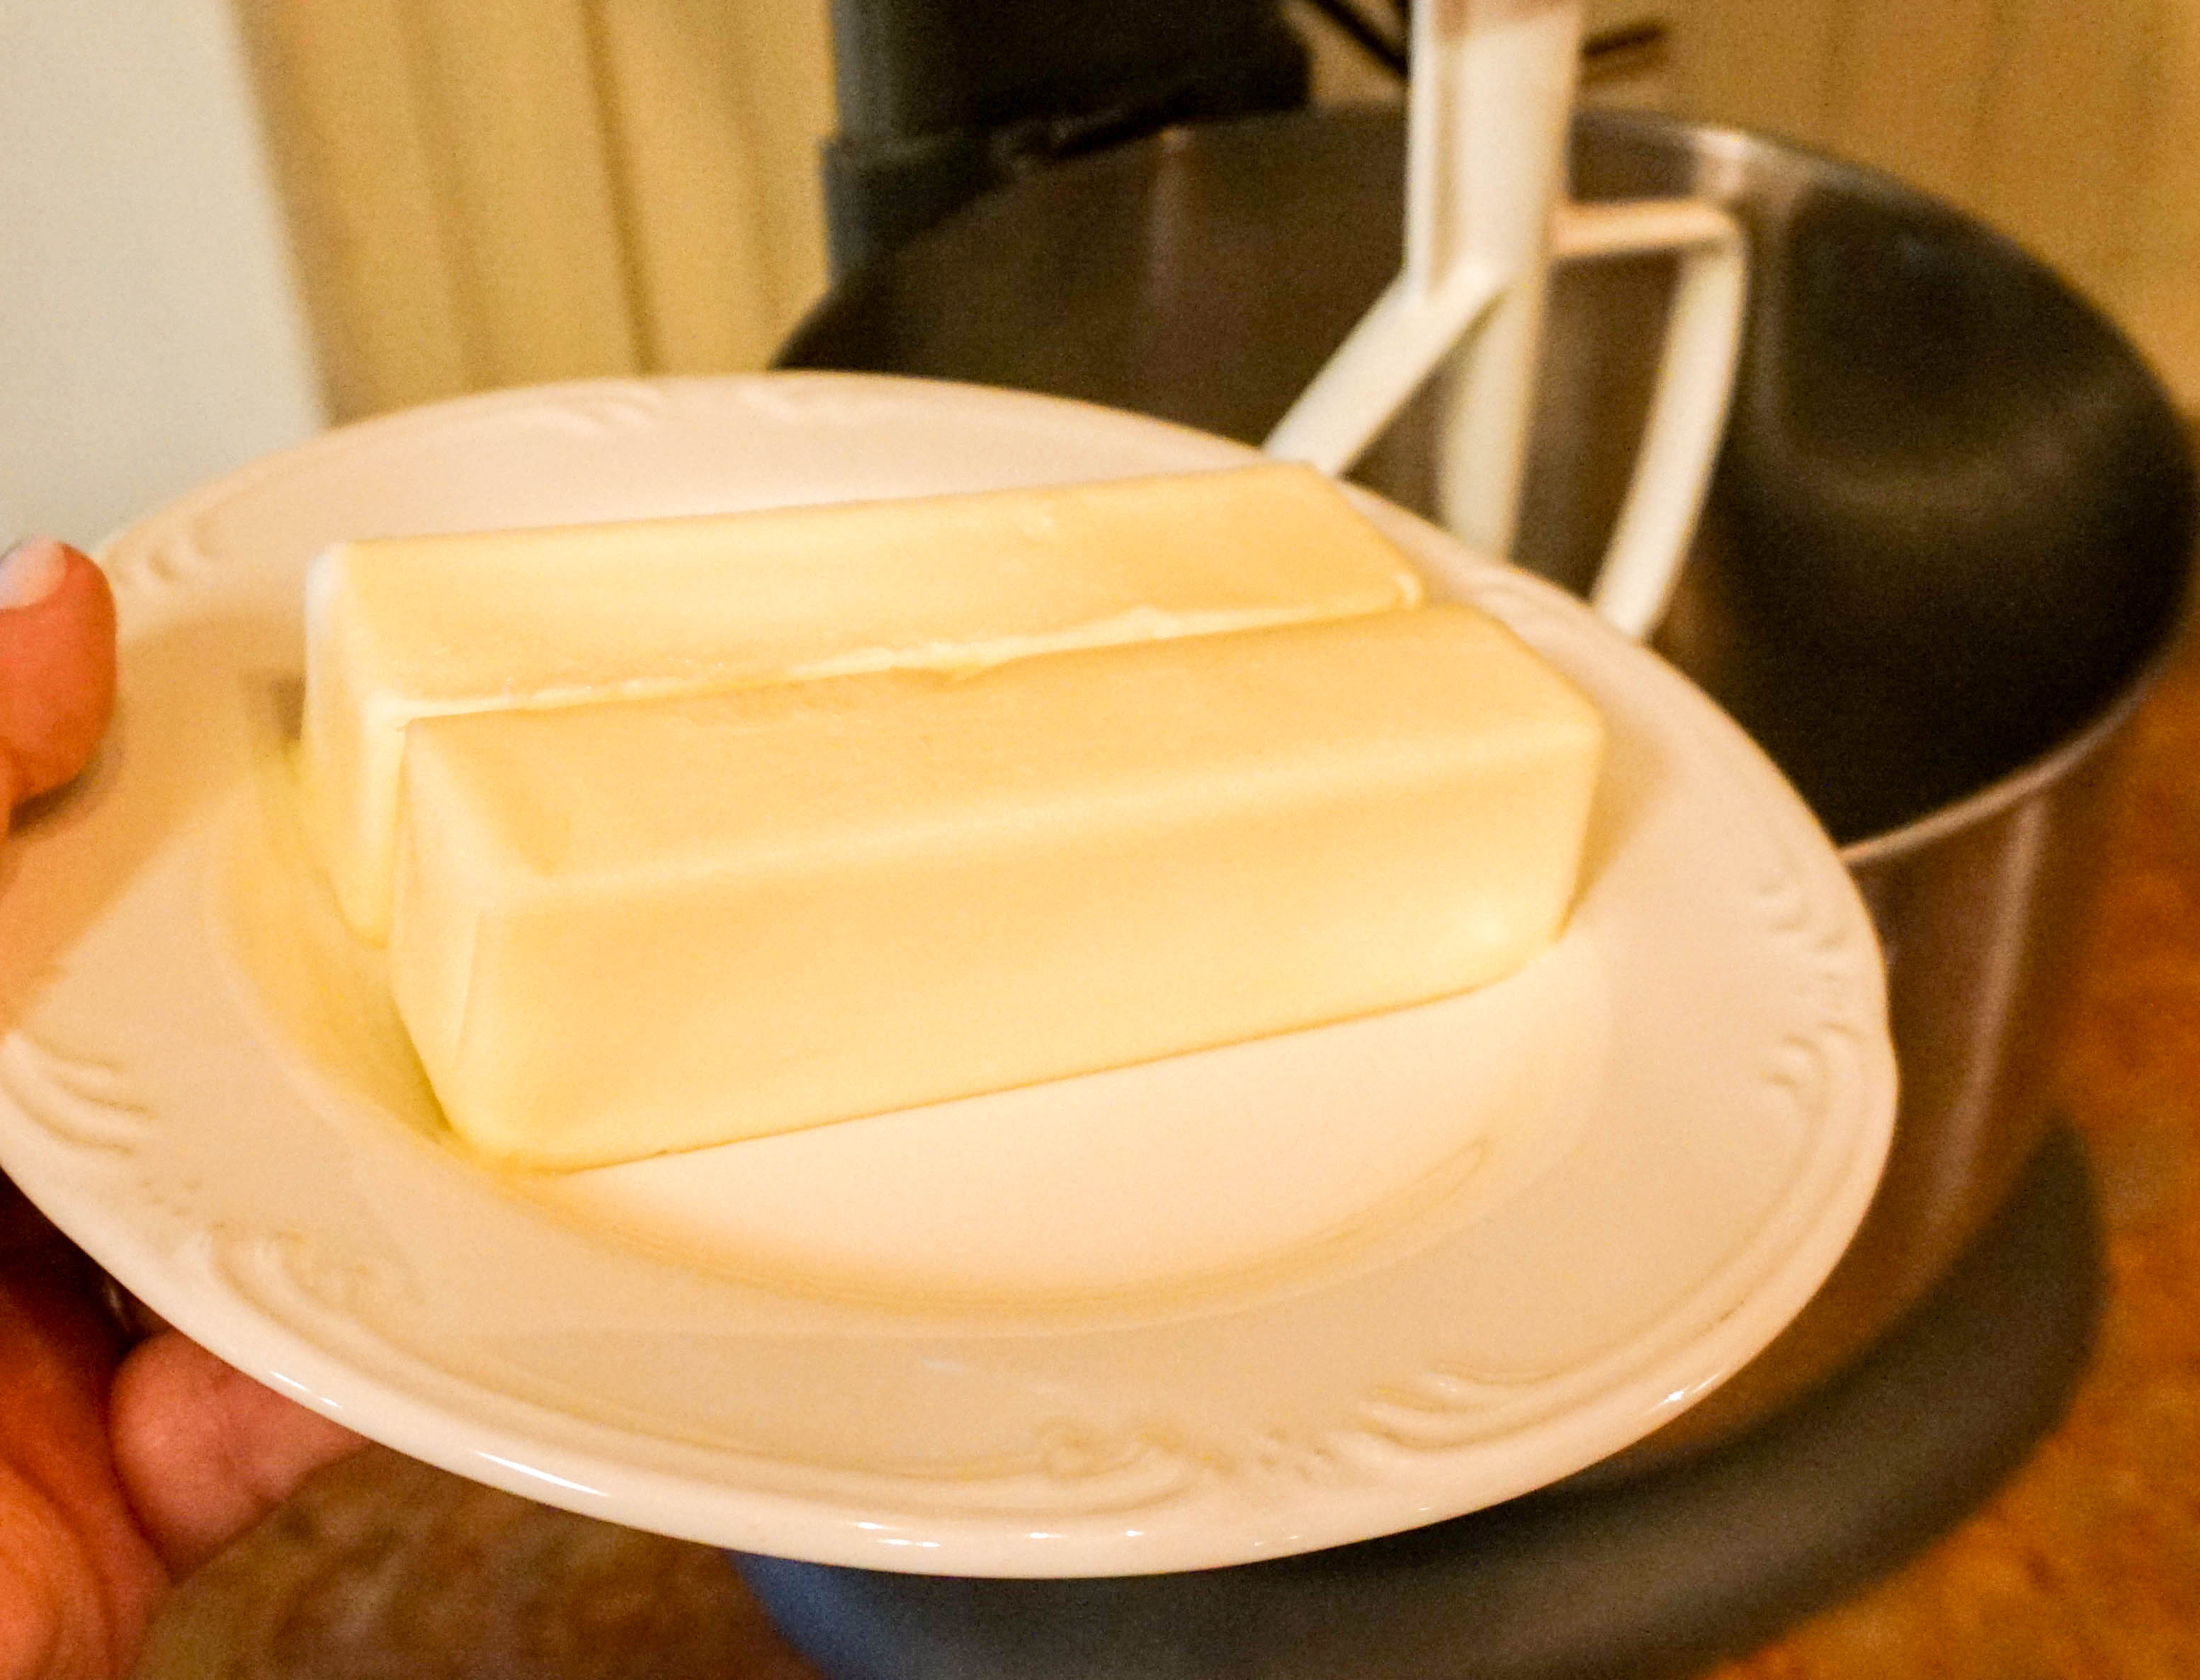
Unless specified otherwise, butter, eggs, and milk should be room temperature. Cold butter doesn’t cream well with sugar and for proper emulsification, eggs need to be room temperature; cold eggs may curdle when added; these ingredients will be easier to cream together when at room temperature. An exception would be for pie crust which always calls for very cold butter.
Only use unsalted butter but if you use salted butter, then only use half the salt that the recipe calls for. Don’t be tempted to substitute margarine for butter, as margarine has a higher water content, is not as rich tasting, and doesn’t produce the fine crumb texture that butter creates. The only artificial ingredient that I would consider is a high-quality imitation extract which can sometimes be hard to distinguish from their real counterparts. That’s it … nothing else artificial and only in a pinch.
Watch substitutions: some sweeteners don’t have the same chemistry as the crystals in real sugar and the recipe relies on how the sugar reacts with other ingredients. Baking powder cannot be substituted for baking soda and vice versa. These ingredients have different functions in baking. There are appropriate substitutions in baking. For example, if you don’t have buttermilk, you can add 1 tablespoon white vinegar to a cup of milk, stir and let sit for about 10 minutes or until thickened. Do your homework to find out what can be successfully substituted and in what quantities.
Use the specified type of flour the recipe calls for, ie., cake flour, all-purpose flour, etc. All will yield a different texture to the end product. Watch expiration dates on baking powder, baking soda, yeast, etc. Here’s how to test your baking soda and baking powder for viability:
Testing Baking Powder
Pour a few tablespoons of warm water into a small bowl. Add 1/2 teaspoon baking powder to the warm water — the mixture should fizz moderately if the baking powder is fresh. If there is no reaction, toss it.
Testing Baking Soda
Pour a few tablespoons of white vinegar into a small bowl. Add 1/2 teaspoon baking soda — if it’s fresh, the mixture should fizz and bubble furiously. If it doesn’t, toss it.
Order Counts
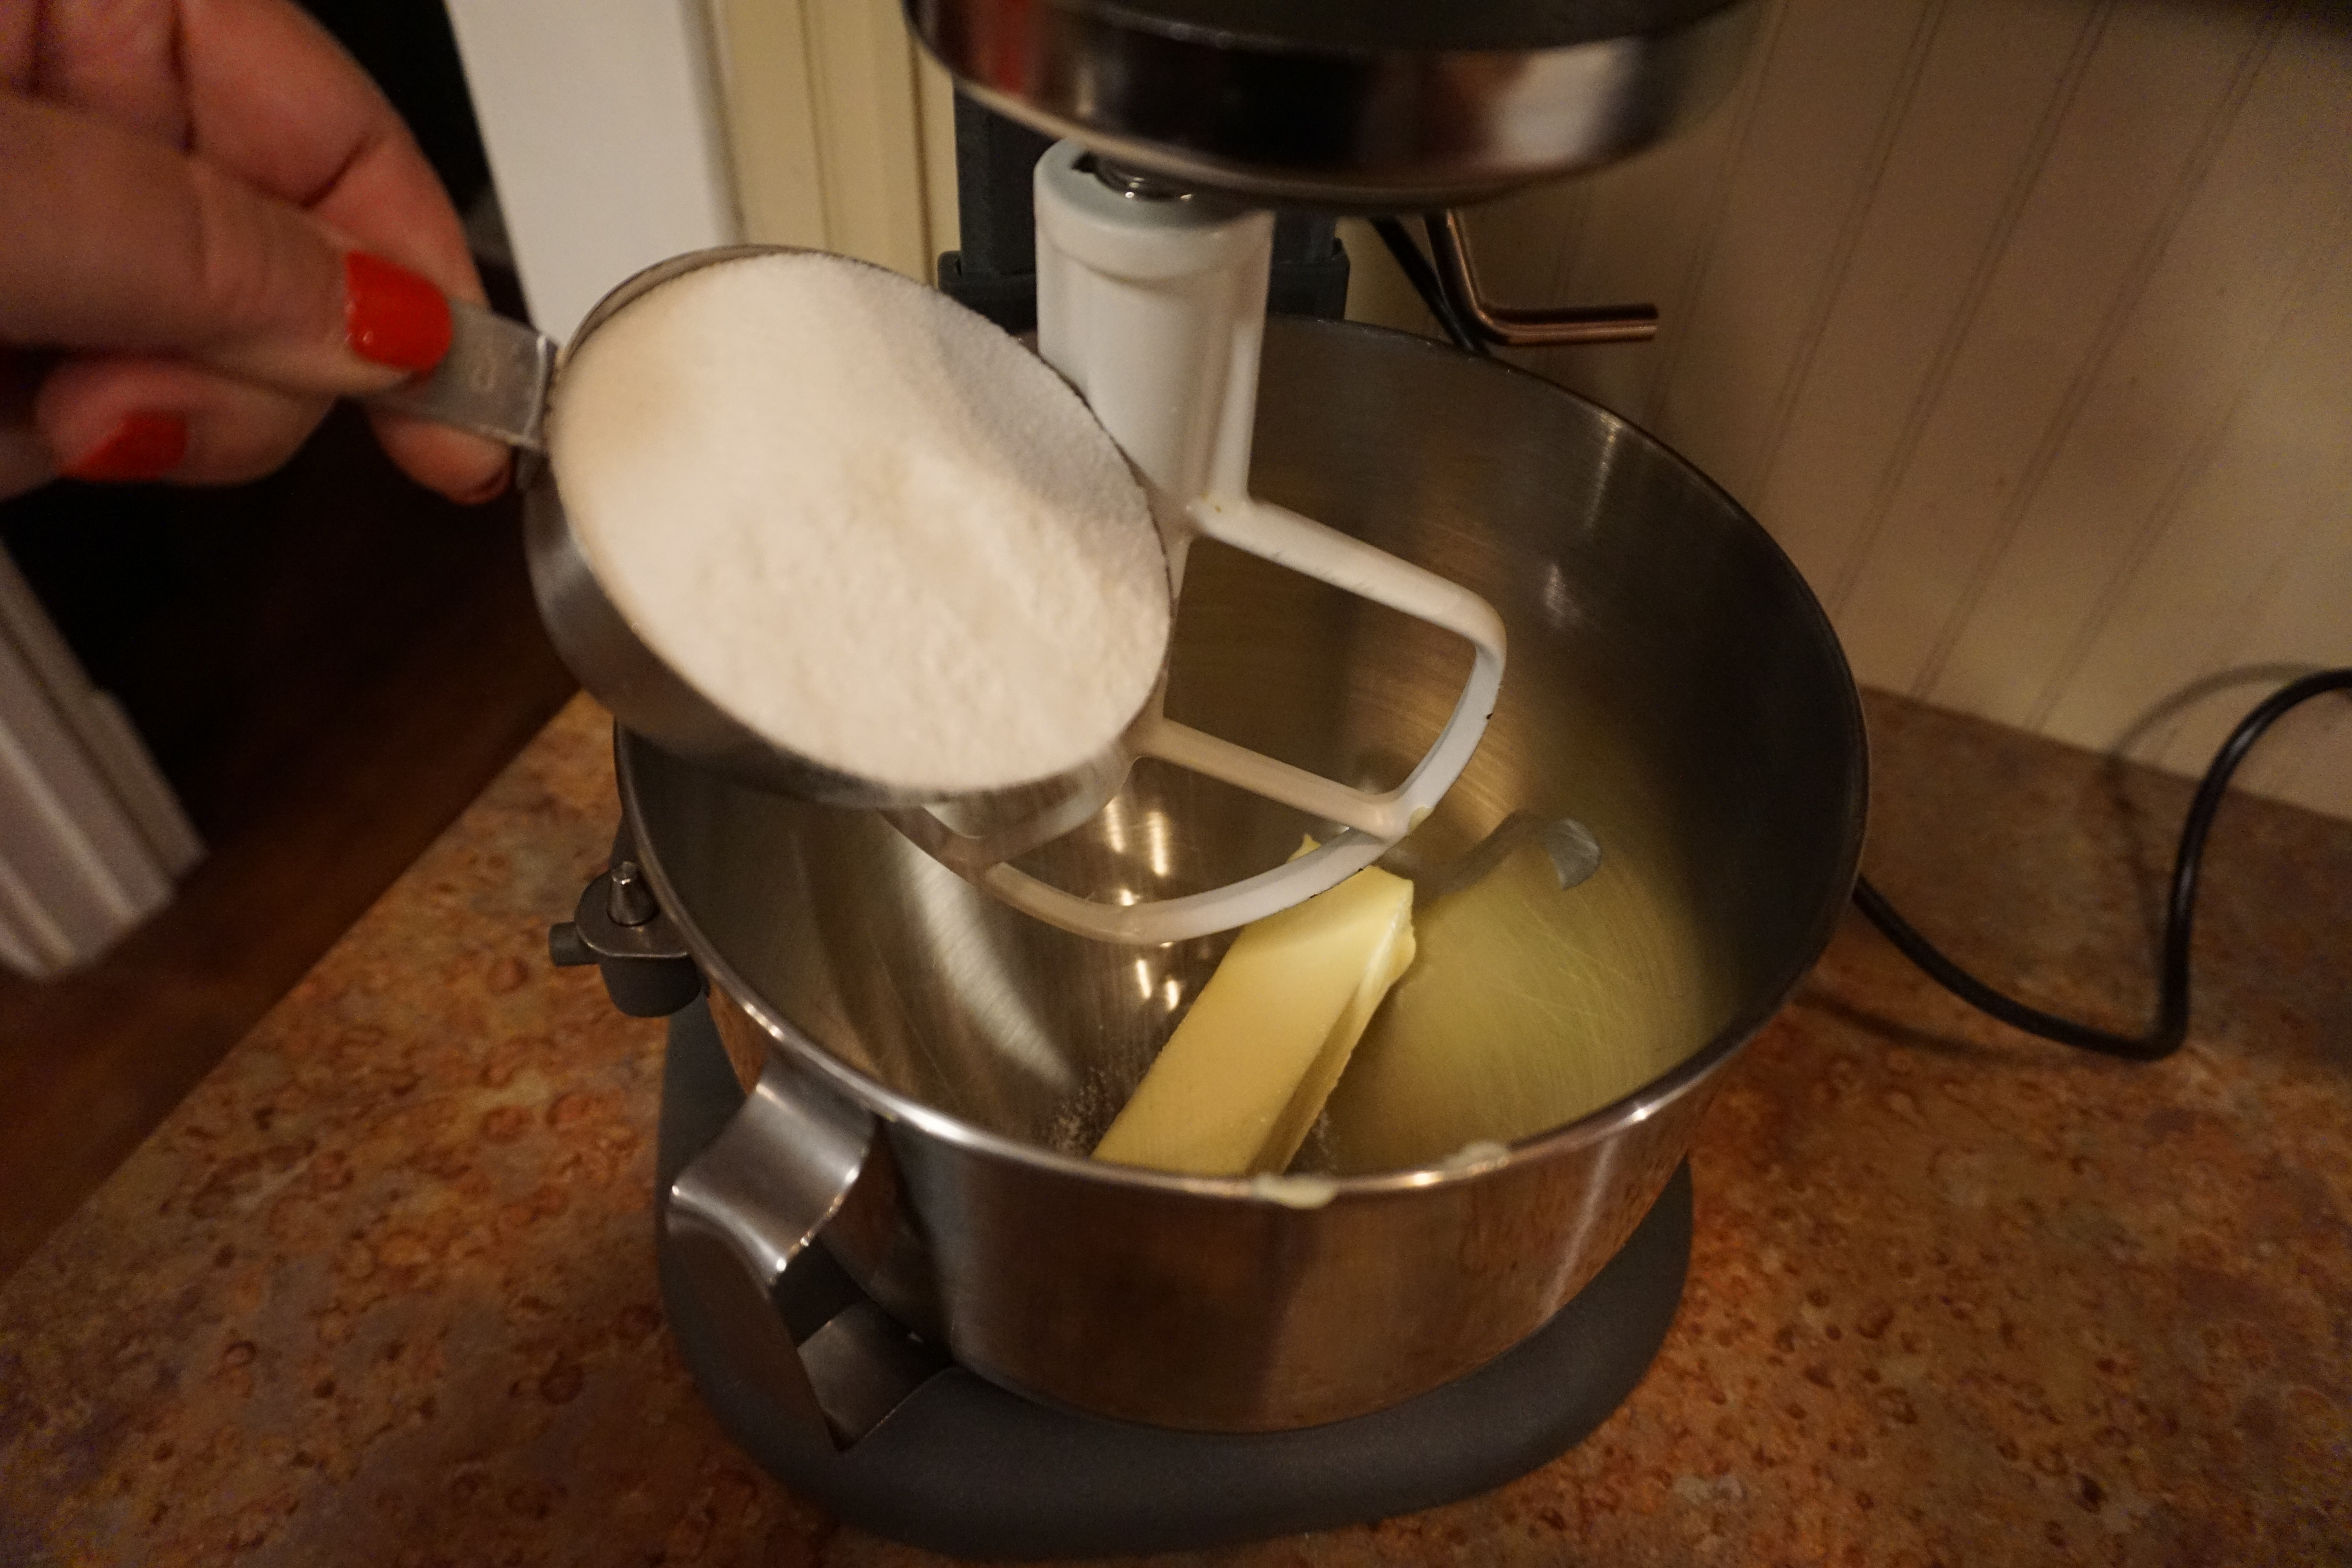
The order in which ingredients are mixed is critical. The usual order of cakes begins with beating air into a butter/sugar mixture which adds volume and produces a light and tender cake texture. Eggs usually follow, added one at a time. Typically, dry ingredients are then added to the wet ingredients. Different cakes have different beginnings, so pay close attention to the order of instructions.

Eggs are added one at a time and are beat until thoroughly combined or for as long as the recipe specifies. Dry ingredients are usually combined and added to the wet mixture. When adding flour, be careful not to overmix once the flour has been added. Flour (gluten) is added to wet to provide structure to the cake and overmixing will lead to a tough cake. Sometimes milk, sour cream, buttermilk or other liquids are combined to the creamed mixture, alternating dry and wet ingredients, beginning and ending with the dry ingredients.
Understand Baking Terms
If you are uncertain about a certain baking term, stop and look it up. Often times, the outcome of a recipe will depend on a specified technique. Common baking terms and definitions:
Cream: Mixing of sugars with fats (butter, vegetable shortening, peanut butter, eggs, etc.), usually with an electric mixer, to create a light fluffy mixture
Folding: Folding is the technique of adding beaten whipped cream or egg whites into a batter or dough. Beaten egg whites or cream will produce a light and fluffy baked good. If you stir vigorously, you will remove all of the air that you have whipped into your egg whites or cream. A good way to fold is in three increments. One-third of the whipped mixture gets added to the center of the batter with a rubber spatula. Slice the spatula through the middle of the batter, flipping the mixture toward the outside of the bowl. Give the bowl a quarter turn and repeat. Continue adding egg whites or cream and folding until fully incorporated.
Whisk: to mix, stir, or beat with a wire whisk
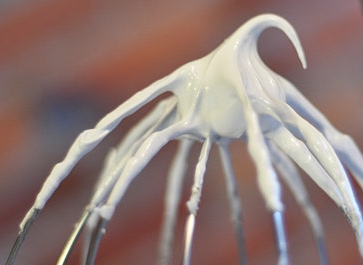
Soft Peaks: It is important that egg whites are beaten to the correct consistency, as egg whites beaten to varying stages of stiffness all lend something different to a recipe. Soft peaks occur when you lift the beaters and a peak shape forms and holds its shape and the tip falls down.
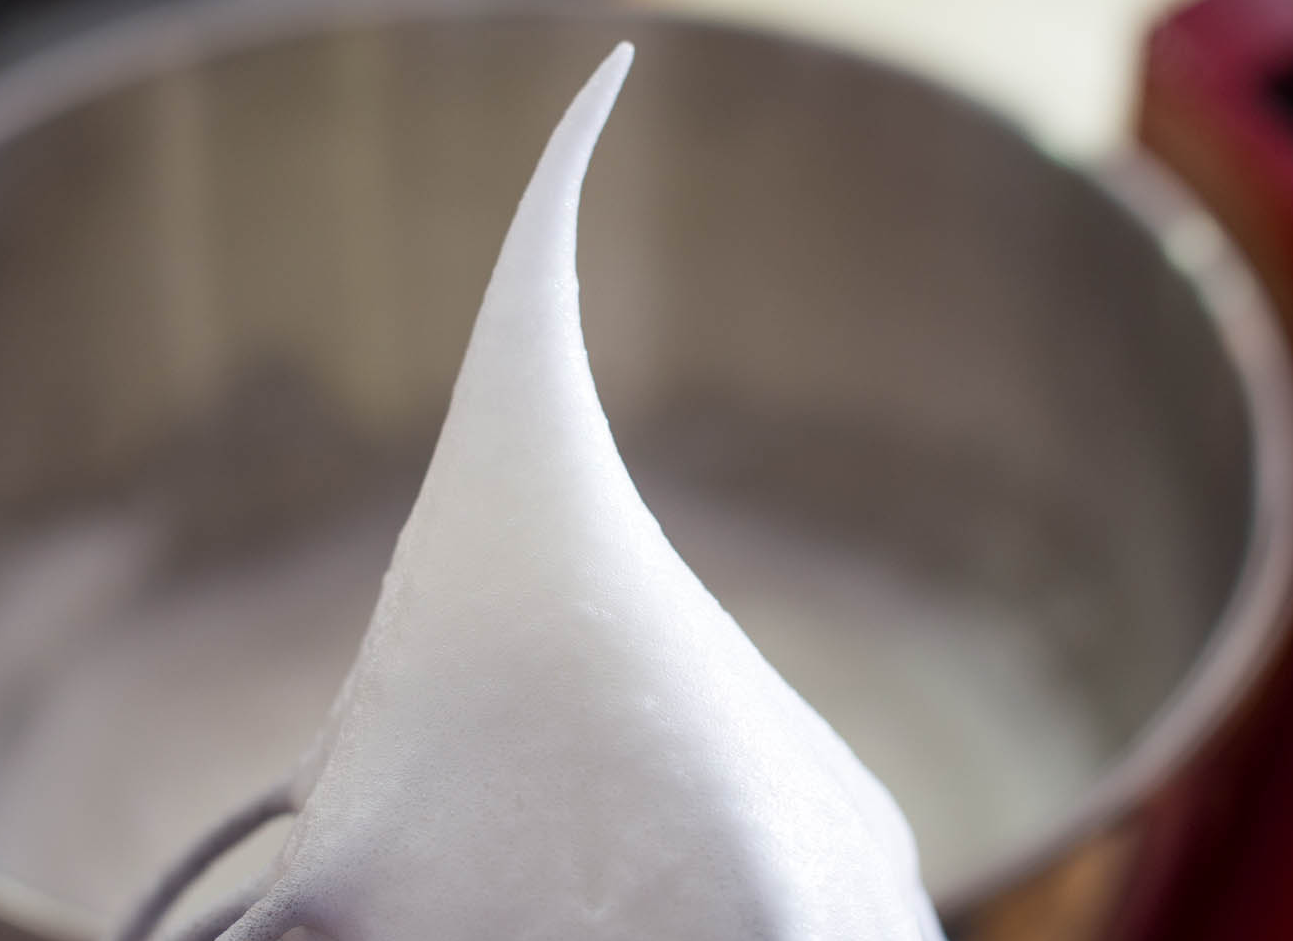
Stiff Peaks: Stiff peaks are beaten longer than soft peaks. When you lift up the beaters, a peak shape forms and the tip stands up straight.
Beat: To beat is to vigorously mix ingredients together either by hand with a wire whisk, fork, or an electric mixer.
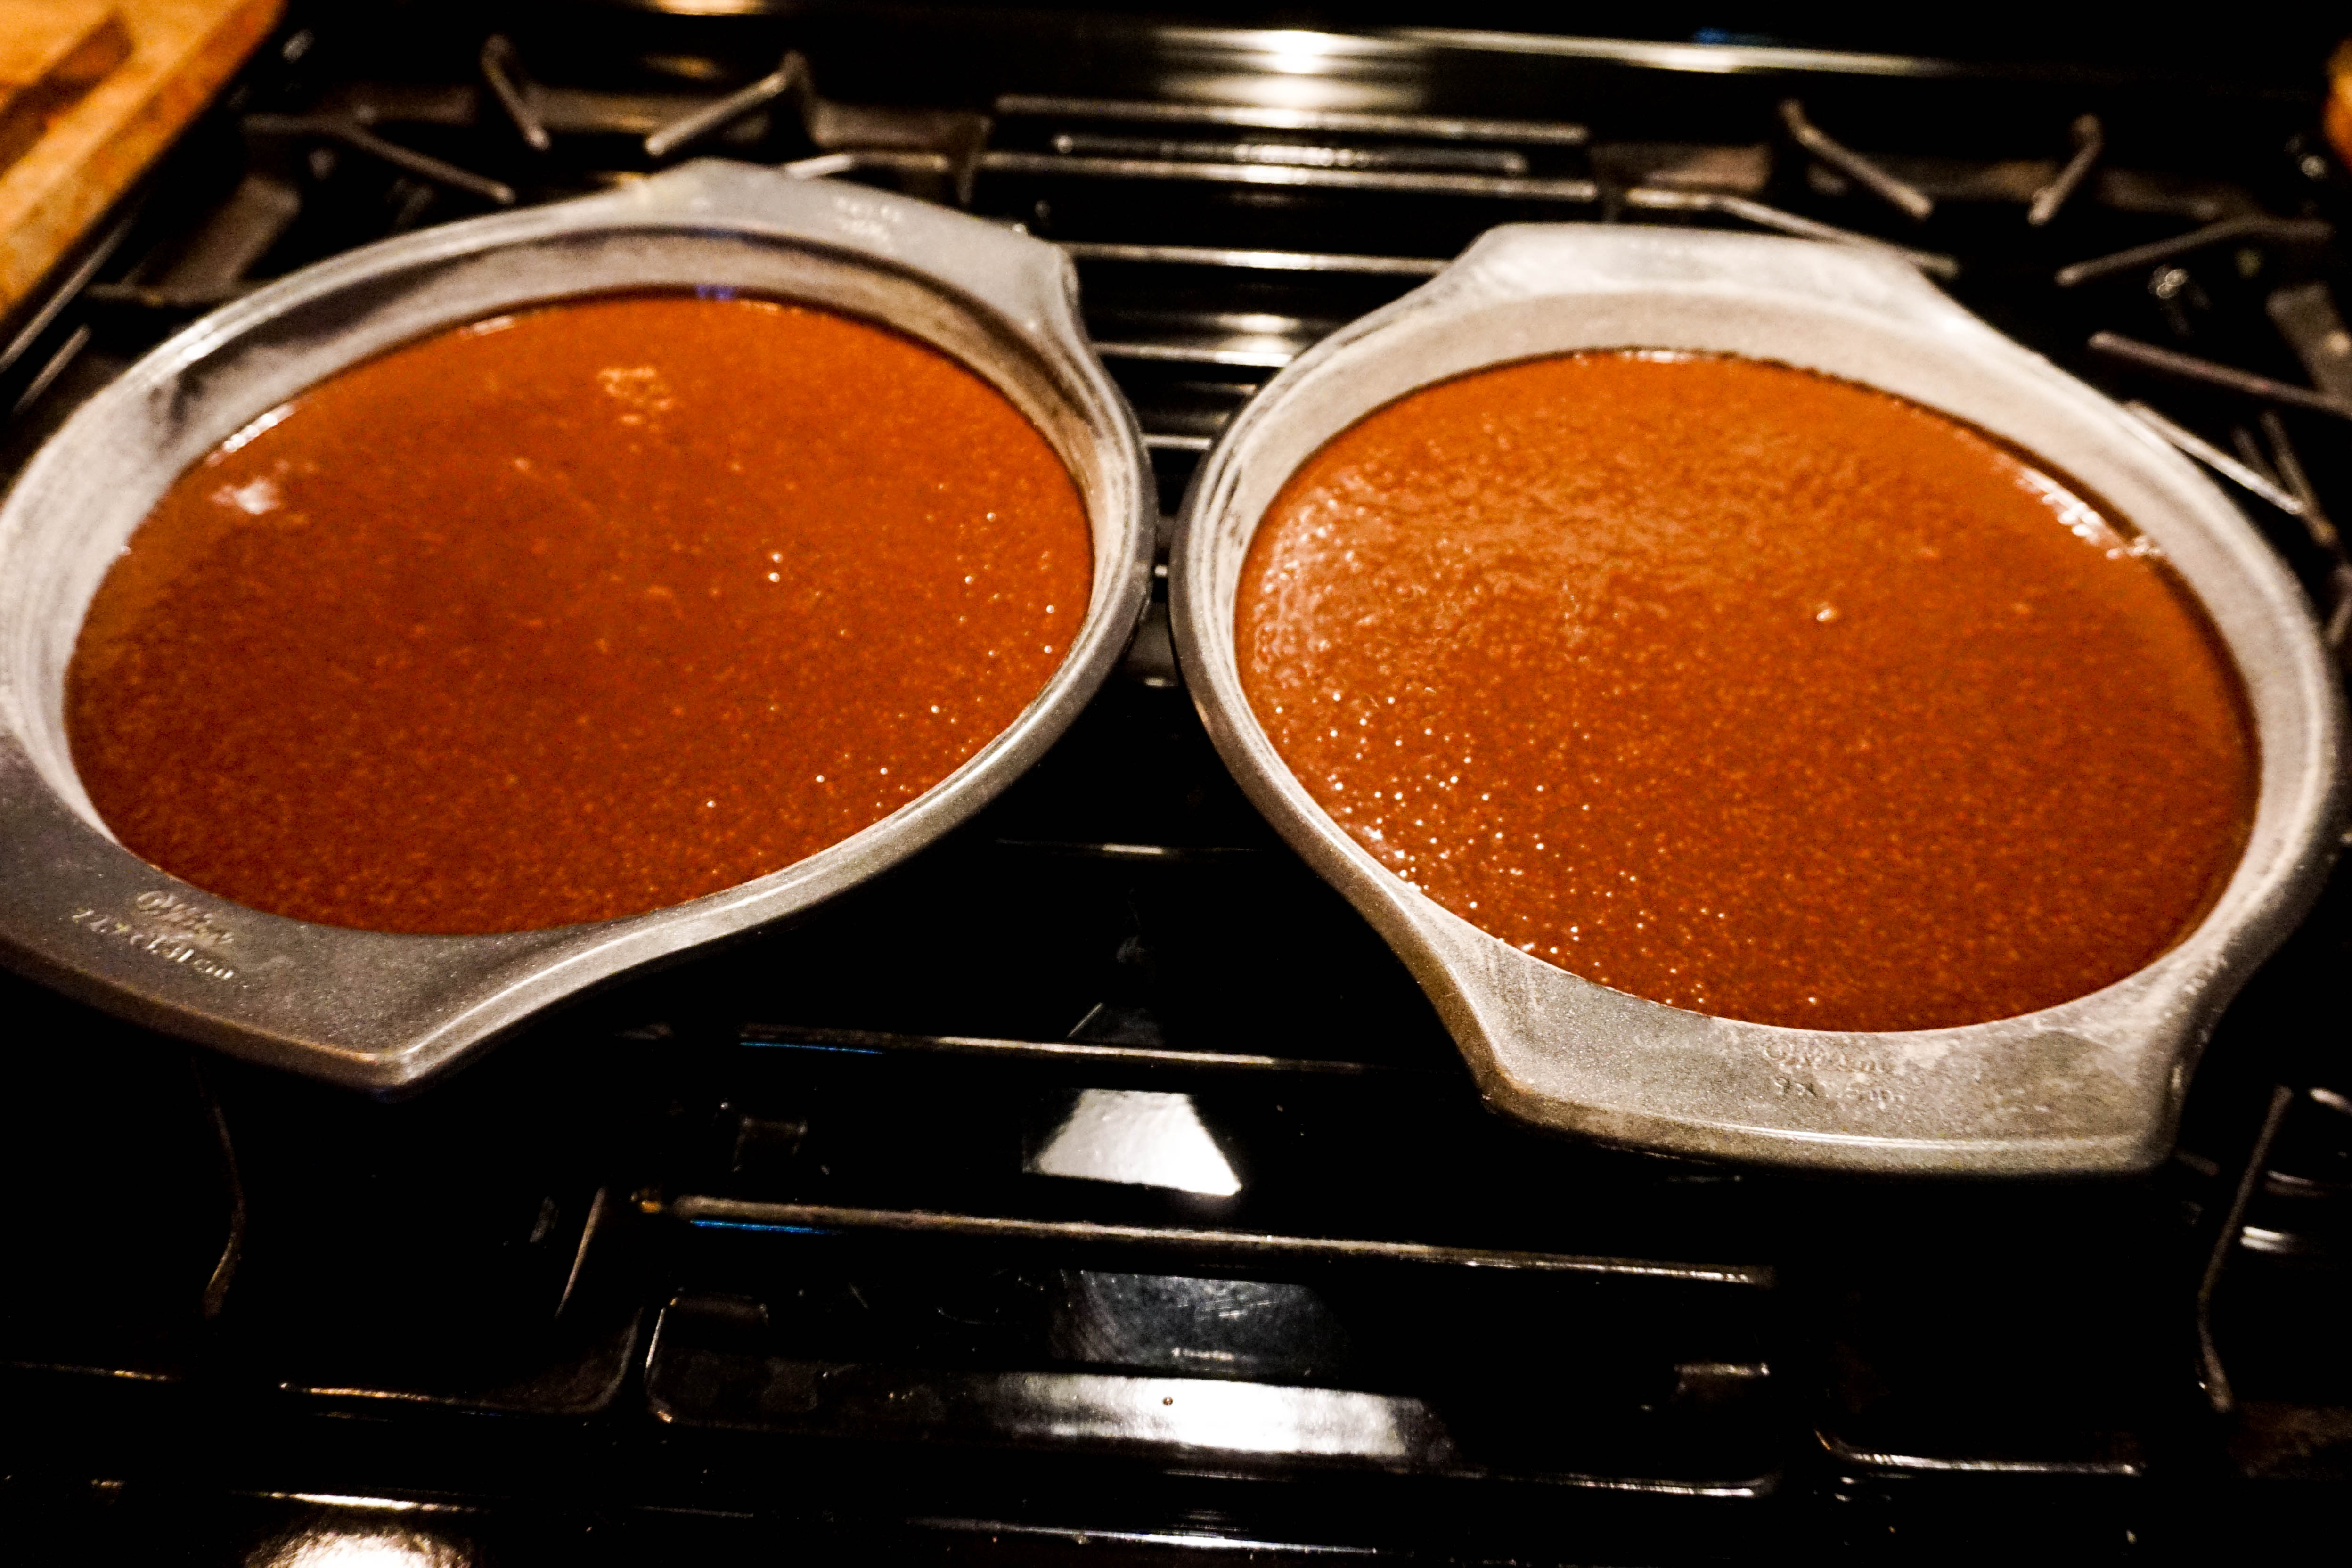
Bake the Cake
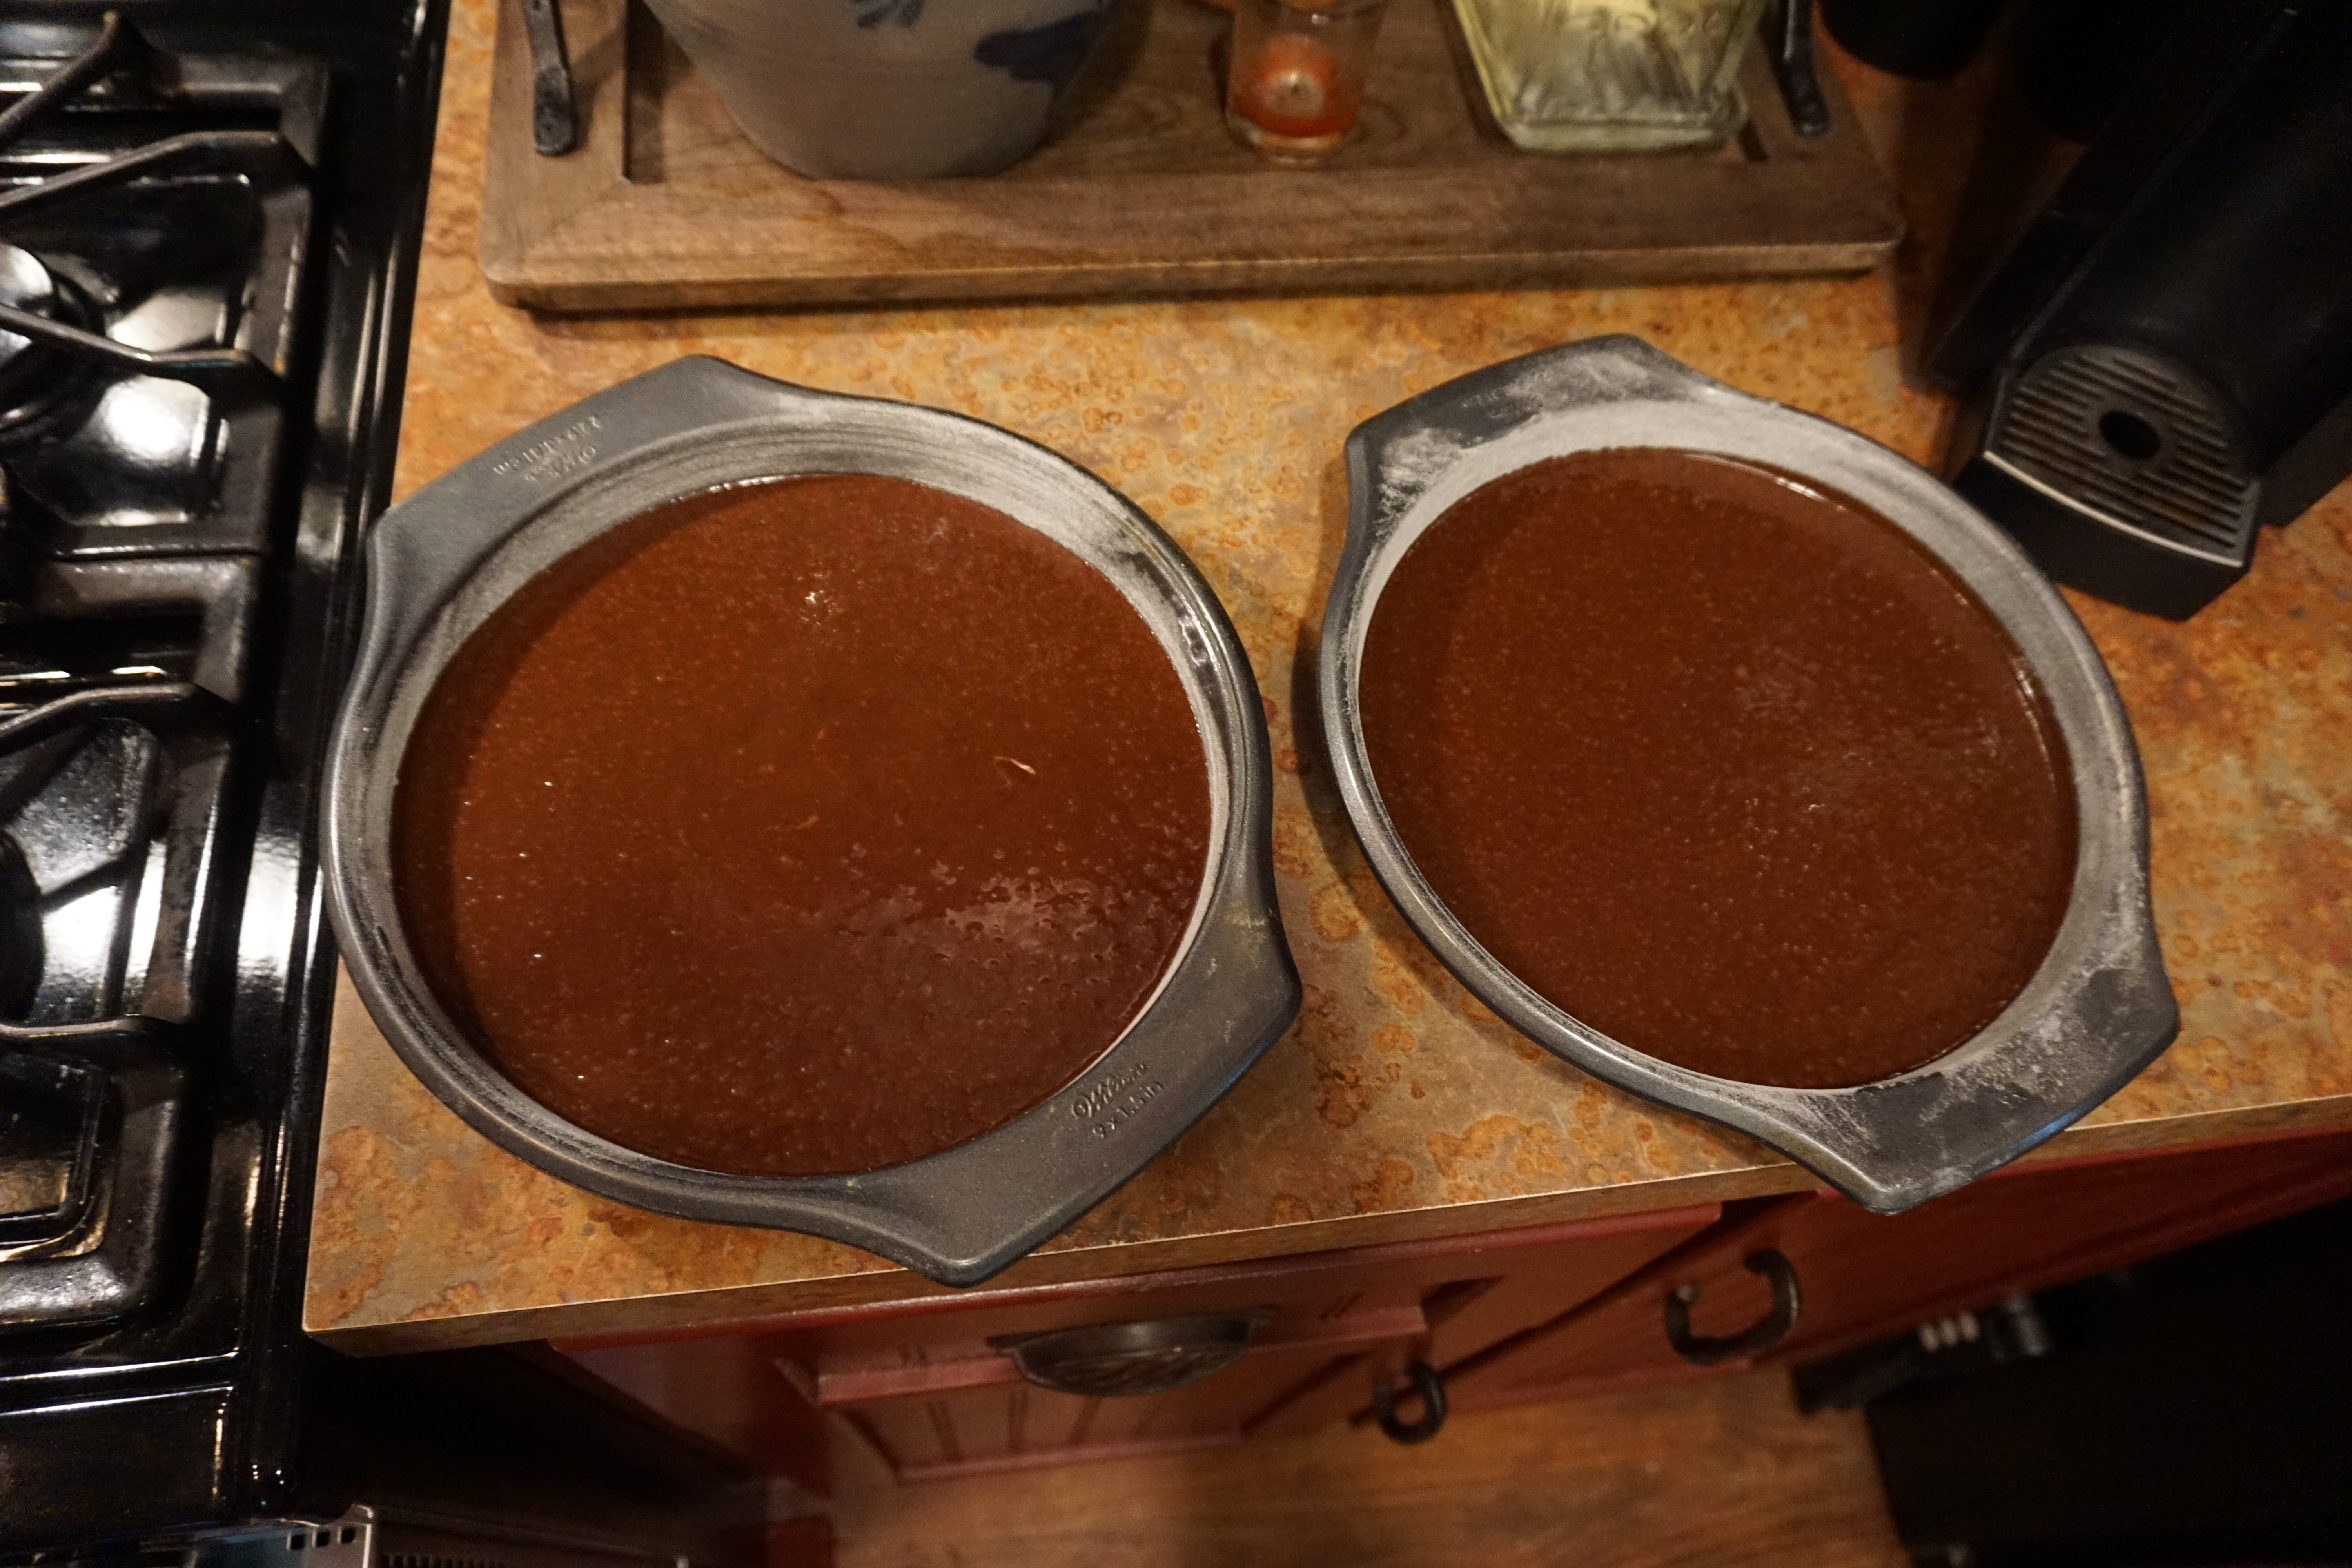
Place the cake in the oven as soon as finished mixing because the leveners will begin reacting as soon as they are added to the wet ingredients. Place the pans in the middle of the oven. If baking with two pans on the same rack, the pans should not touch each other or the oven walls. Set a timer and don’t peek until close to the finished baking time.
A cake or cupcake should spring back lightly when touched on the top. Test the cake for doneness with a toothpick or cake tester inserted near the middle. The tester or toothpick should come out clean or with a moist crumb on it.
Cool the Cake
Cool the cake on an elevated wire rack for approximately 10 minutes. Gently run a thin knife around the edges of the pan to loosen the cake from the sides. Place a cake dish, plate or cooling rack on top of the pan and flip the cake over. Tap lightly on top of the pan to release the cake and flip the plate over. Do not add fillings or frosting until the cake has thoroughly cooled unless the recipe specifies otherwise. Occasionally, a topping is poured over a warm cake (see Texas Sheet Cake recipe).

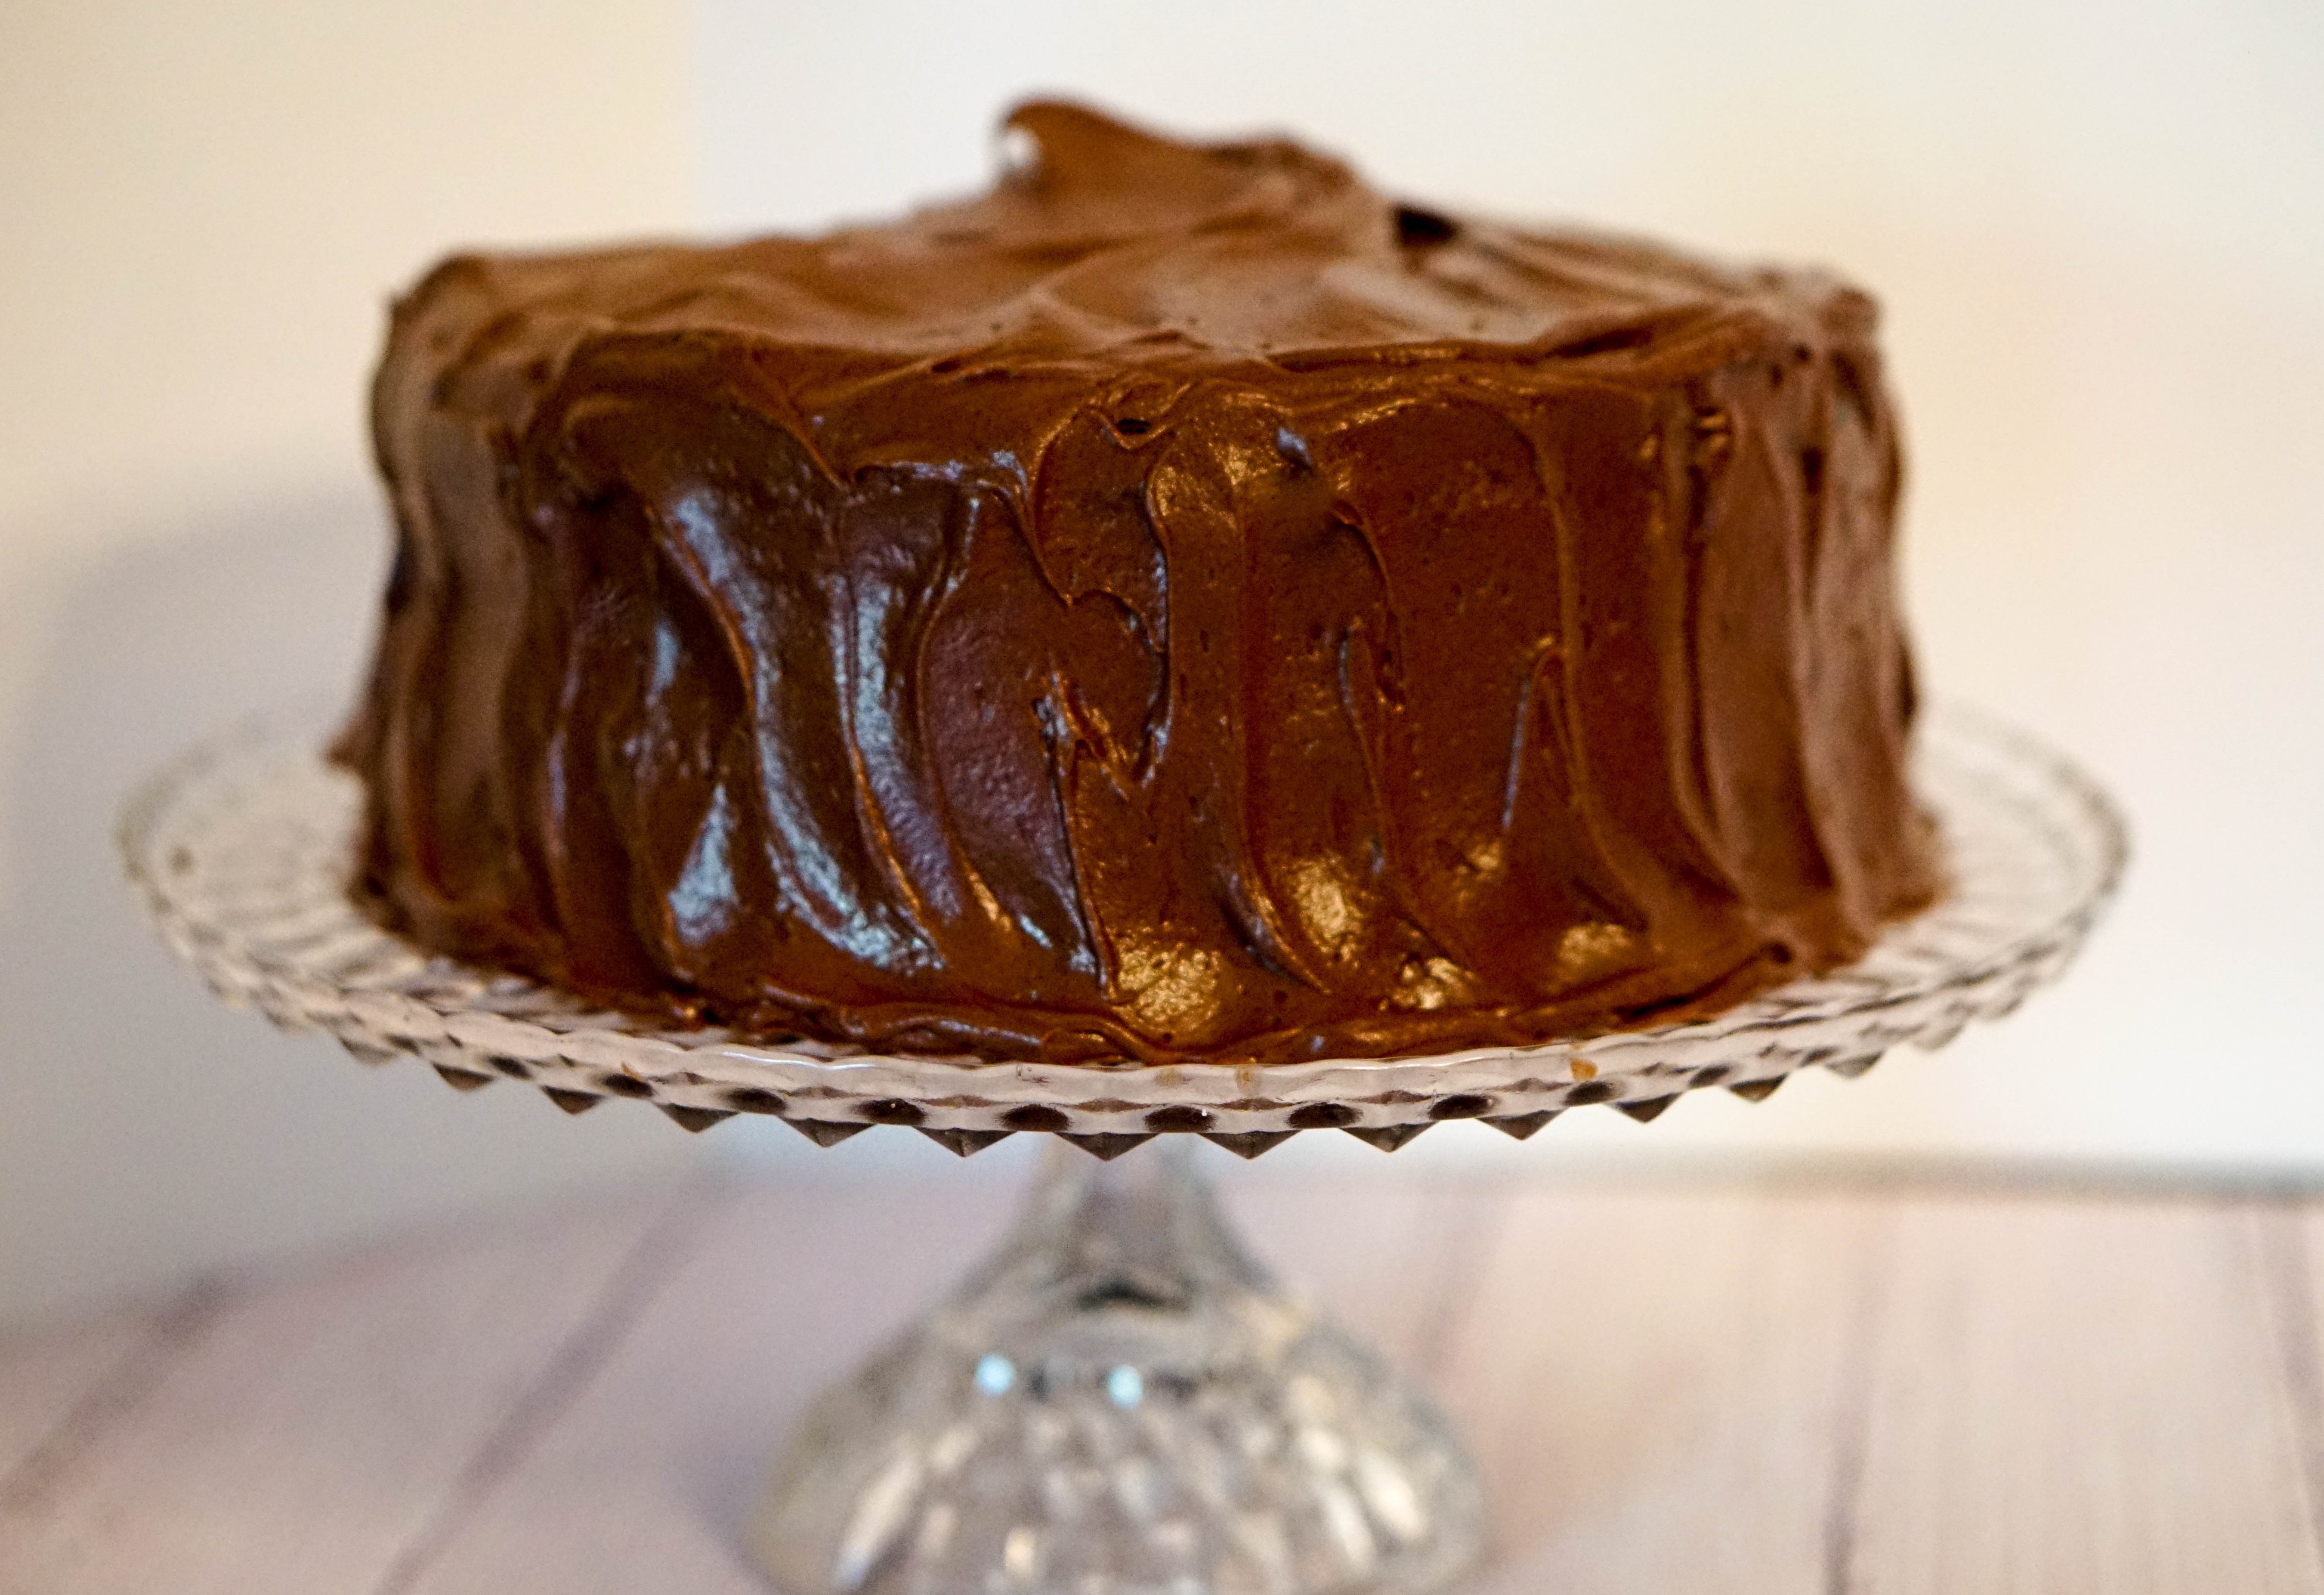
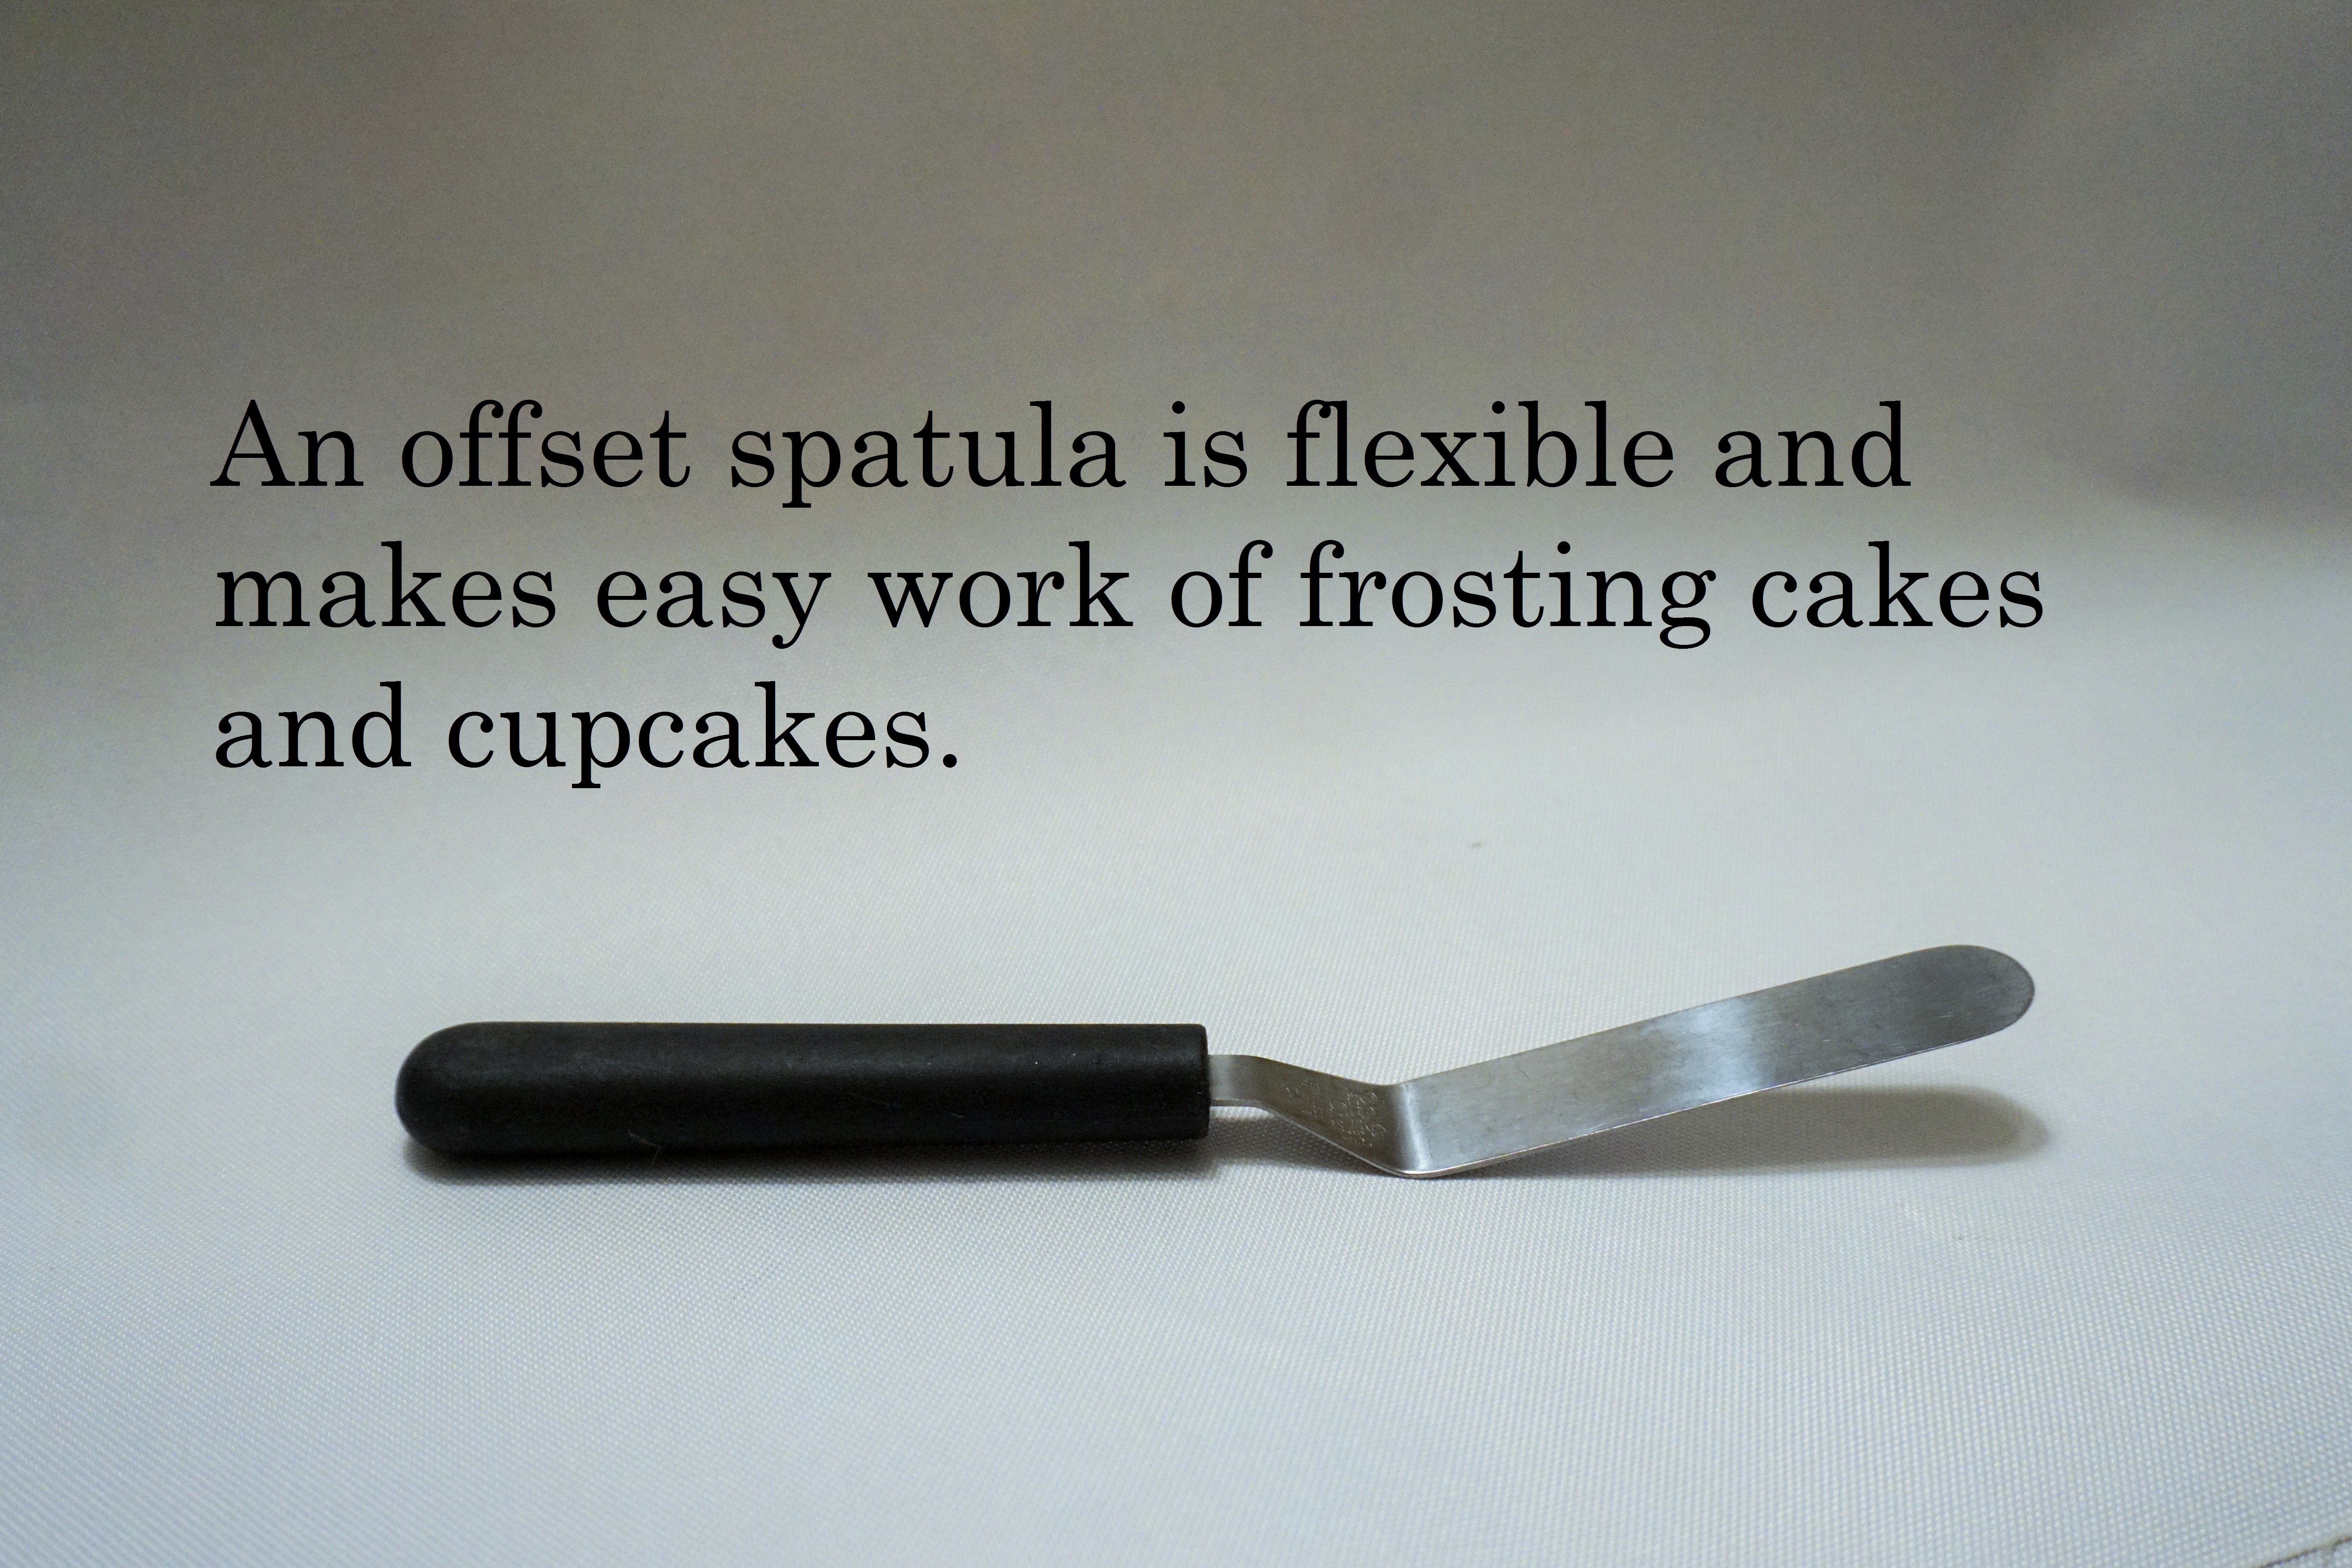
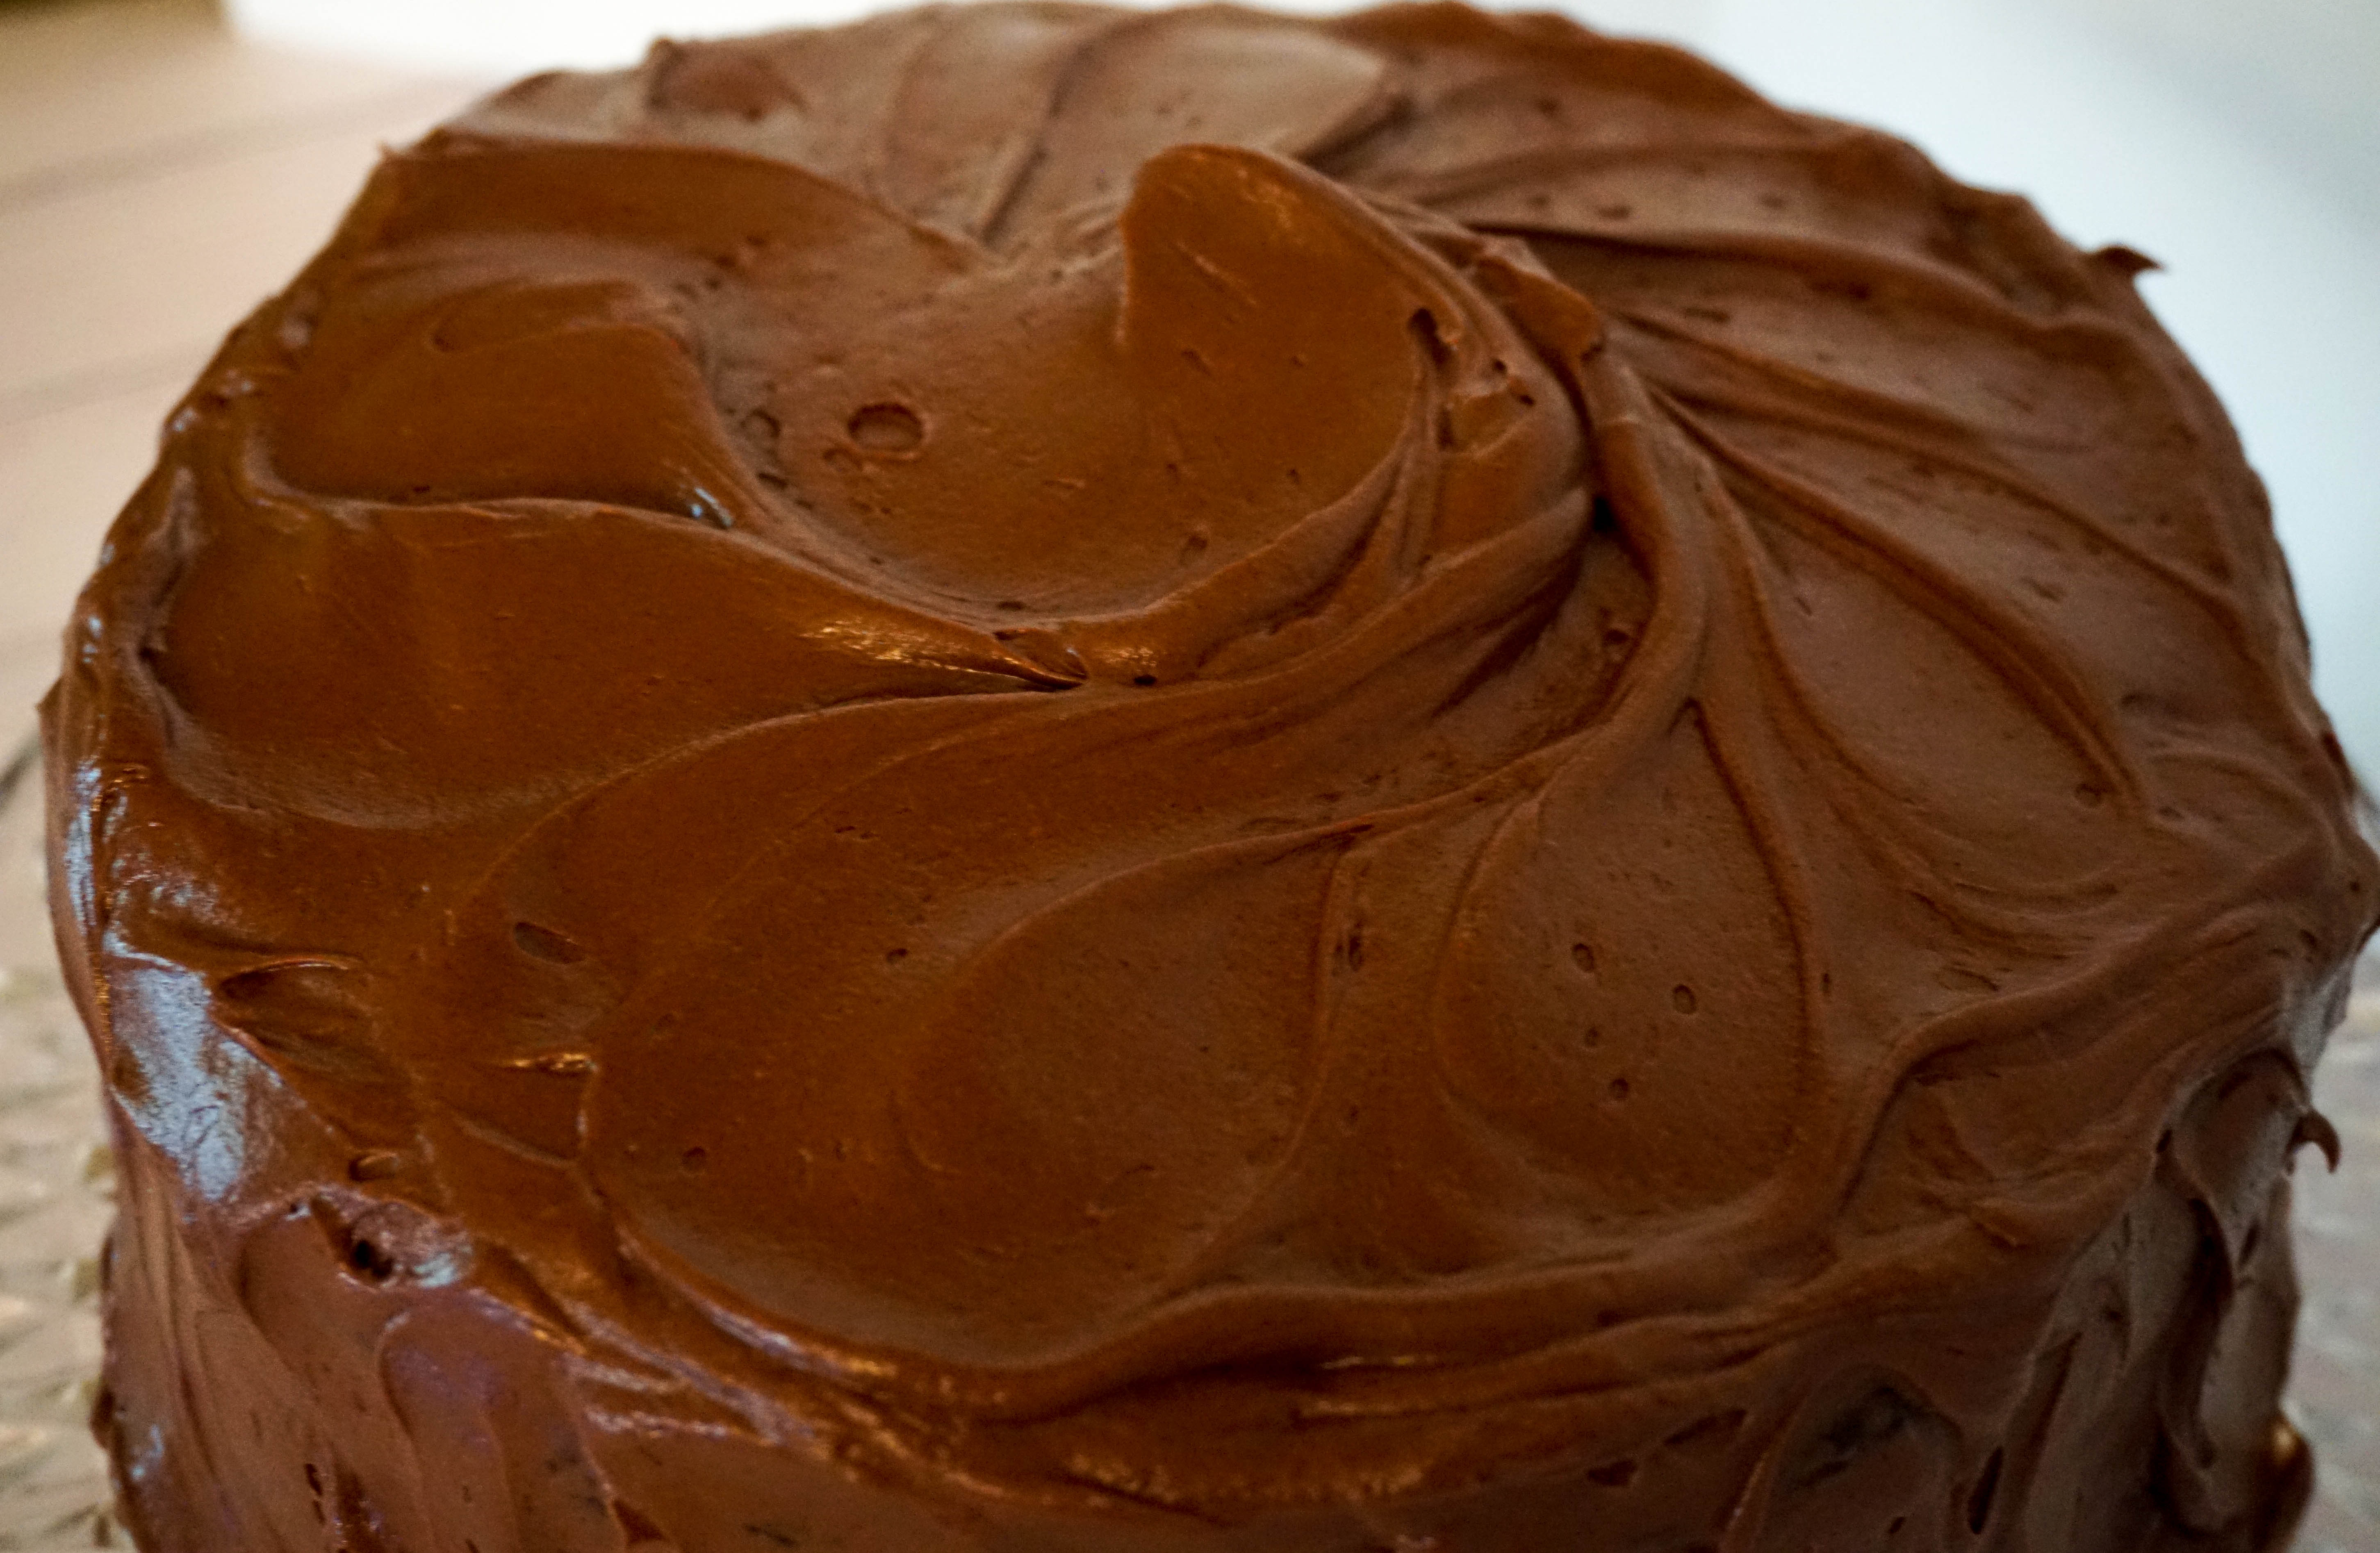
Frost the Cake
Use an offset spatula. You will obtain much nicer results using this icing spatula rather than a butter knife. Don’t drag the icing or pull up with the spatula because you will pull up cake crumbs. One method for avoiding cake crumbs in the icing is to “crumb coat” the cake with a thinned down version of the icing. Thin the icing (usually with milk). This icing layer is very thin and you will see cake and crumbs through it. Smooth the icing as much as possible and let dry at least one hour before applying the final layer of icing. If you decide to crumb coat, just be sure that the crumb coat layer is completely dry. Also, use a separate bowl for the crumb coat so that you don’t add crumbs into your icing that will top the cake.
Eat the Cake
Happy Baking!

Link to The Chicken Chick’s Blog Hop: