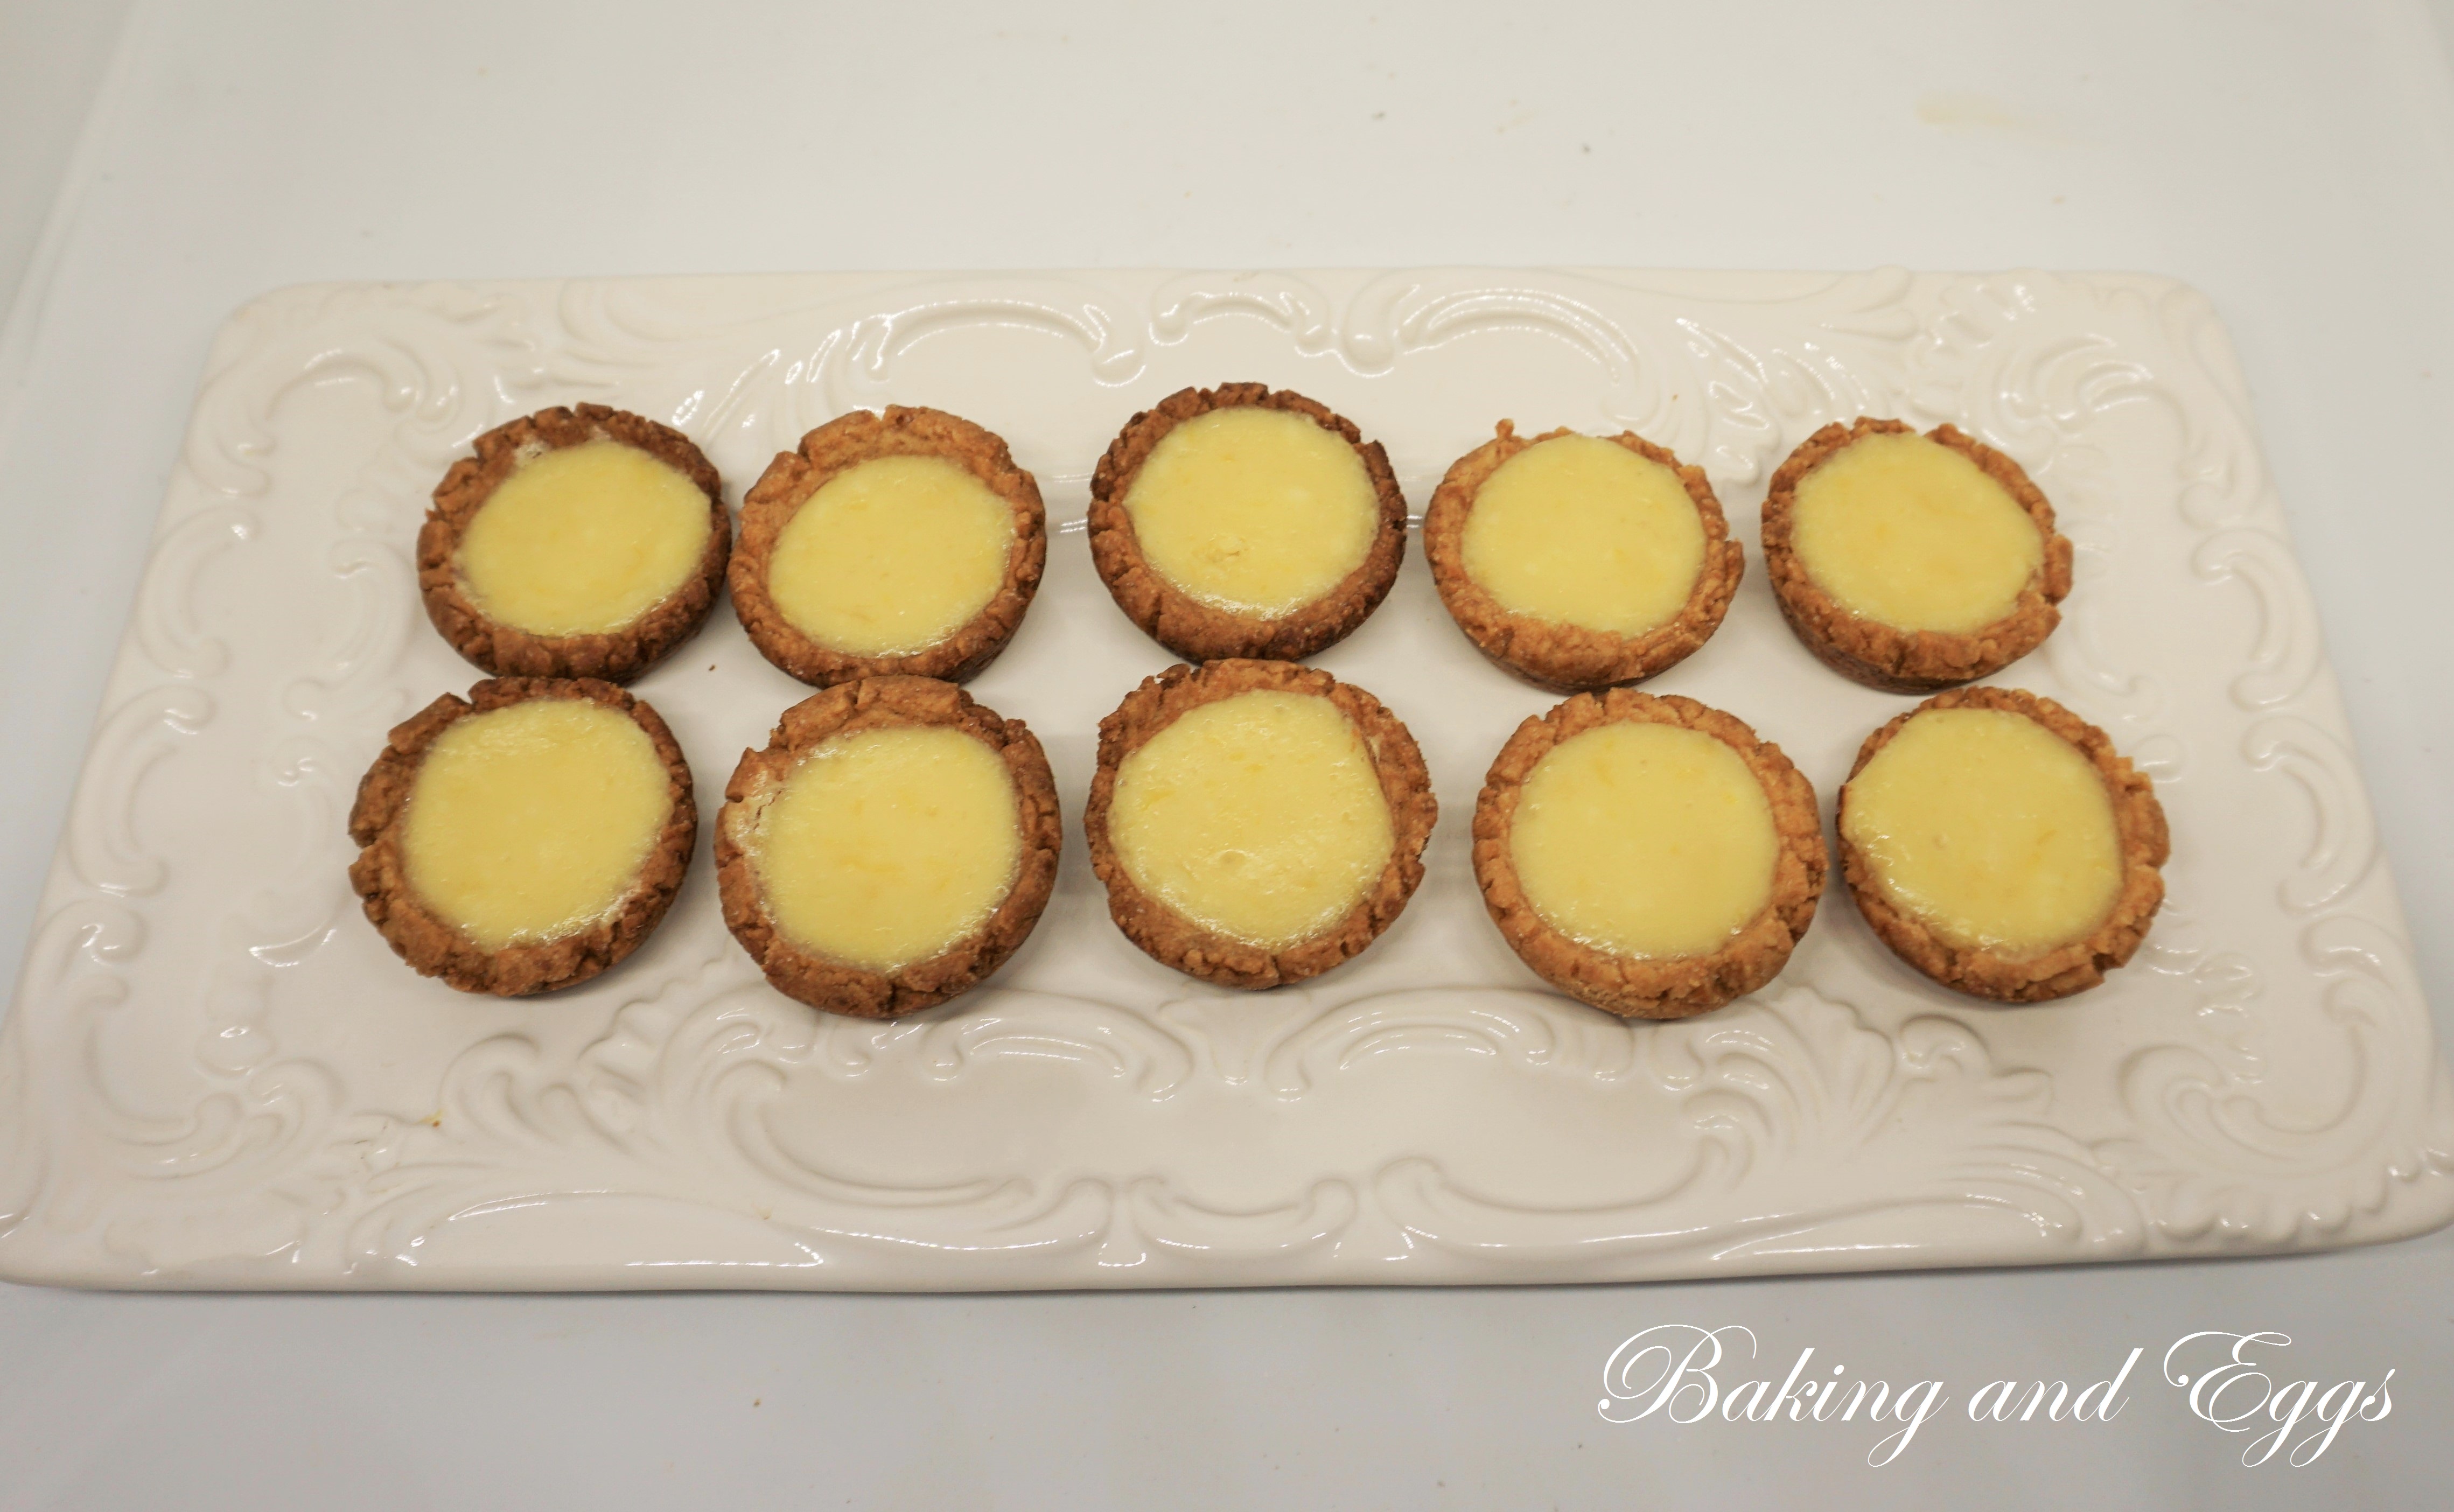
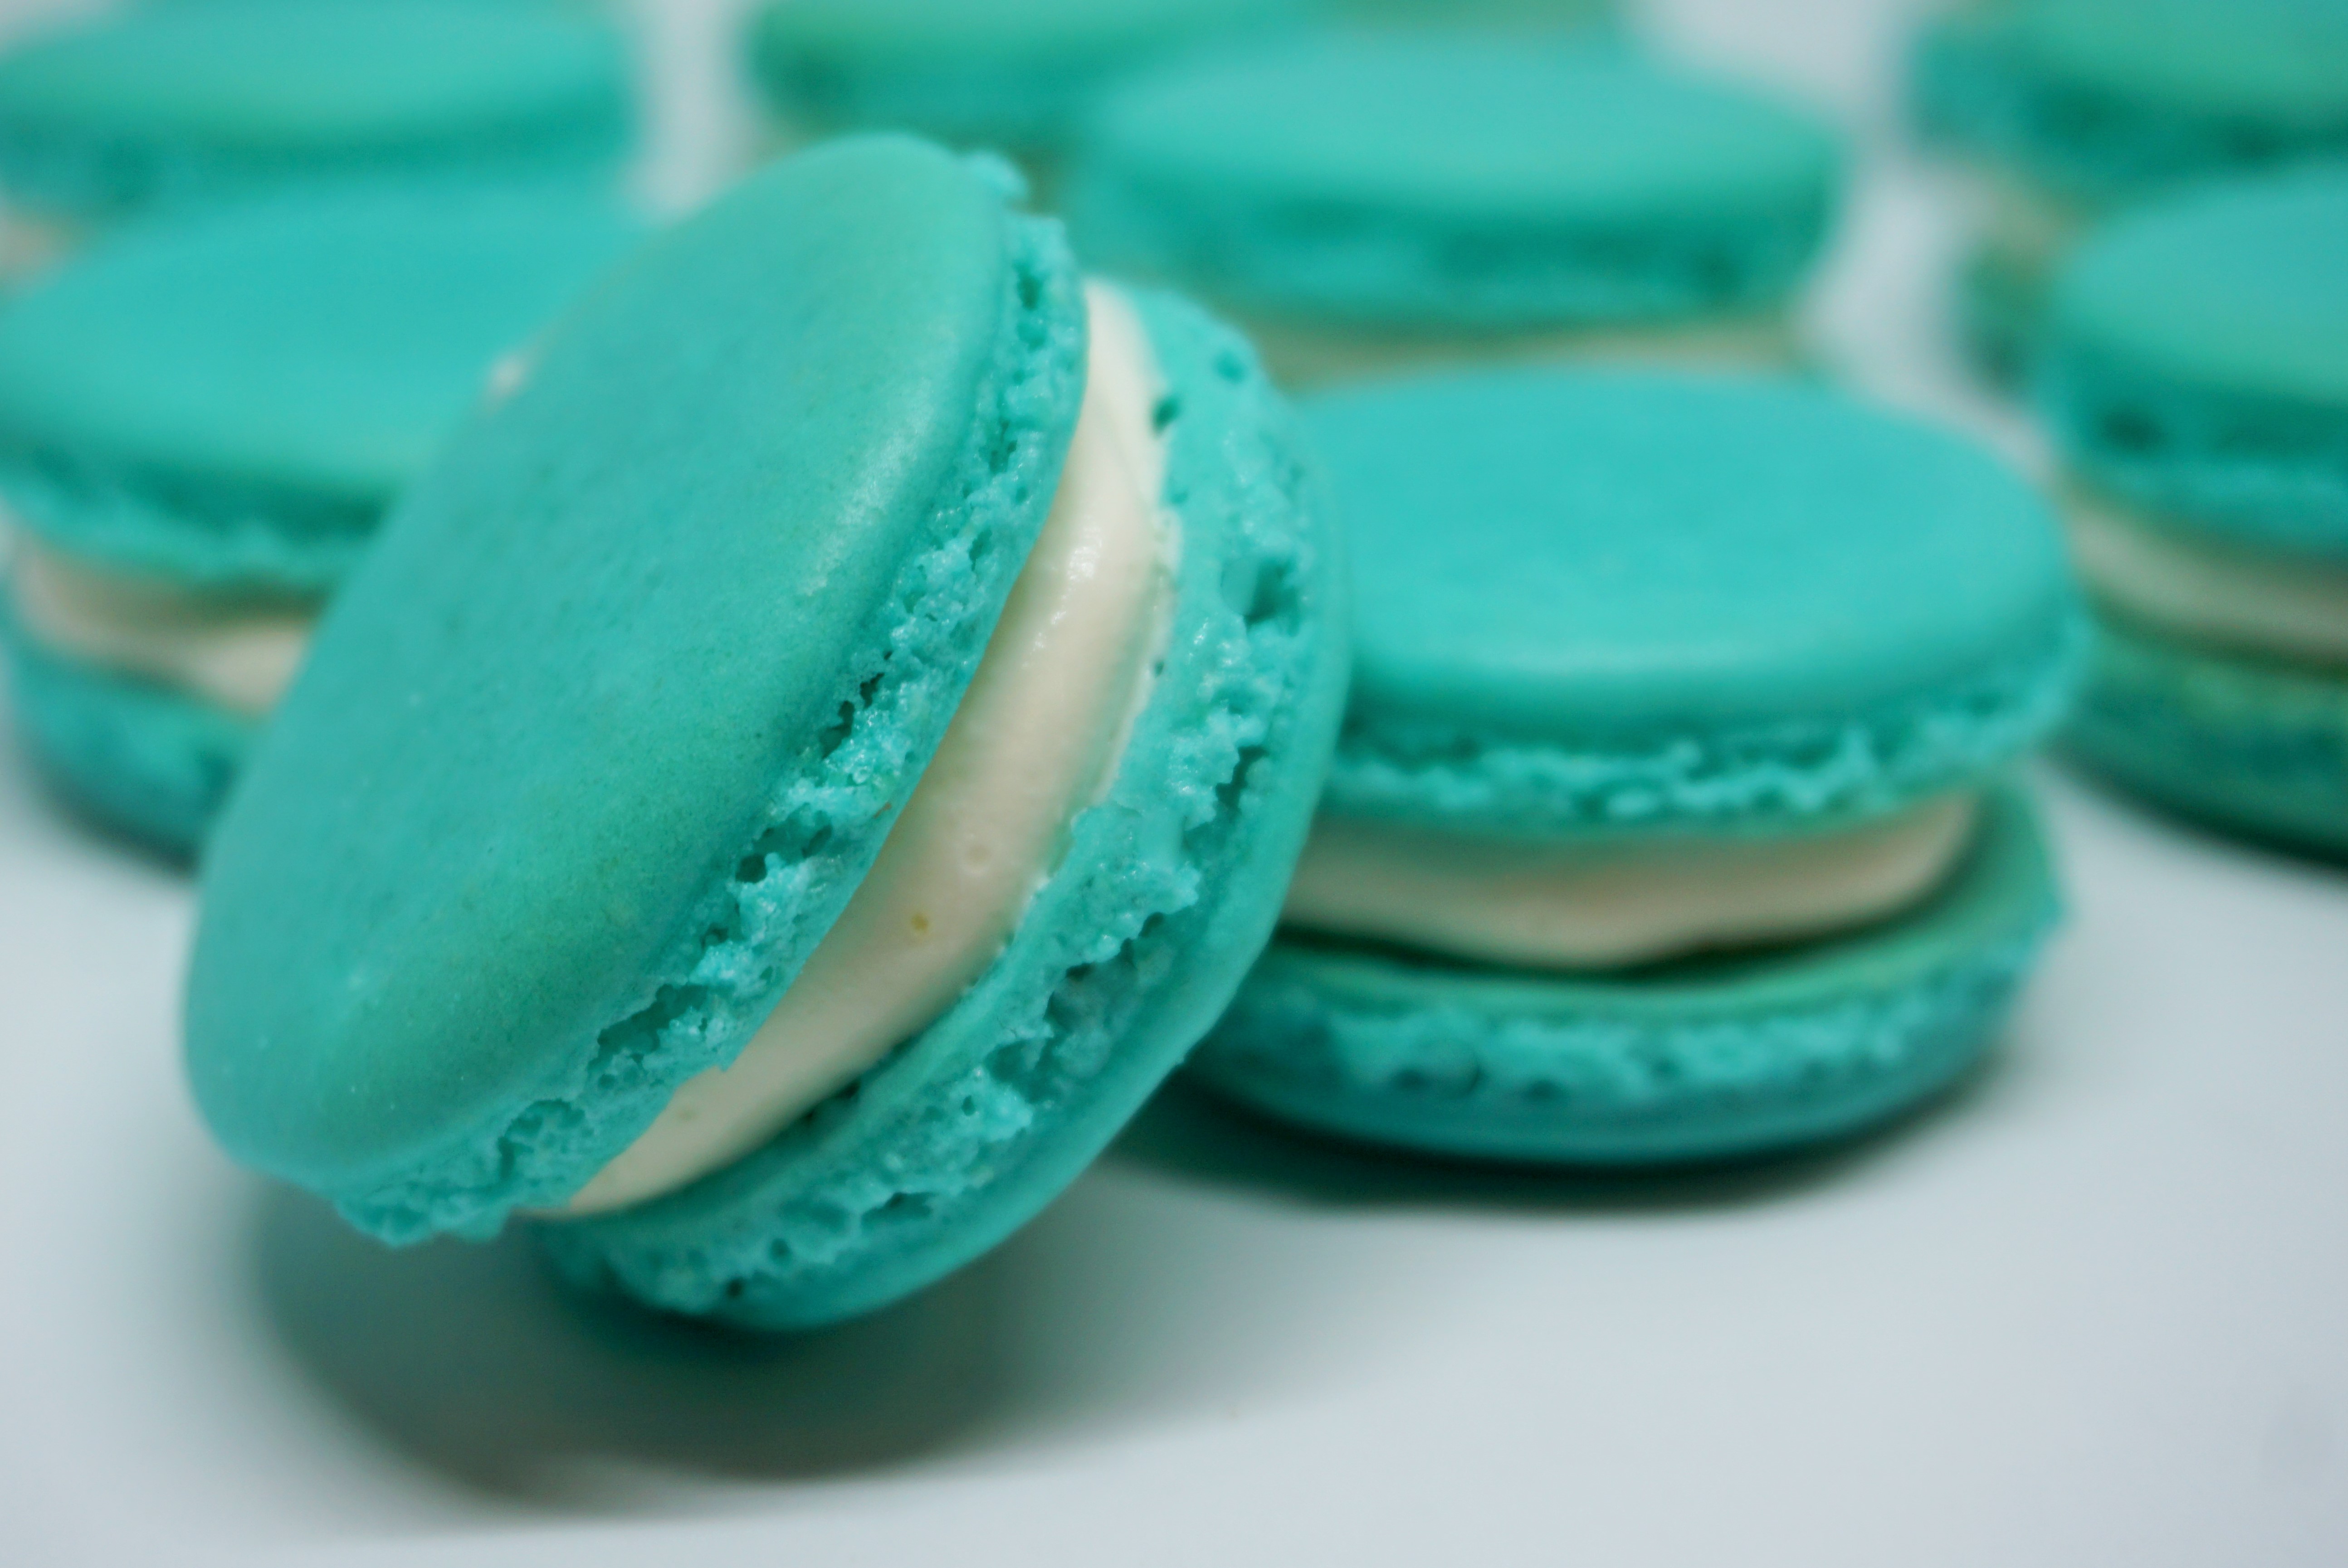
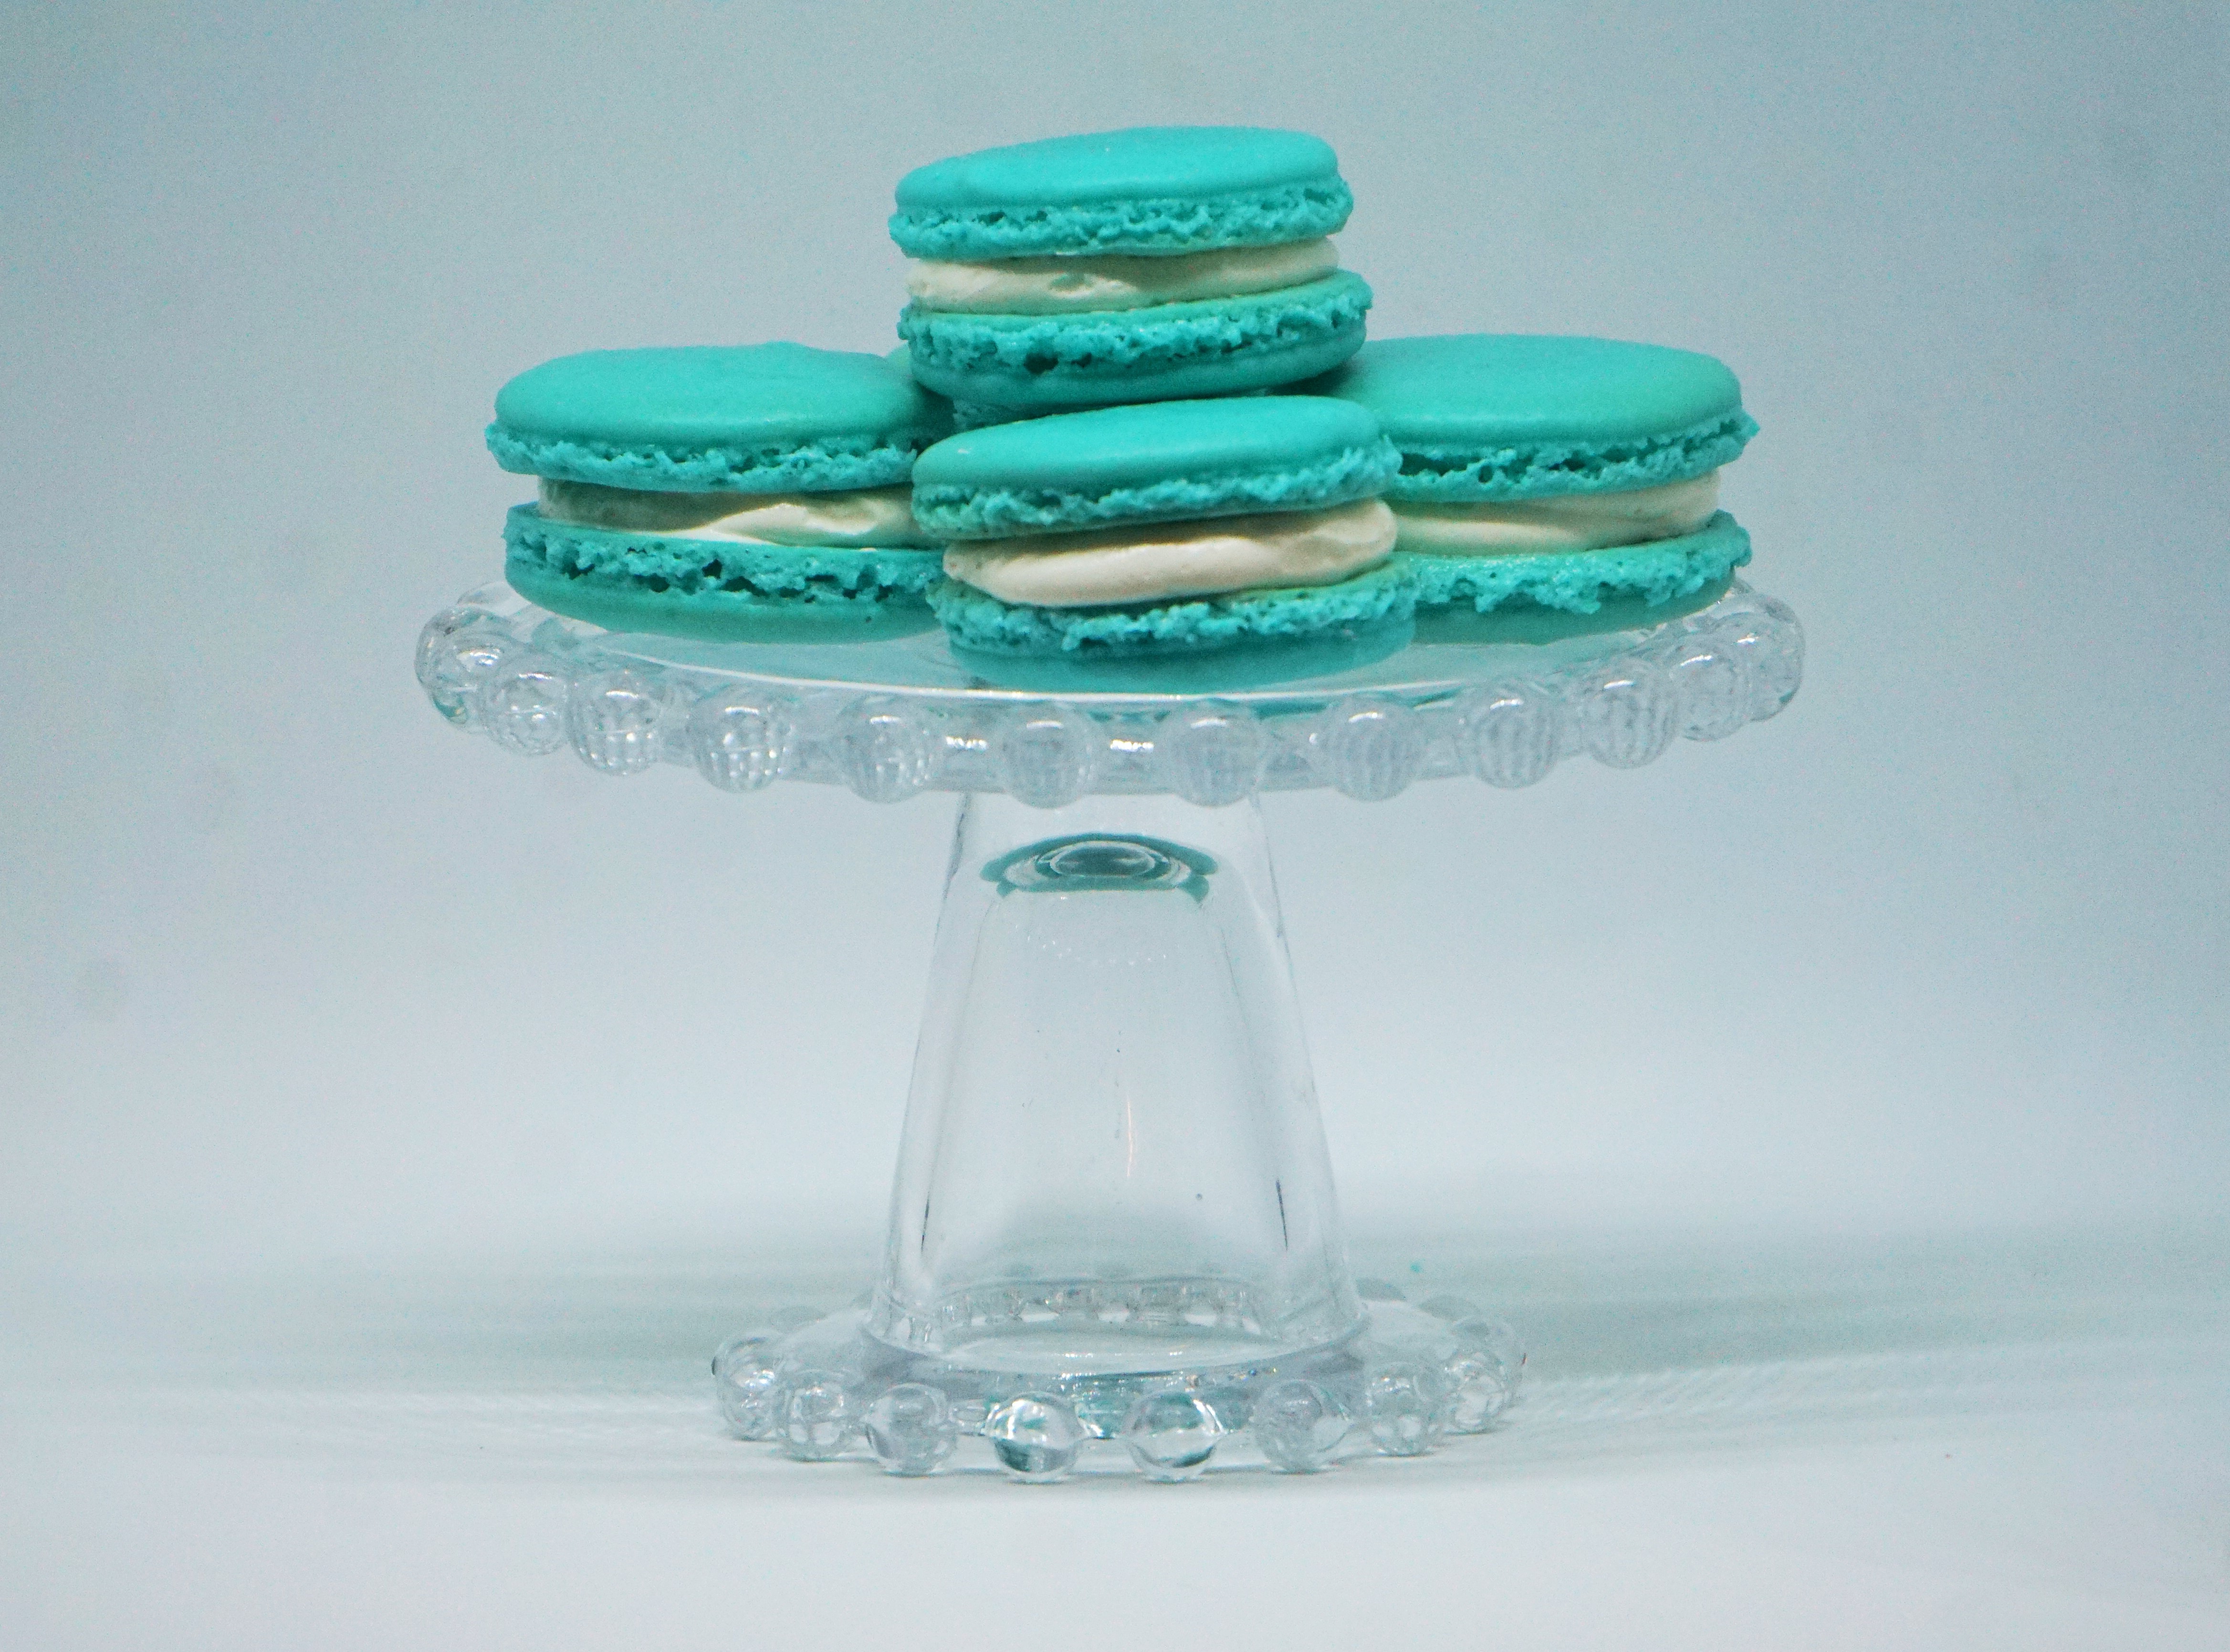
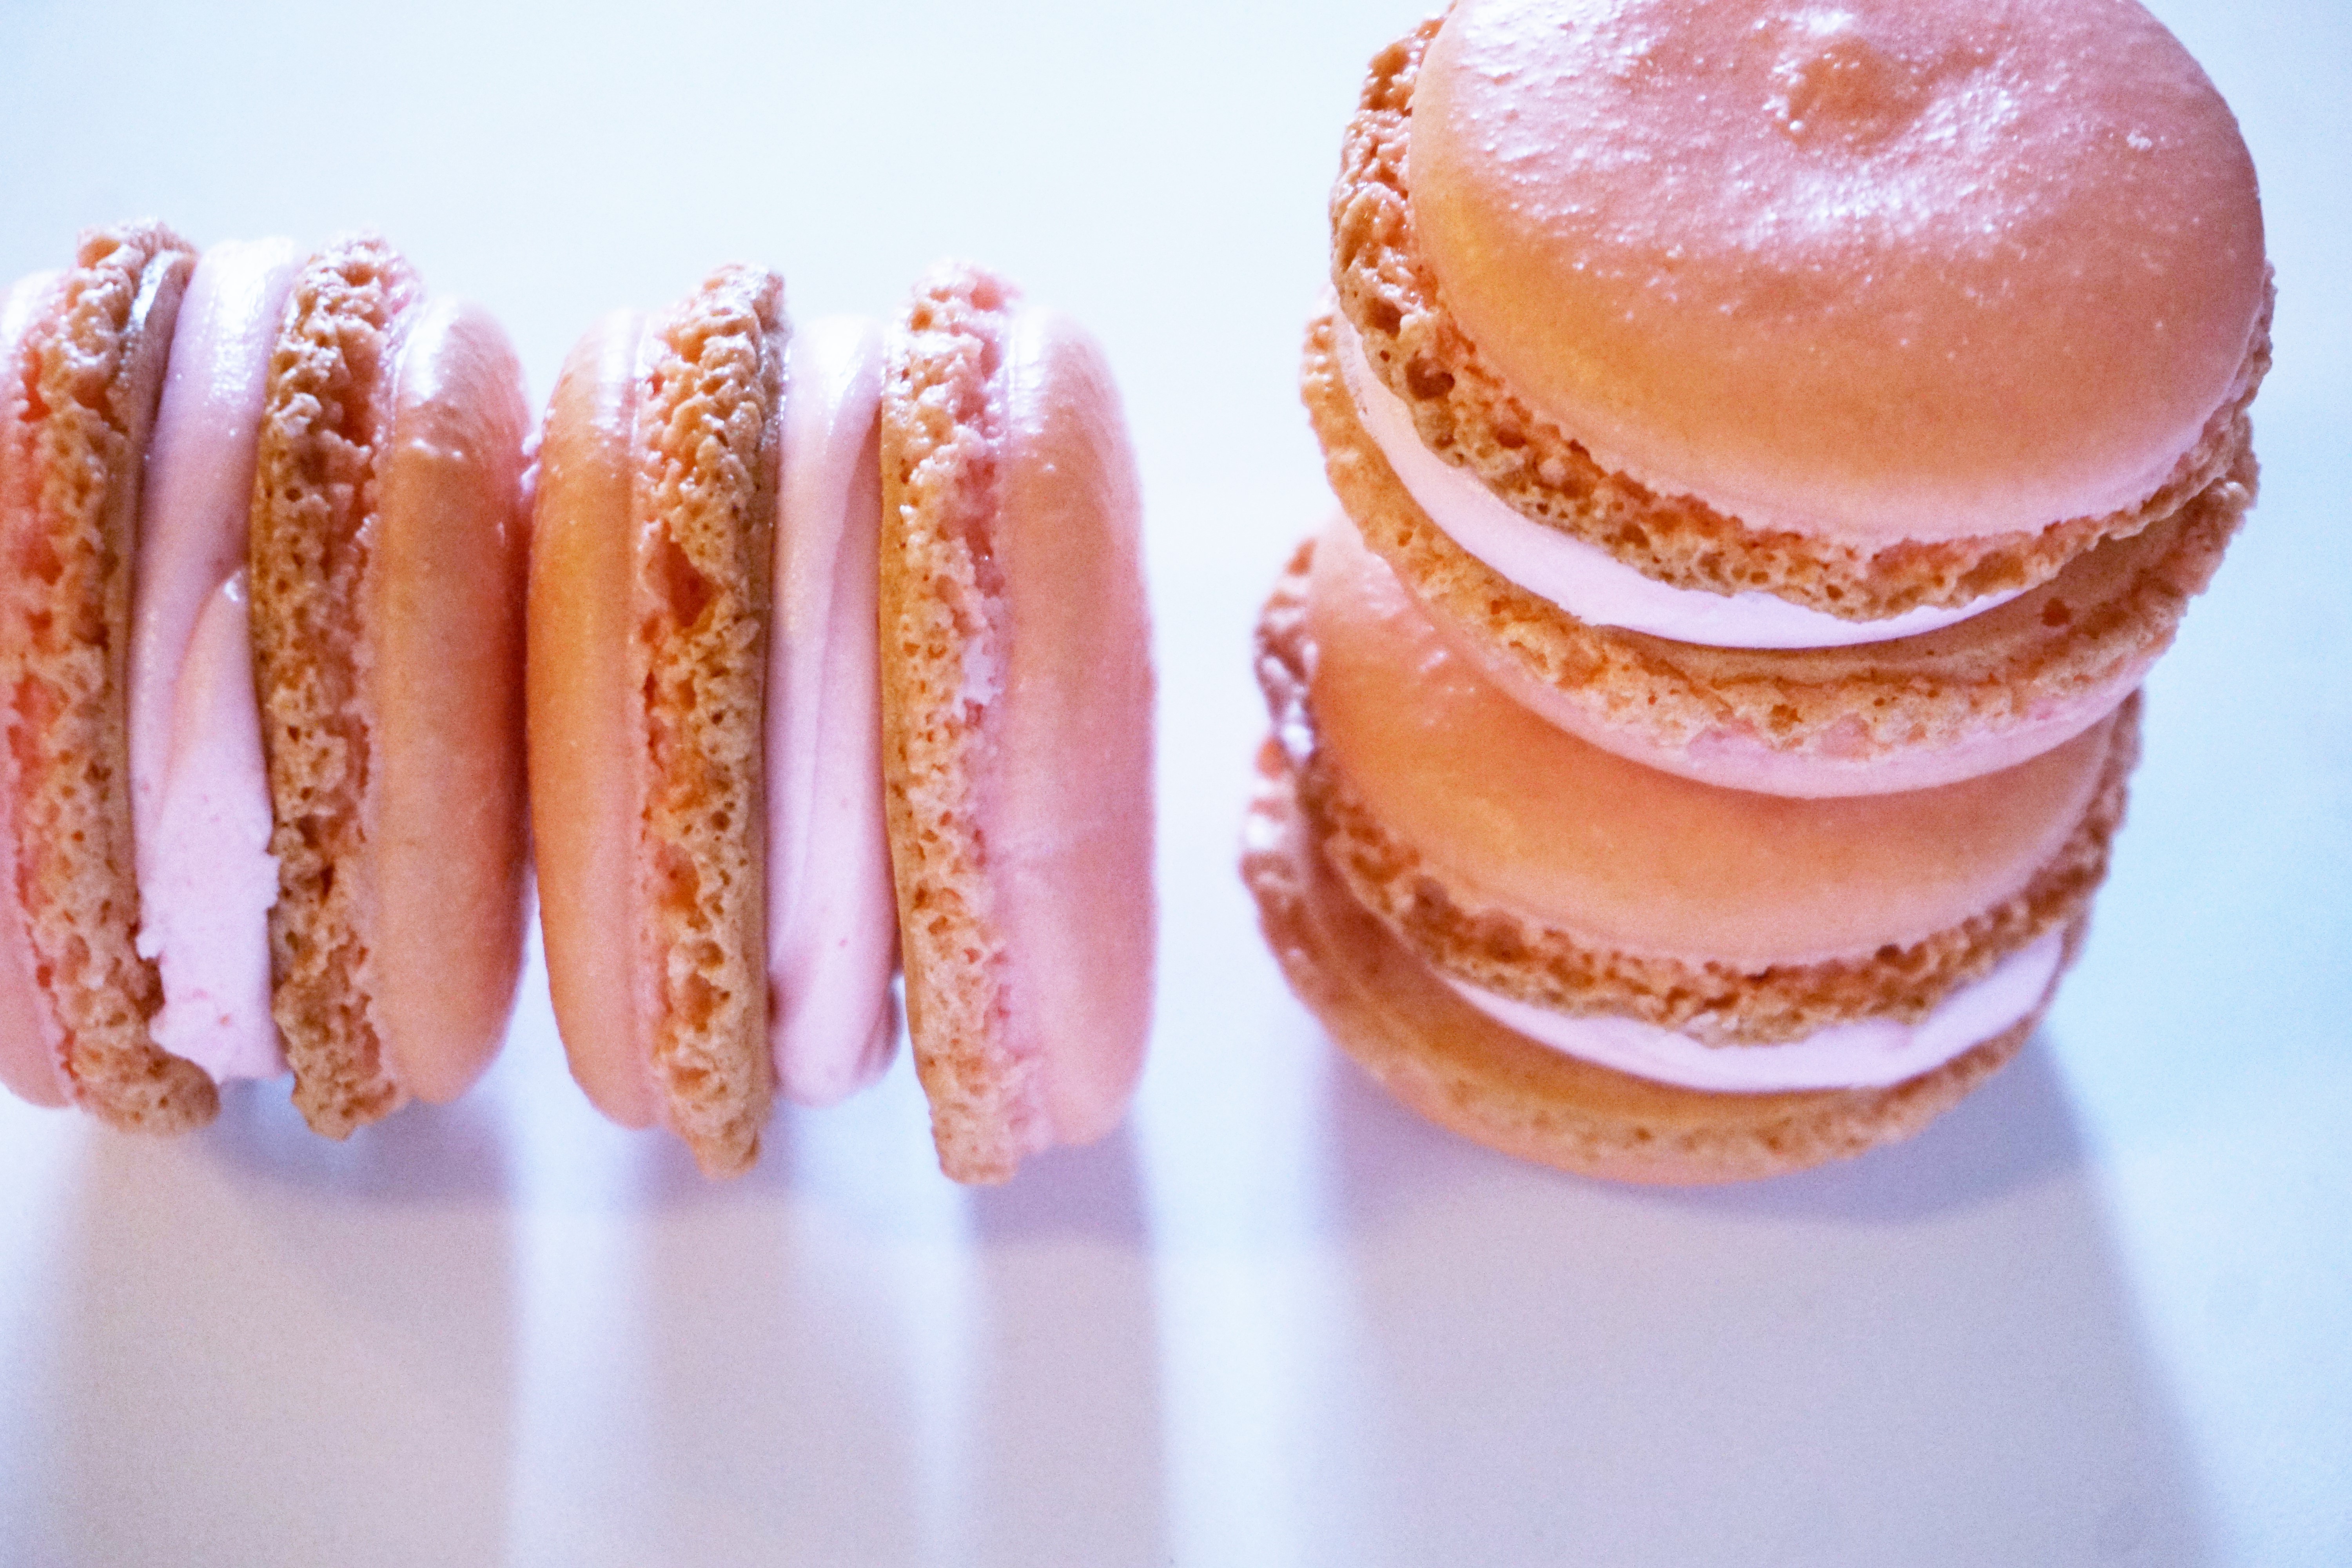
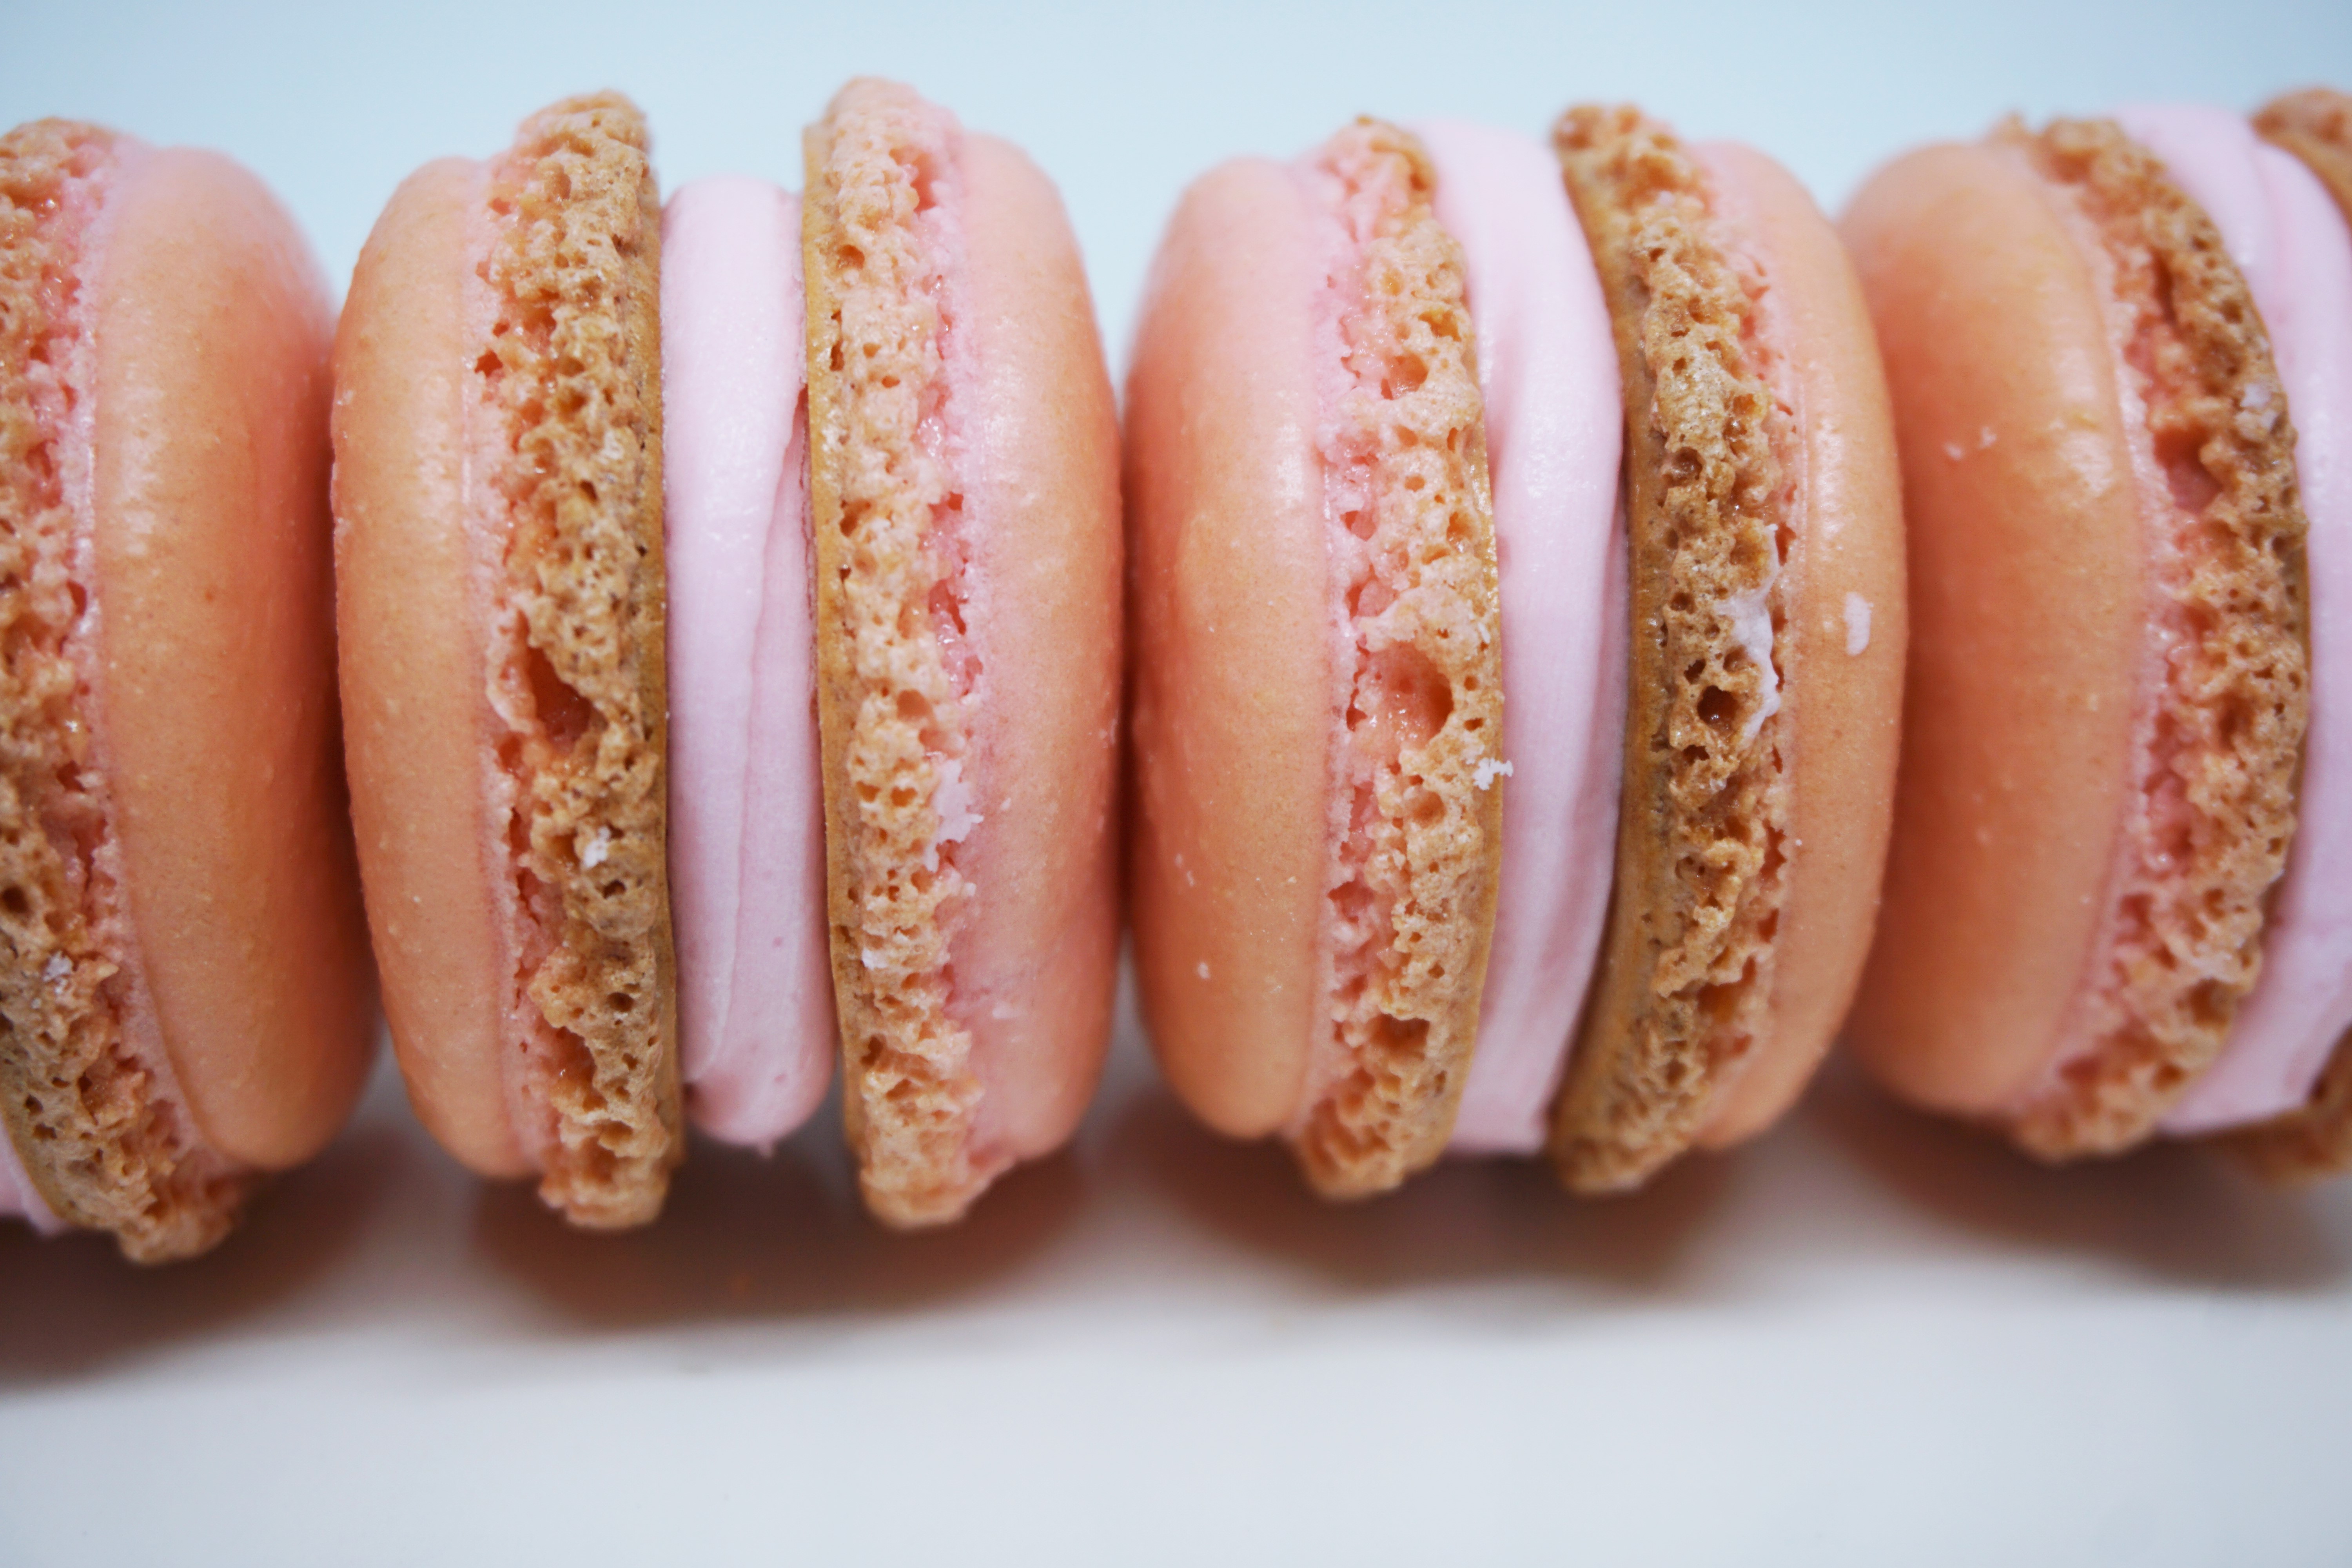
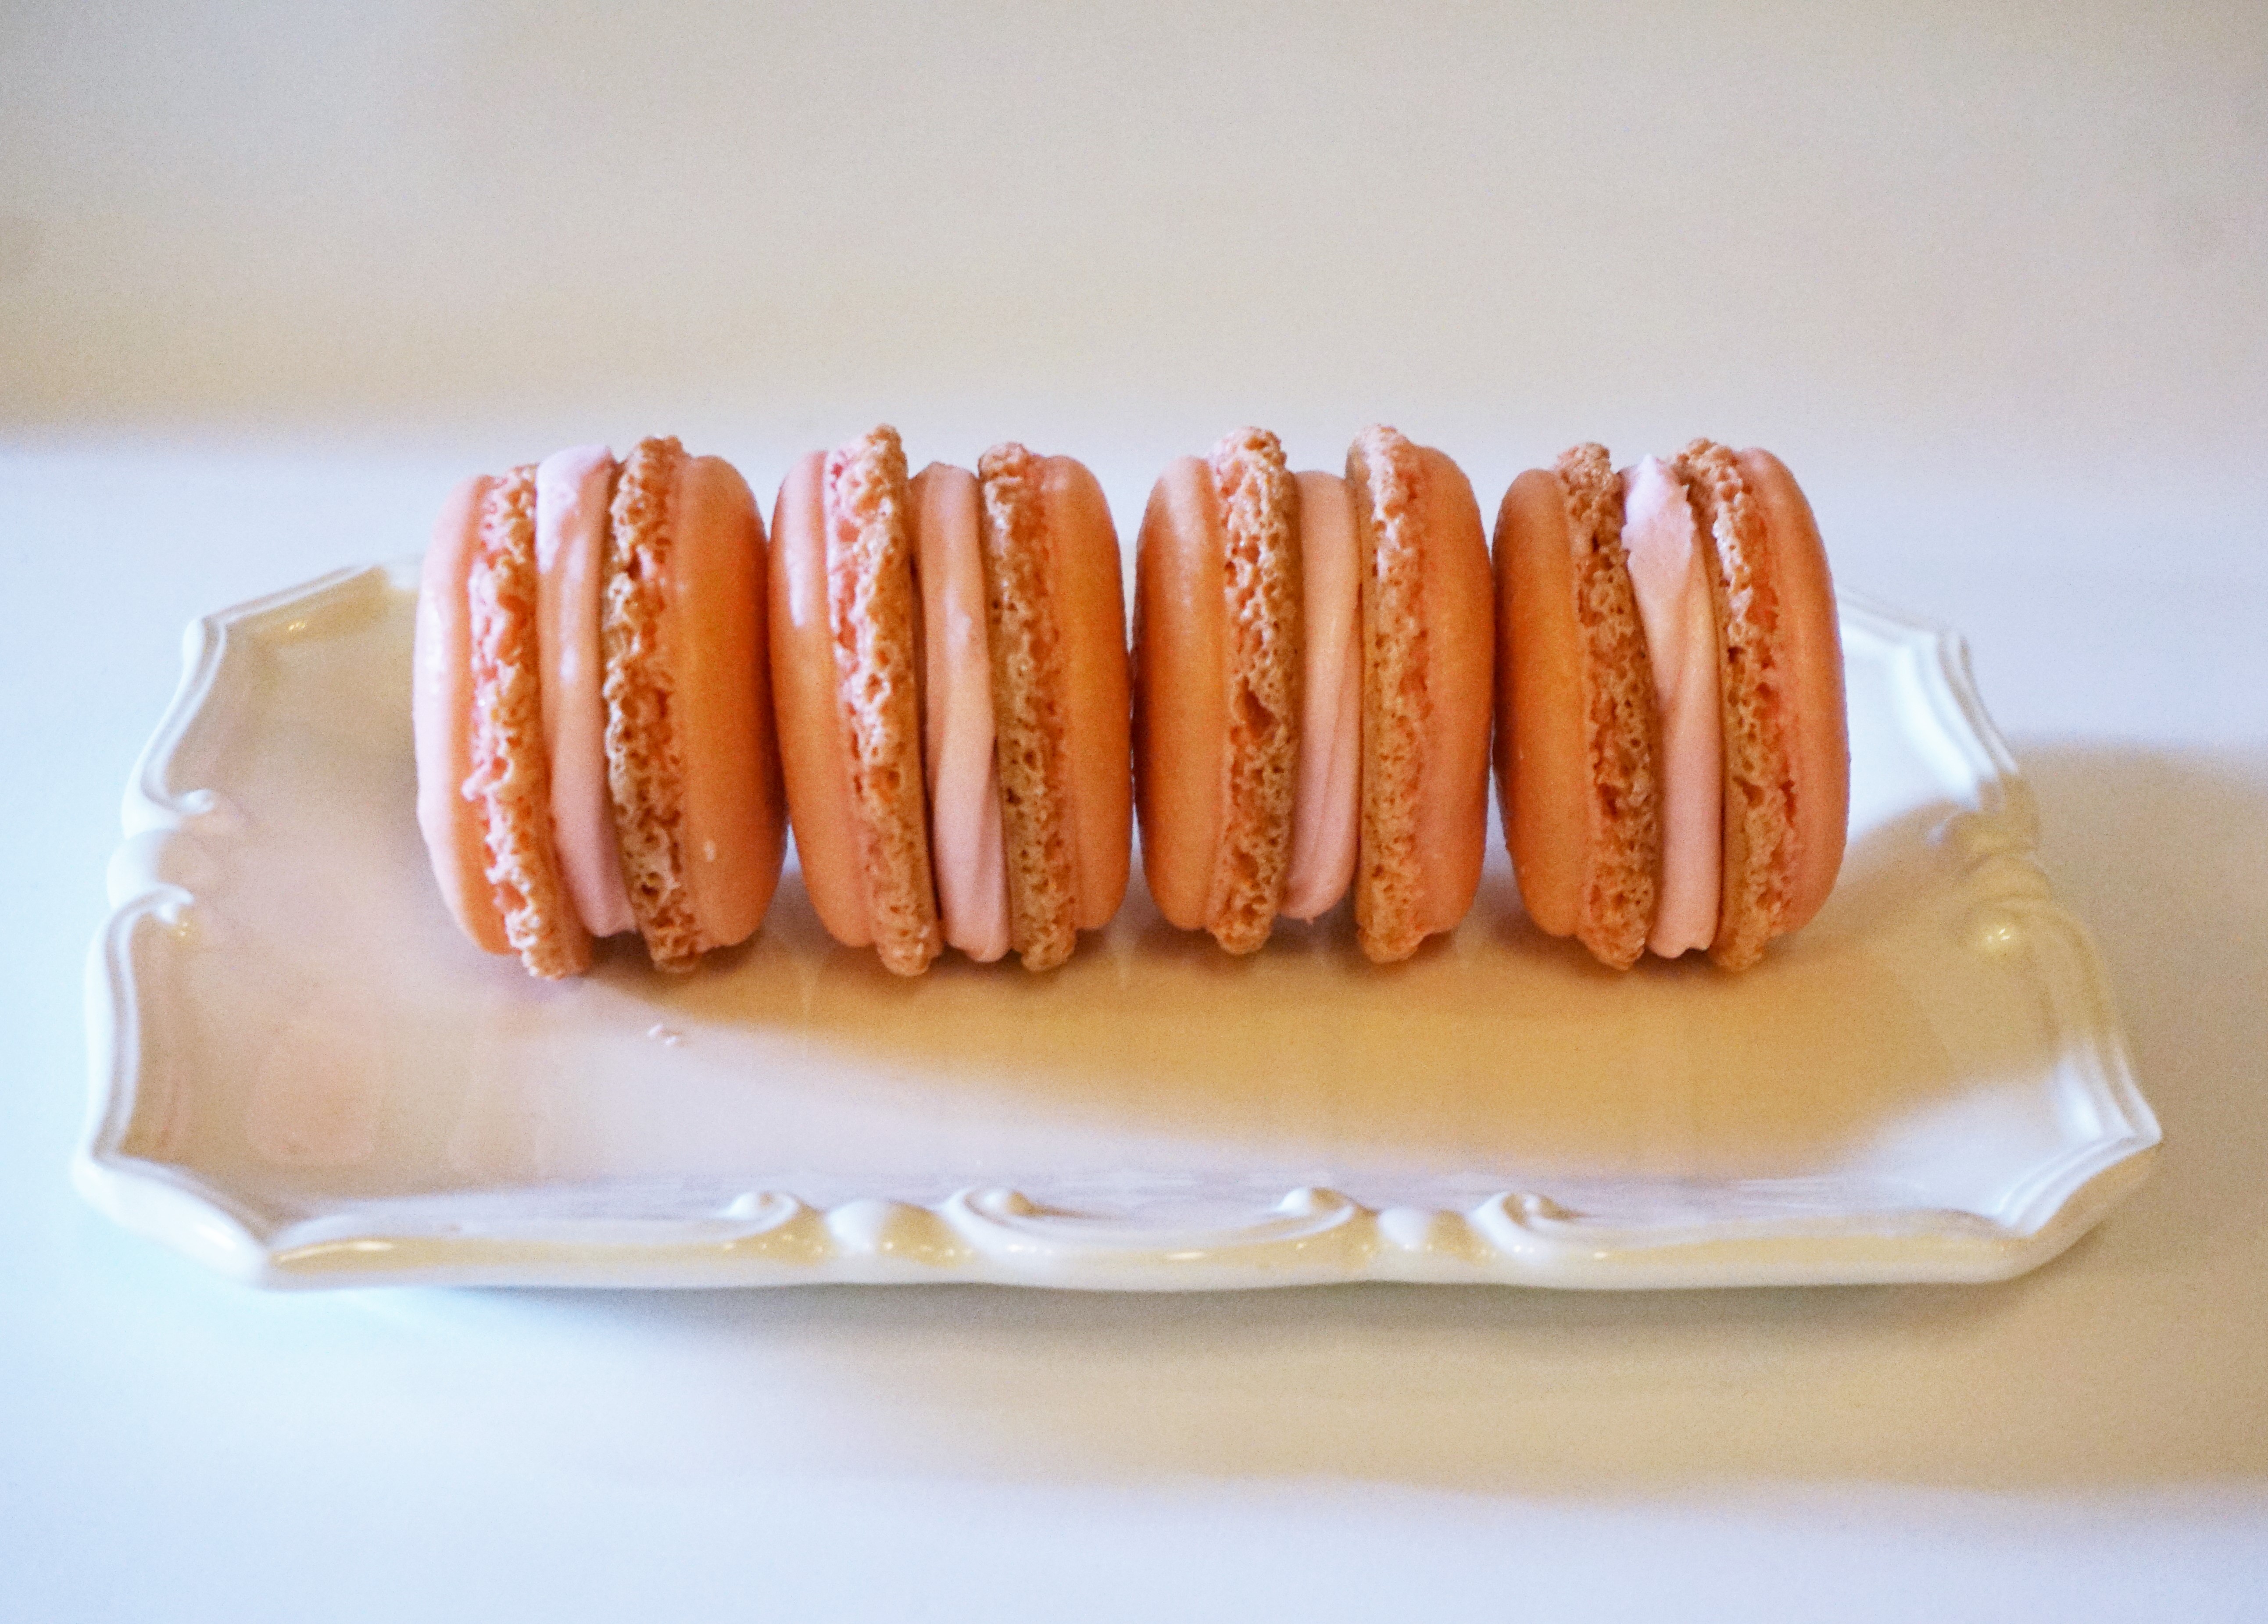
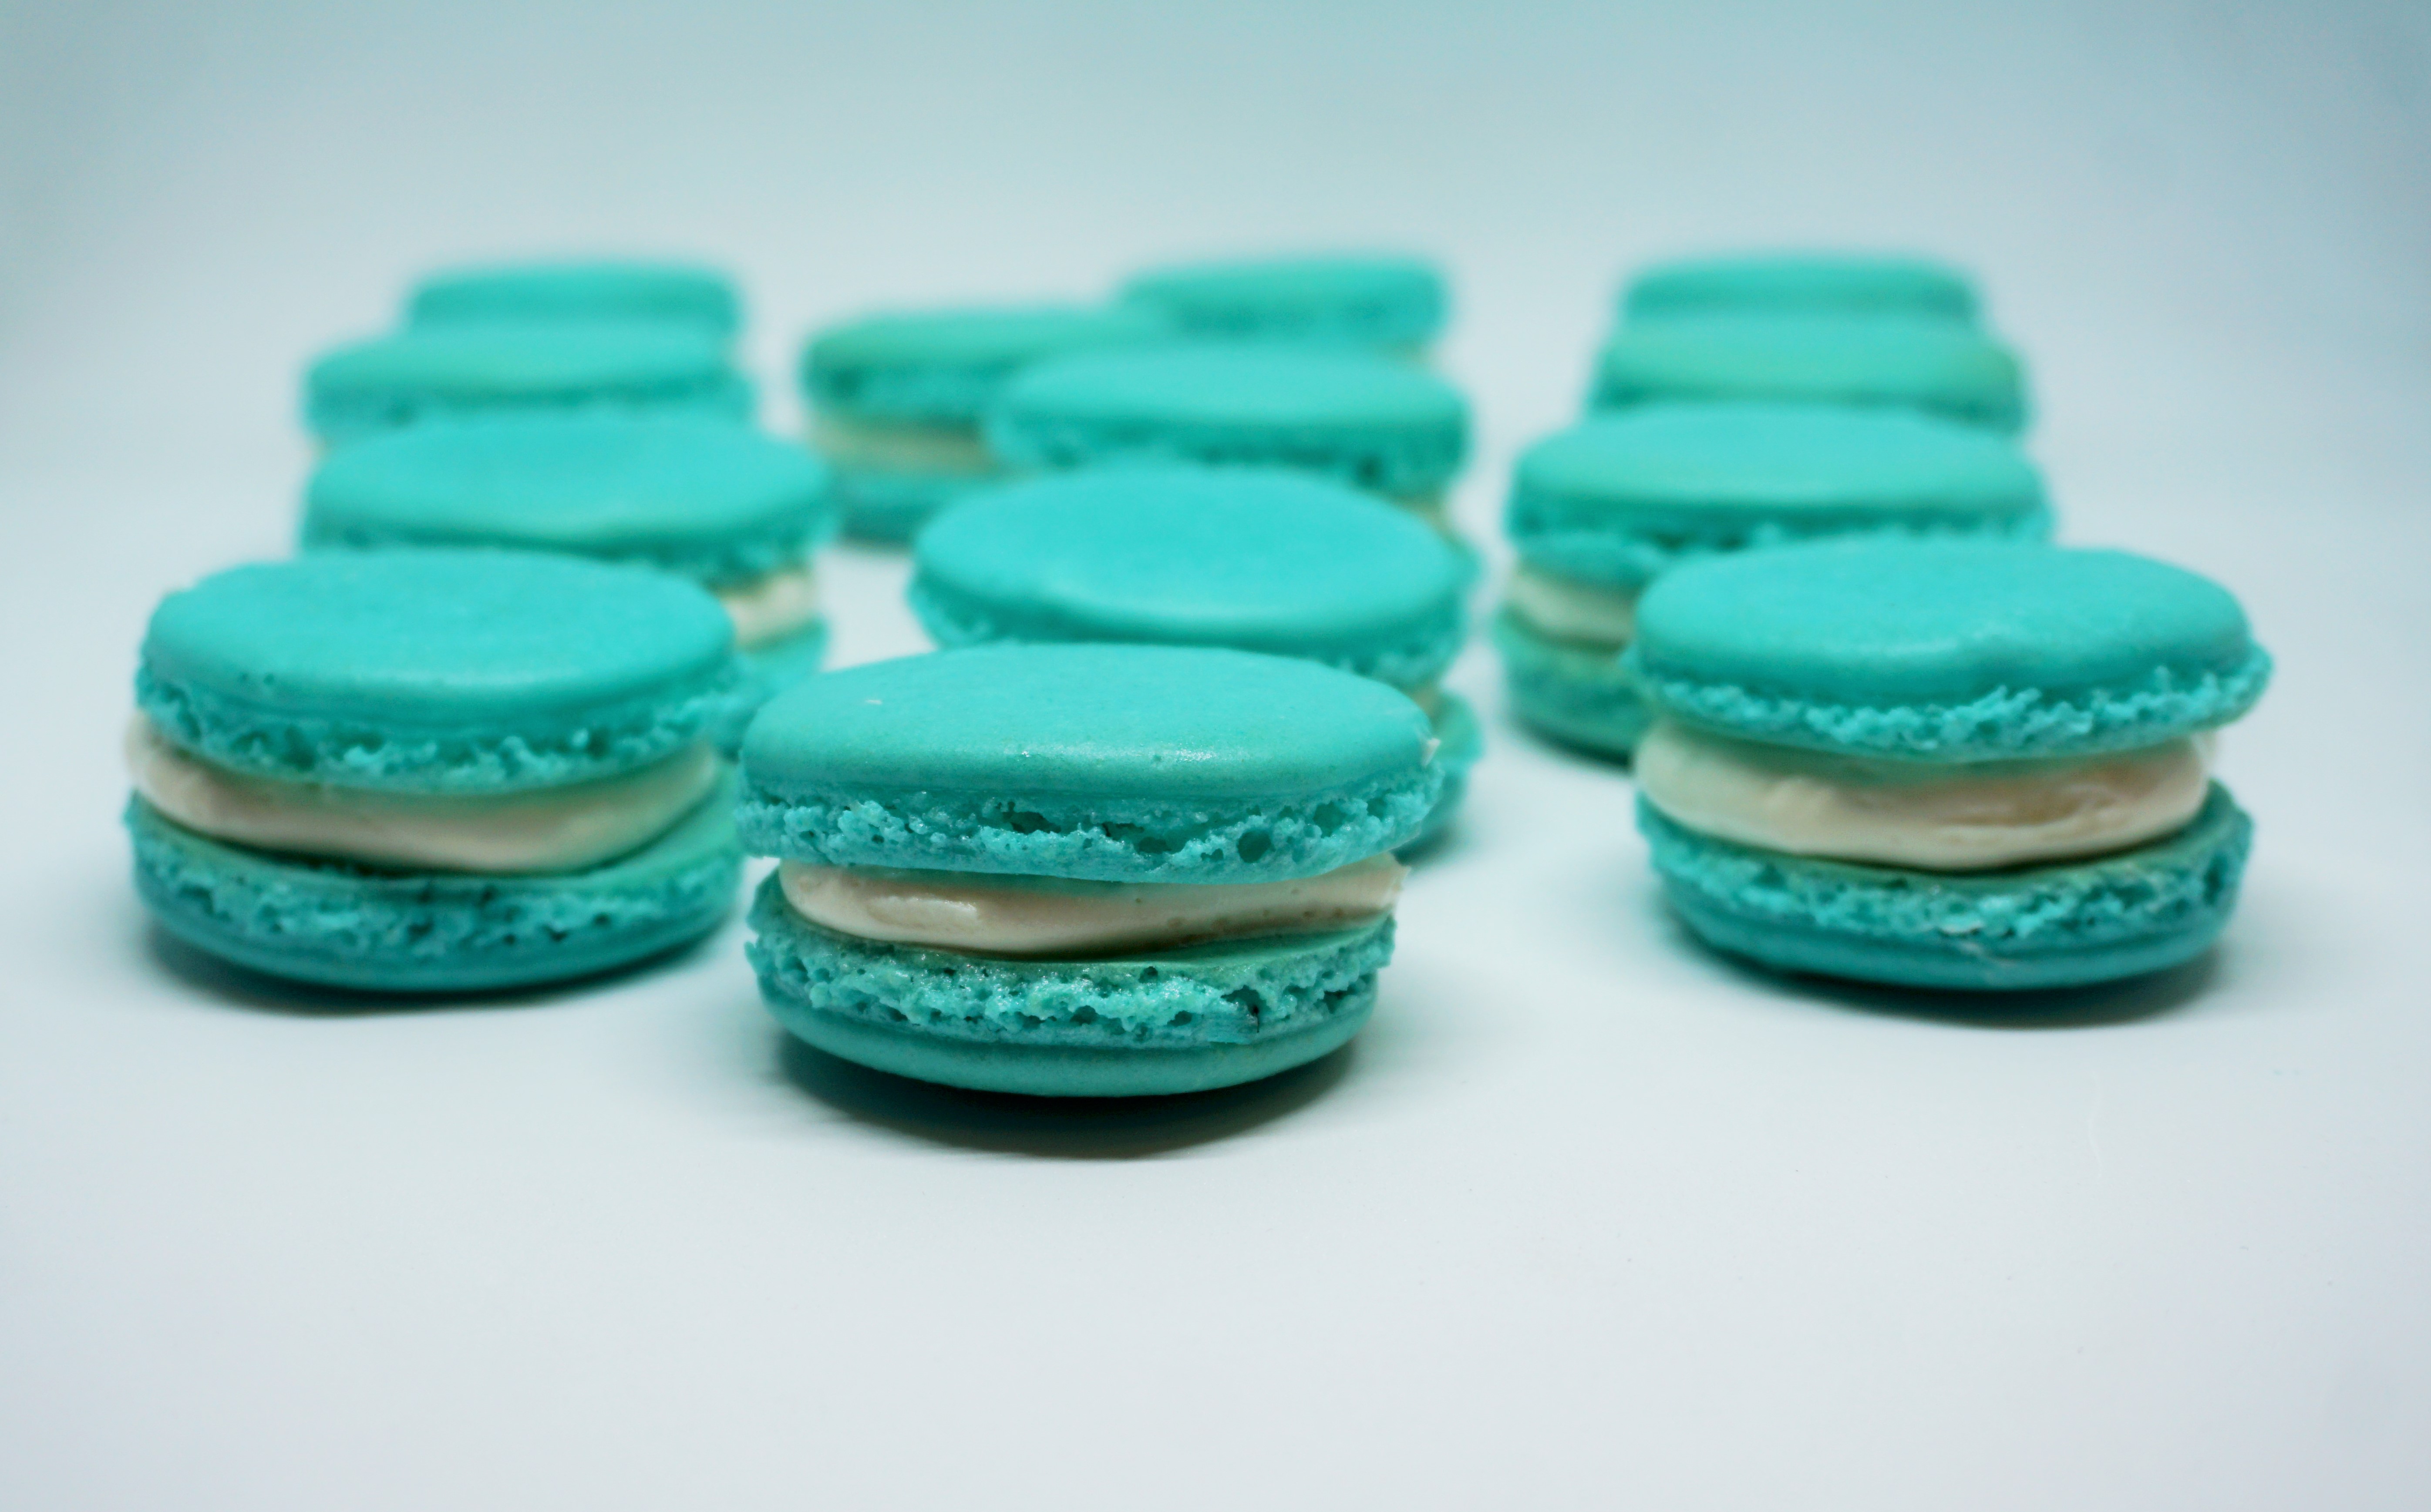
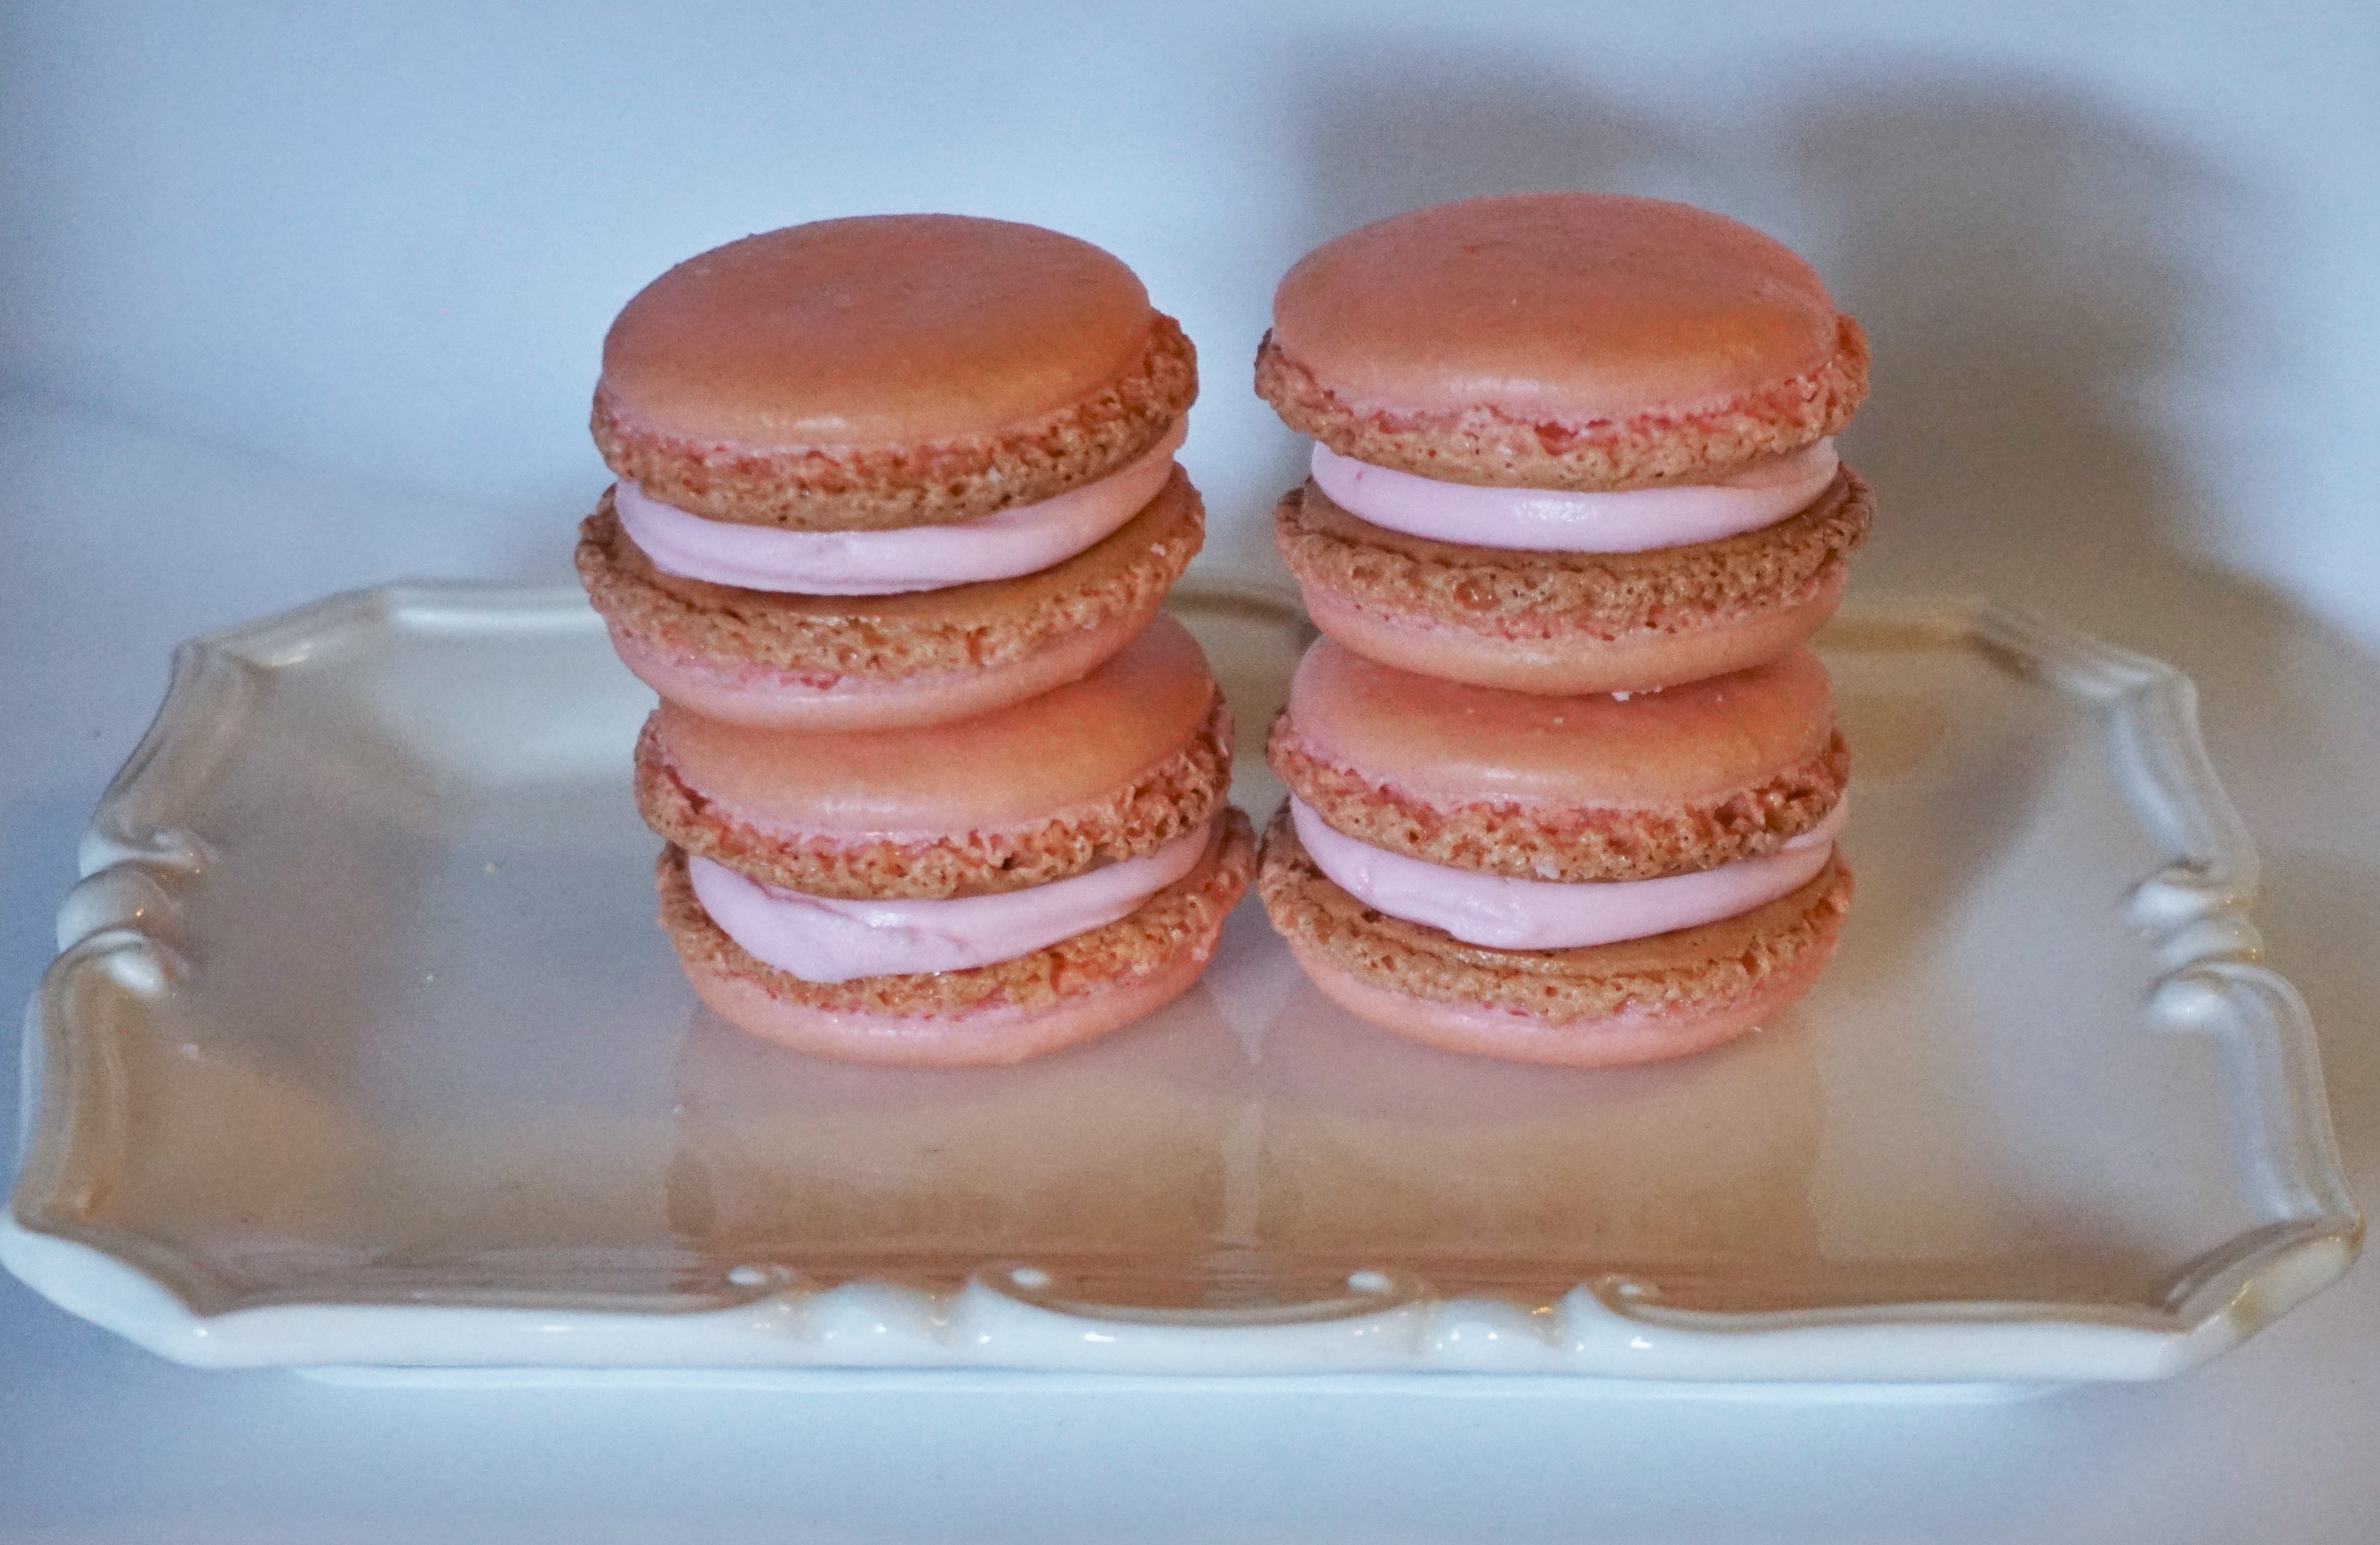
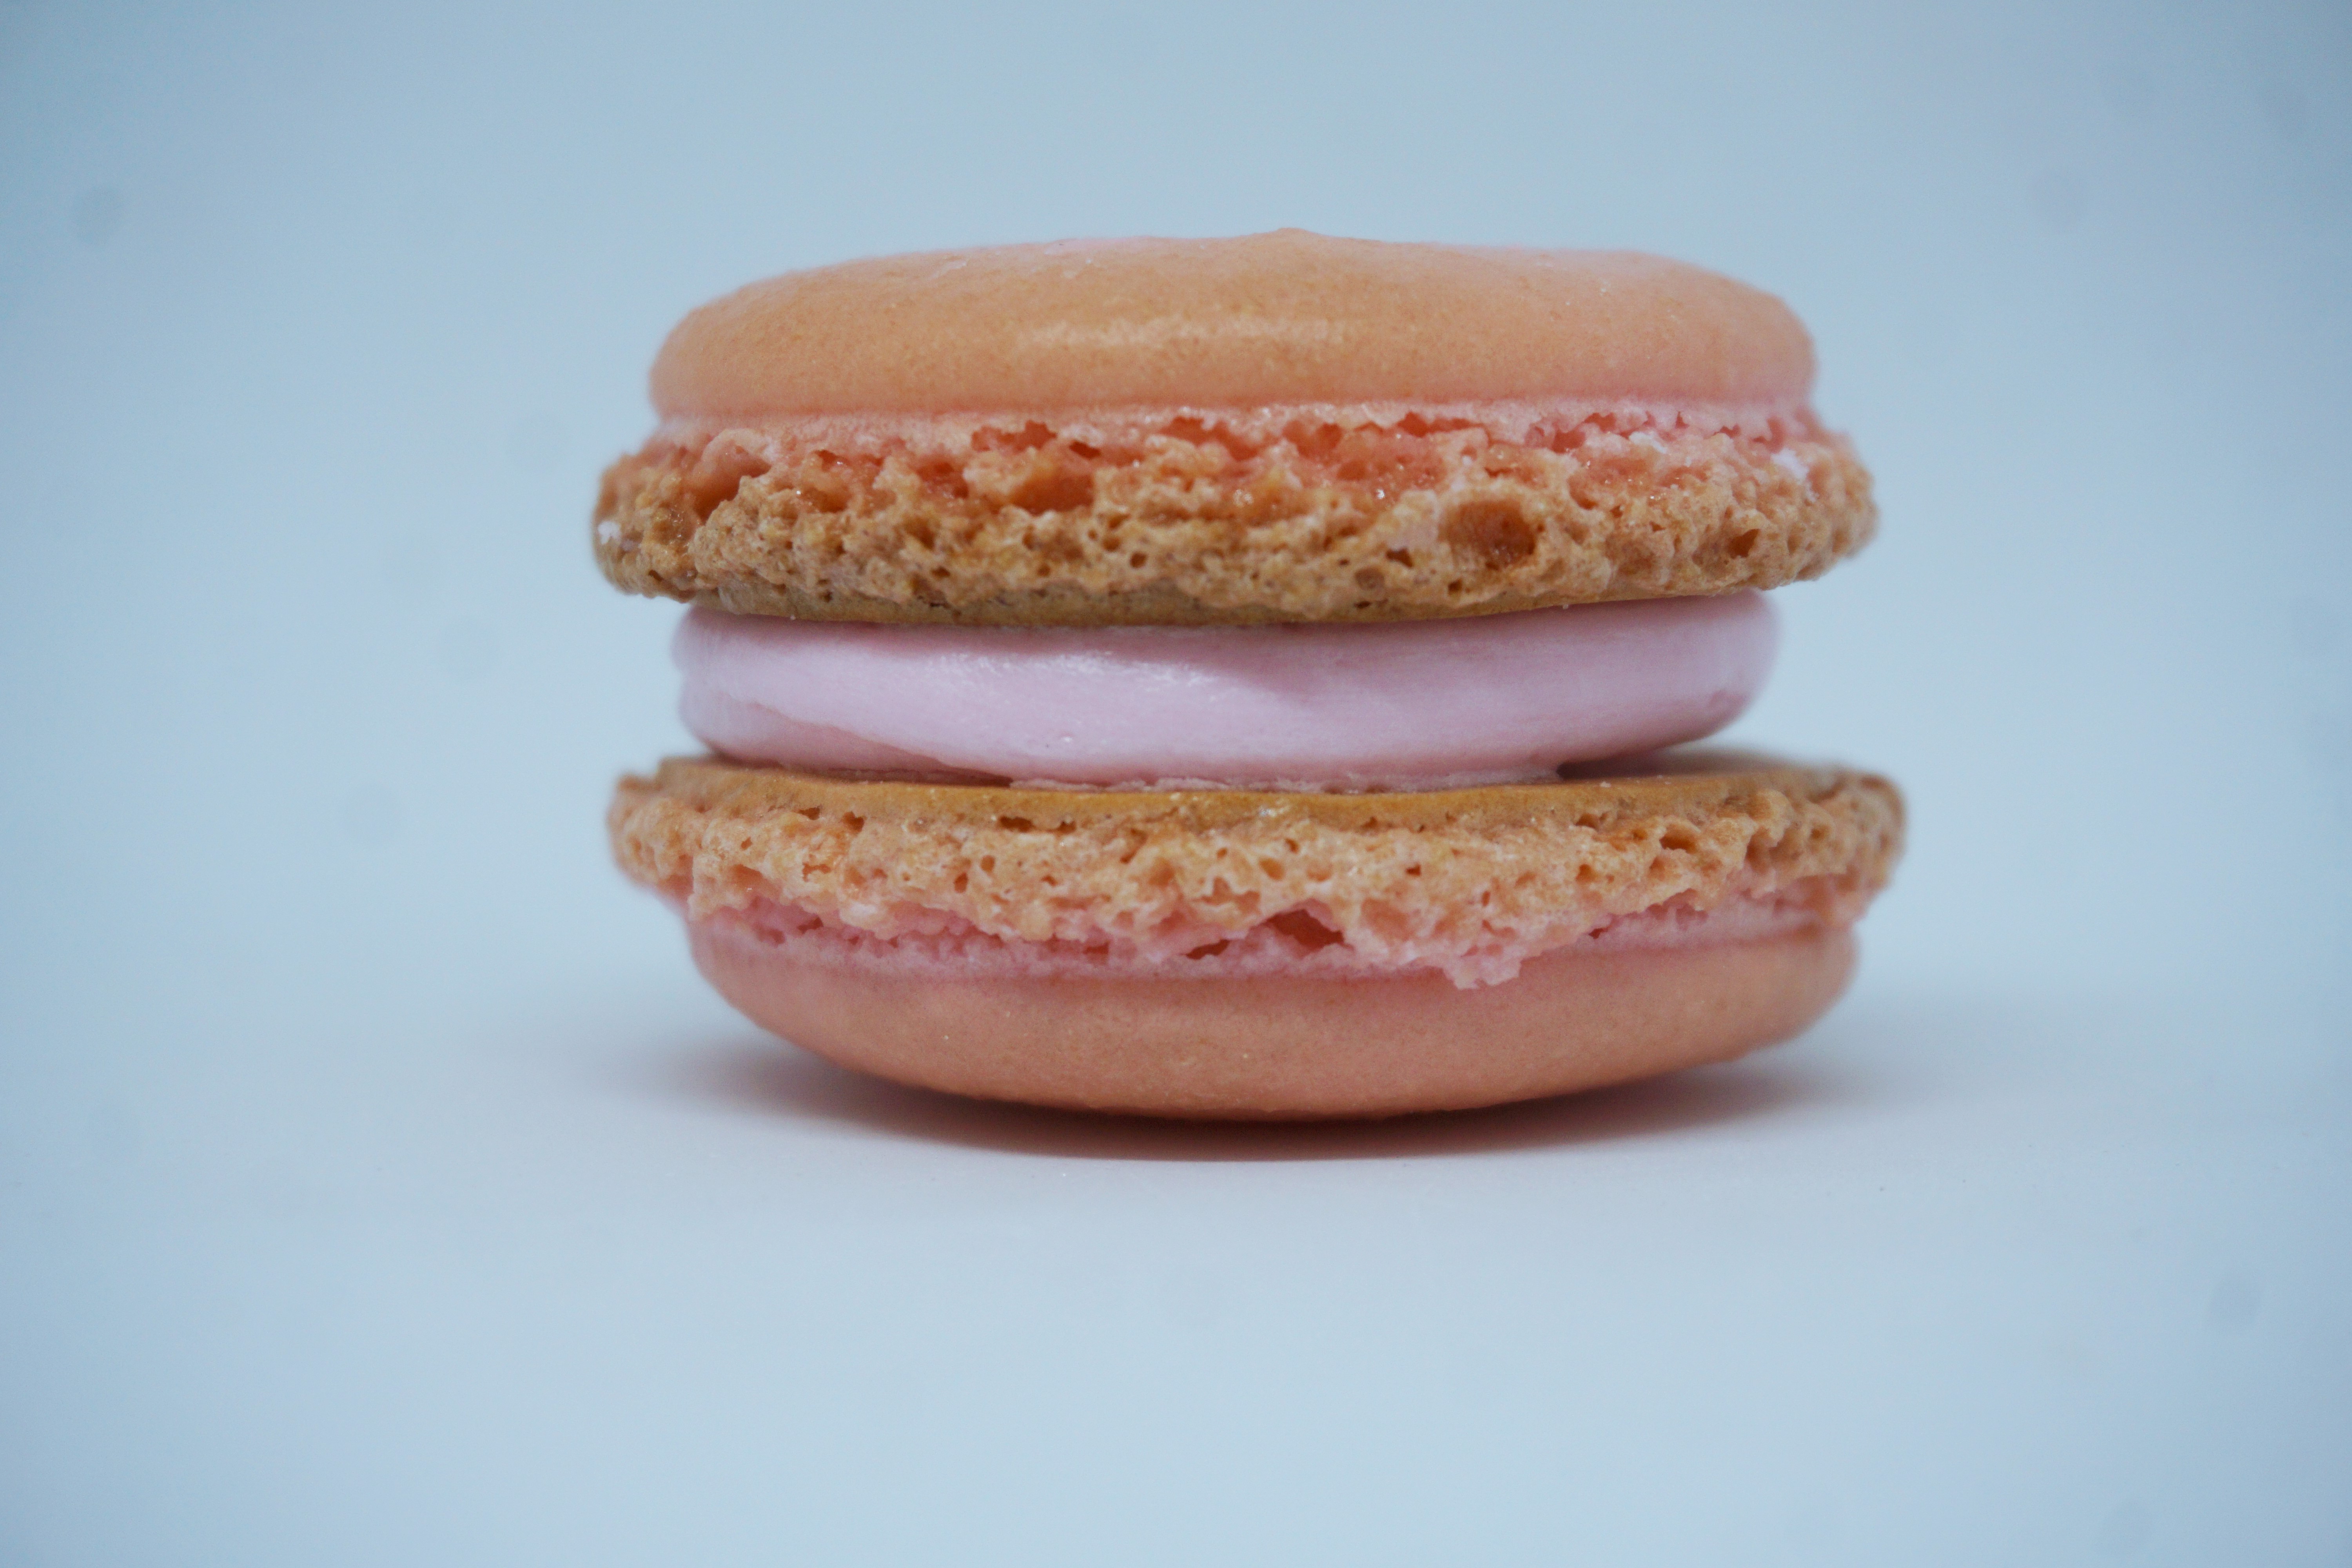
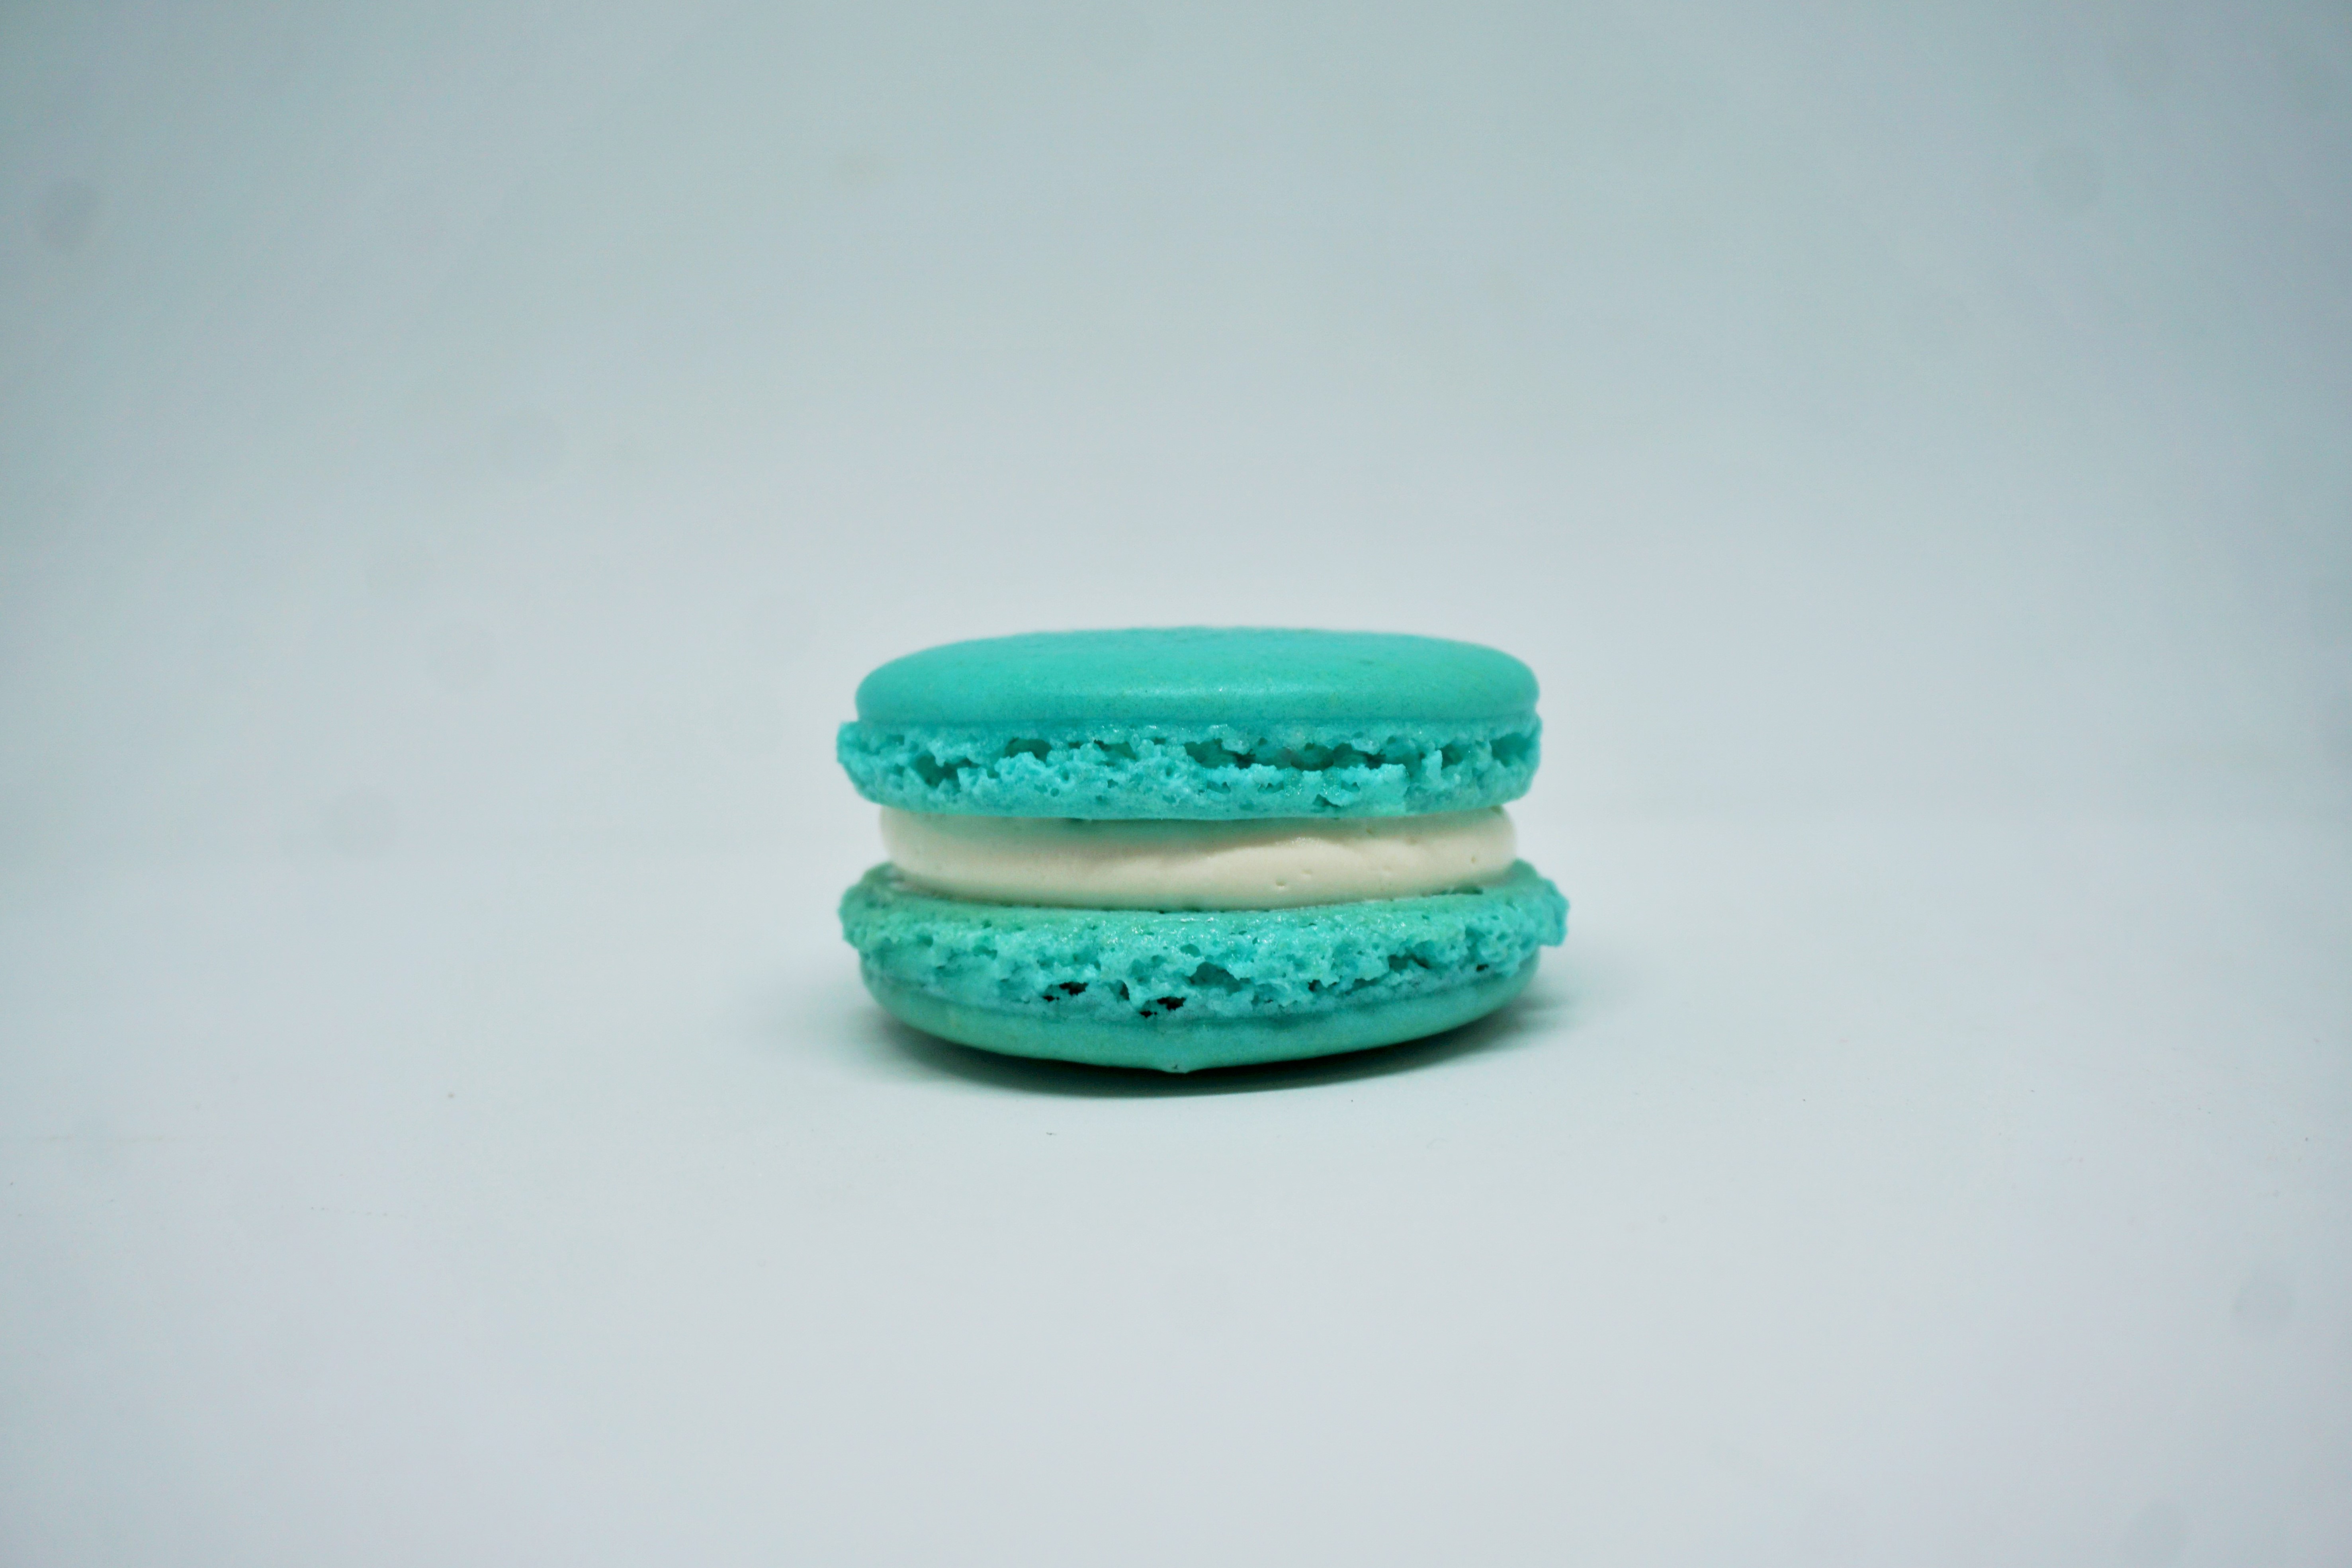
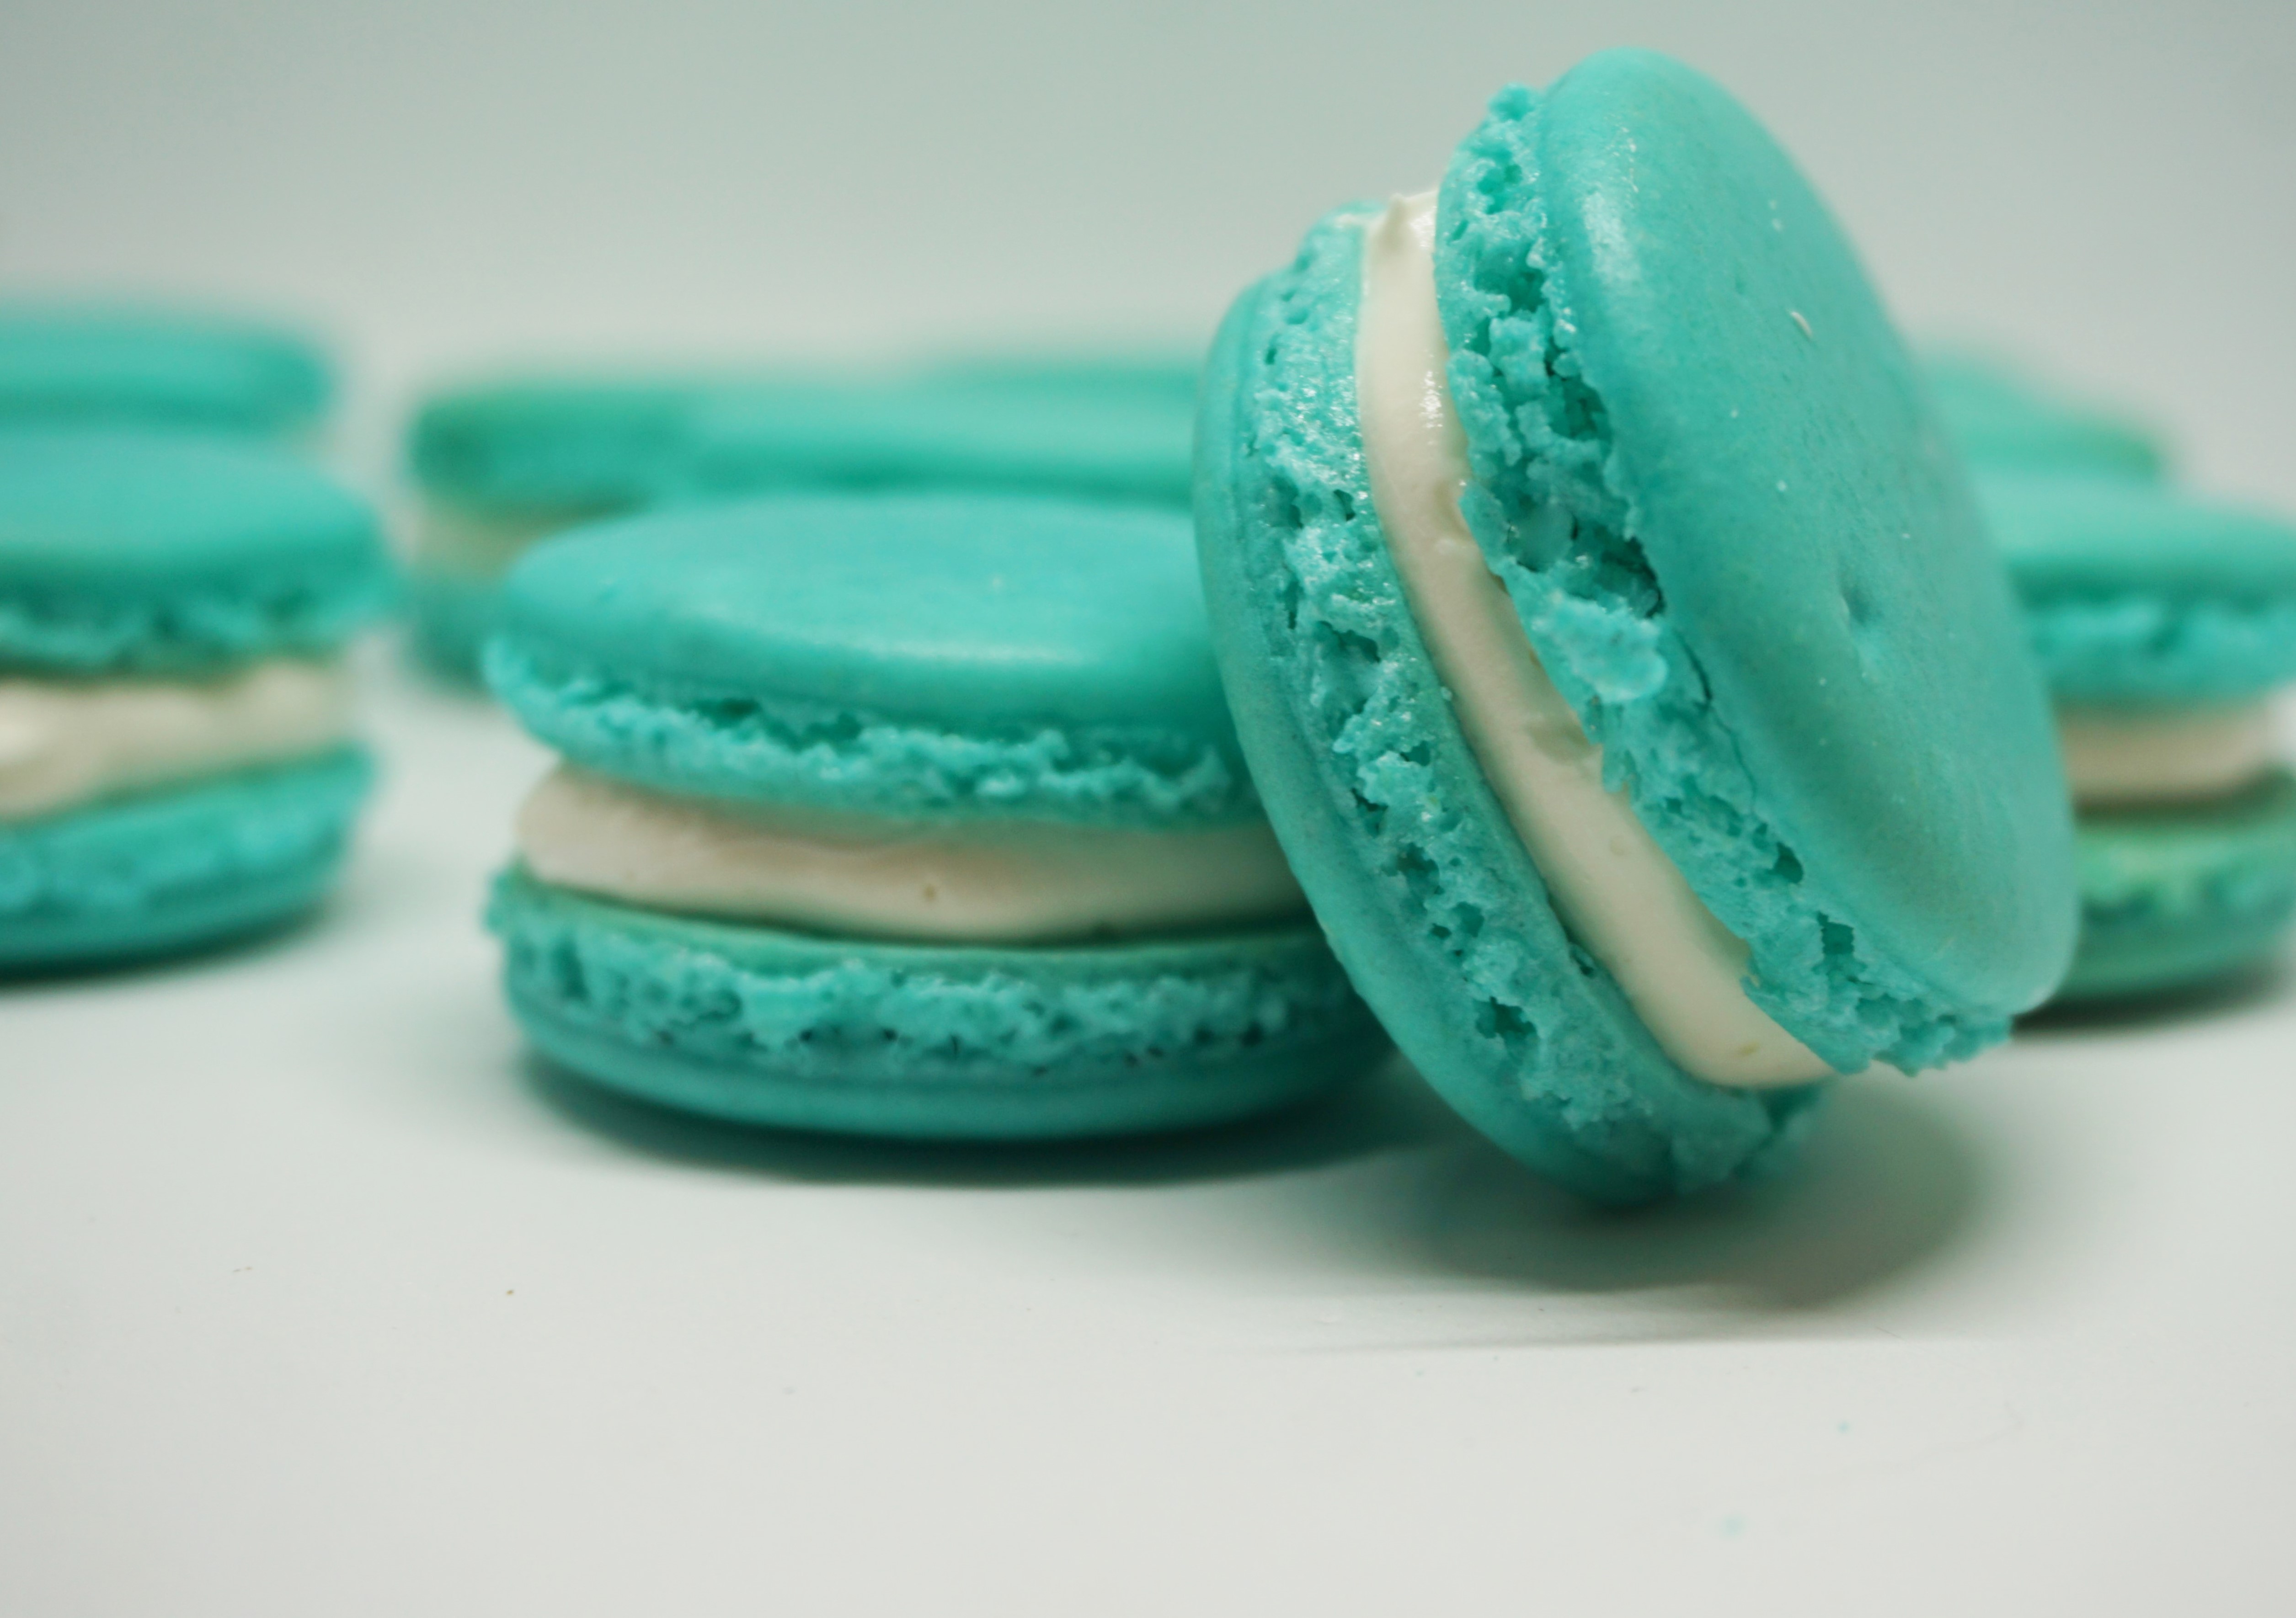
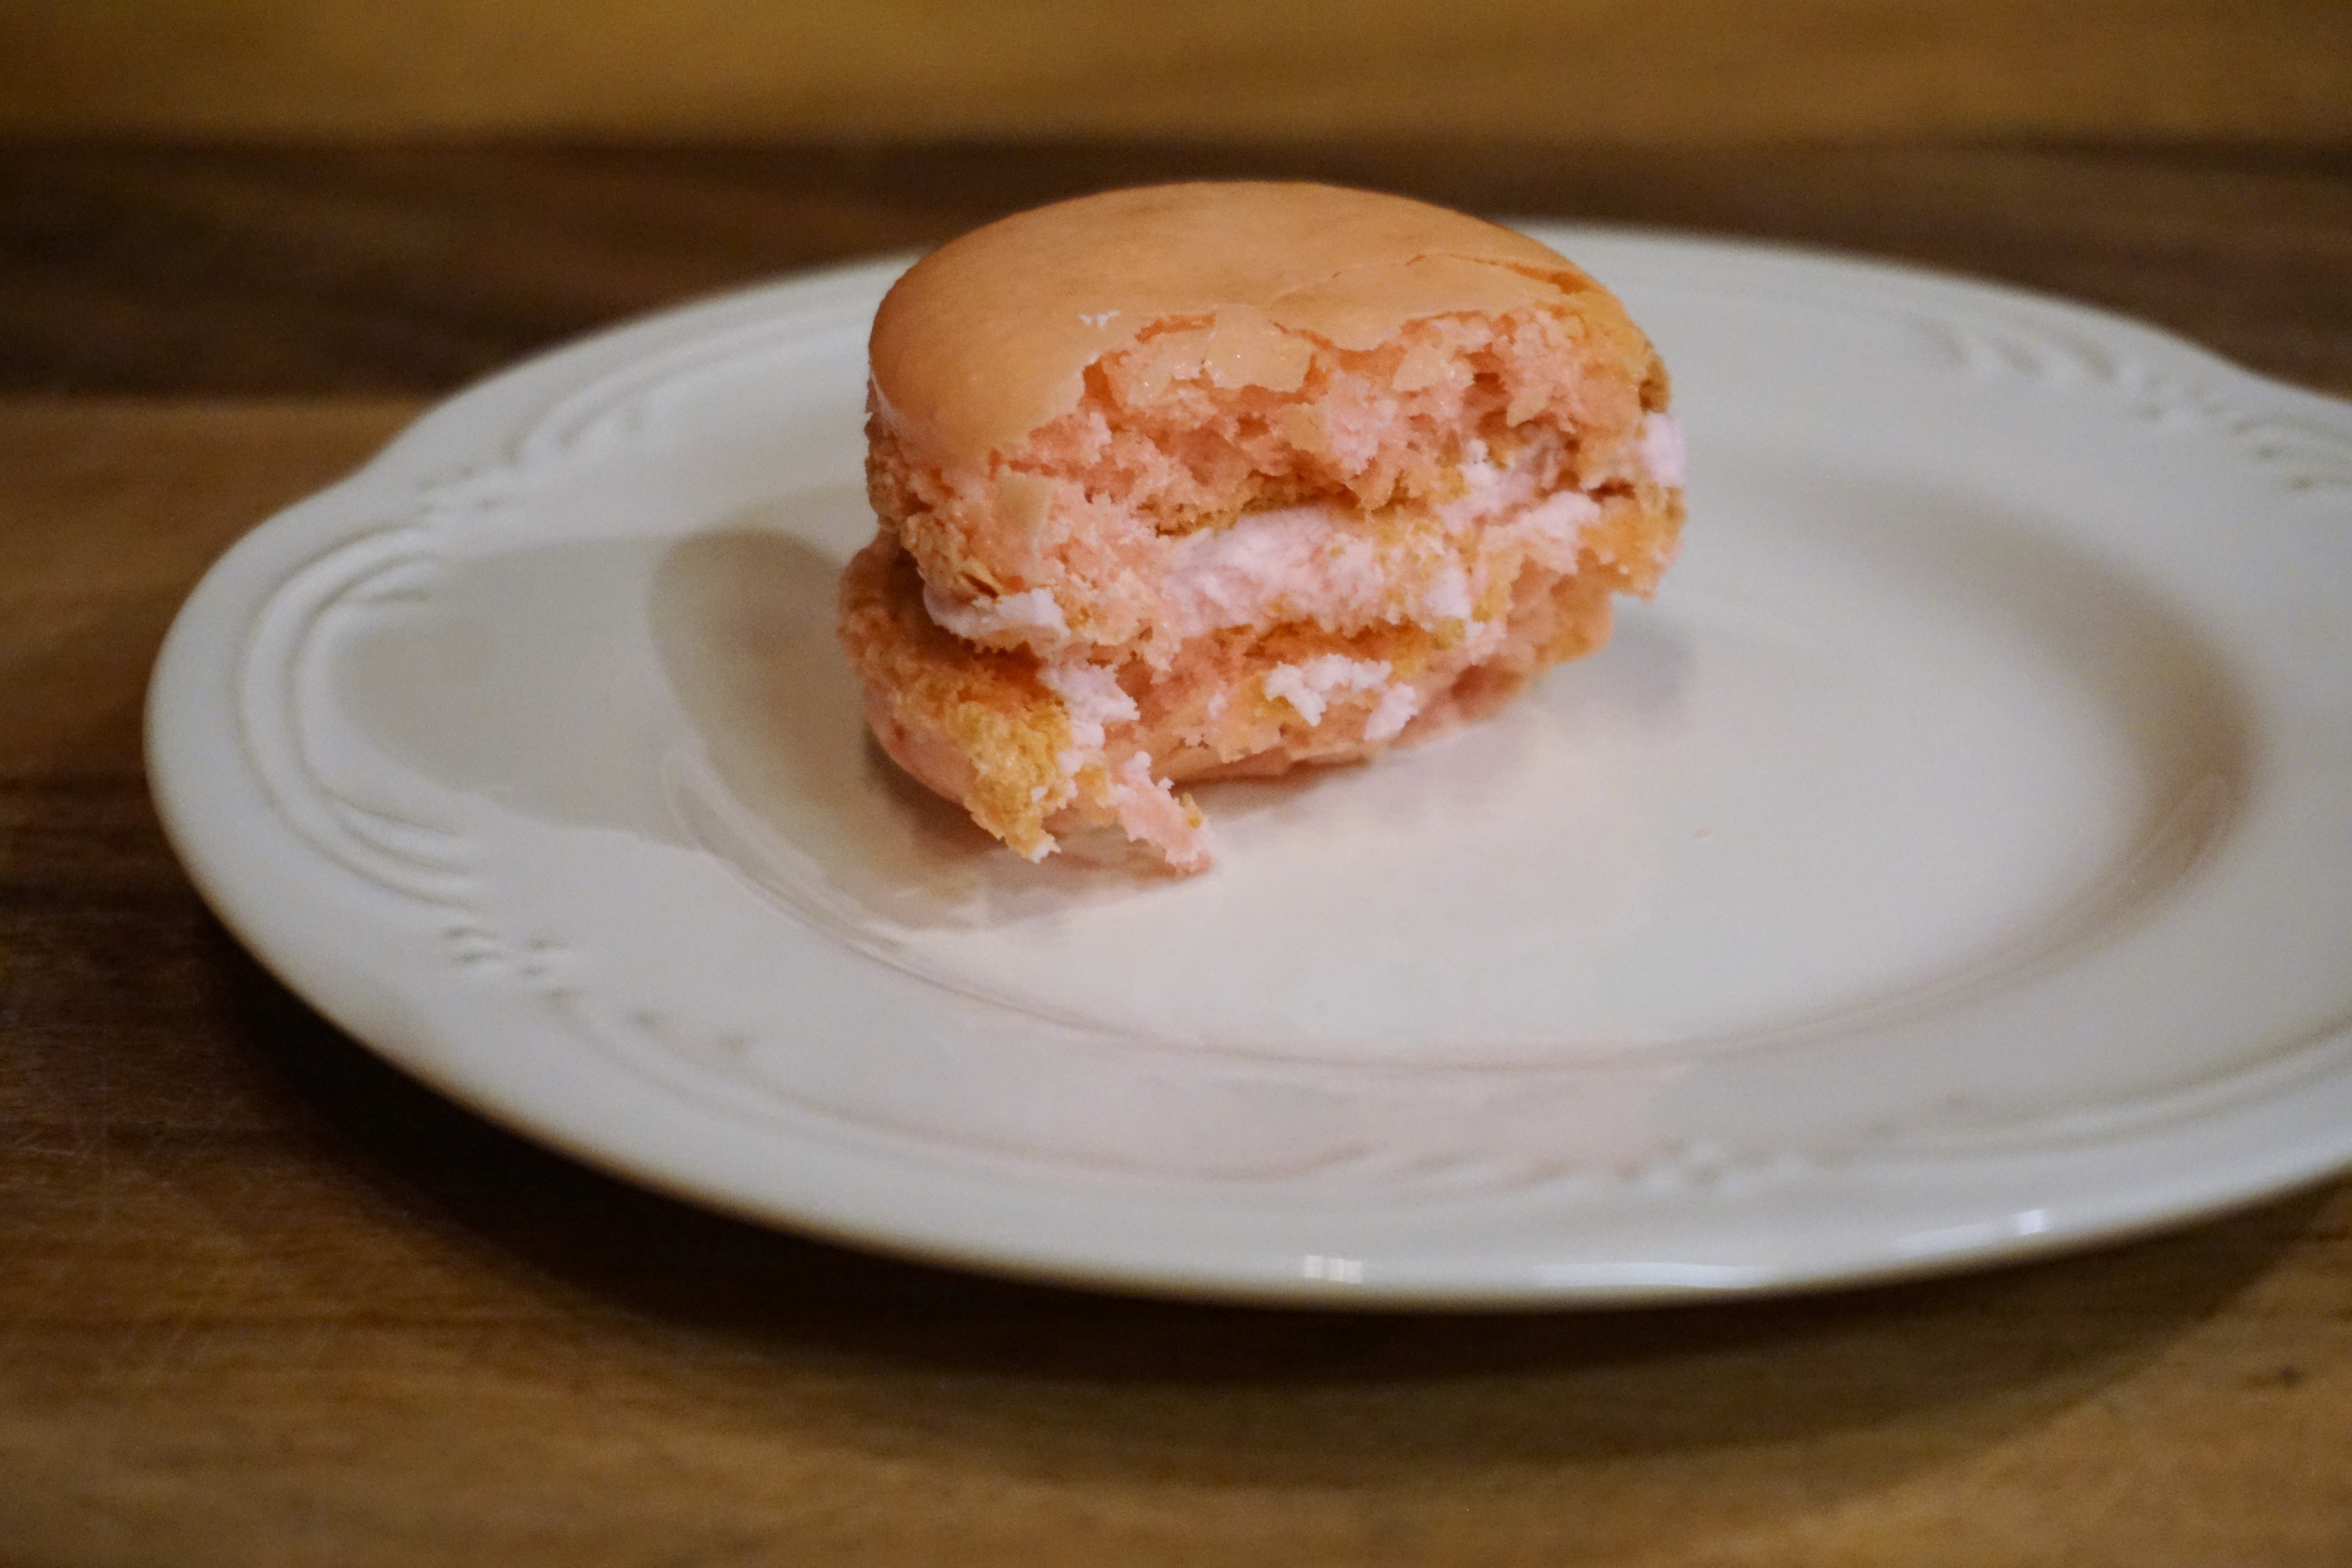
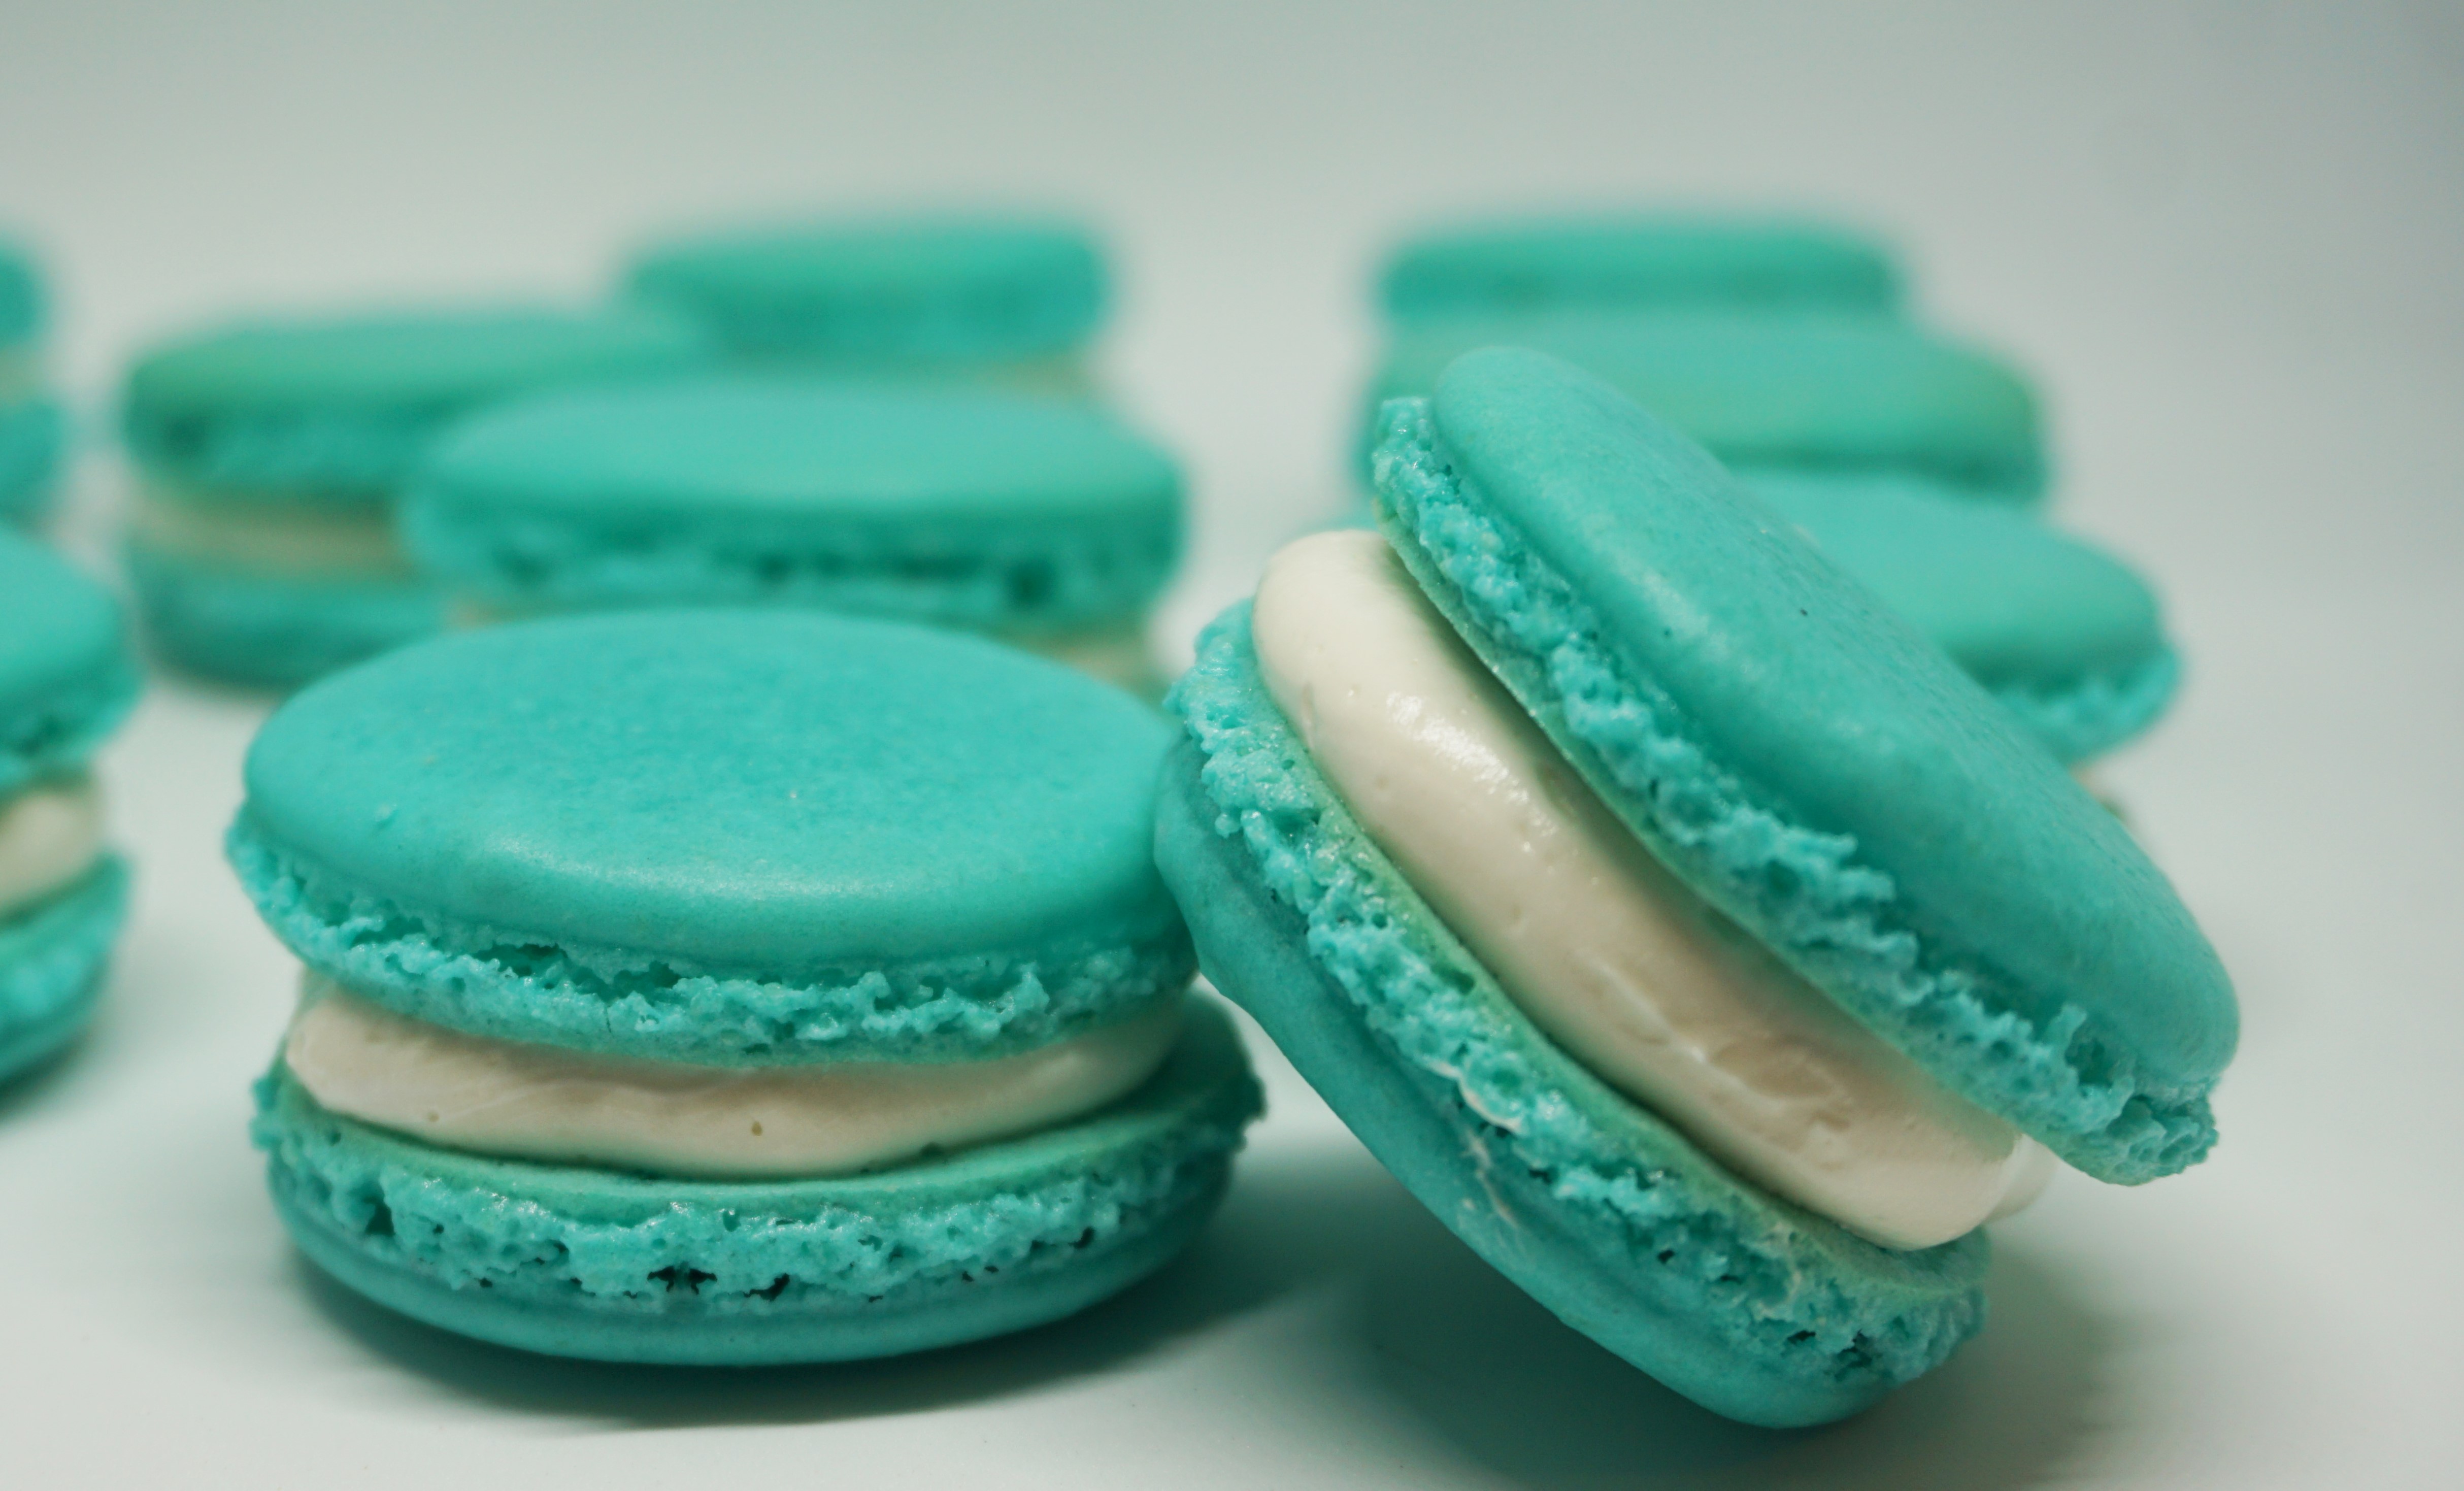
The Macaron (mak-ə-RON), not to be confused with the Coconut Macaroon (mak-ə-ROON), is a tender, airy, gluten-free, sweetened meringue-based cookie that is sandwiched between various fillings such as buttercream, ganache, jams, jellies, etc. Macarons are not ready to eat the day they are made, but rather should be enjoyed 24 to 48 hours after filling them. A freshly baked Macaron will seem dry. The Macaron shell has a very mild flavor and will take on the filling flavor once they’ve been allowed to “mature” in the refrigerator for 24 to 48 hours. During this maturation period, the cookies have time to absorb moisture from the filling which gives the interior of the cookie a slightly chewy, moist texture while the outside remains completely intact. Macarons freeze well for up to three months and will keep in an airtight container in the refrigerator for 4 to 5 days.
With most baking, precise measuring will yield excellent results but with Macarons, you need to not only measure precisely but have a thorough understanding of what each step in the process does. Before I tackled my first Macaron, I researched these intimidating delicacies for days and days (because I have a huge fear of failure!). There are two versions of the Macaron – French and Italian.
The French Macaron begins with a meringue where egg whites are whipped with sugar until they reach stiff peaks and then the dry ingredients are folded into the meringue to form a batter. While this is the easier of the two methods, it may not always yield consistent results based on humidity levels the day they are made. Personally, I wouldn’t make them on a rainy day – or, I would use a dehumidifier on a rainy day.
The Italian method involves adding boiling sugar-syrup into the egg whites, cooking them as they whip. This method results in a more stable meringue. This method is more work, produces a slightly taller cookie with a chewier texture and a duller finish.
I prefer the French method. Between the two, there is no difference in taste. The French method produces a cookie that has a pretty sheen, not to mention they are just easier to make. If this is your first time to make Macarons, I would recommend an easy filling such as American Buttercream or Ganache. Swiss Buttercream can be a little tricky.
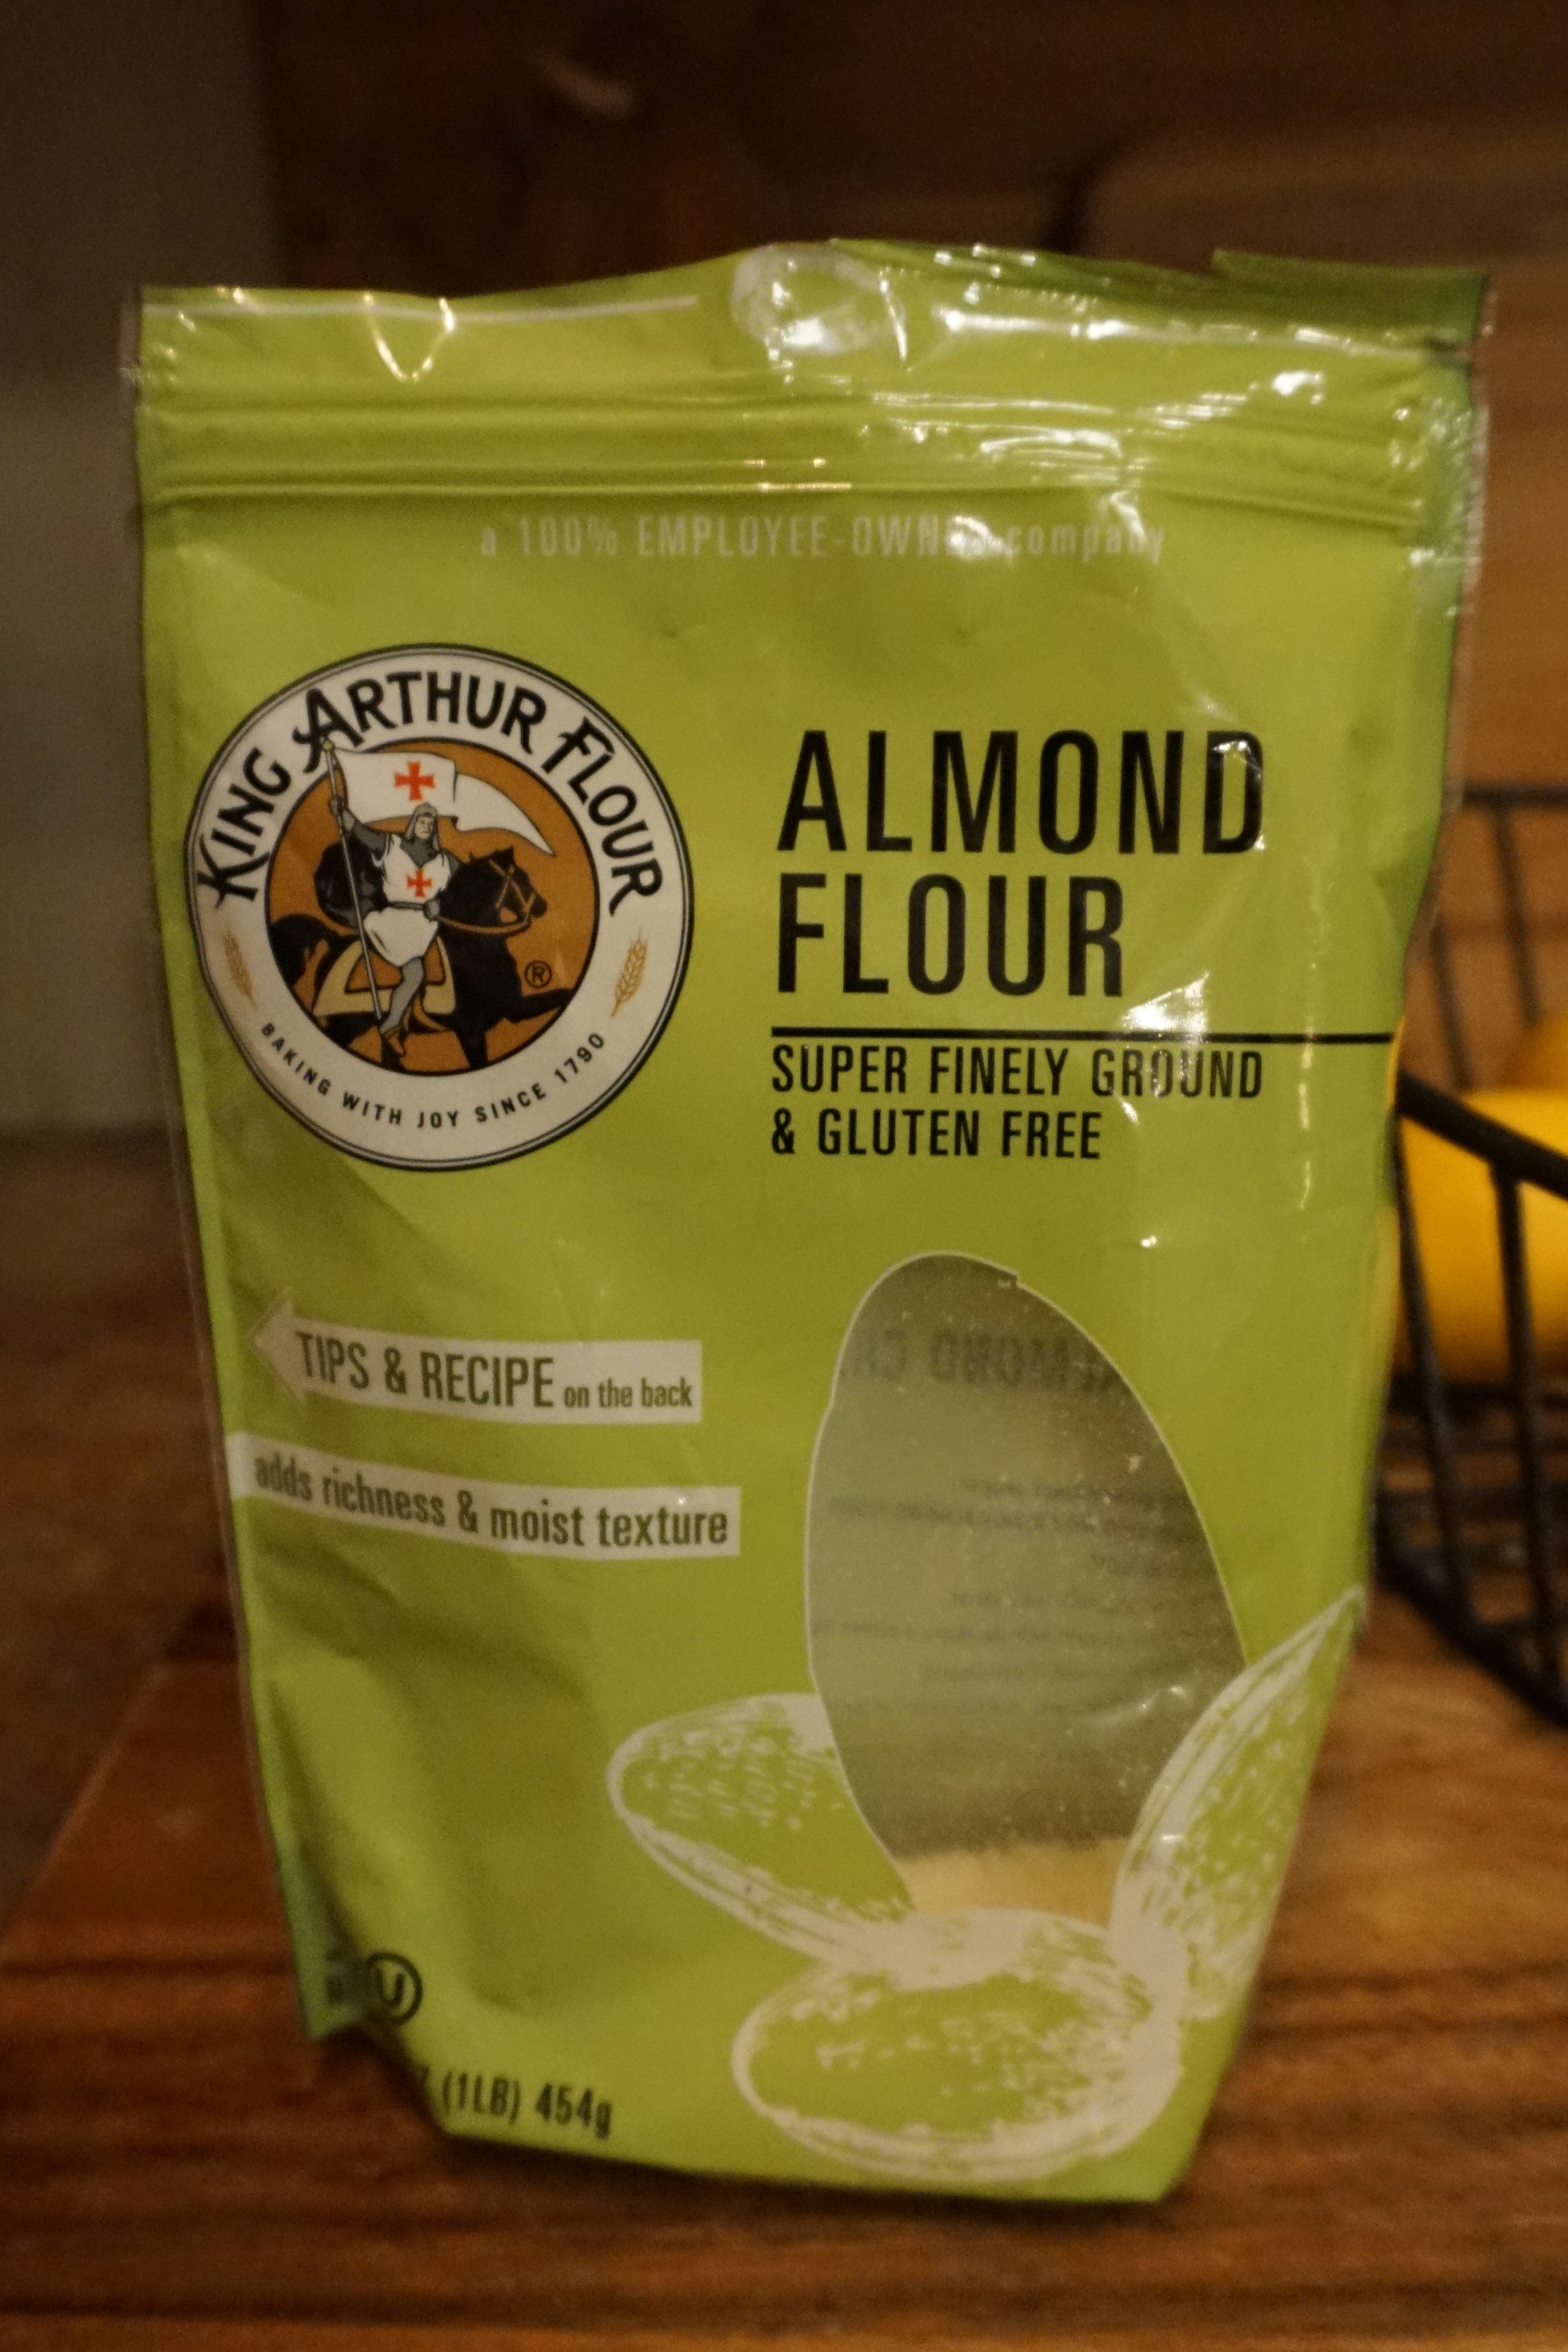
Macarons are made with almond flour which is becoming more and more readily available in stores. I purchase mine online. You can grind your own almonds to make almond flour, but getting the light, particle-free texture can be difficult. Enough things can go wrong while making Macarons, so I believe in increasing my odds for success (again, that huge fear of failure!) by purchasing a finely milled almond flour.
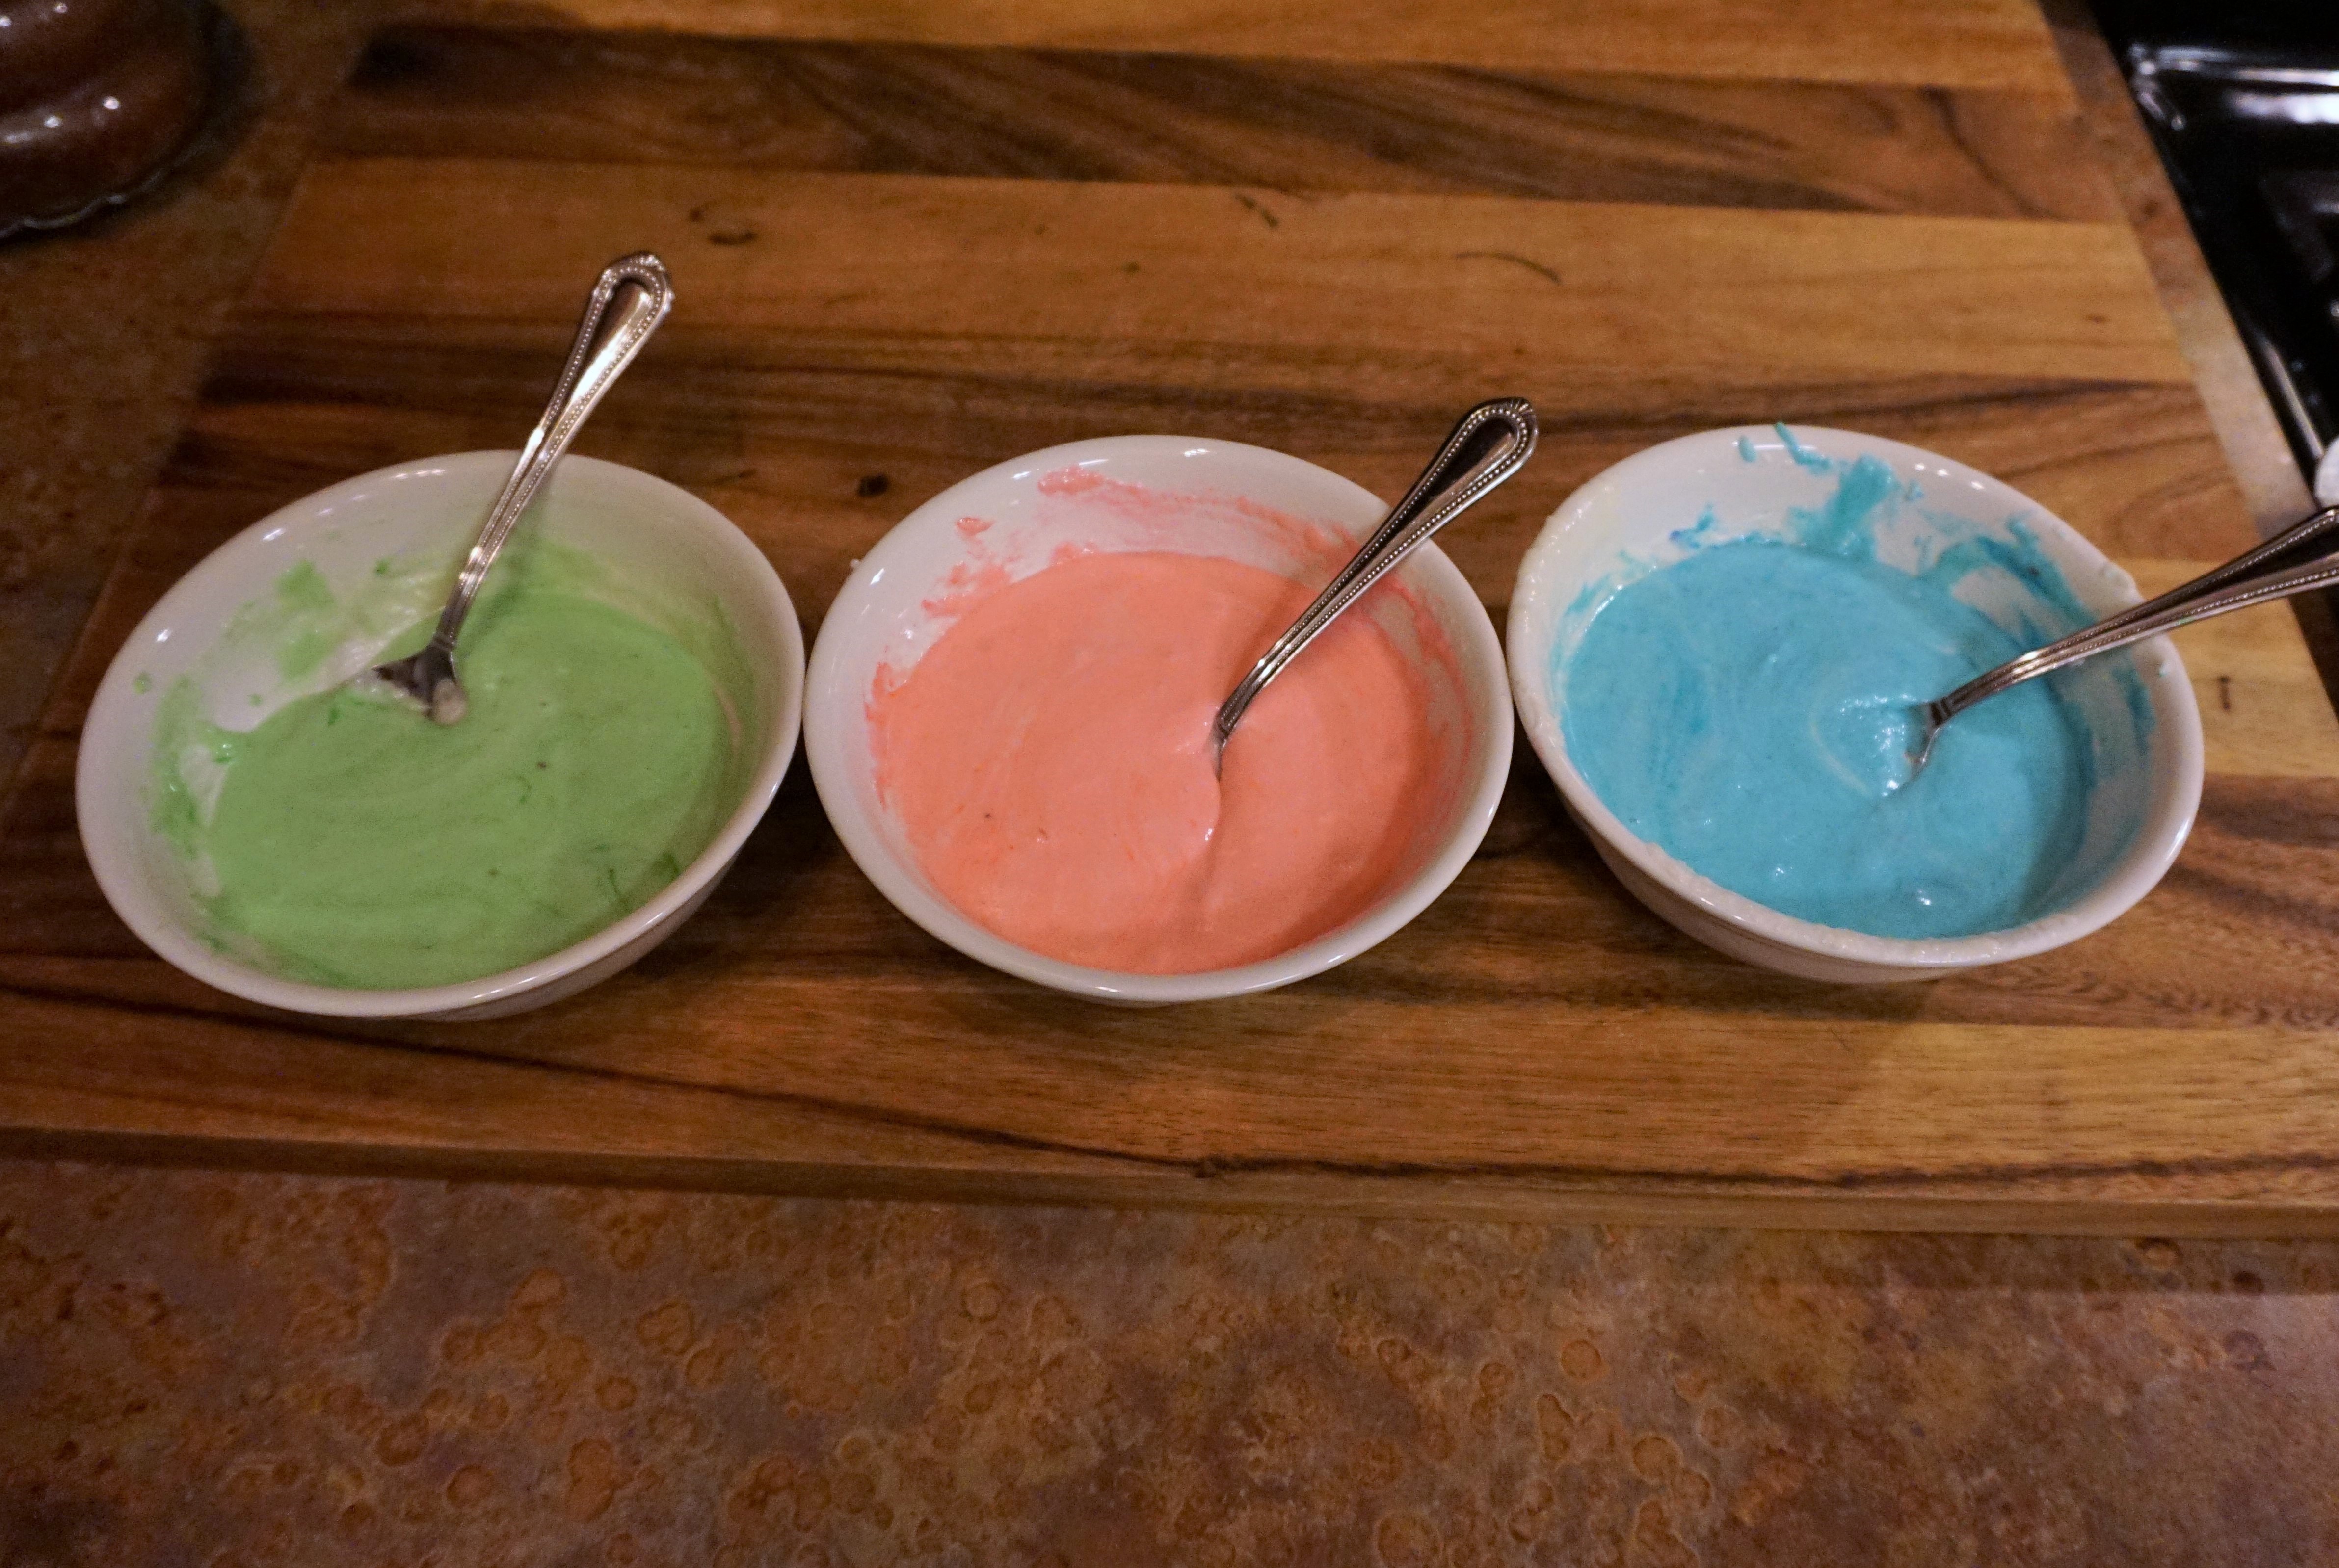
Food Colorings: I’ve only used gel or paste colors; avoid using liquid food coloring. Not all food colorings withstand heat, some can change the texture of your Macaron shells, and some can cause them to brown too quickly. I’ve read that powdered colors work well, but I have not personally tried them.
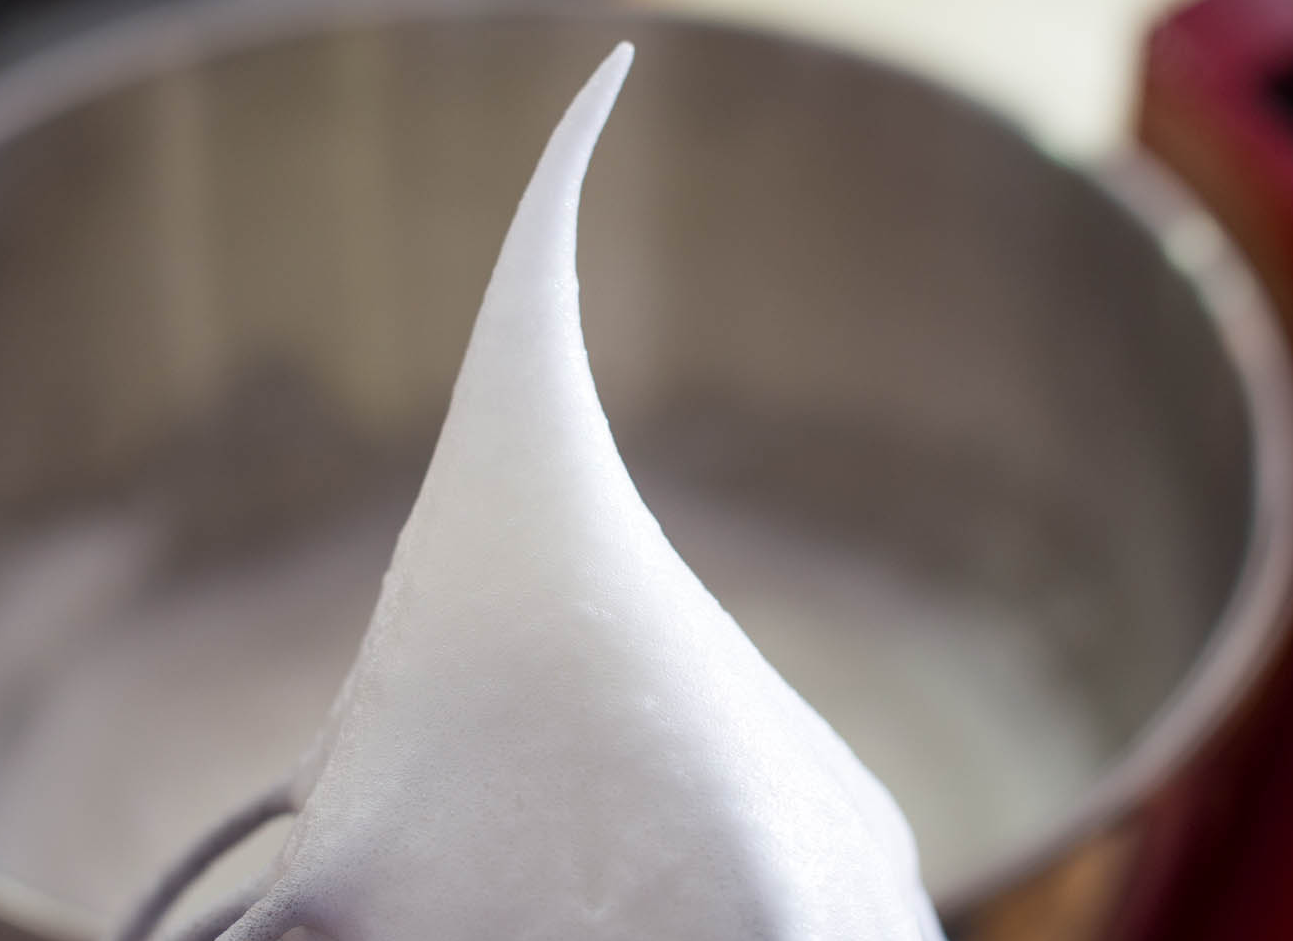
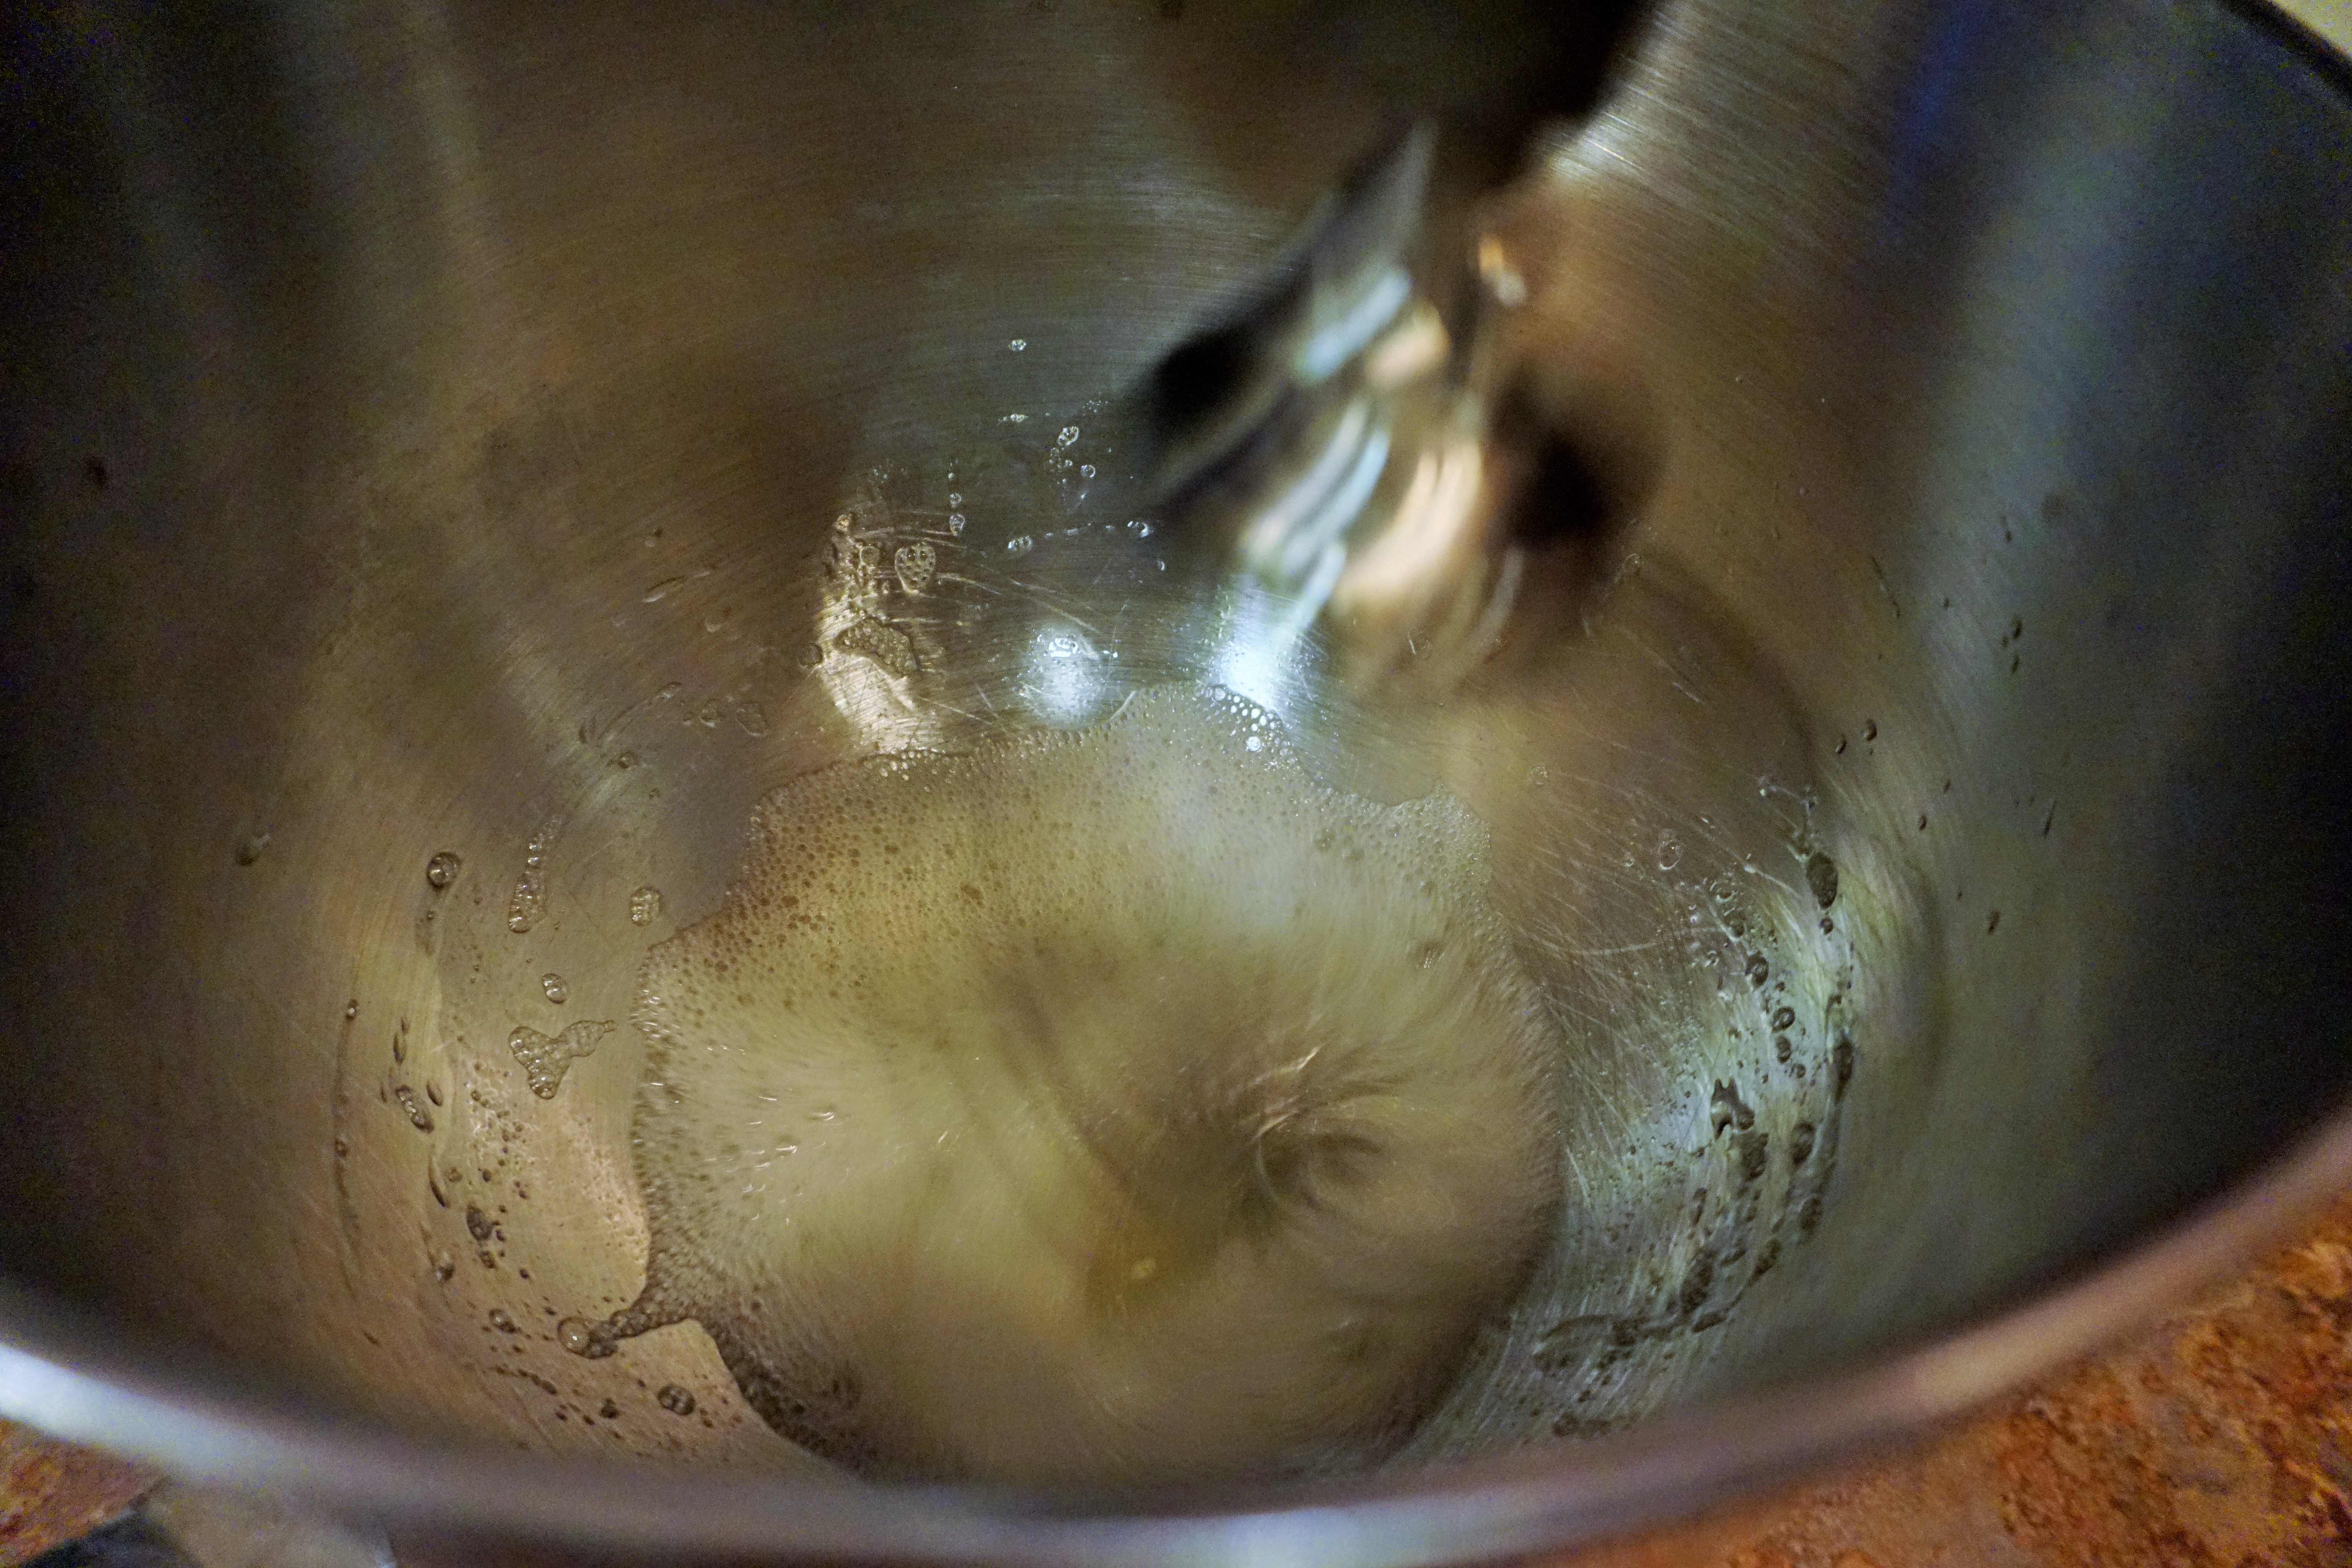
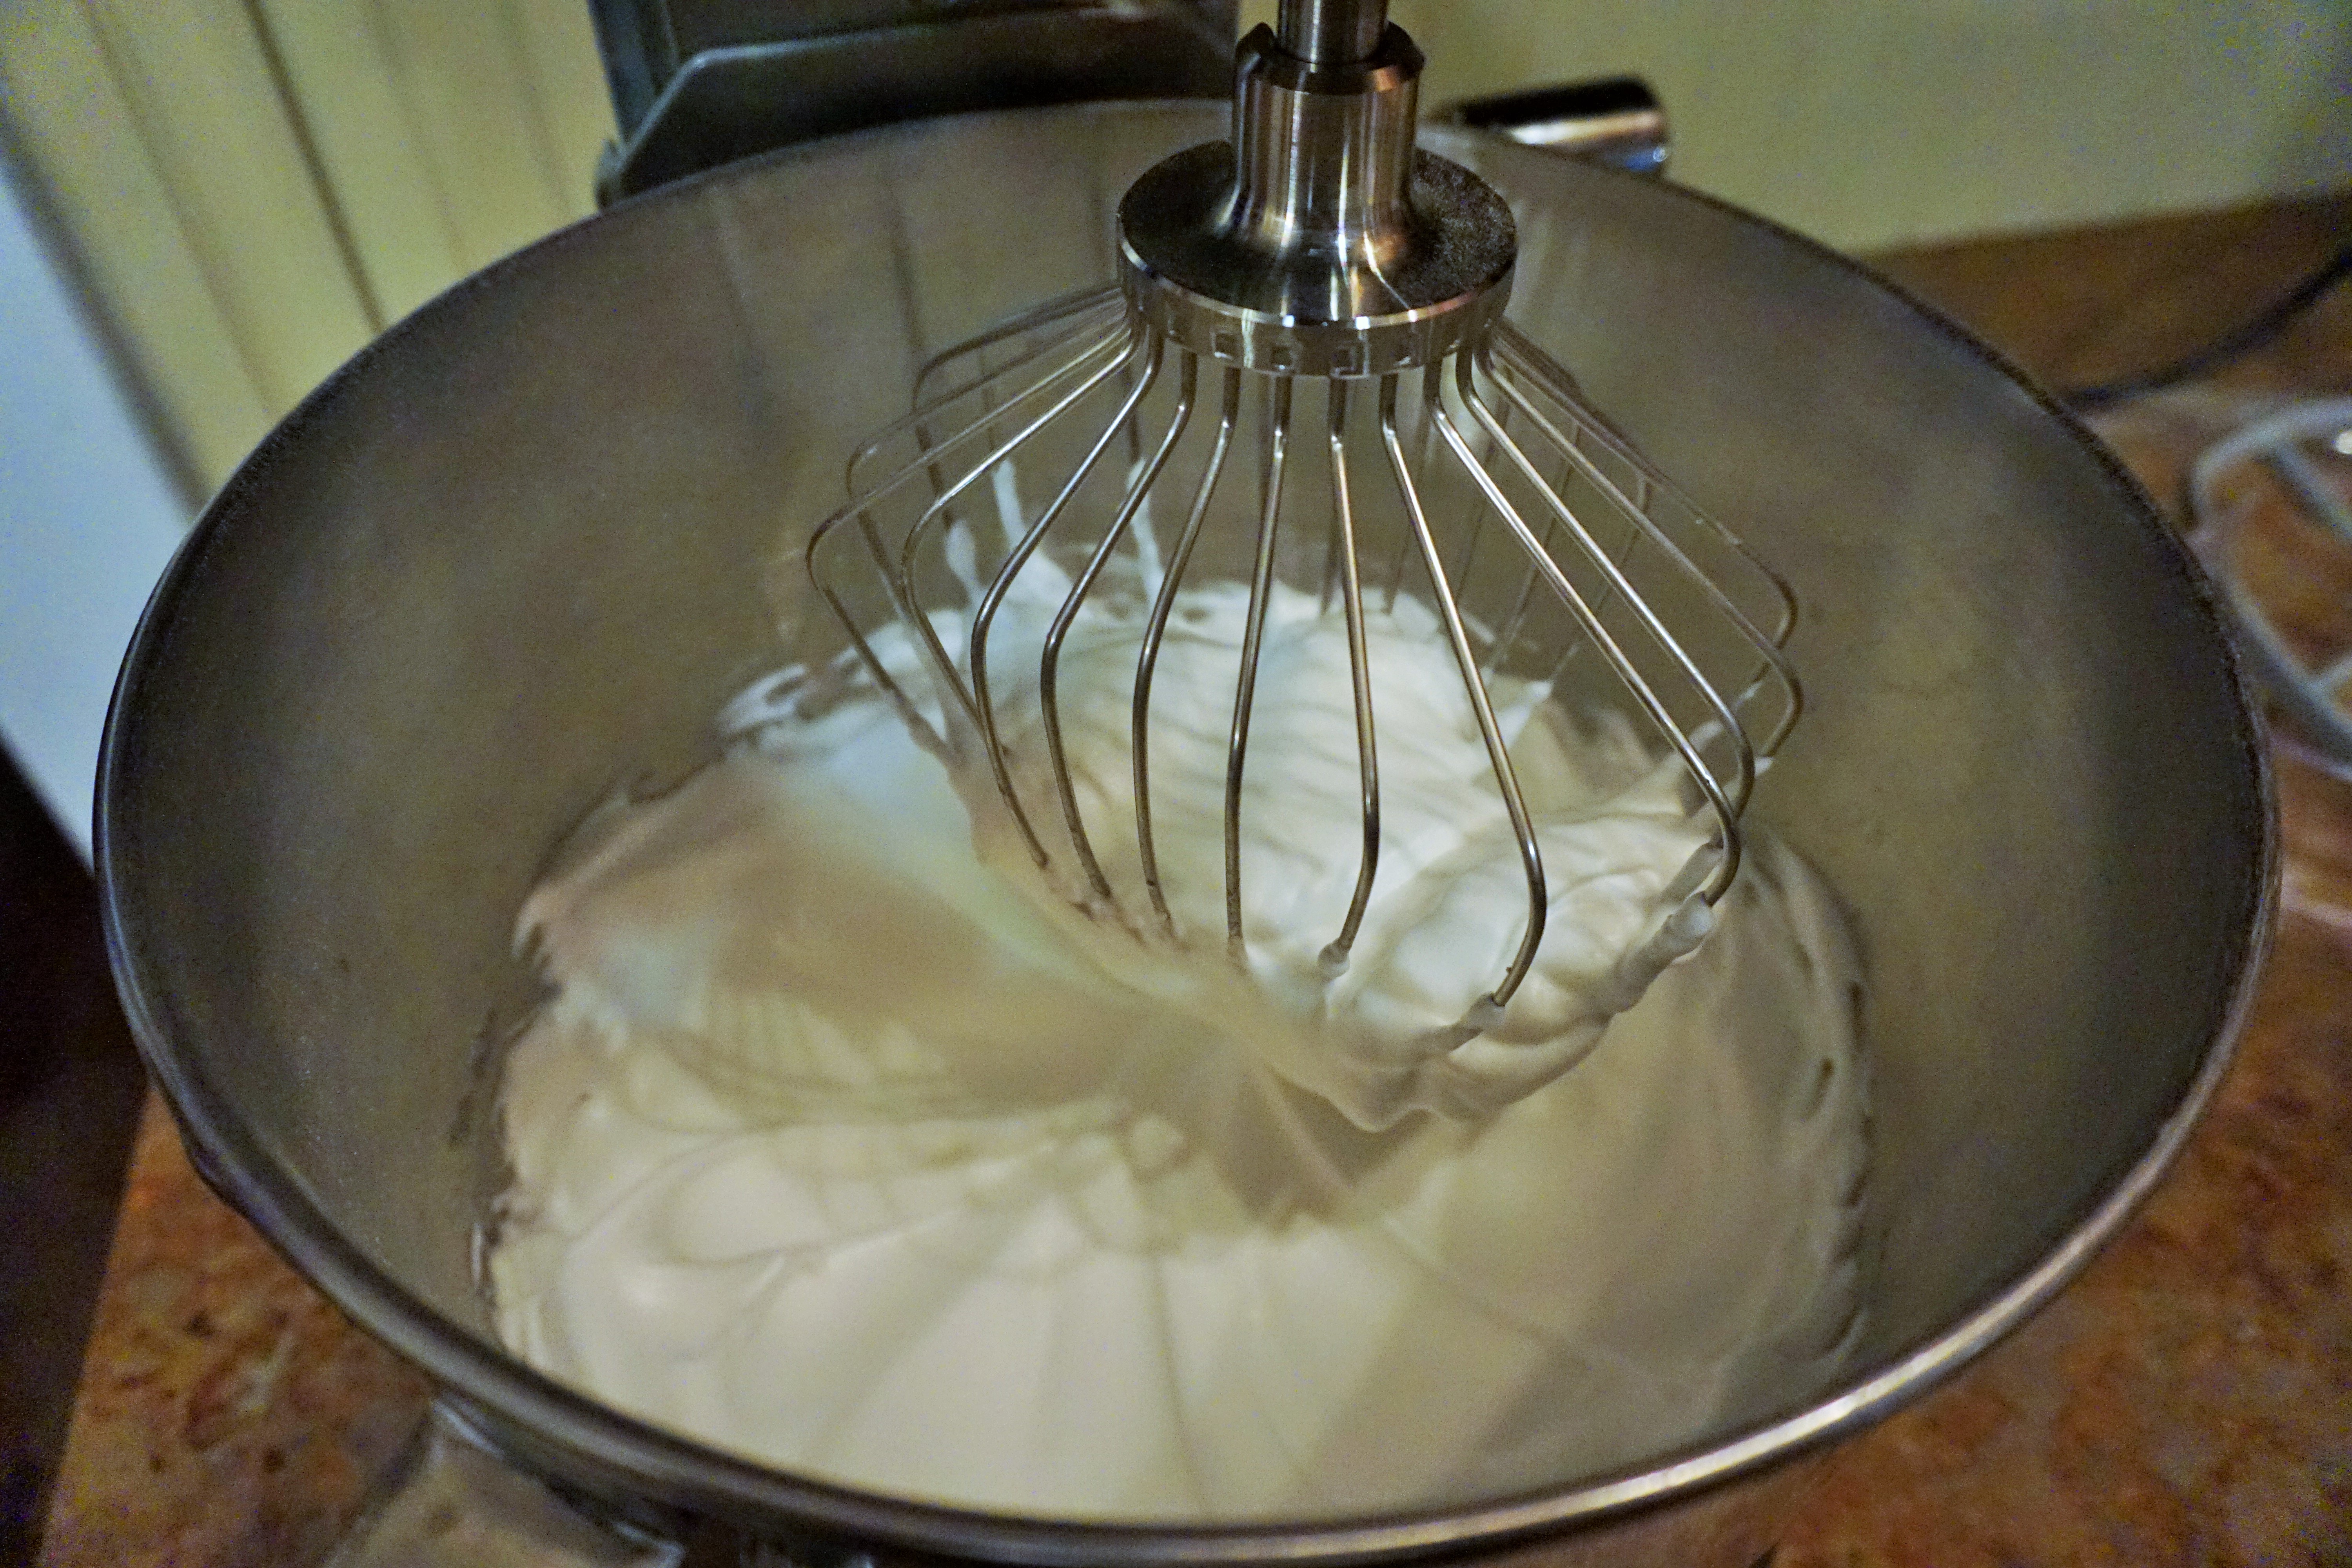
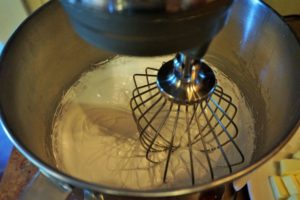
If you have time, age the egg whites. Separate the whites from the yolks, and store the whites in an airtight container in the refrigerator for 1 to 2 days. Aging reduces the moisture content and increases the elasticity of the whites. Remember to take them out of the refrigerator and don’t begin whipping until they’ve reached room temperature. I have skipped the aging process on many occasions without any problems. The egg whites should be whipped until they form a stiff peak (approximately 5 minutes). When you lift the beaters, the tip of the meringue should not curl downward (see photo below).
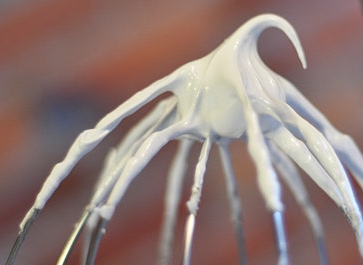
You want to beat until the egg whites form stiff peaks that stand straight up (see photo below).
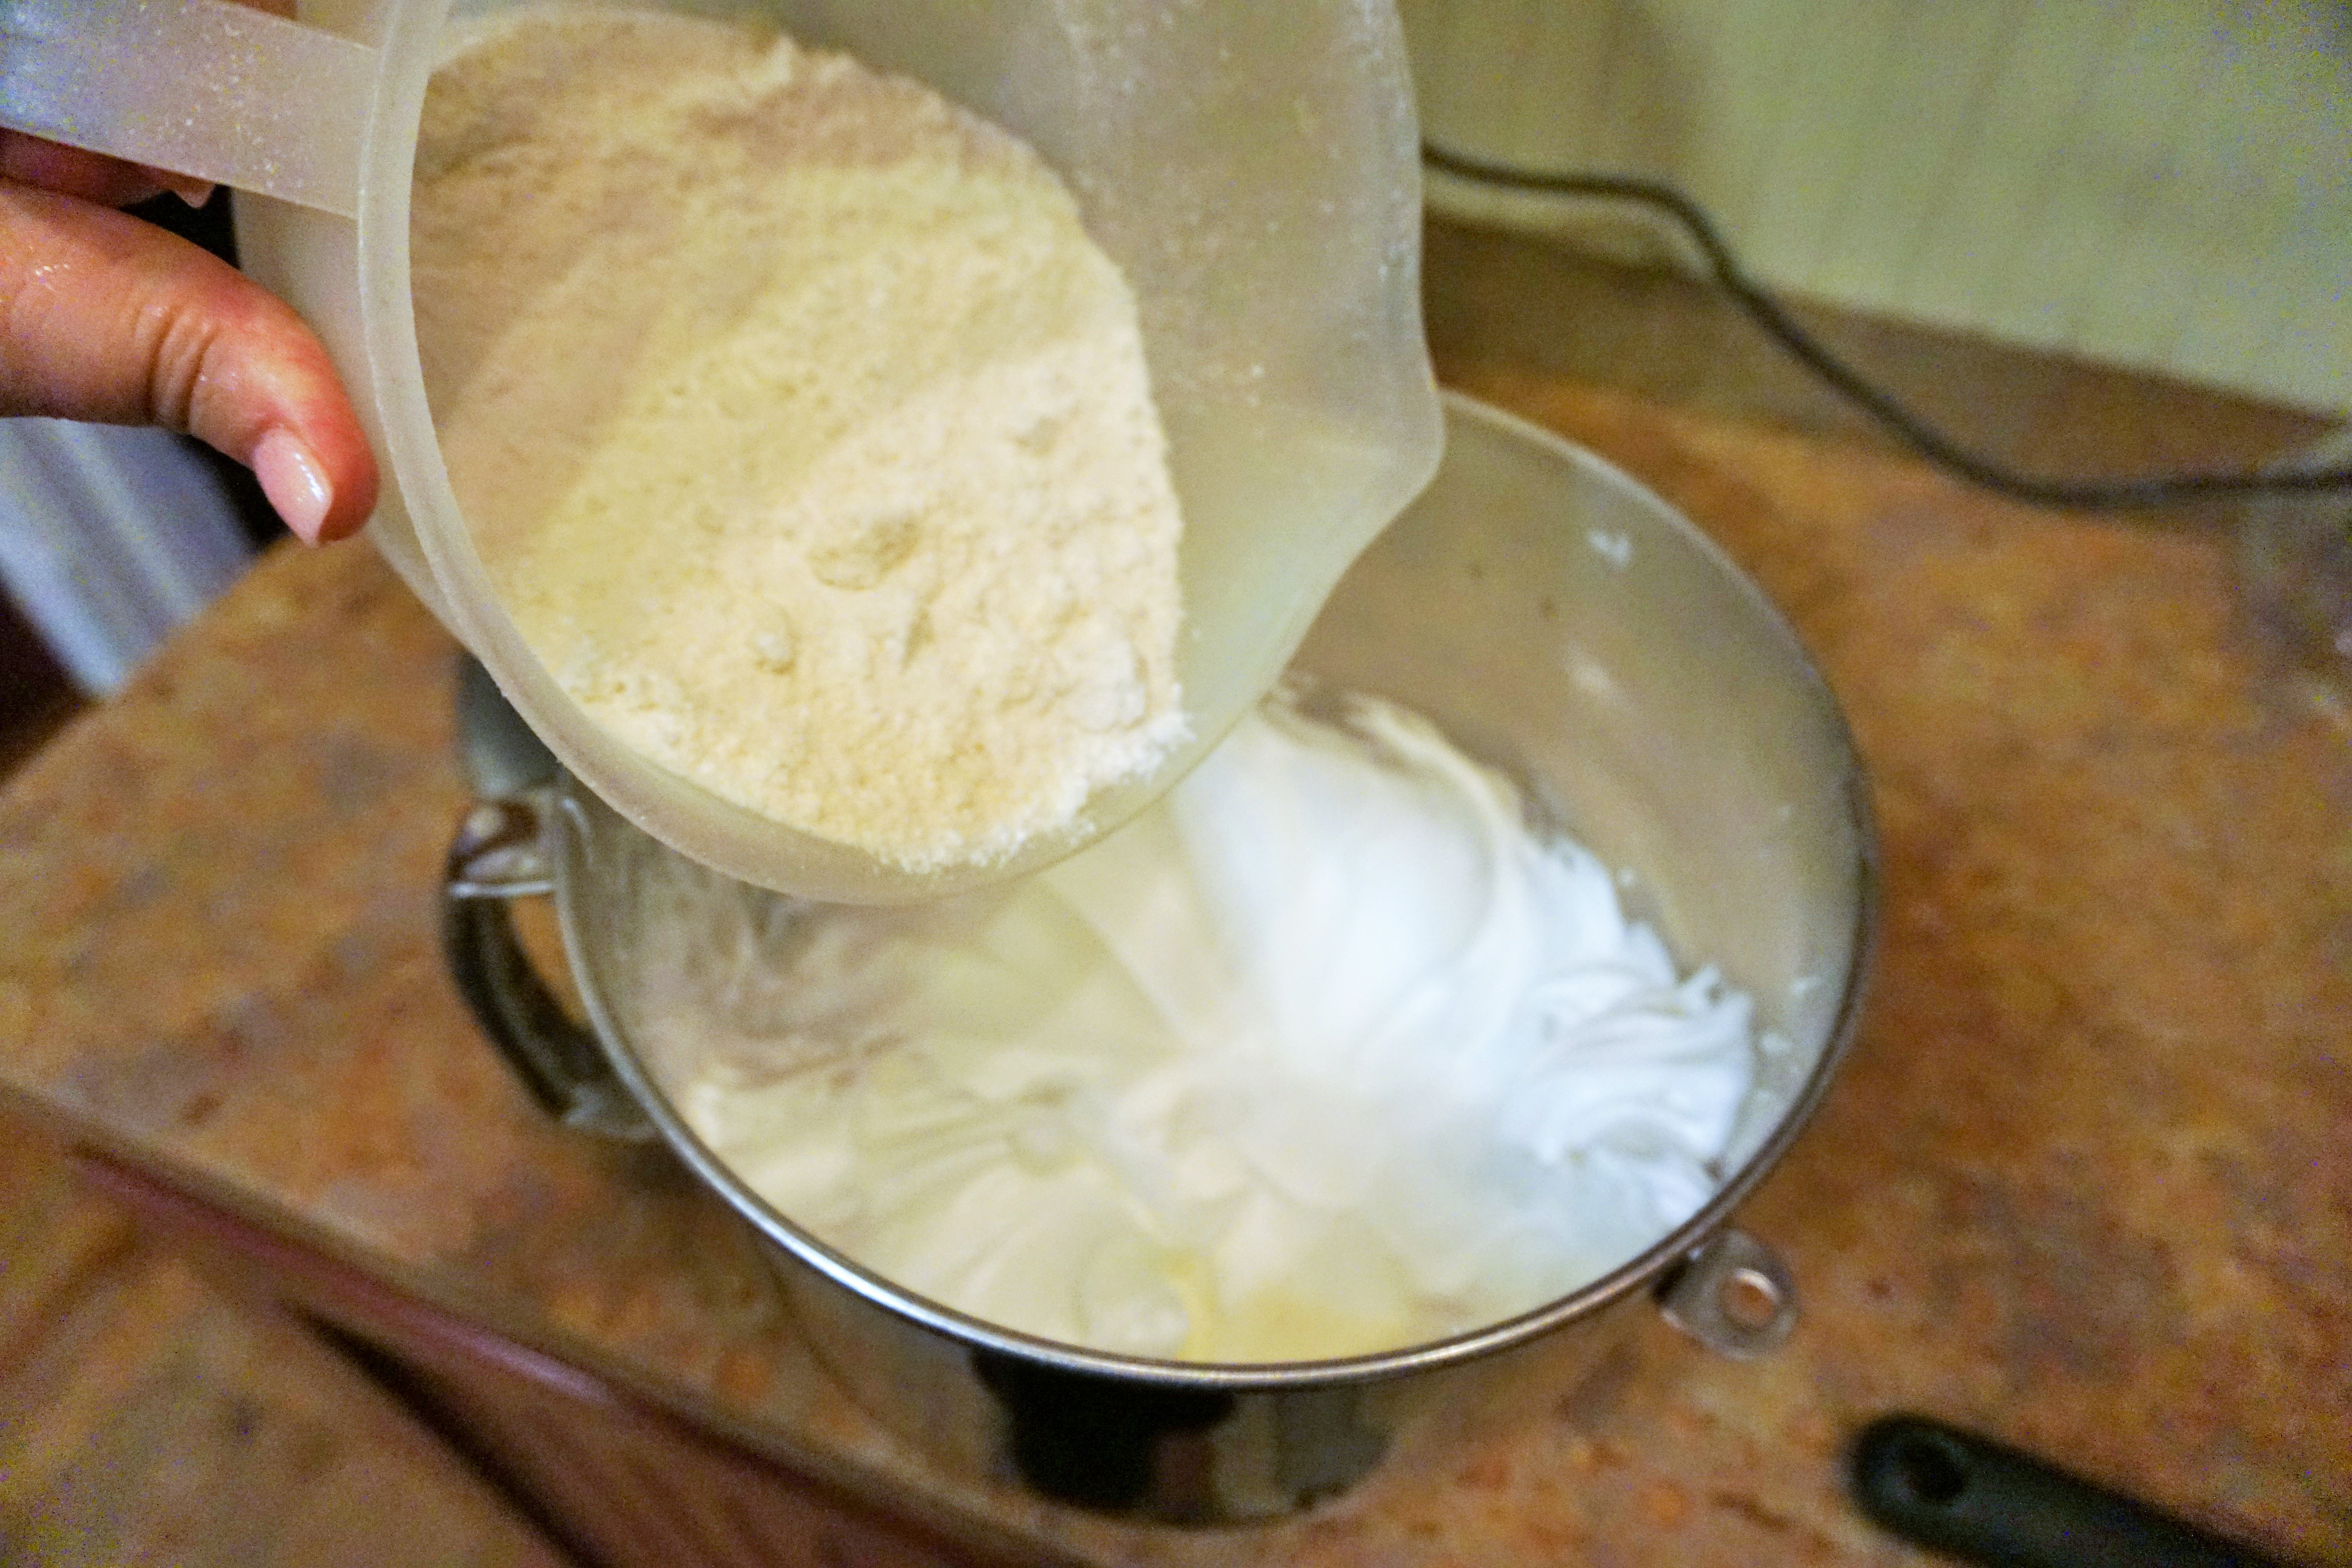
Do not overbeat, as the egg whites can separate in chunks and be dry. If you overbeat, and your egg whites separate into chunks, you will need to start over. Once the egg whites are whipped to stiff peak consistency, the dry ingredients need to be added right a way to avoid any deflation or separation of the egg whites.
Always, always, always dry the piped shells before baking them by letting them rest on the countertop until completely dry to the touch (anywhere from 30 minutes to 2 hours, depending on the humidity level on that particular day). The resting step is necessary because it creates an air-dried crust on the surface of the shells that trap in the heat at the base and pushes the edges upward, creating the little ruffle around the edges, also known as “feet.” The dried cookies have nowhere to go when they bake but up, not out. High humidity prevents the shell from drying thoroughly during the resting period, so if you are making these on a very humid day, you might let them sit out the full 2 hours.
Fold the batter using a rubber spatula, slicing the spatula through the center to the bottom of the bowl, then bring the bottom to the top. Turn the bowl a quarter turn and repeat until everything is well incorporated and no pockets of dry ingredients remain. Just remember, you are folding, not stirring or whipping. When to stop folding? When there are no dry ingredients visible and when you lift the batter and drop some back into the bowl, a thick ribbon forms and seems to flatten within about 20 seconds. If you think about the next step, which is piping the batter into rounds, you want the batter to be a consistency that won’t leave nipples when you lift the piping tip. So, when the batter seems to level itself out in 20 seconds, stop folding. Don’t overmix at this point or your Macaron tops can crack.
I know that all sounds daunting, but it is such a thrill when these delicate little cookies turn out perfectly! It might take a couple practice rounds in order for you to get the “feel” of the egg whites and the batter consistency. I’ve had numerous practice rounds and I made notes along the way to help me to remember what not to do! I hope I’ve provided enough information in this post so that you can avoid some of the mistakes that I made early on. So, without further adieu, let’s get started, shall we?
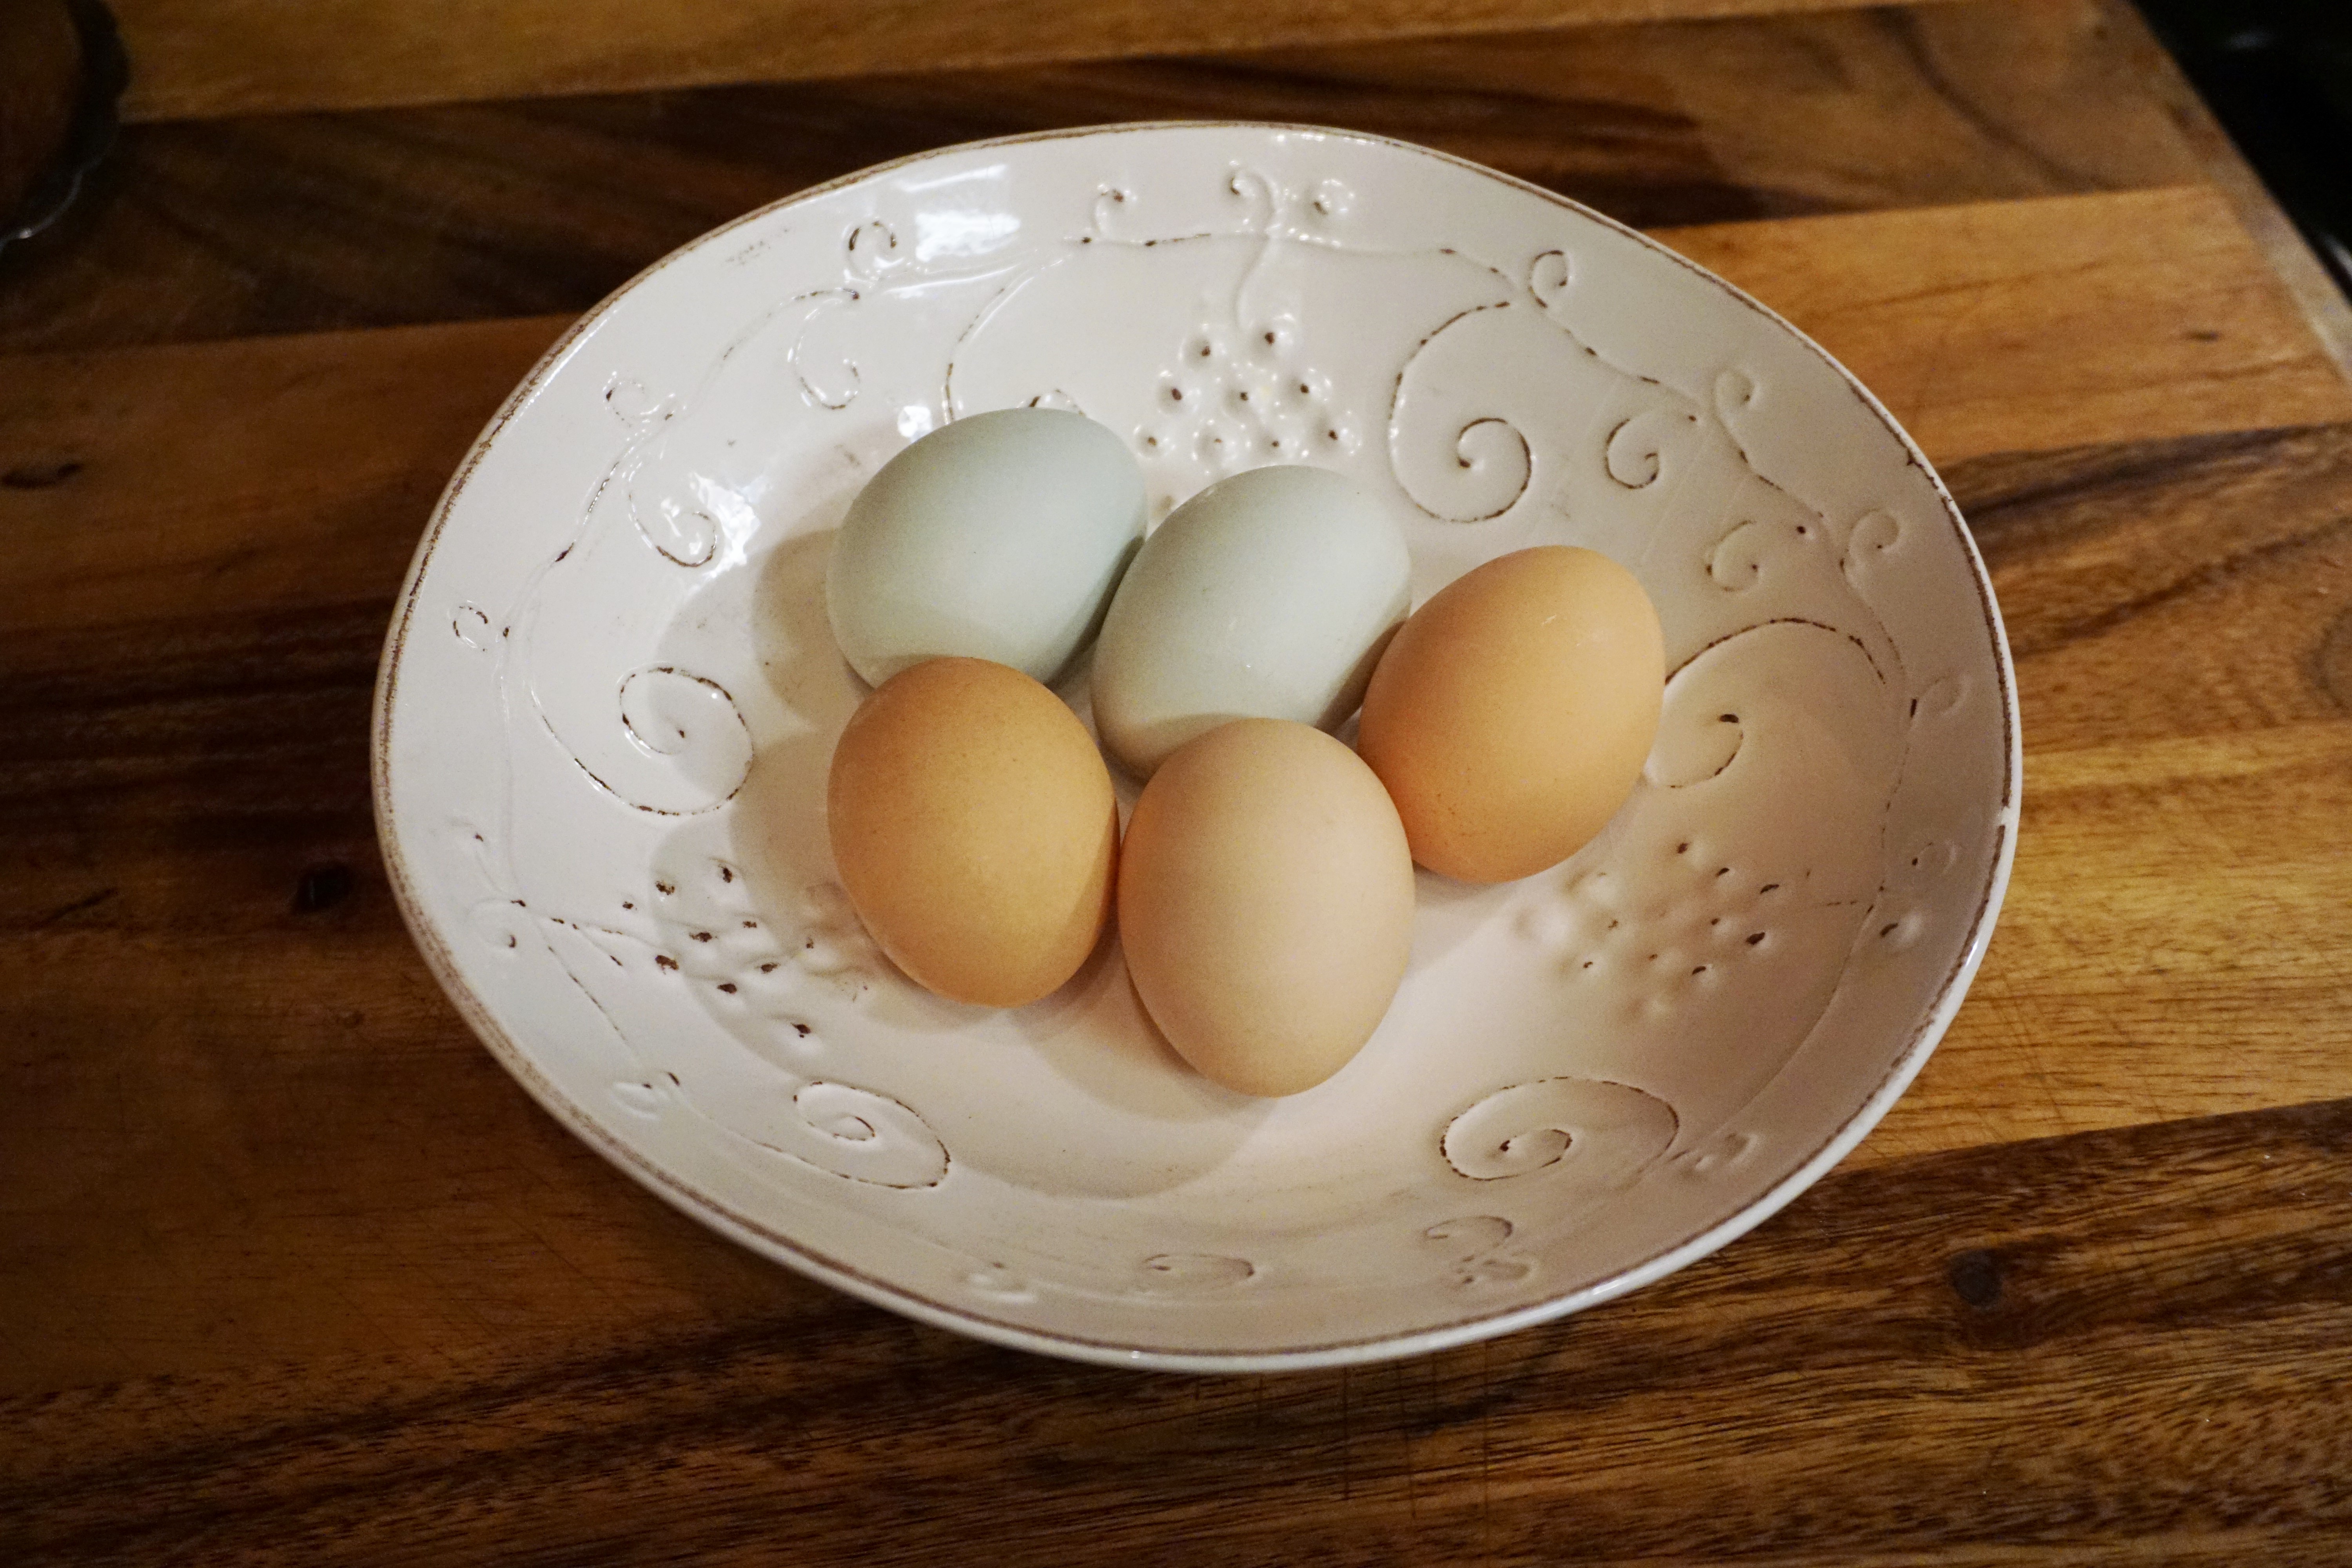
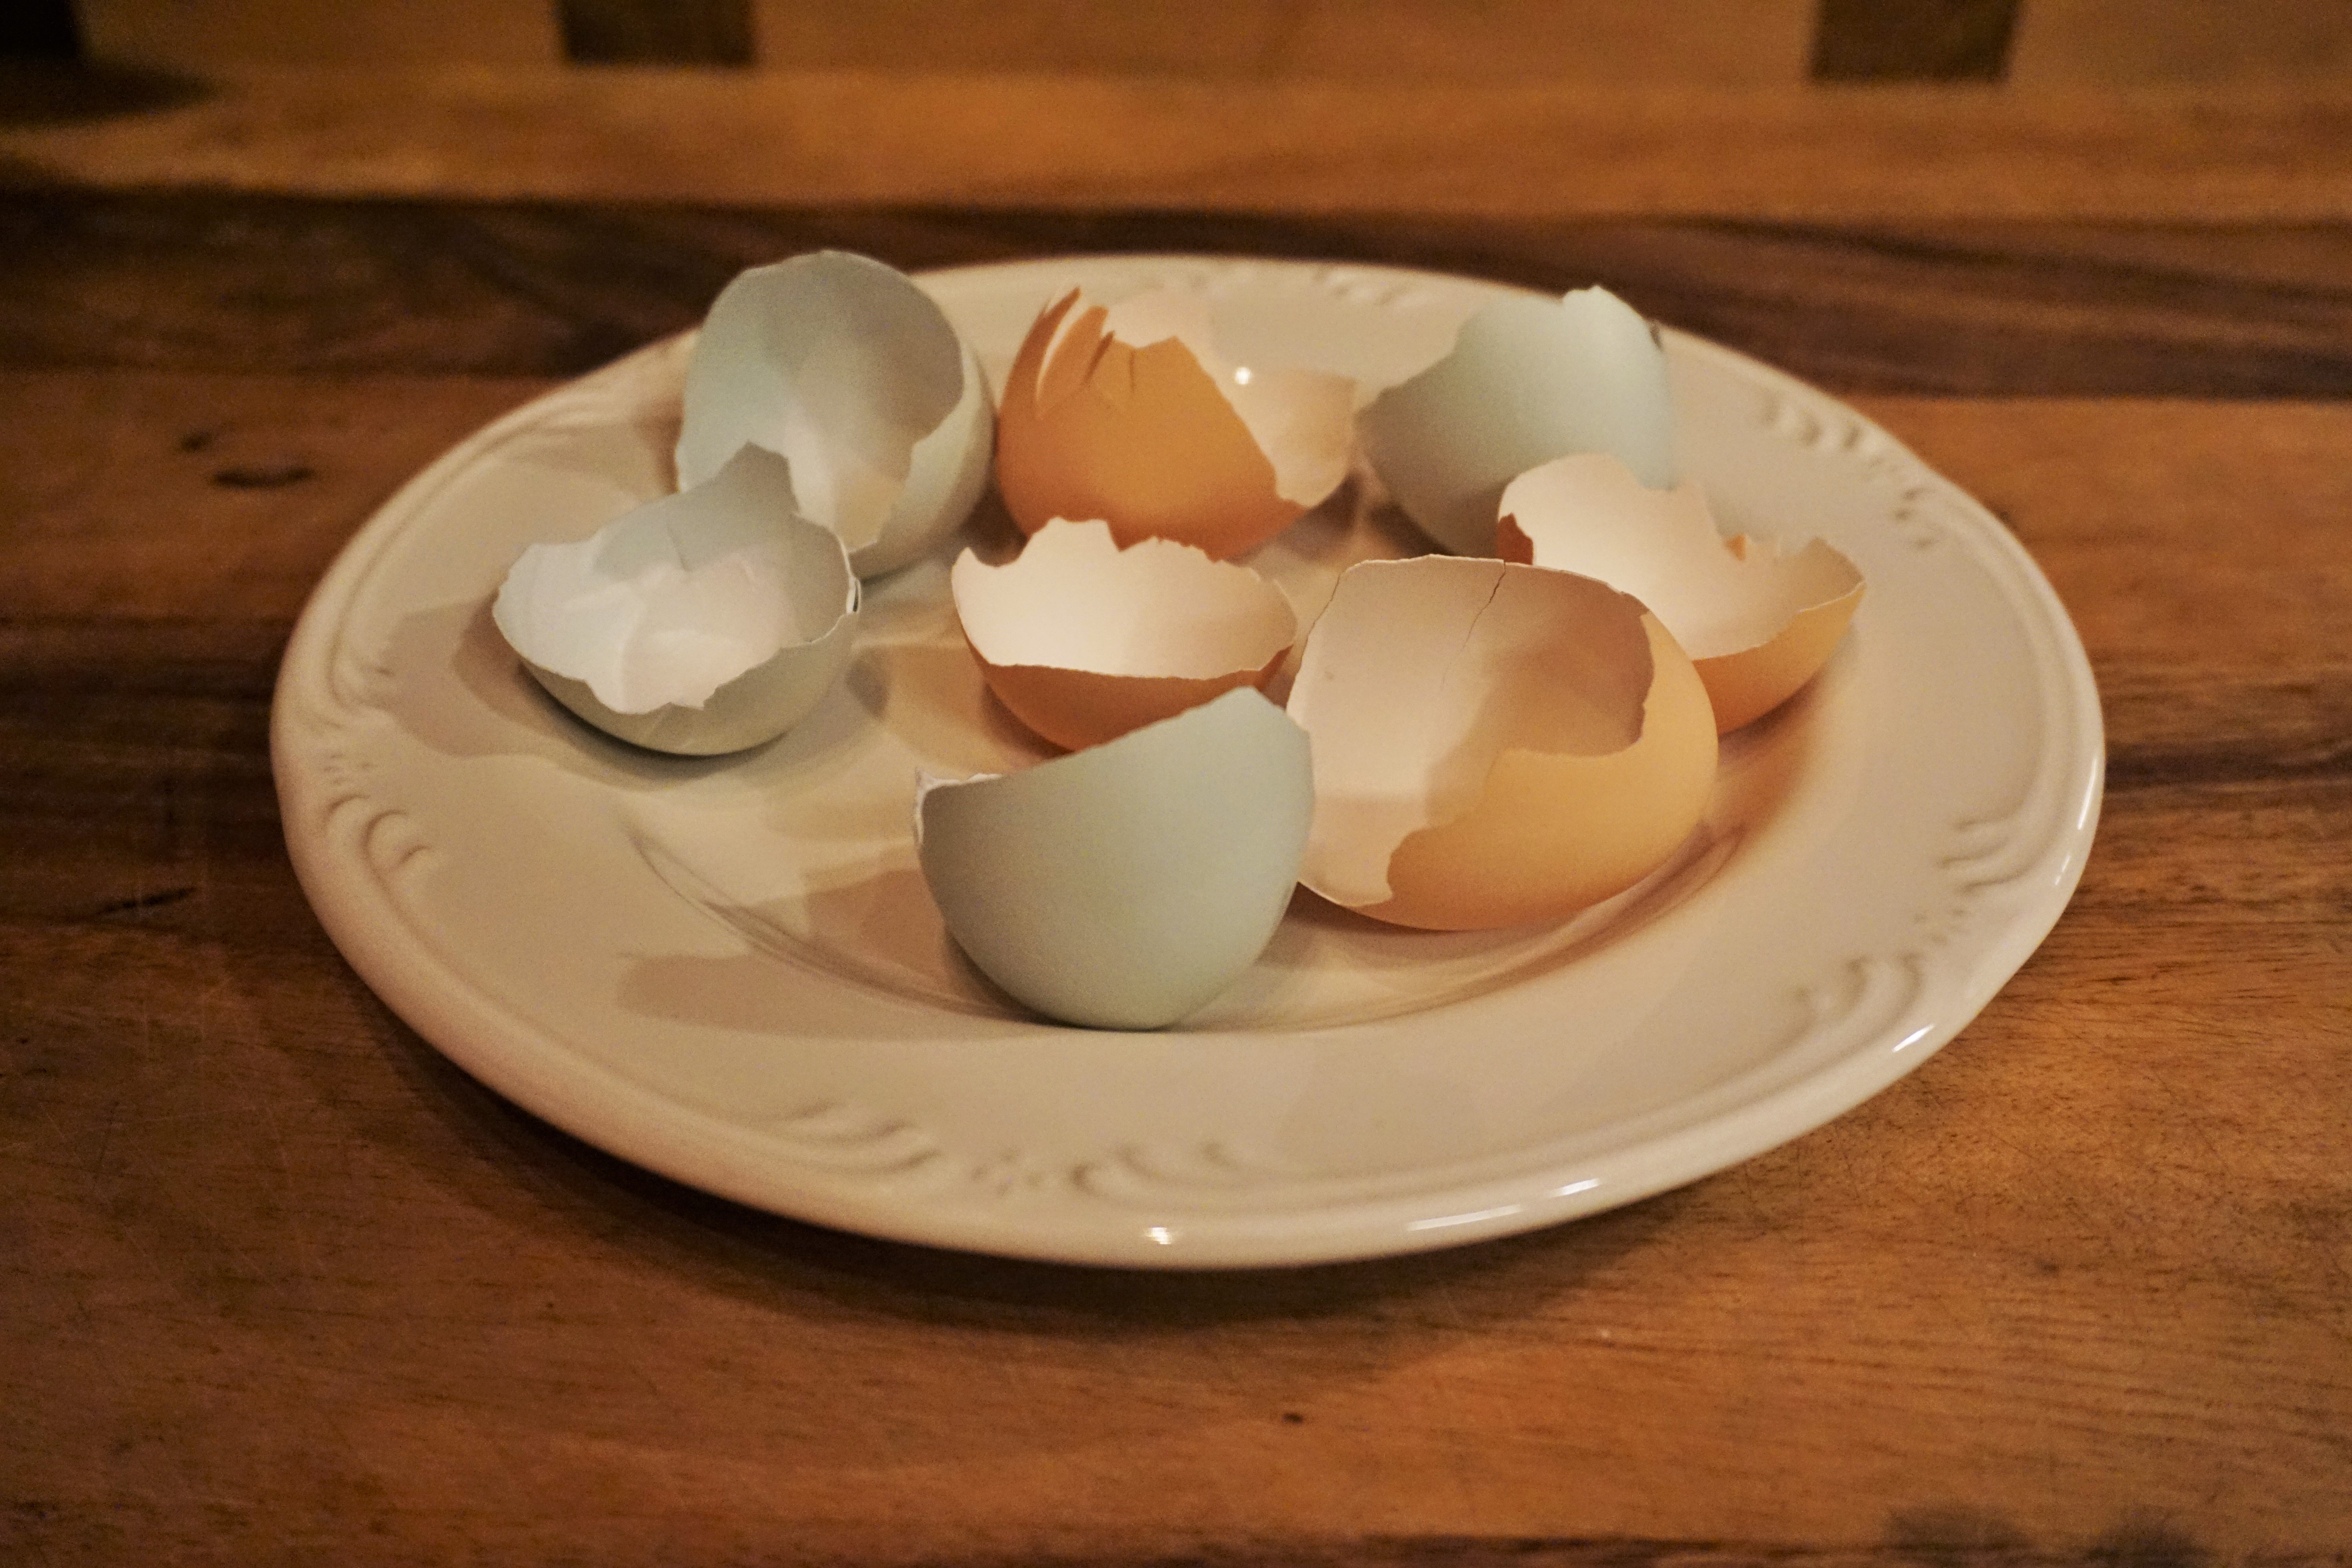
Take the eggs out of the refrigerator so that they will be at room temperature when you begin beating them (about an hour before beating).
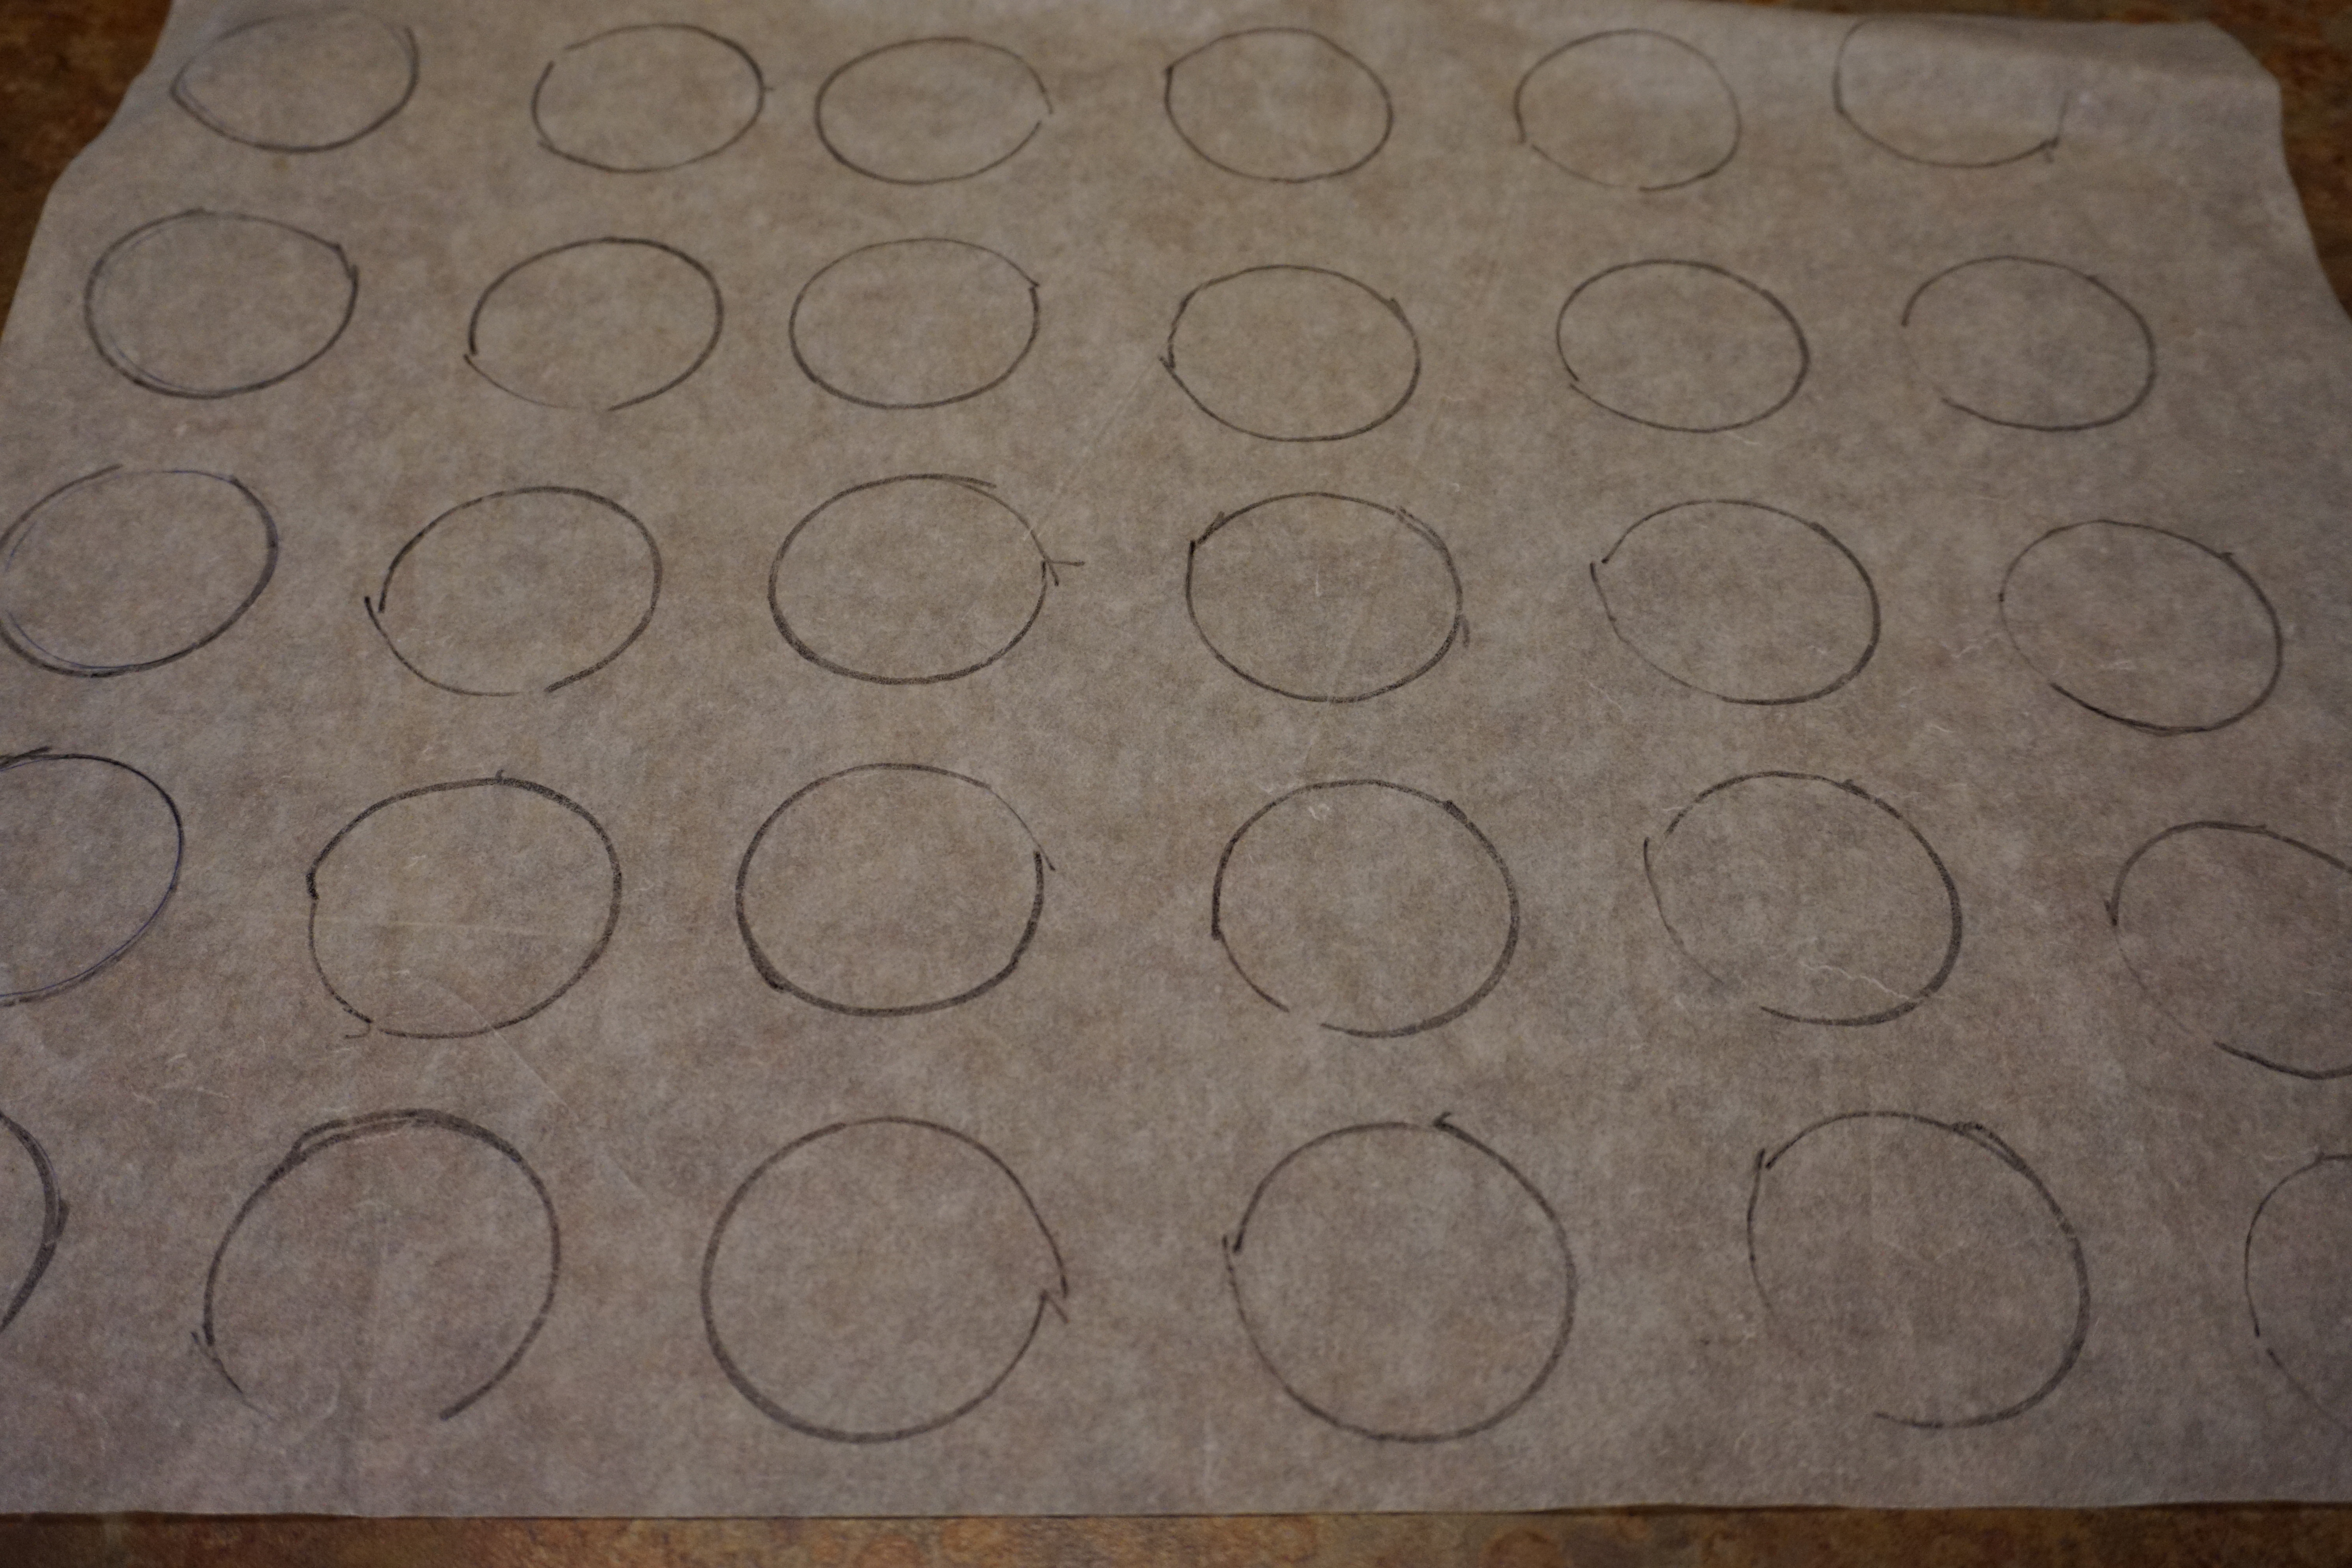
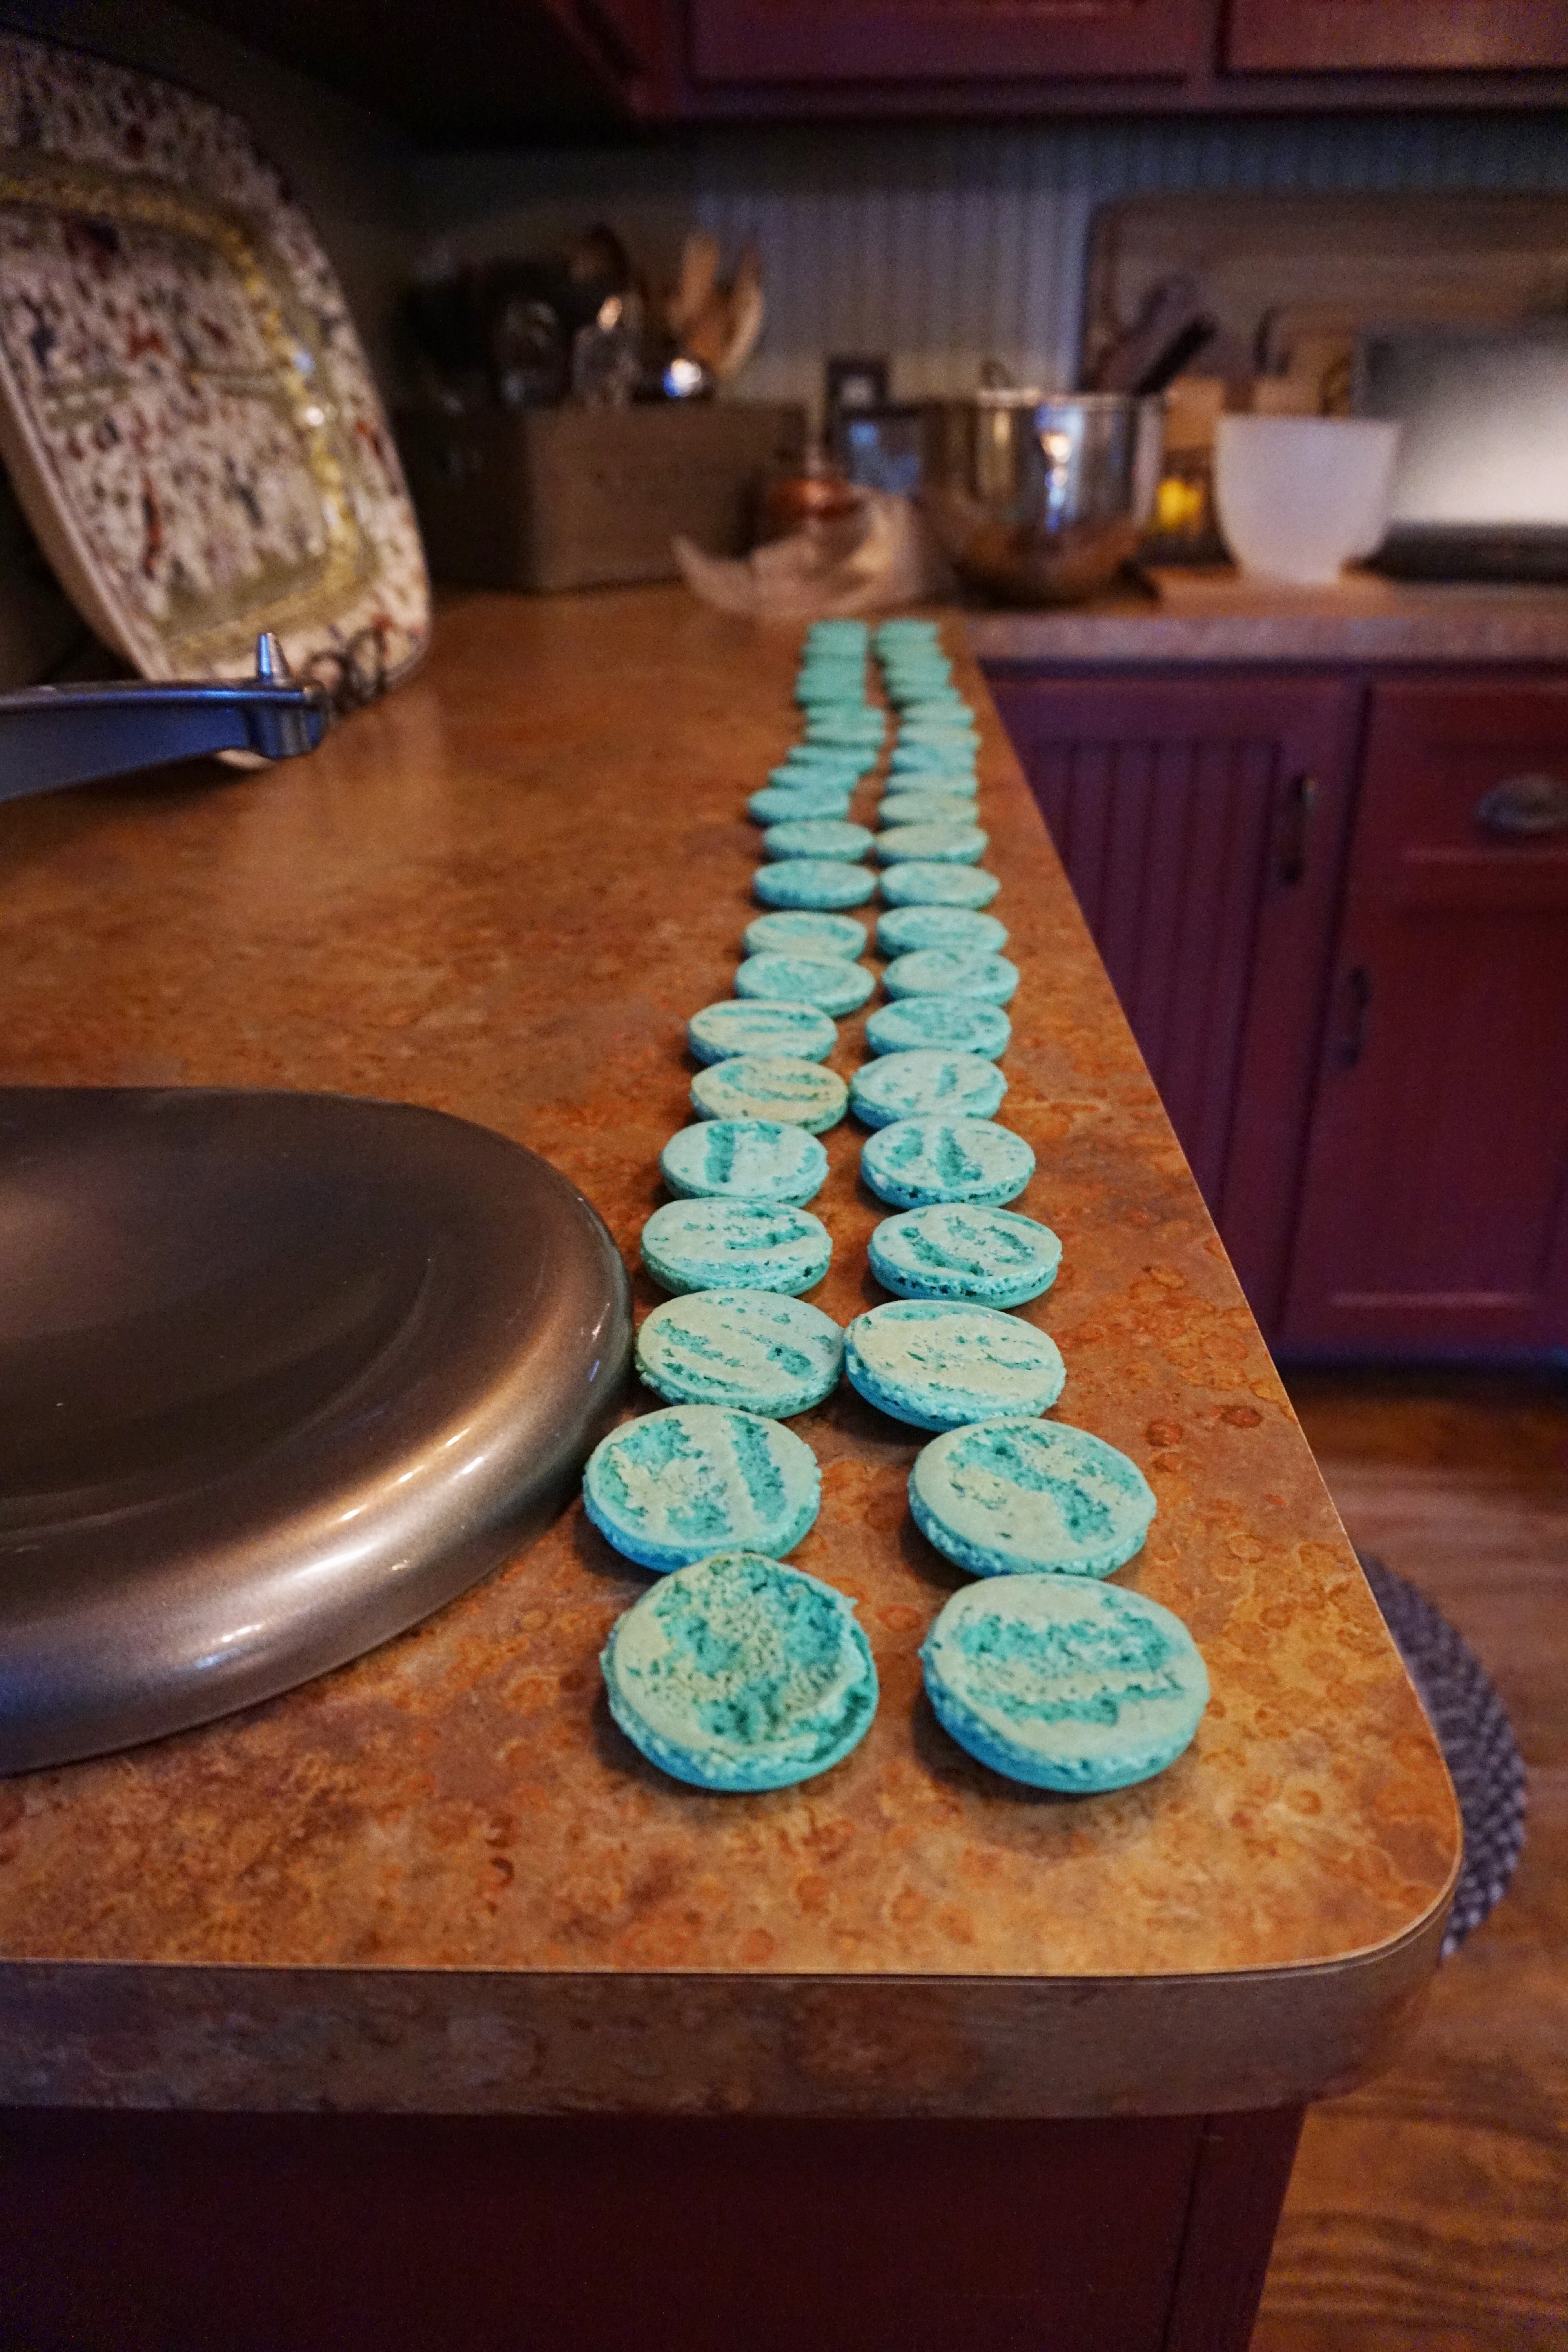
Using a bottle cap or other round object that is approximately 1-1/4″ to 1-1/2″ in diameter, begin by making a template of circles on parchment paper about 1″ apart. You will place another piece of parchment on top of this sheet to use as a guide, so make your markings dark so that you will see them through the second piece of parchment.
Preheat the oven to 325 degrees F (300 degrees F for a convection oven). Line 2 baking sheets with parchment paper with the template underneath.
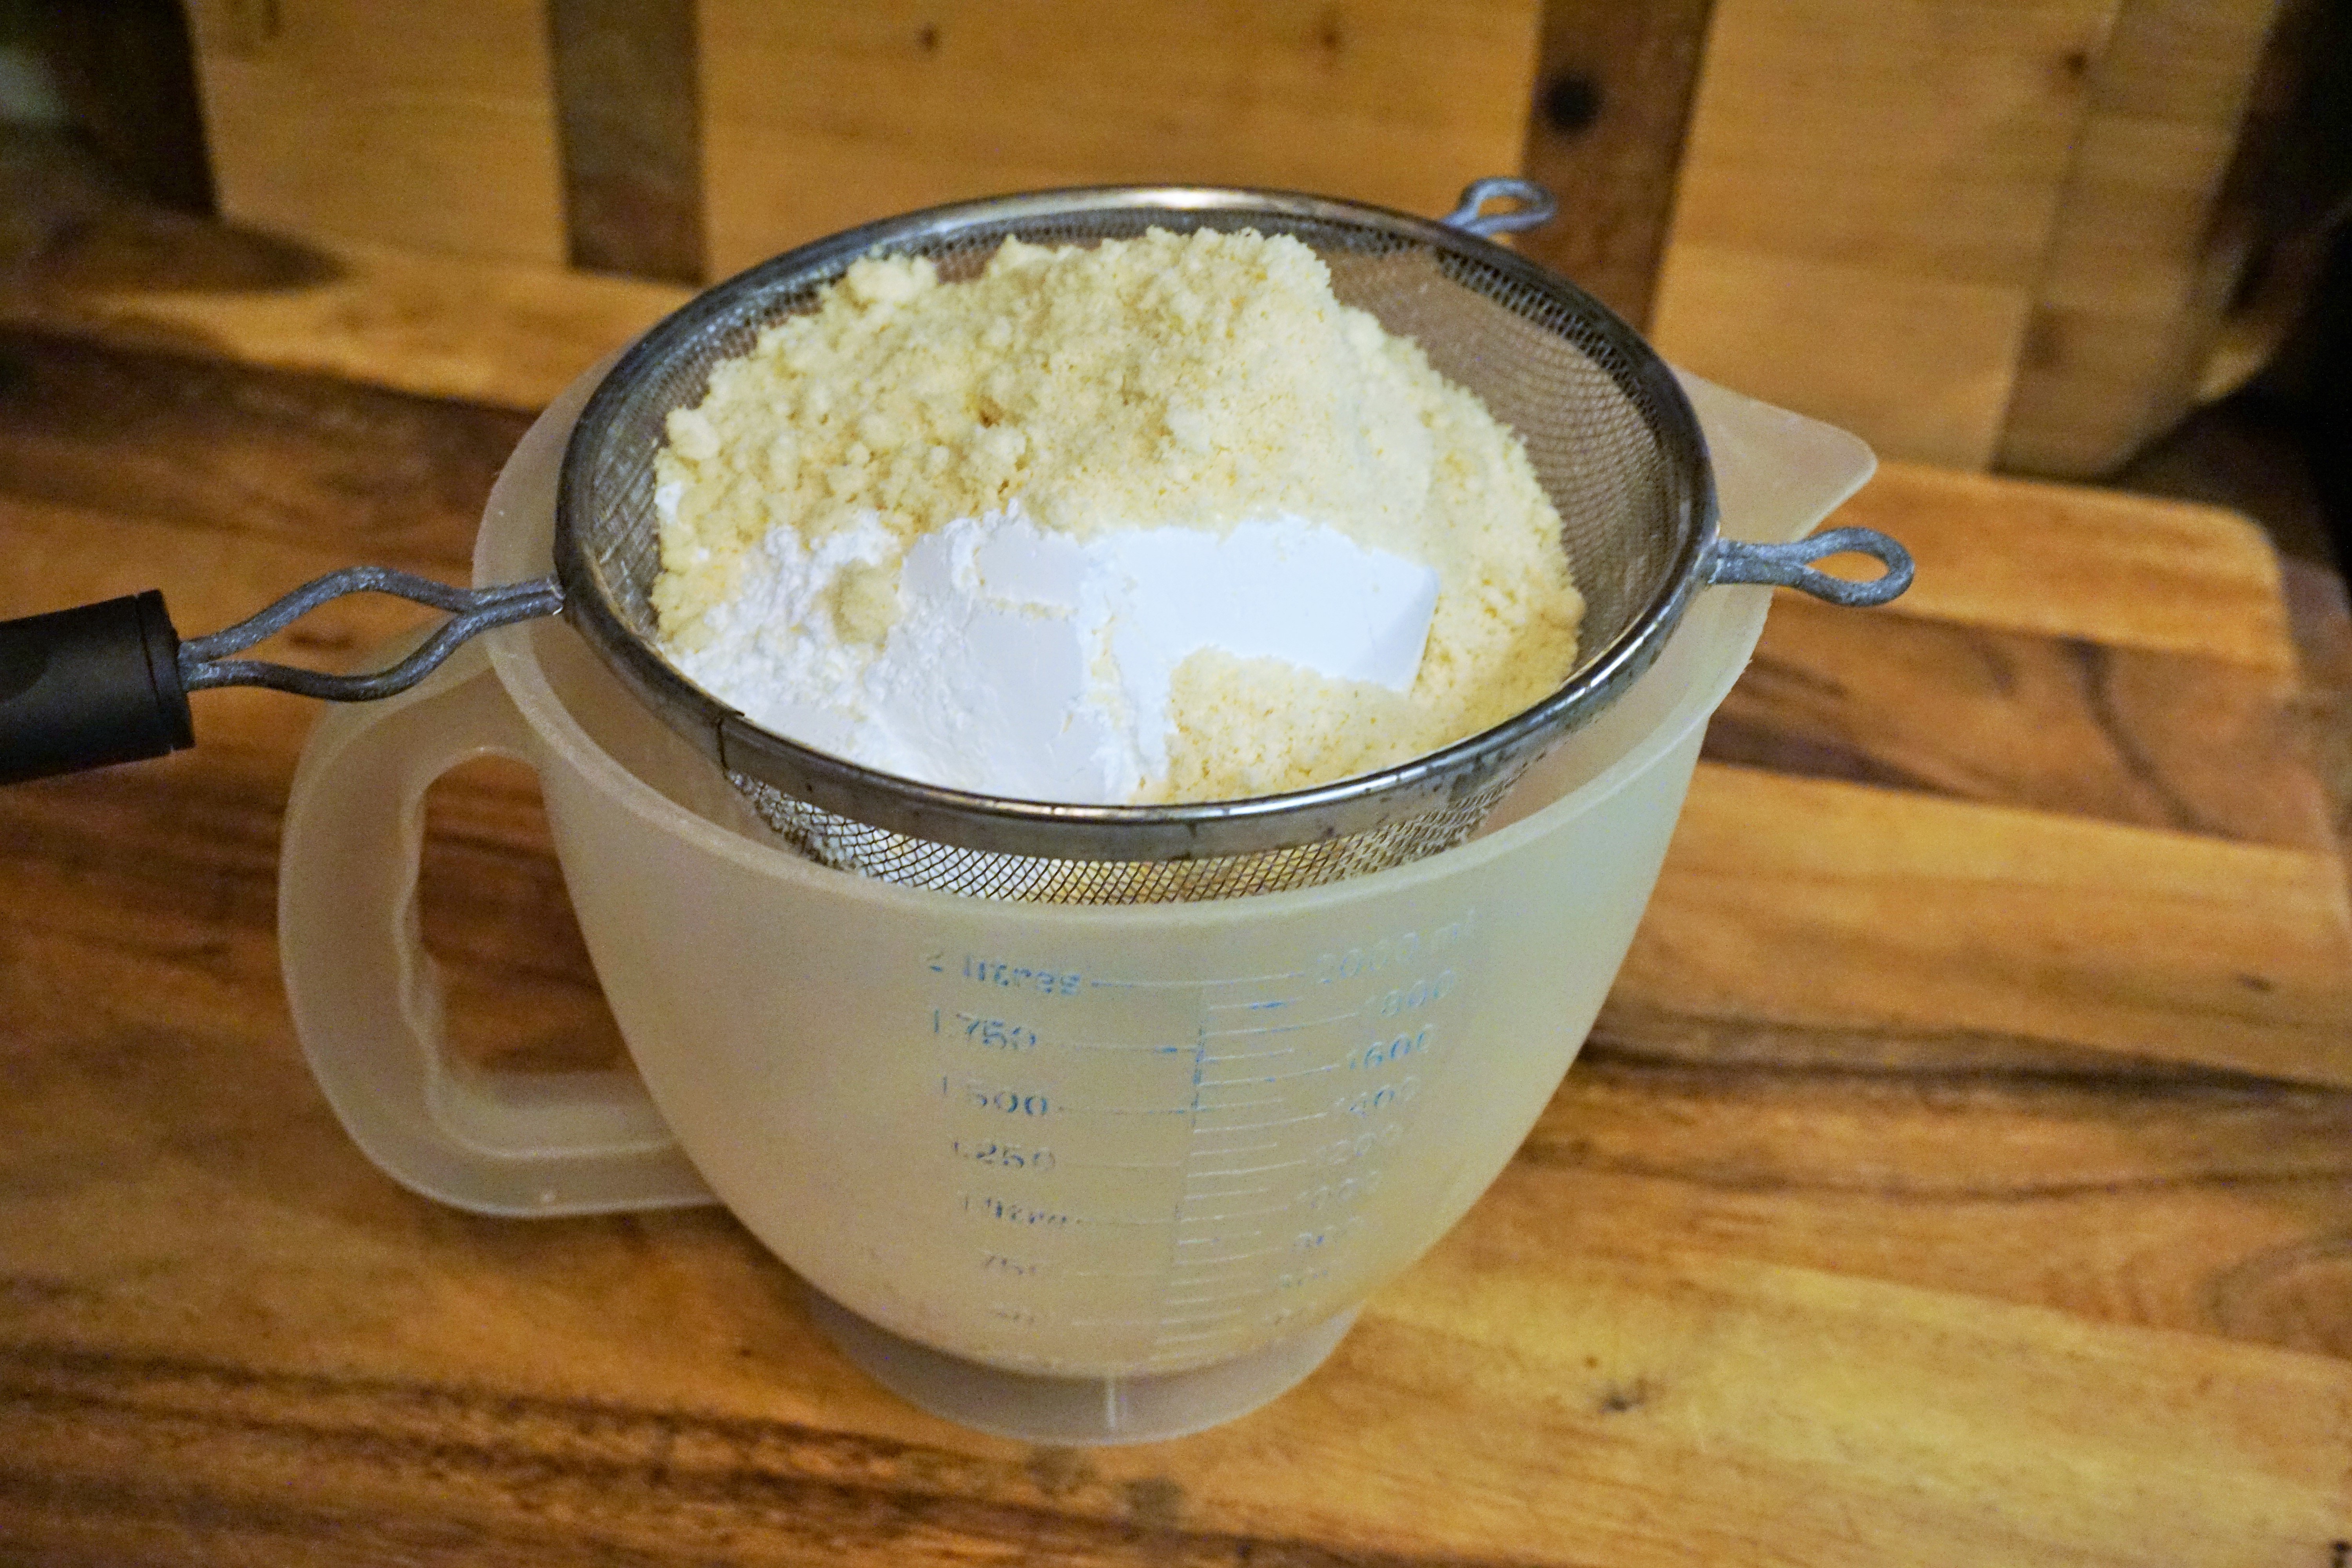
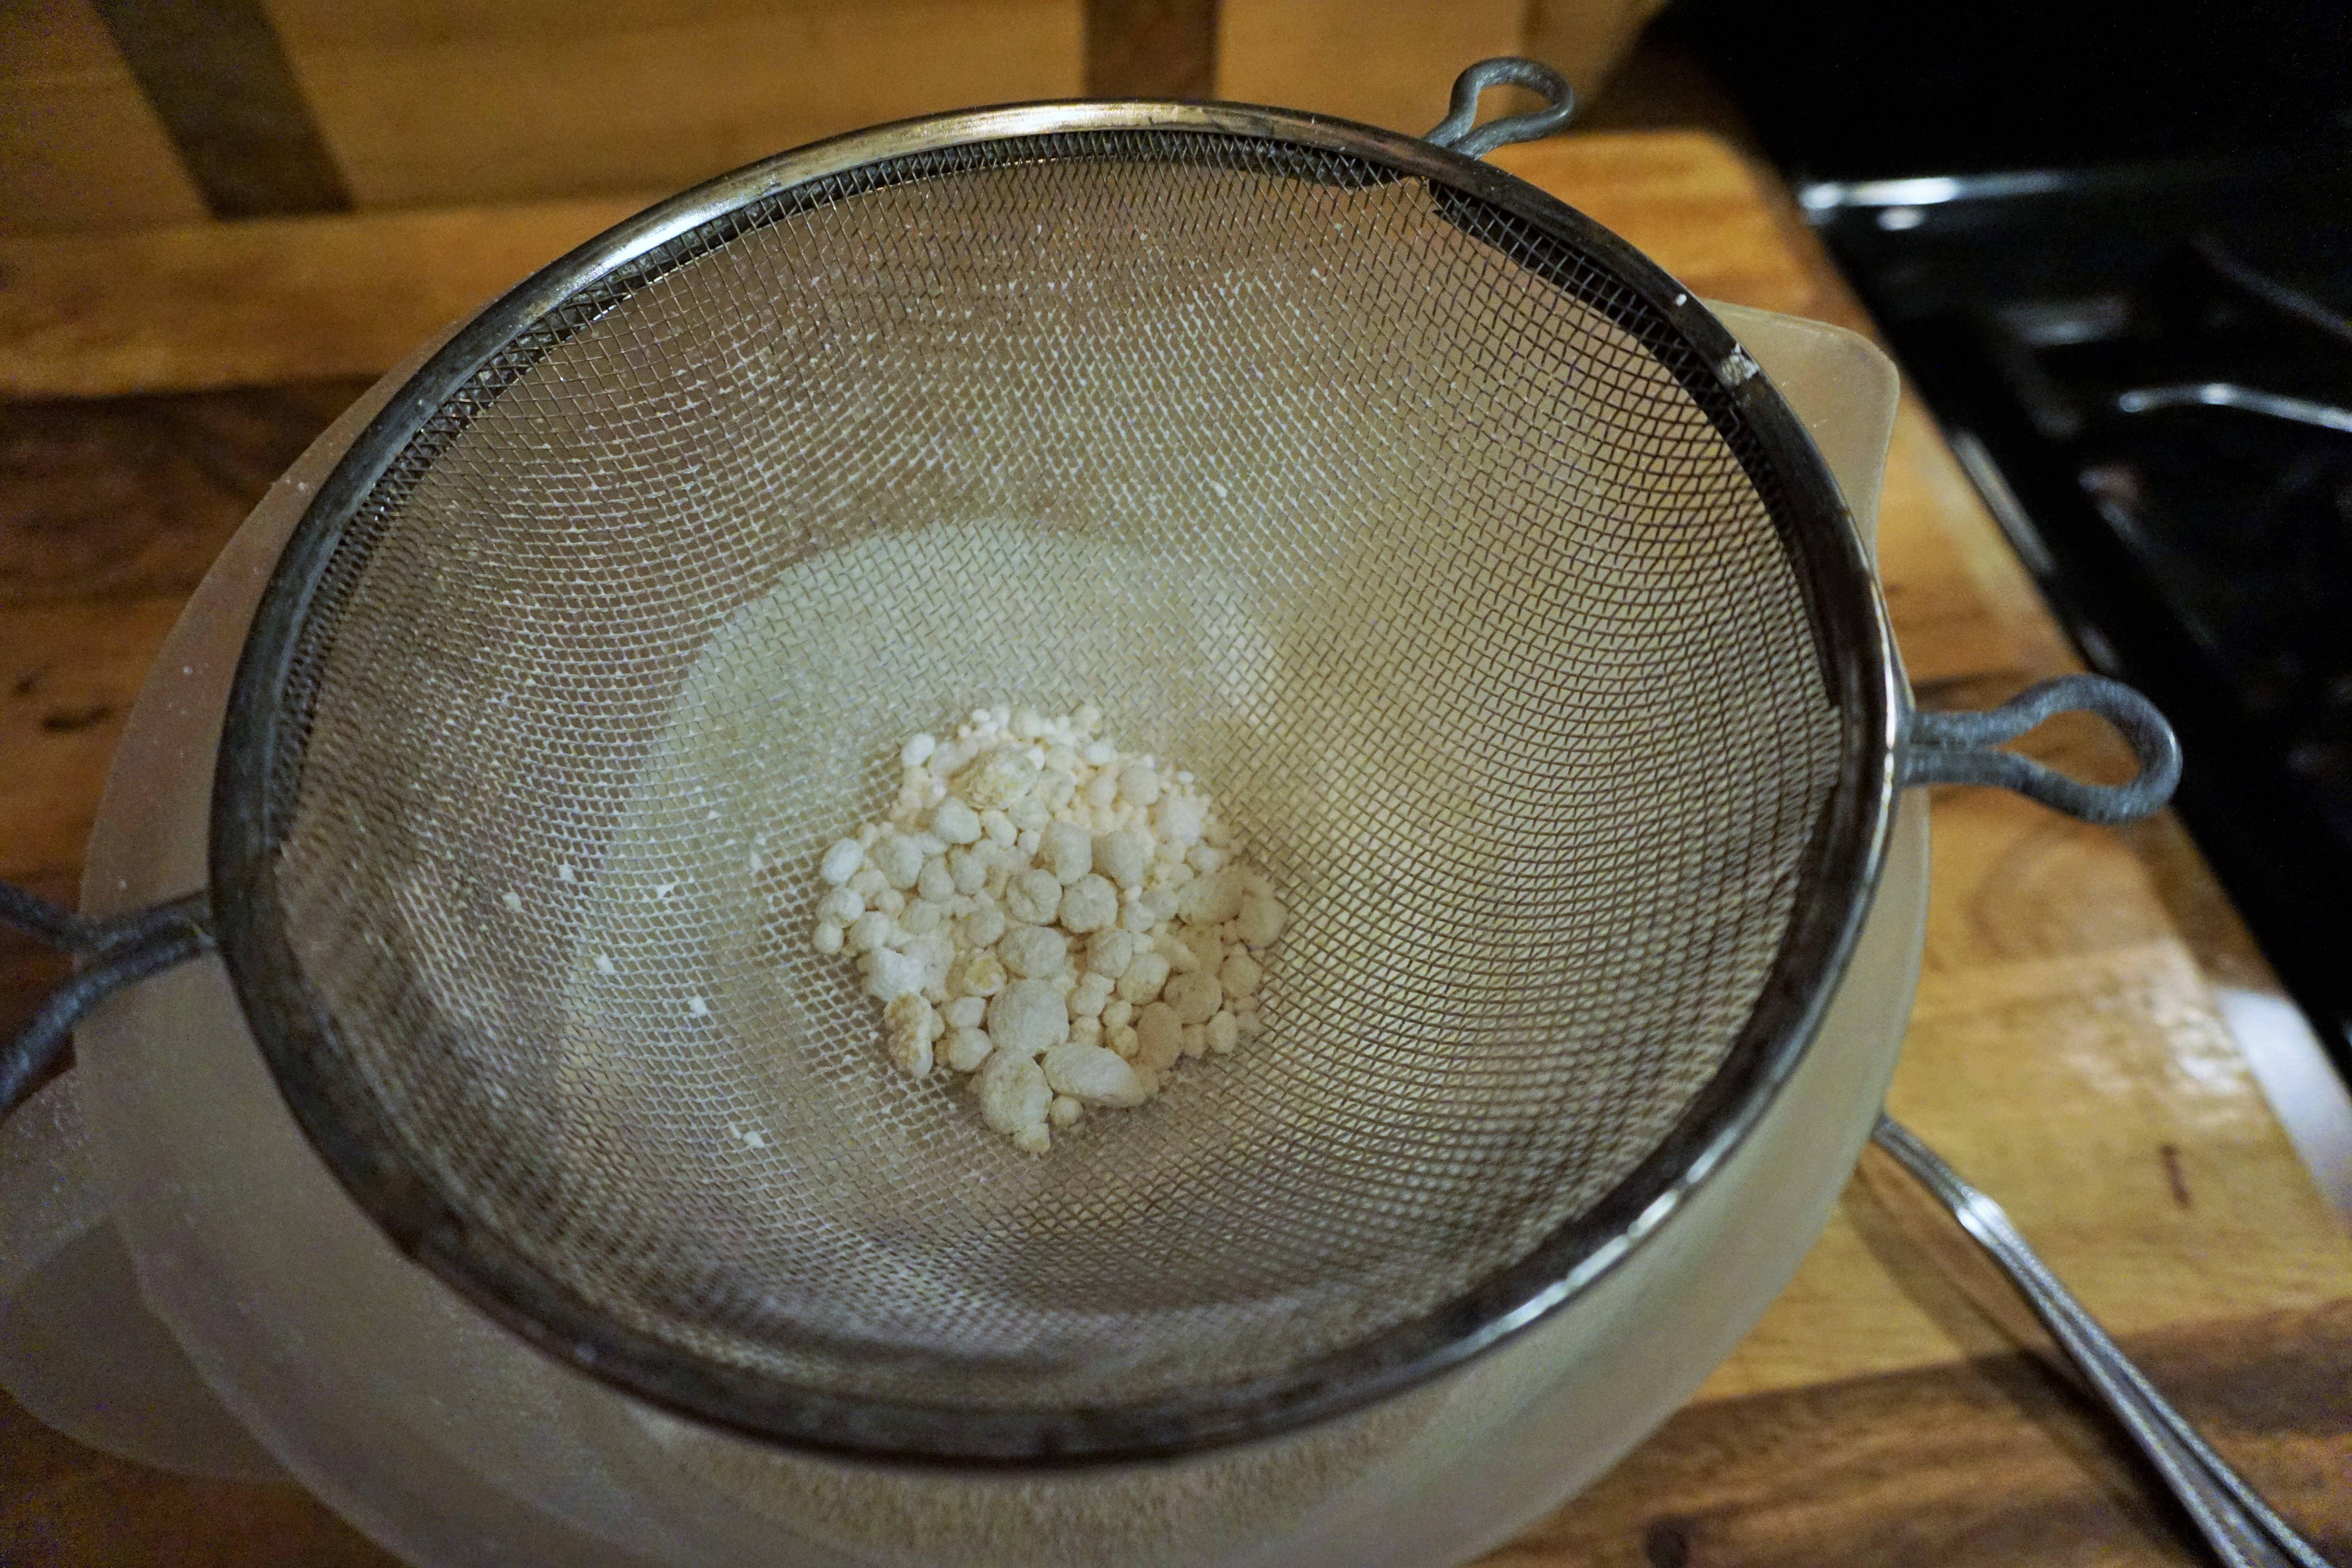
Measure the confectioners’ sugar and almond flour by spooning them into measuring cups and leveling with a knife. Transfer to a bowl; whisk to combine. Sift the sugar-almond flour mixture, a little at a time, through a fine-mesh sieve into a large bowl. What is left after sifting can either be tossed or stirred with a spoon until it sifts through the mesh.
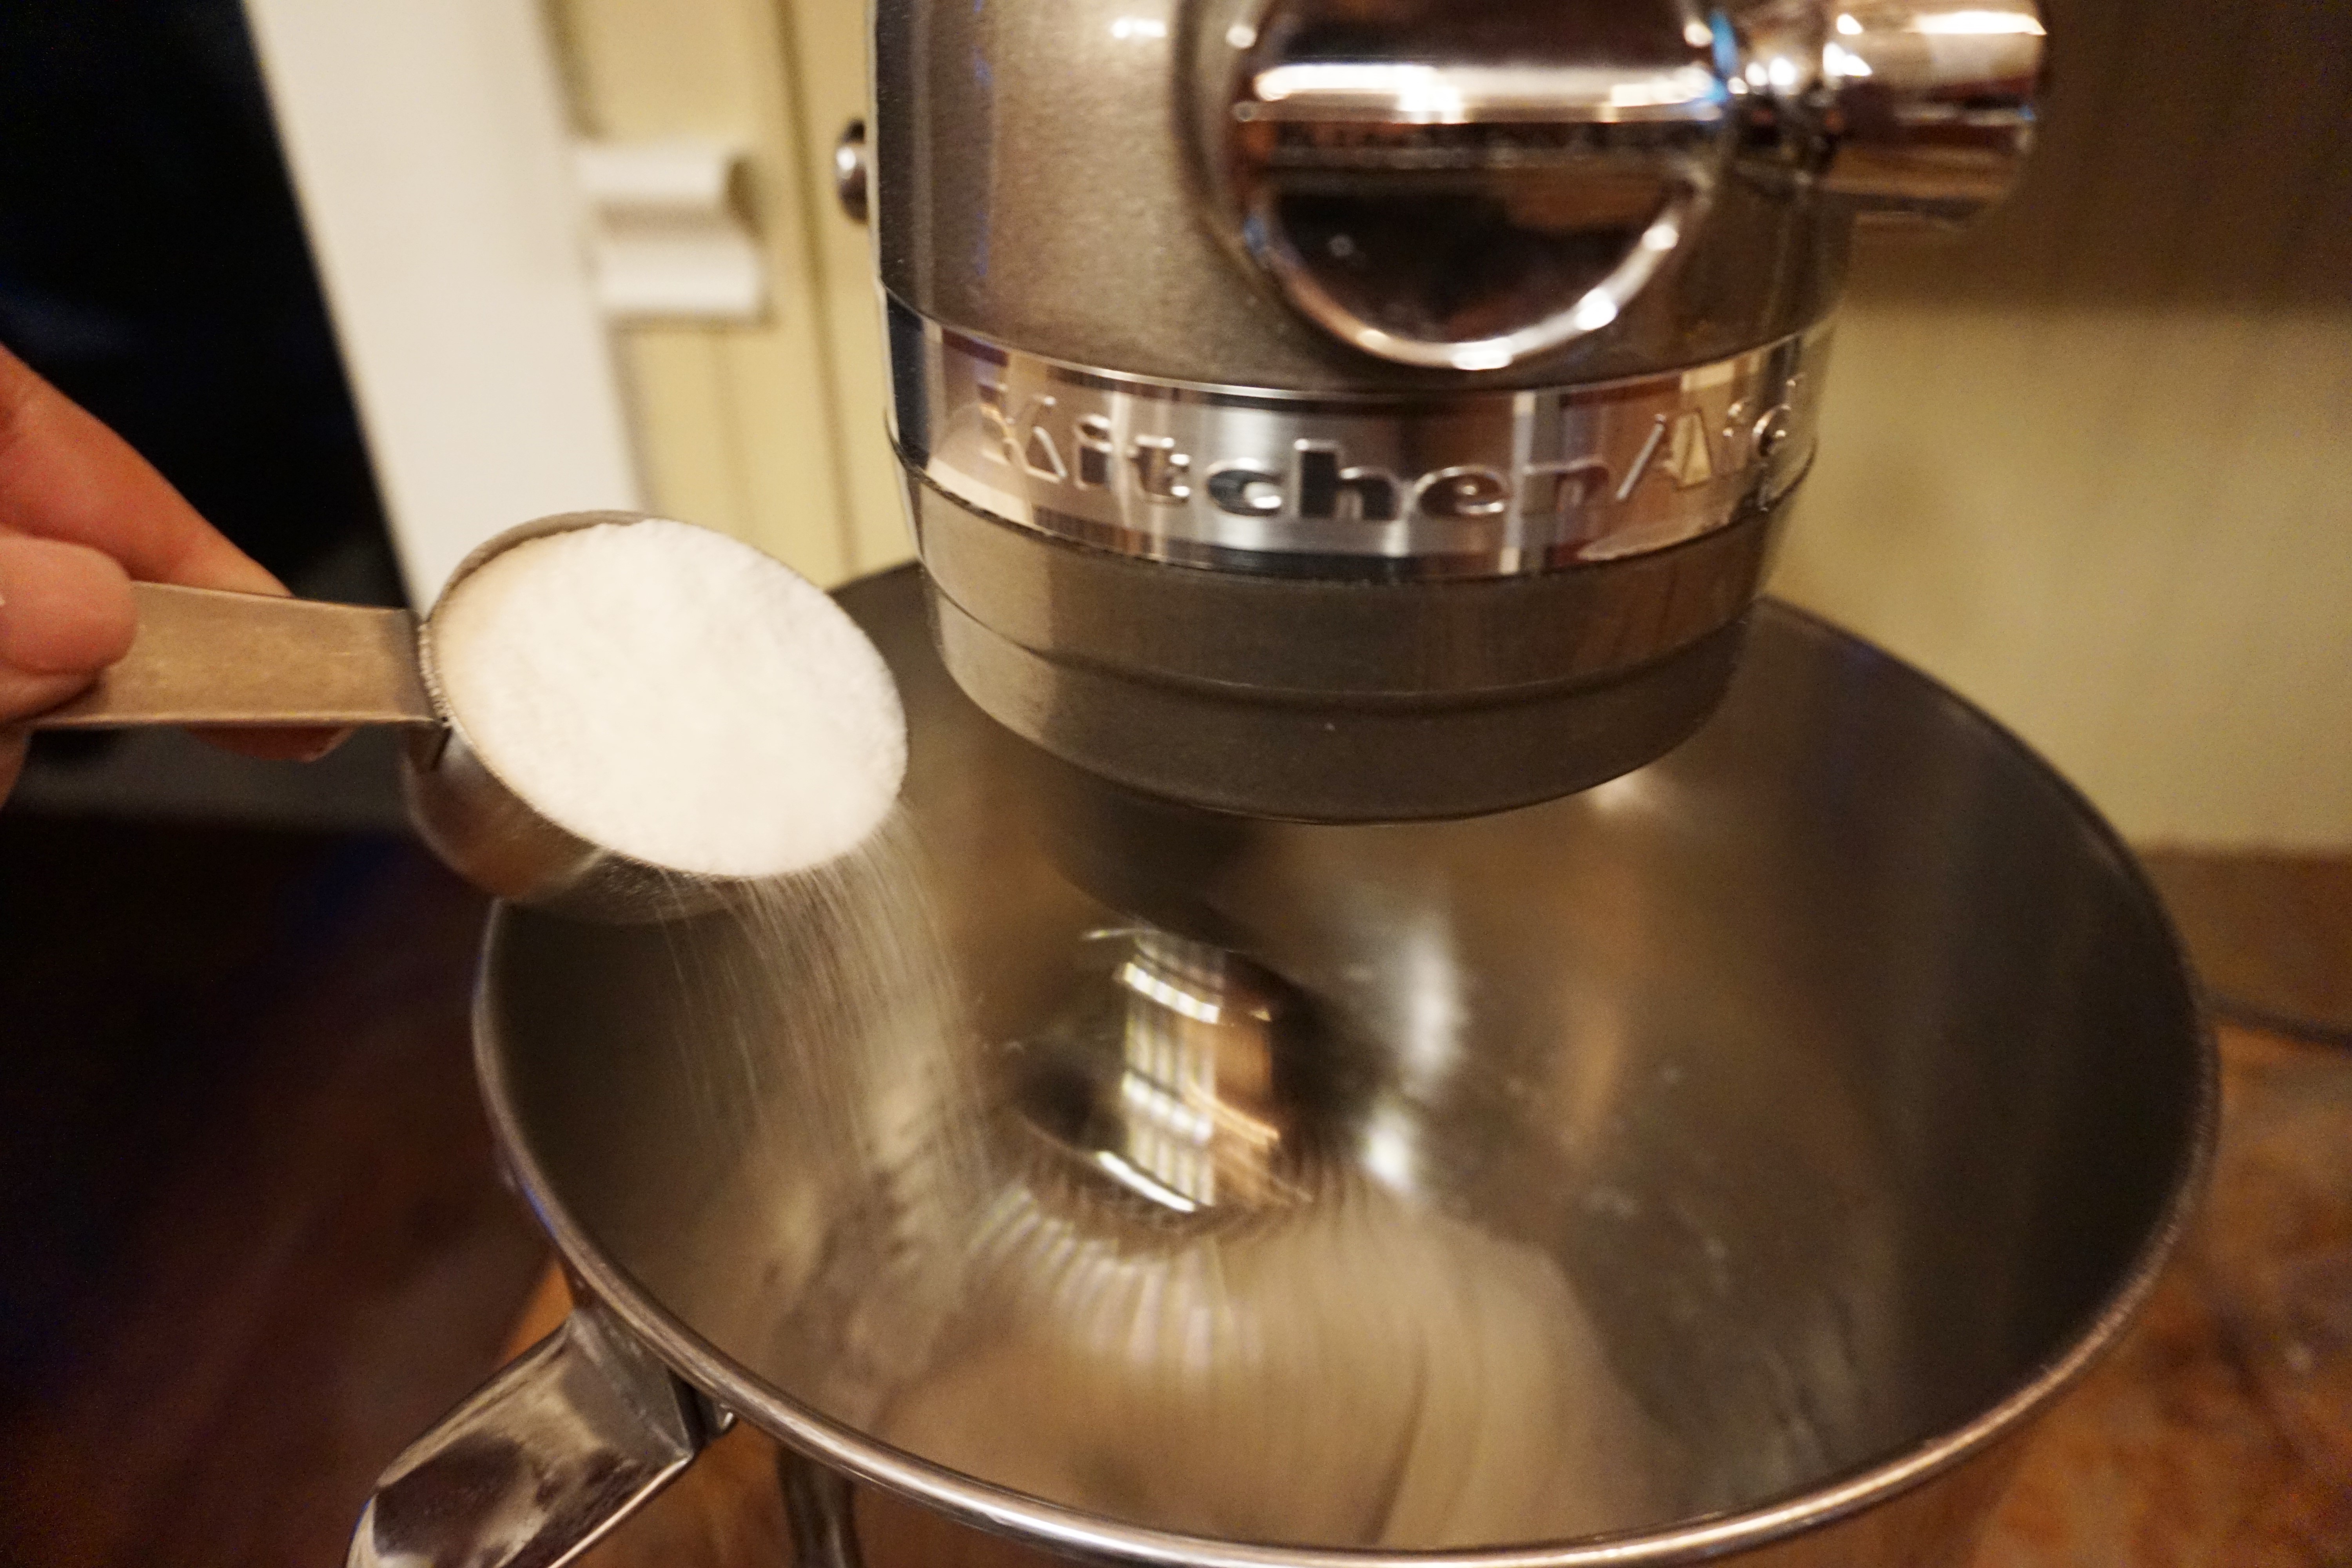
Beat the ROOM TEMPERATURE egg whites, cream of tartar, and salt with a mixer on medium speed until frothy. Increase the speed to medium-high; gradually add the sugar and beat until stiff and shiny, about 5 more minutes.
Add the almond flour mixture to the beaten egg whites and continue to gently fold the ingredients together by hand. Draw a rubber spatula halfway through the mixture and fold until incorporated, giving the bowl a quarter turn with each fold.
Keep folding! The batter below is not ready and is too thick.

Add the food coloring and extract. Continue folding and turning, scraping down the bowl, until the batter is smooth and falls off the spatula in a thin flat ribbon, 2 to 3 minutes.
See how the batter is leveling itself out?
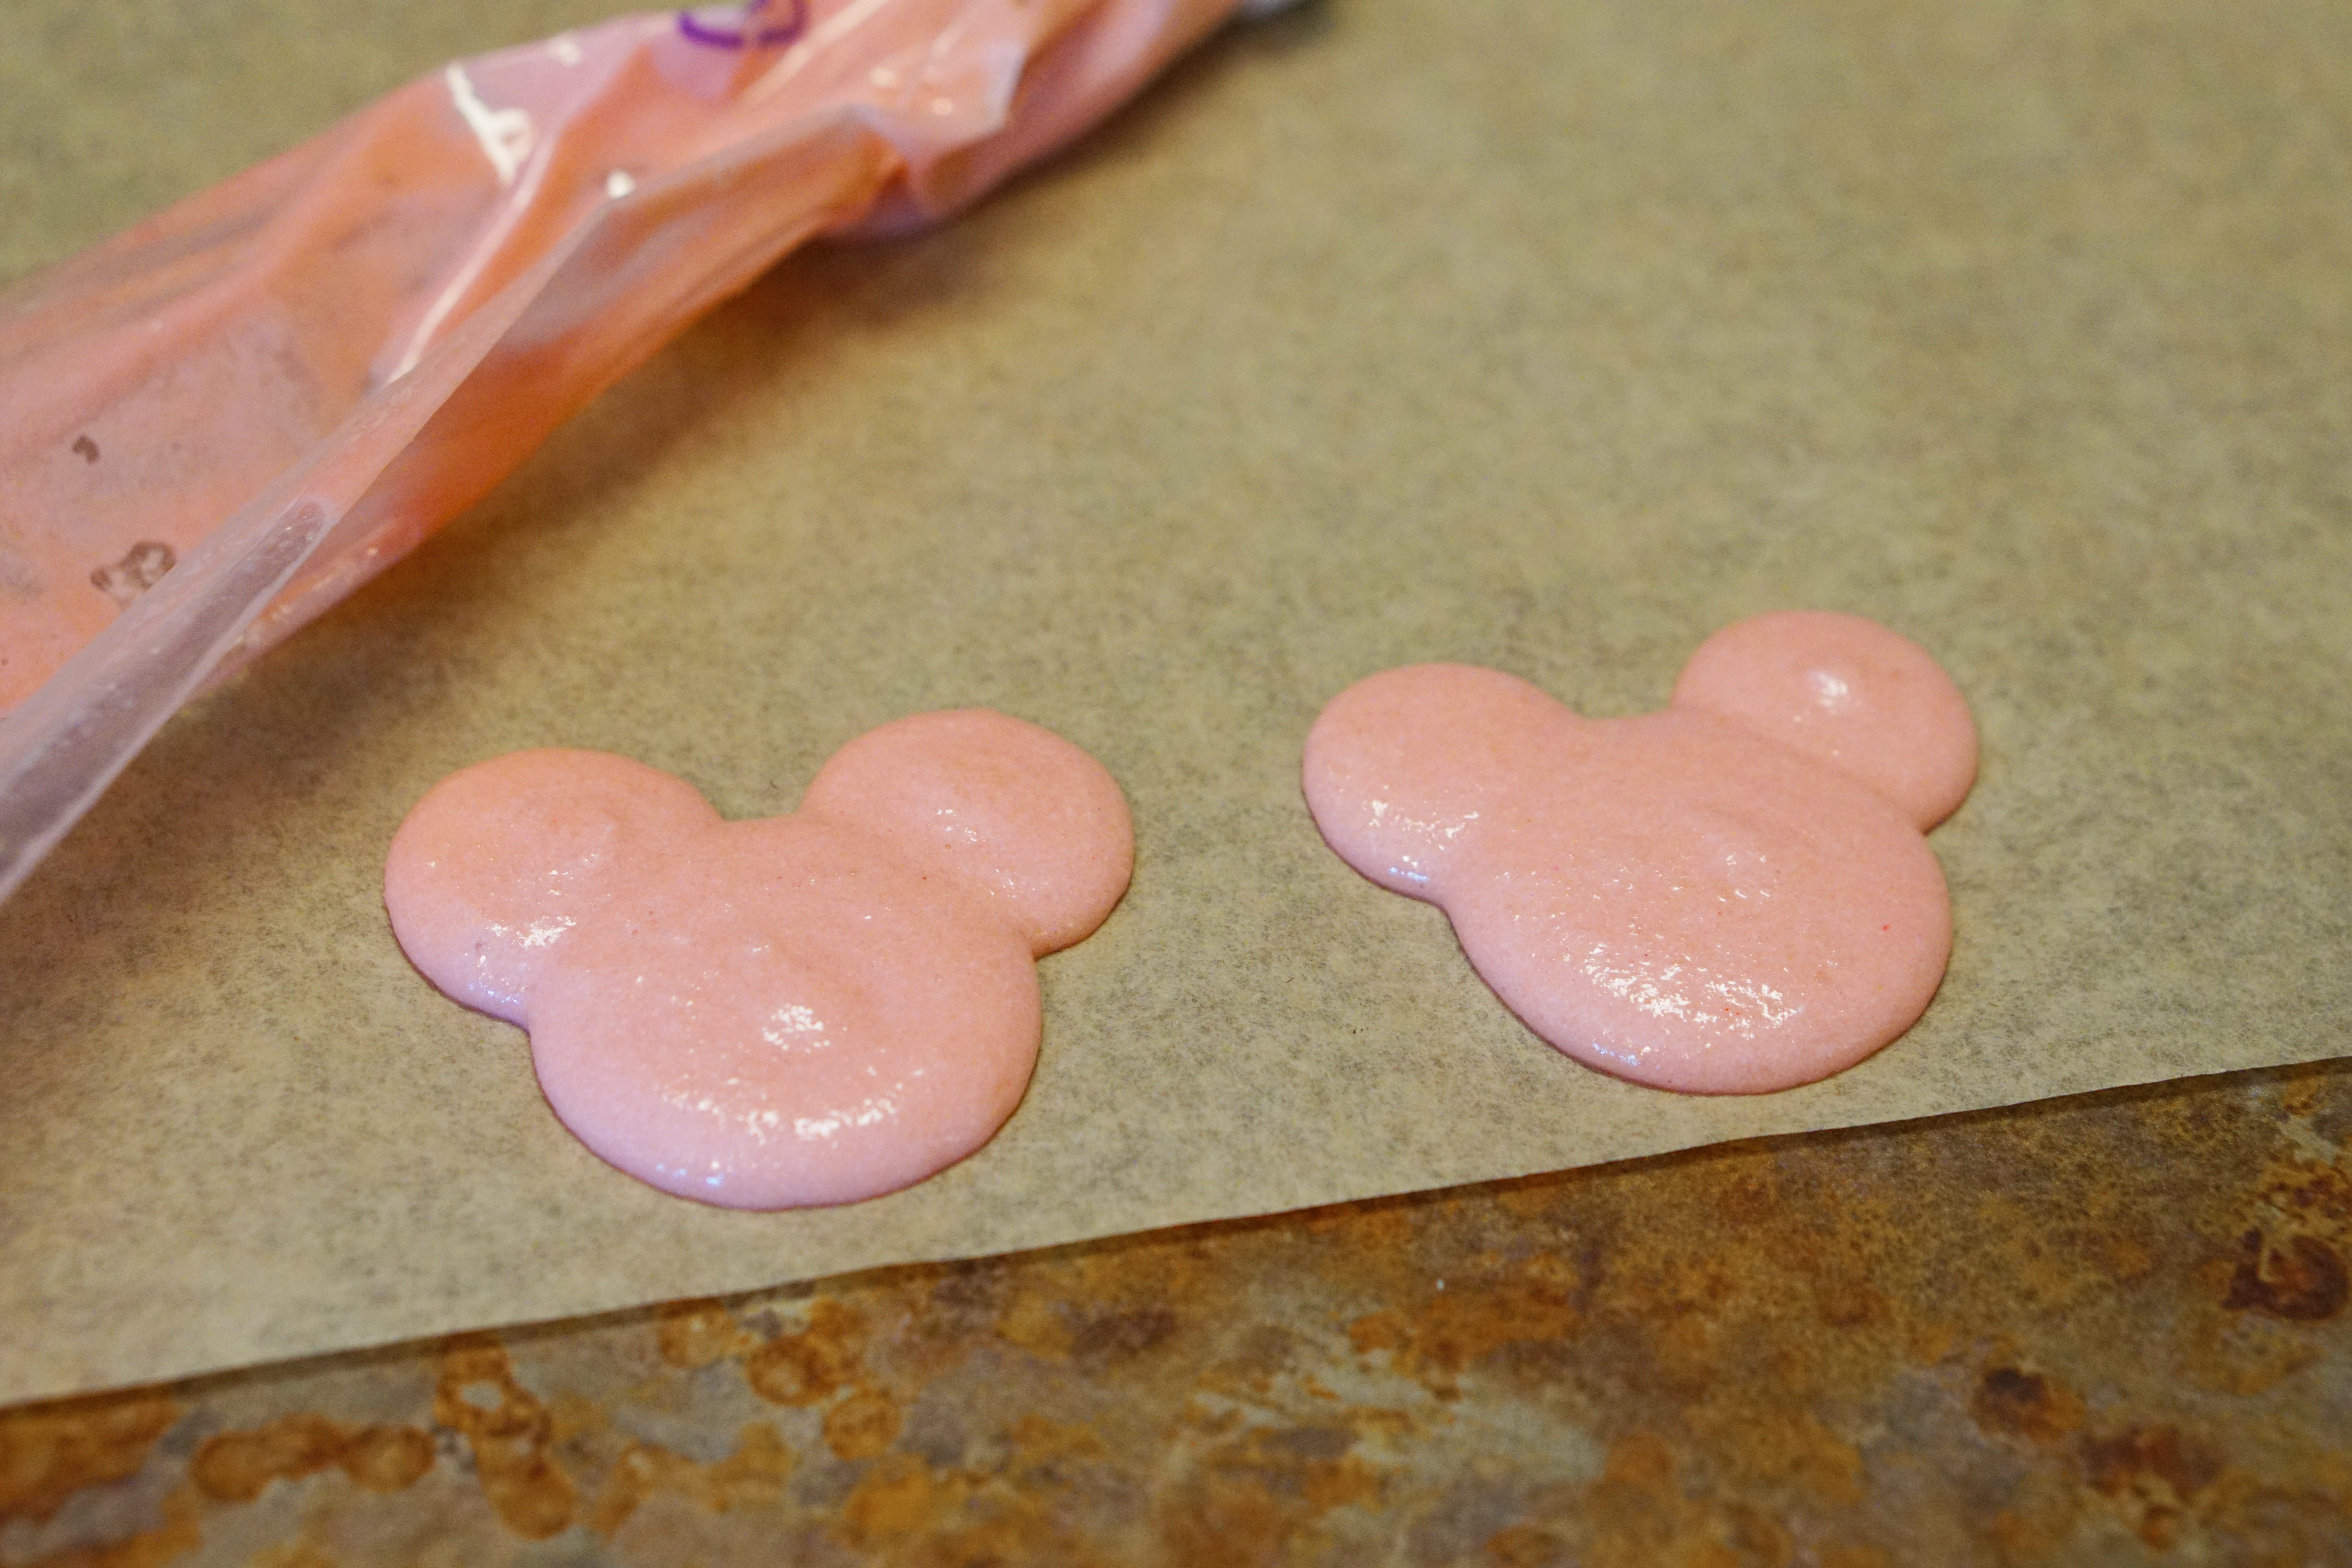
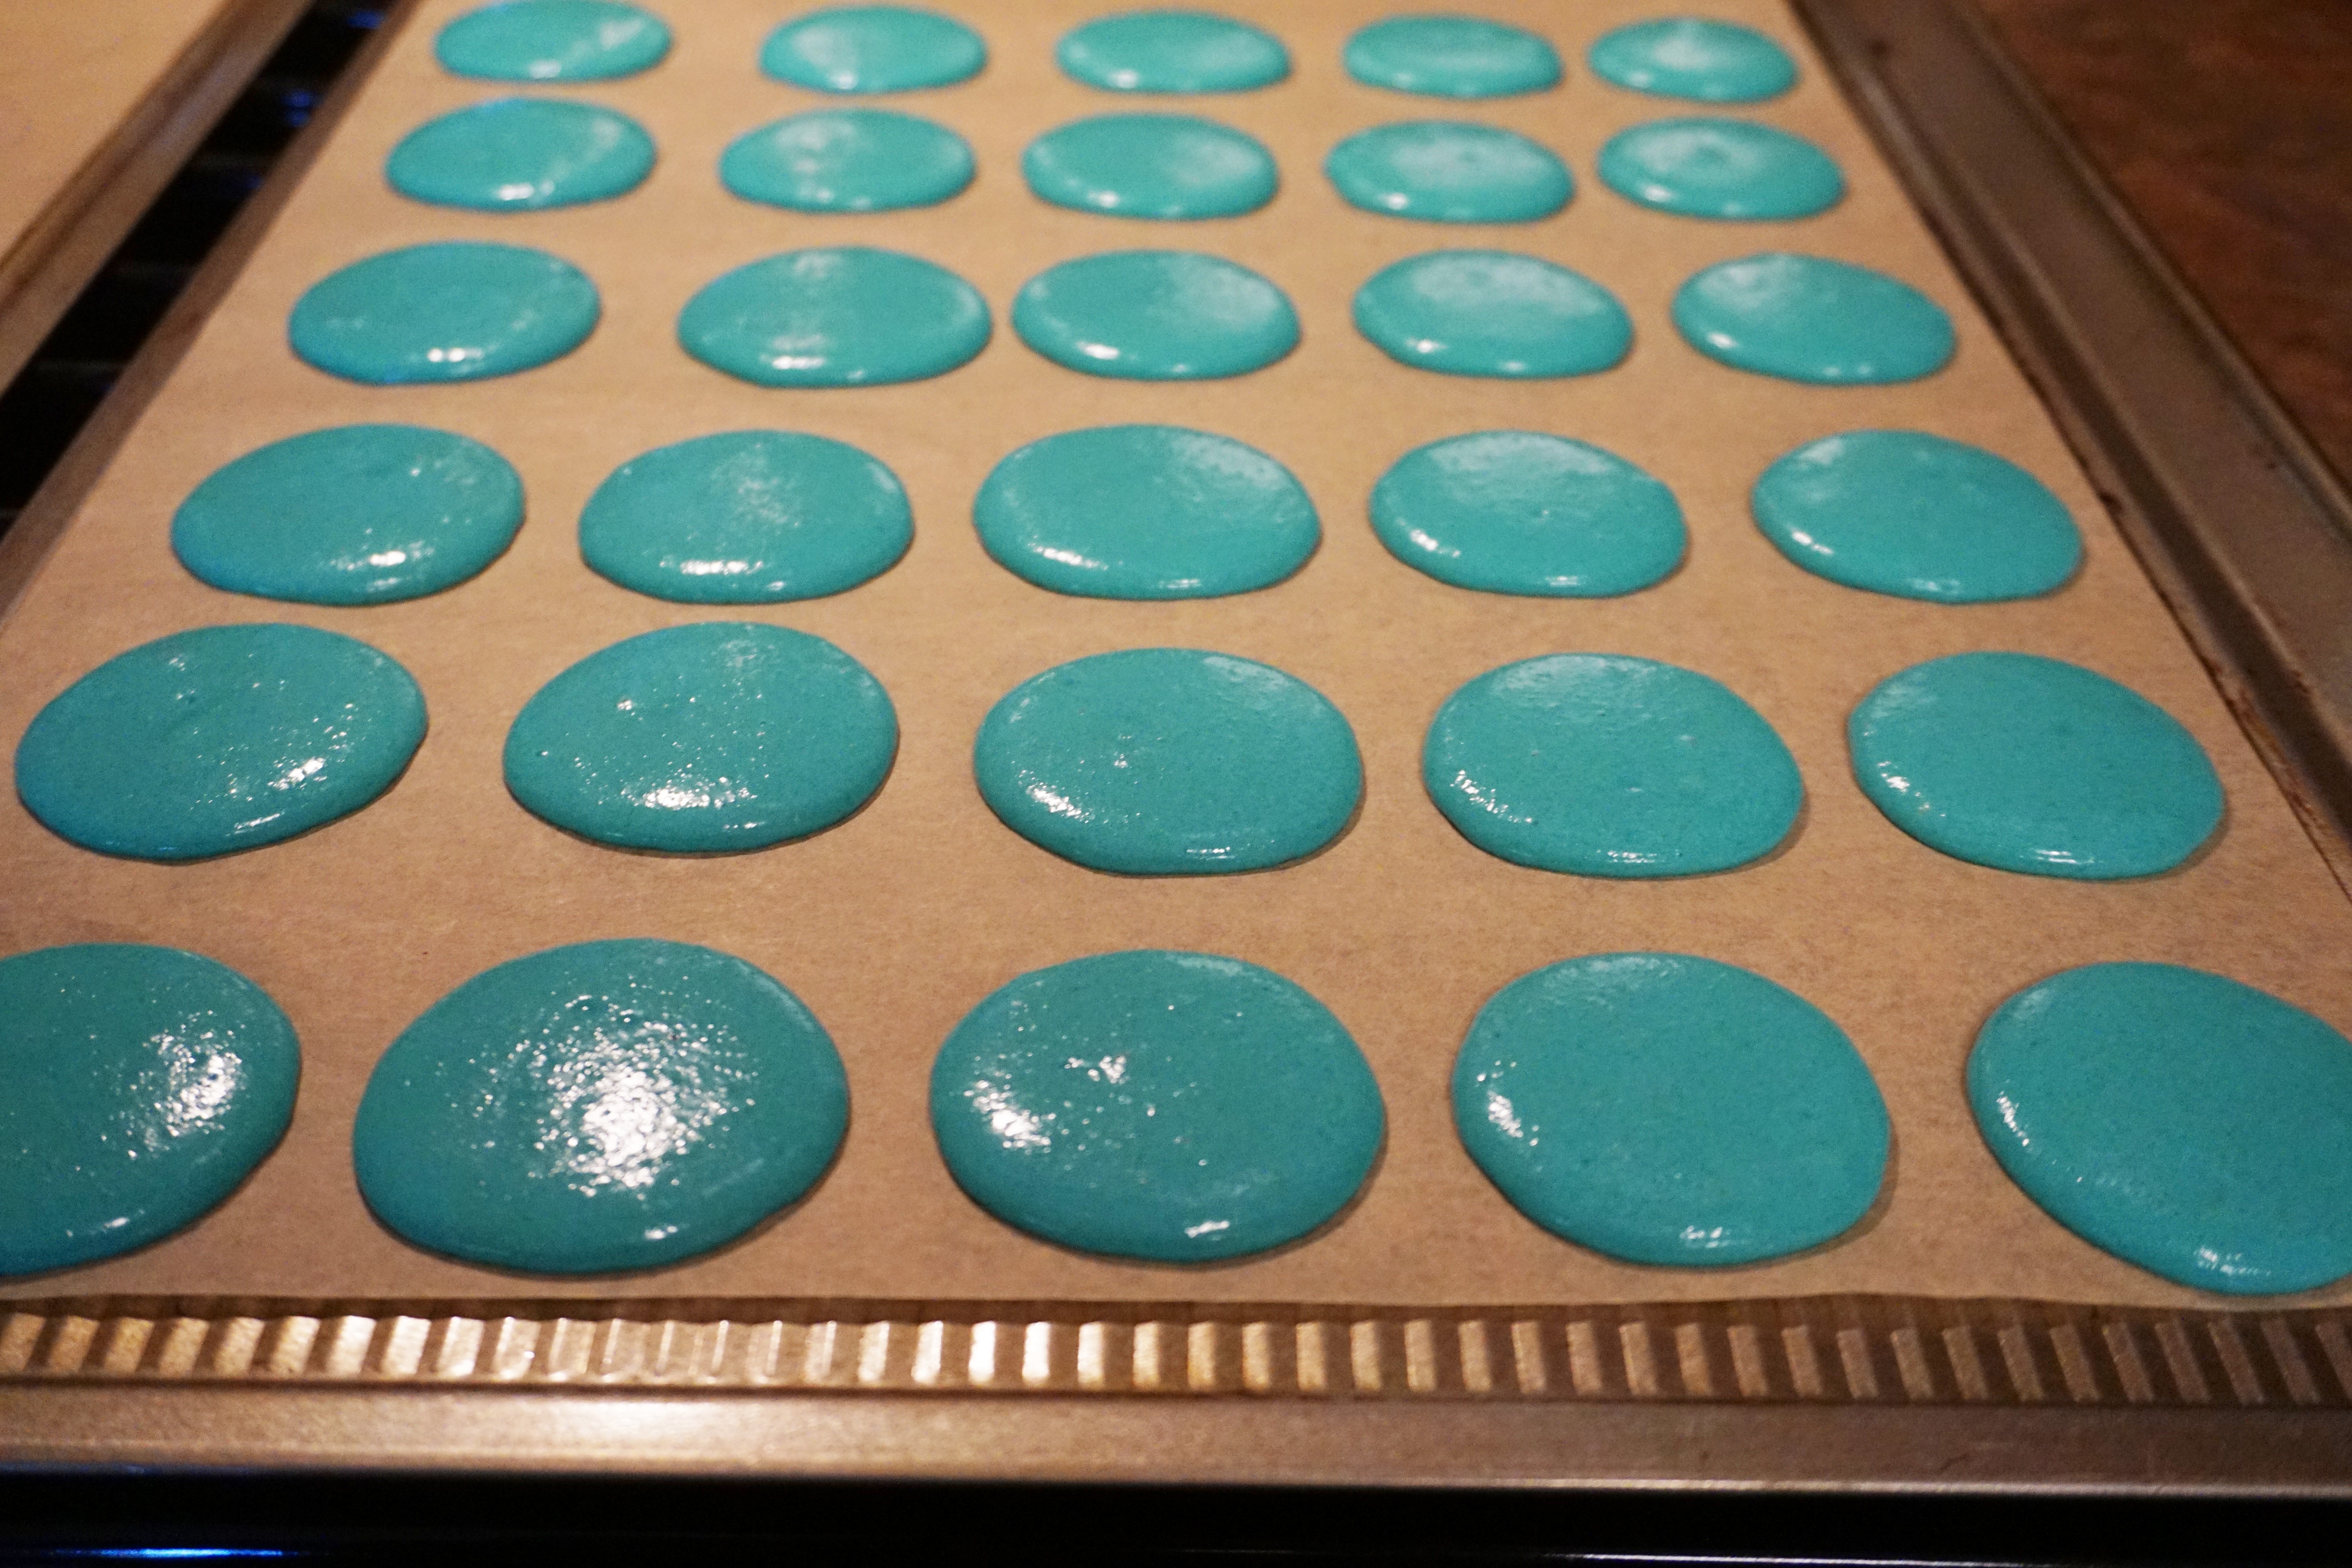
Transfer the batter to a pastry bag fitted with a 1/4-inch round tip. Holding the bag vertically and close to the baking sheet, pipe 1 1/4-inch circles 1″ apart. Firmly tap the baking sheets twice against the counter to release any air bubbles. If your shells are pointy, you did not mix the batter long enough.
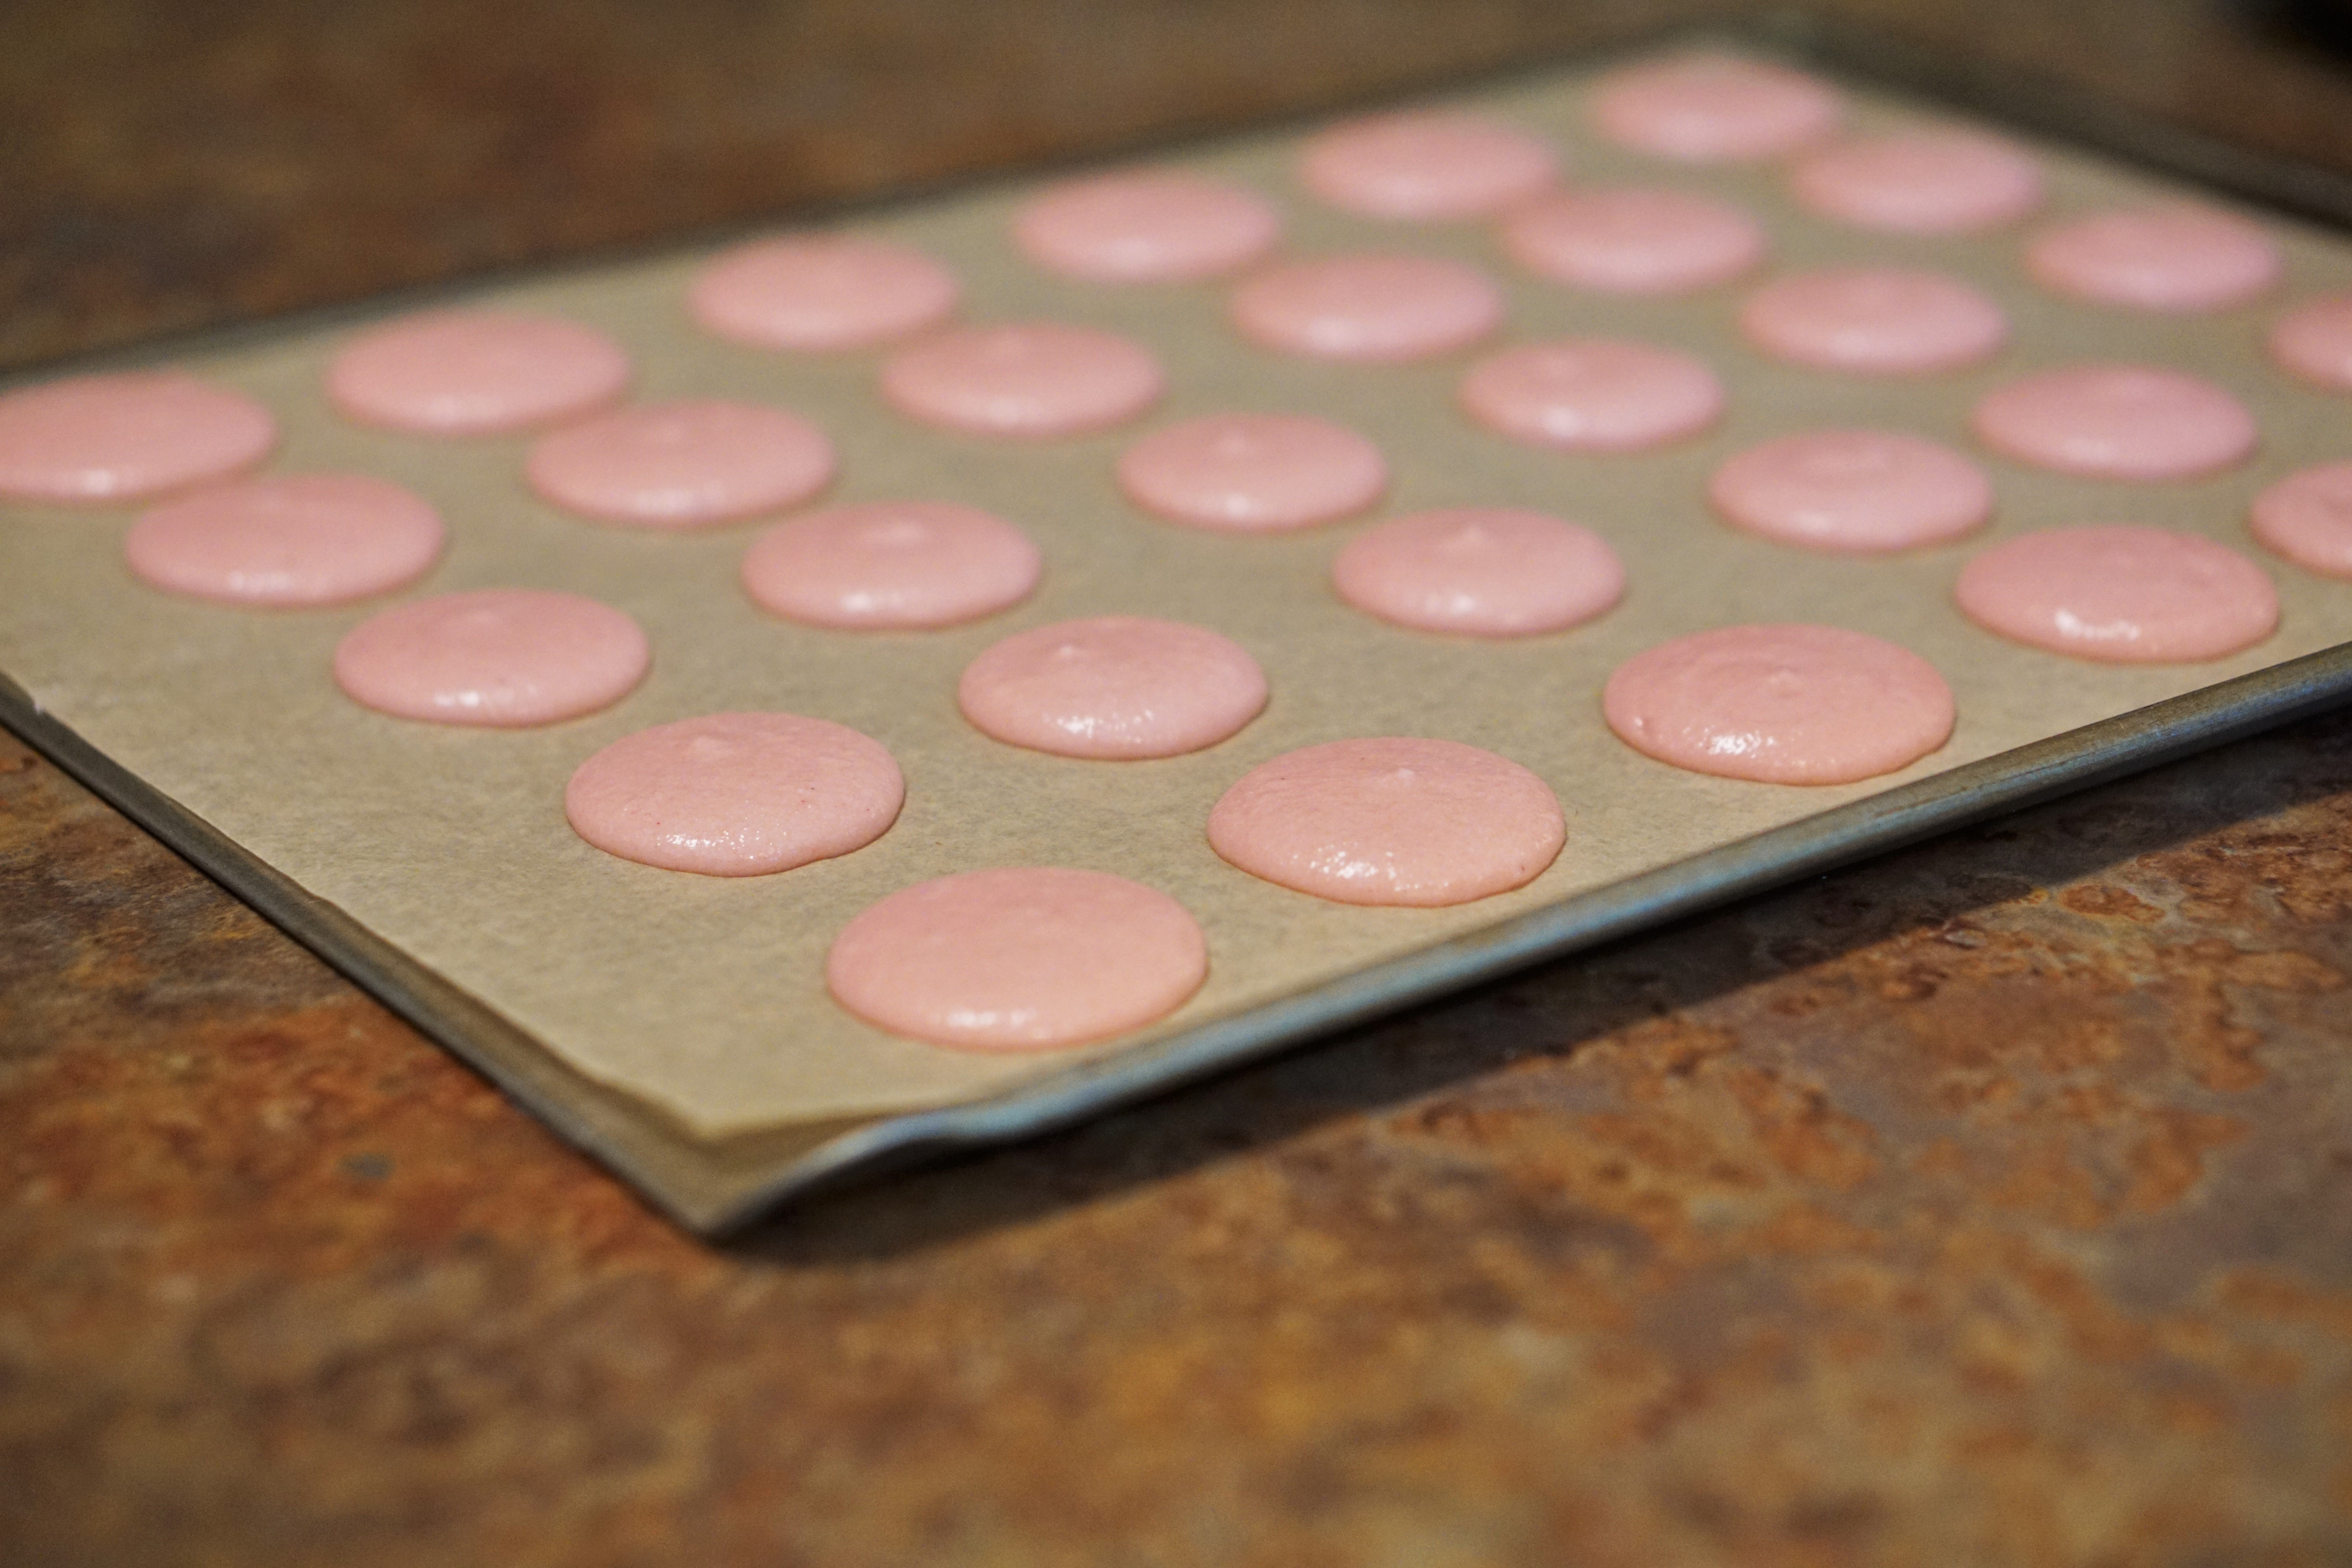
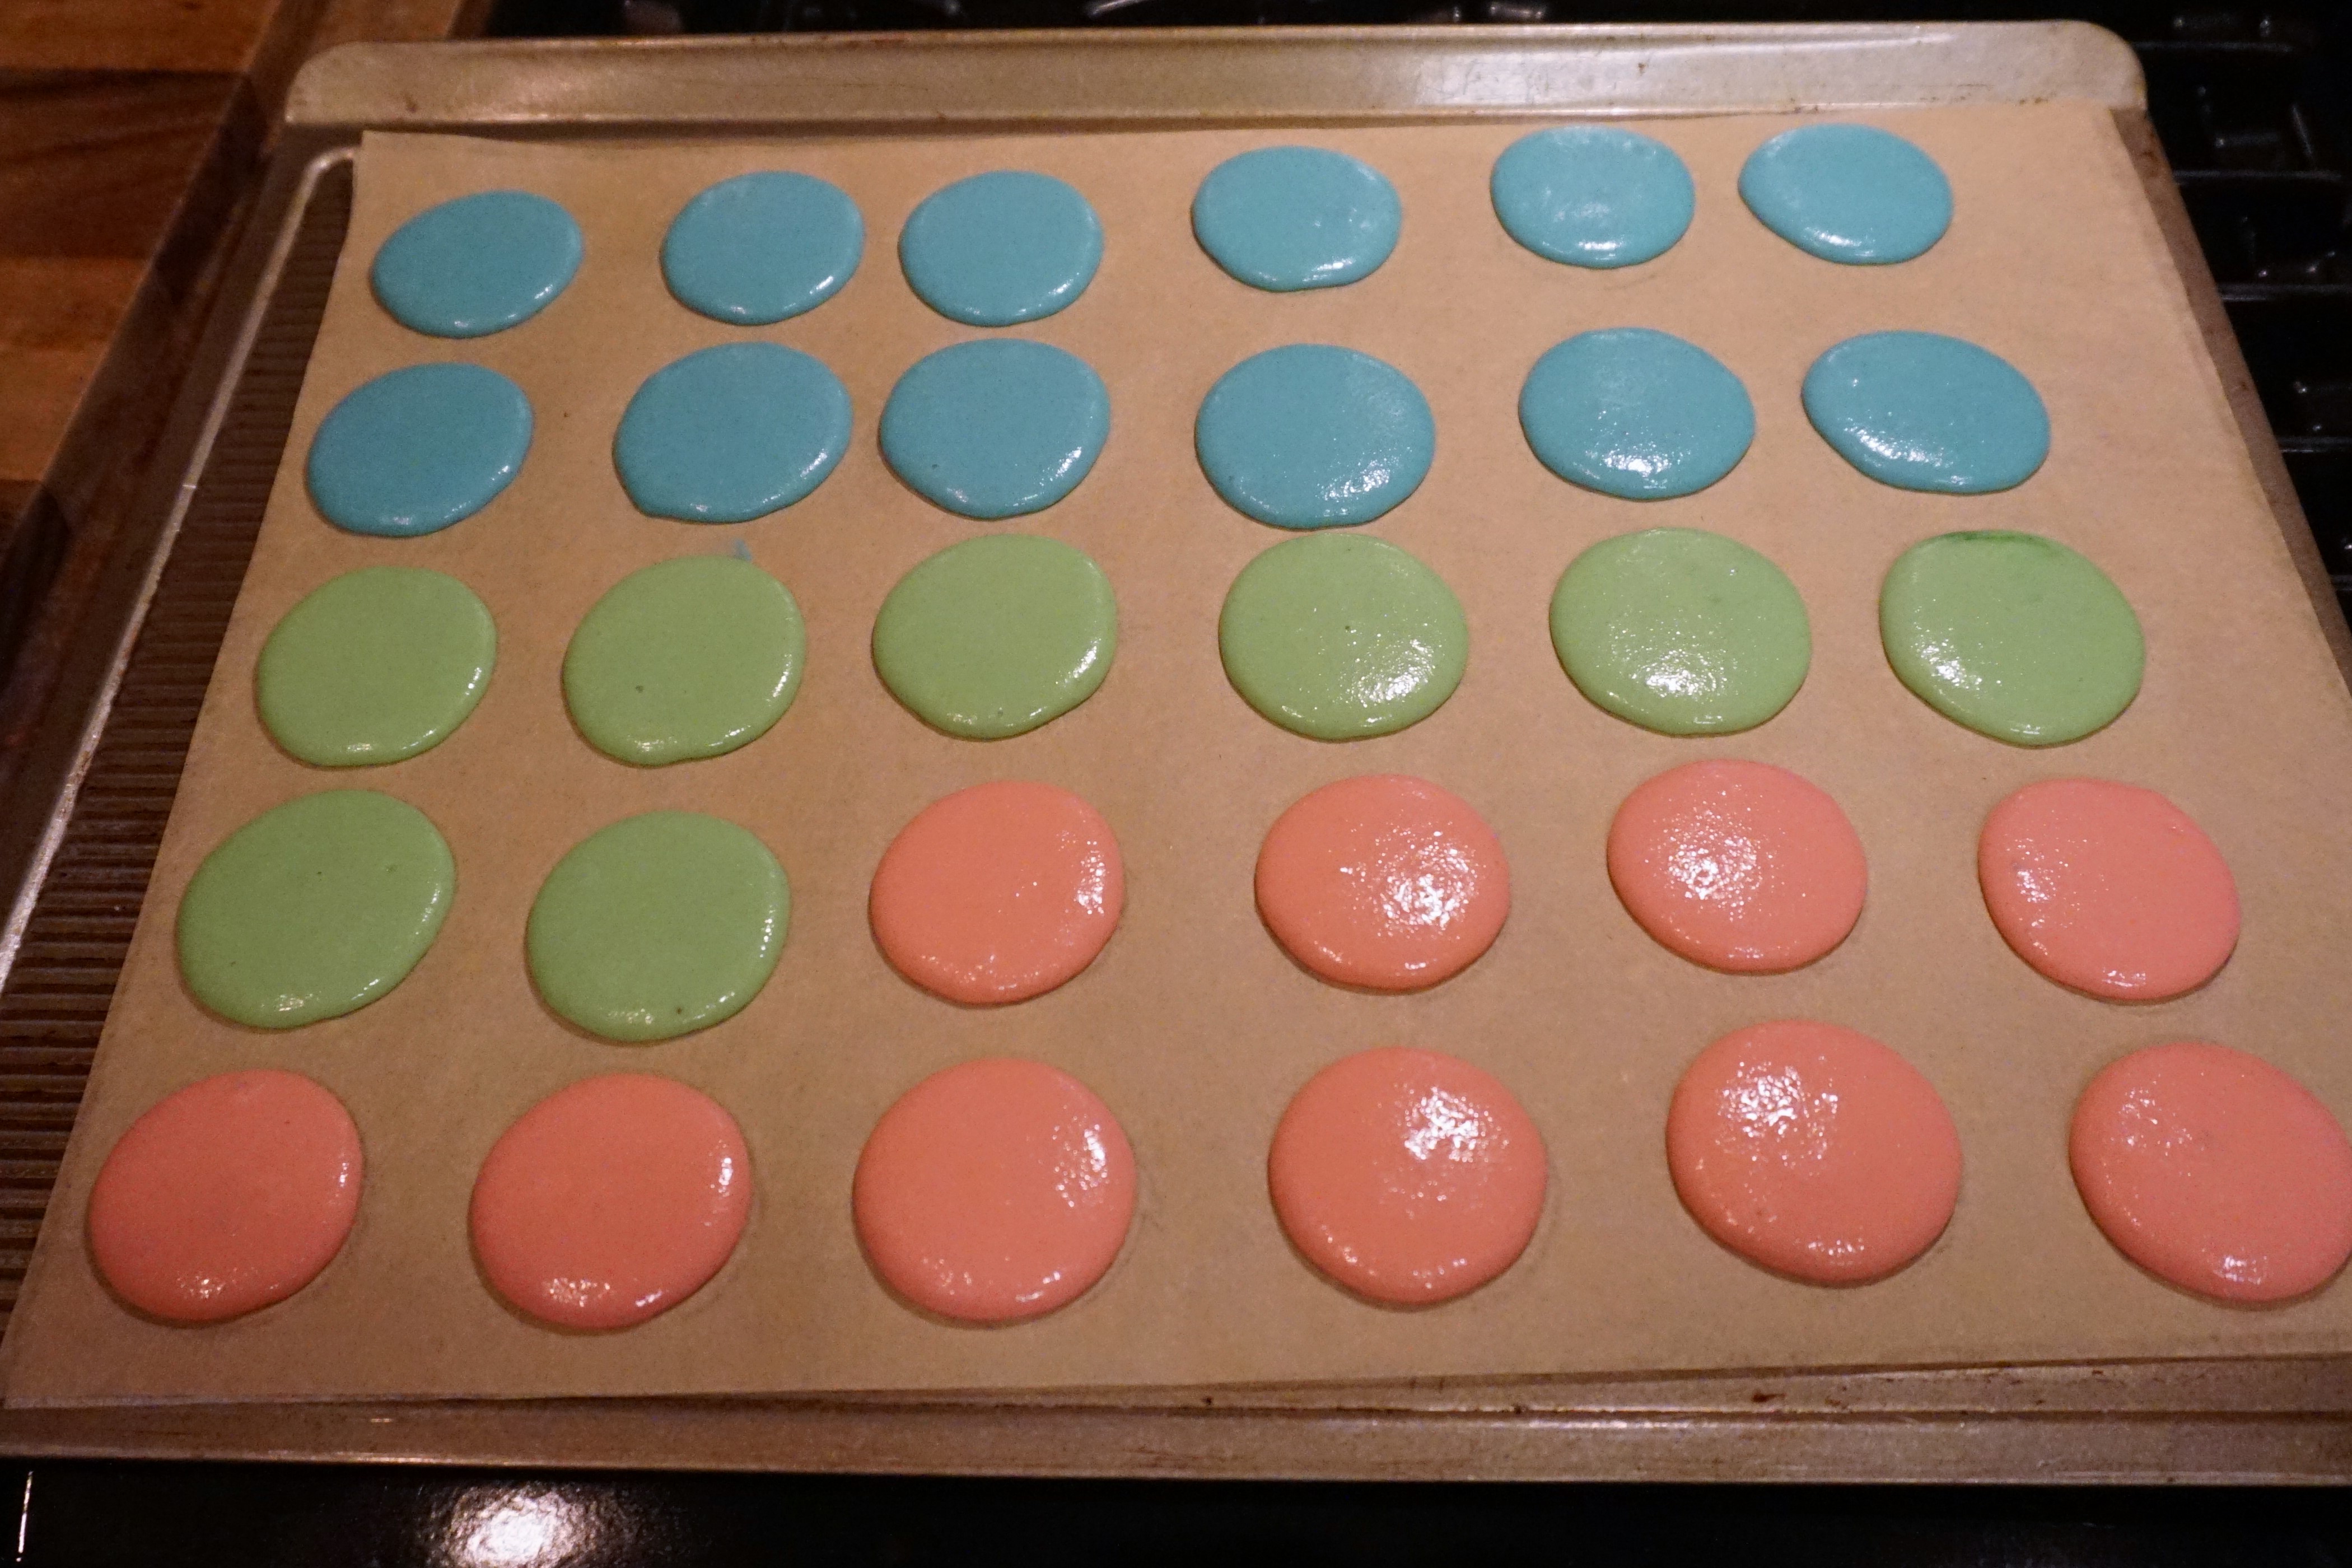
Let the cookies sit at room temperature until the tops are no longer sticky to the touch, 1 hour or more, depending on the humidity. Slip another baking sheet under the first batch (a double baking sheet protects the cookies from the heat).
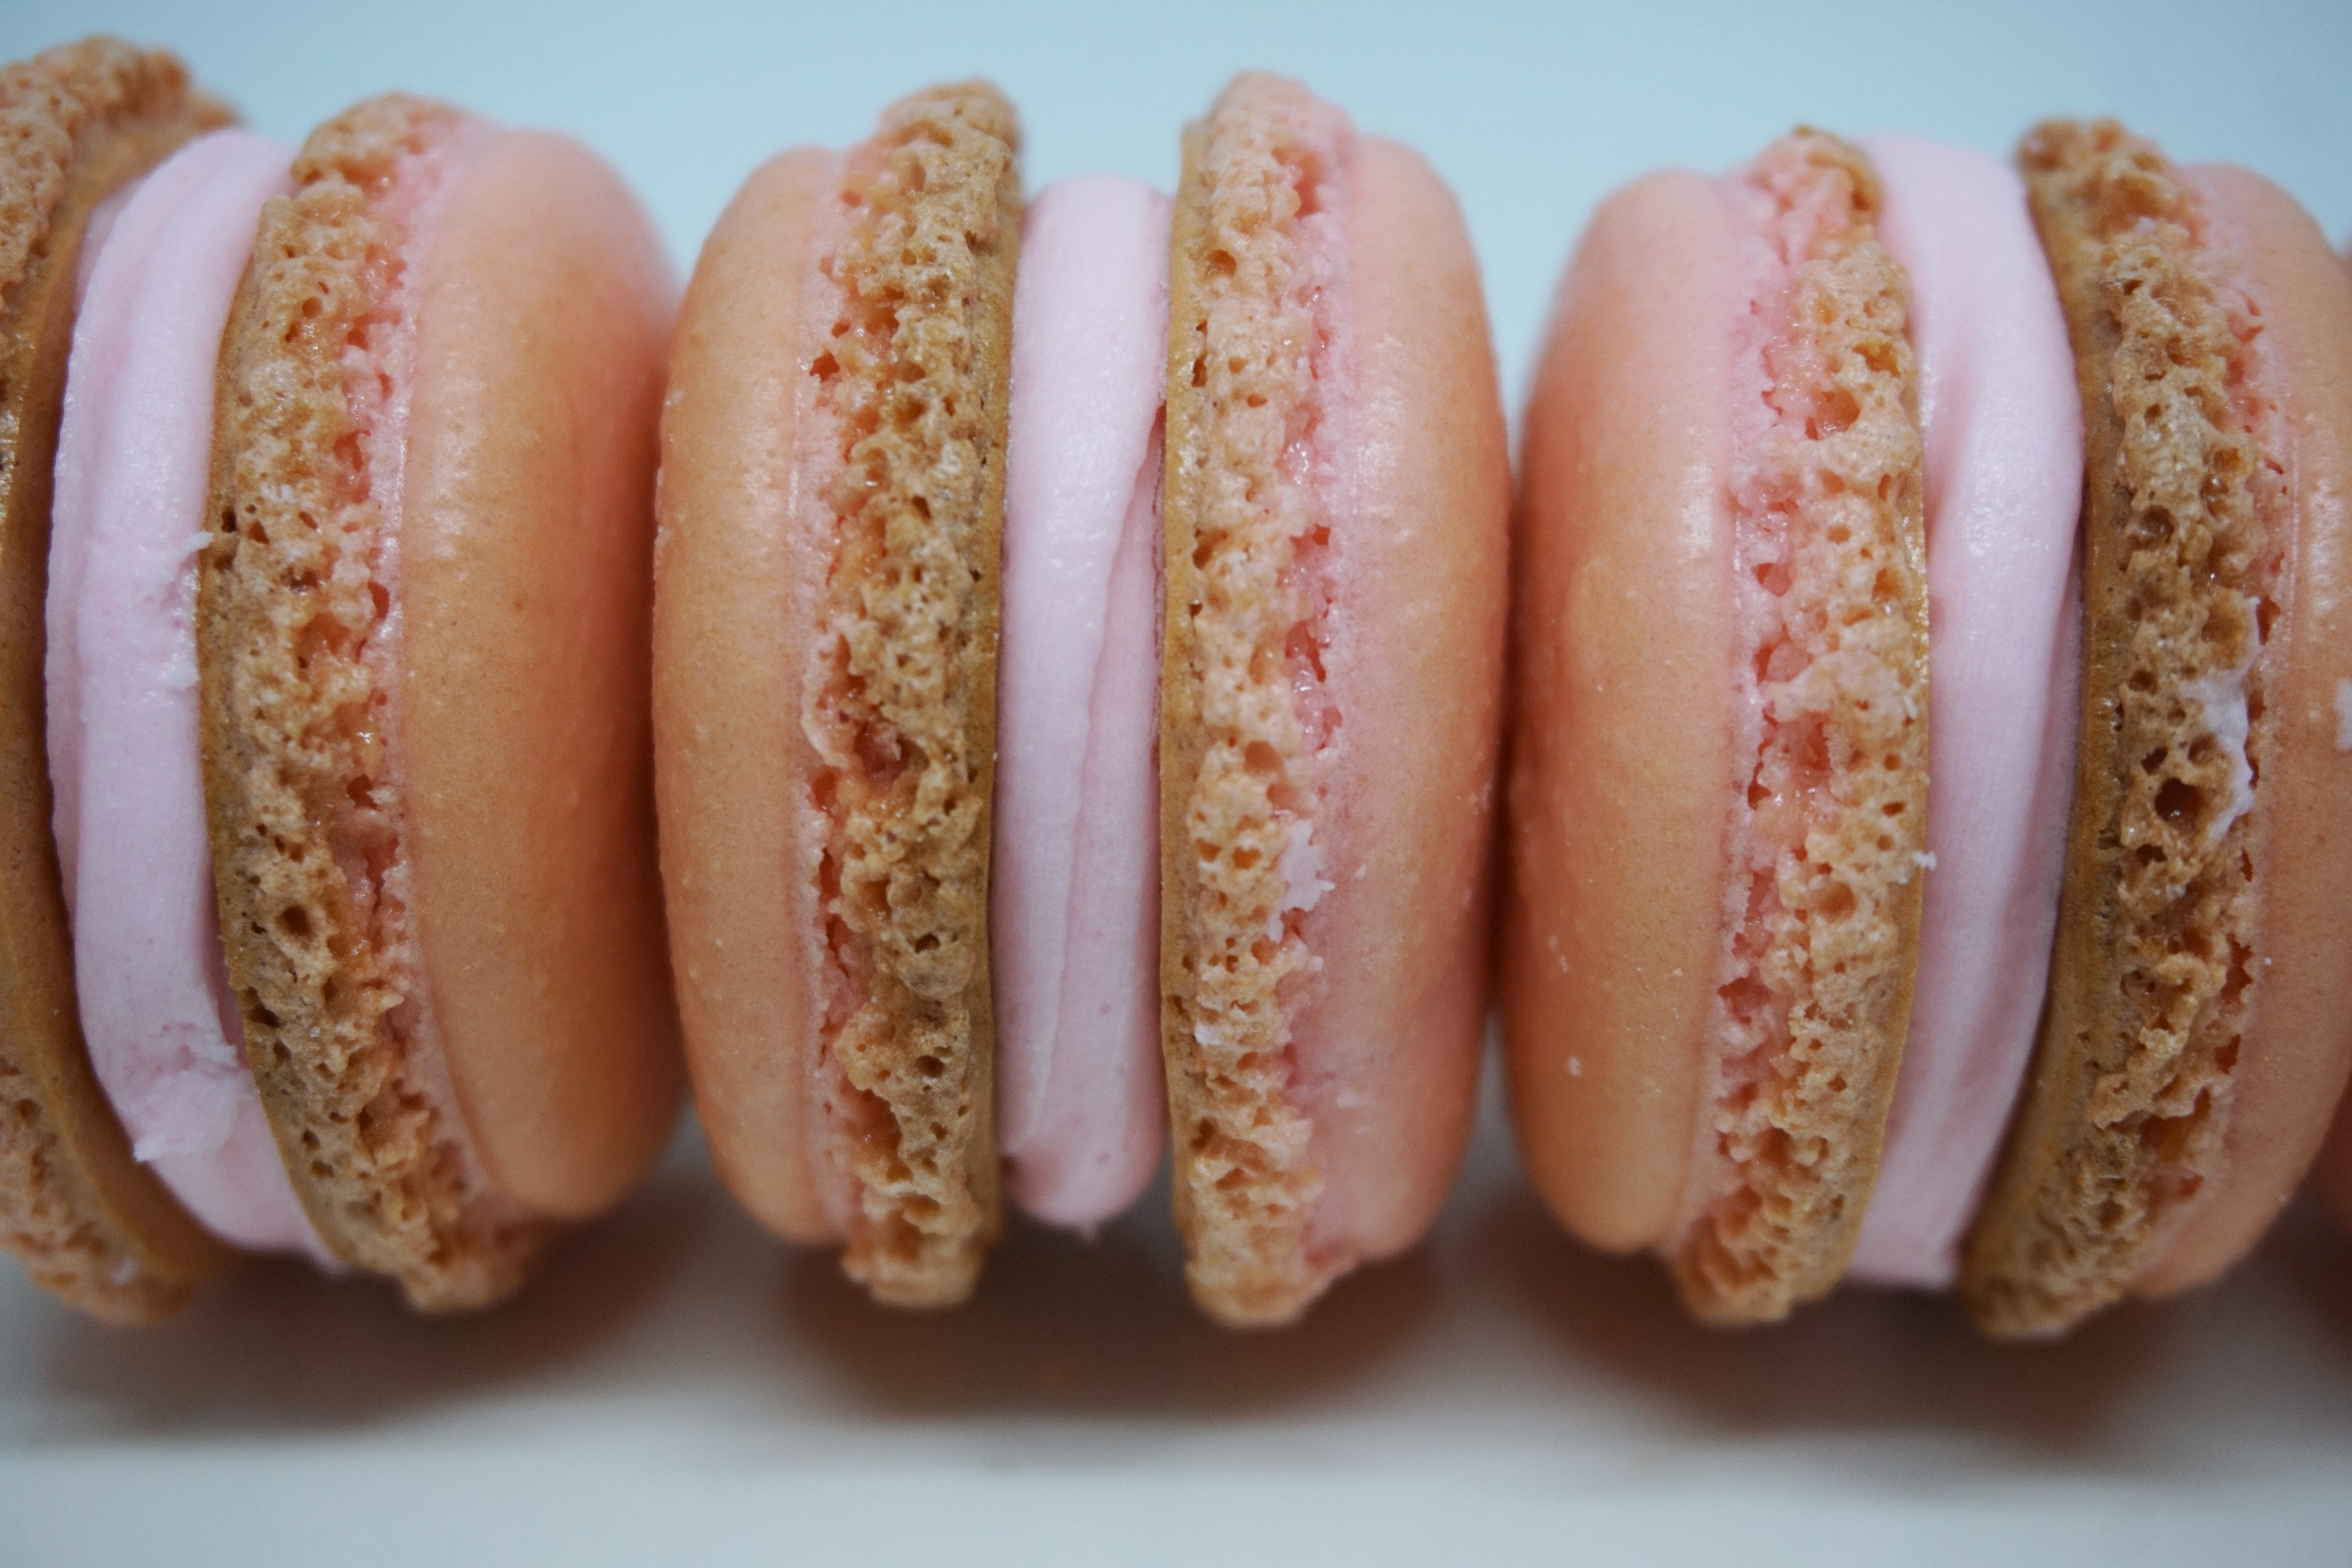
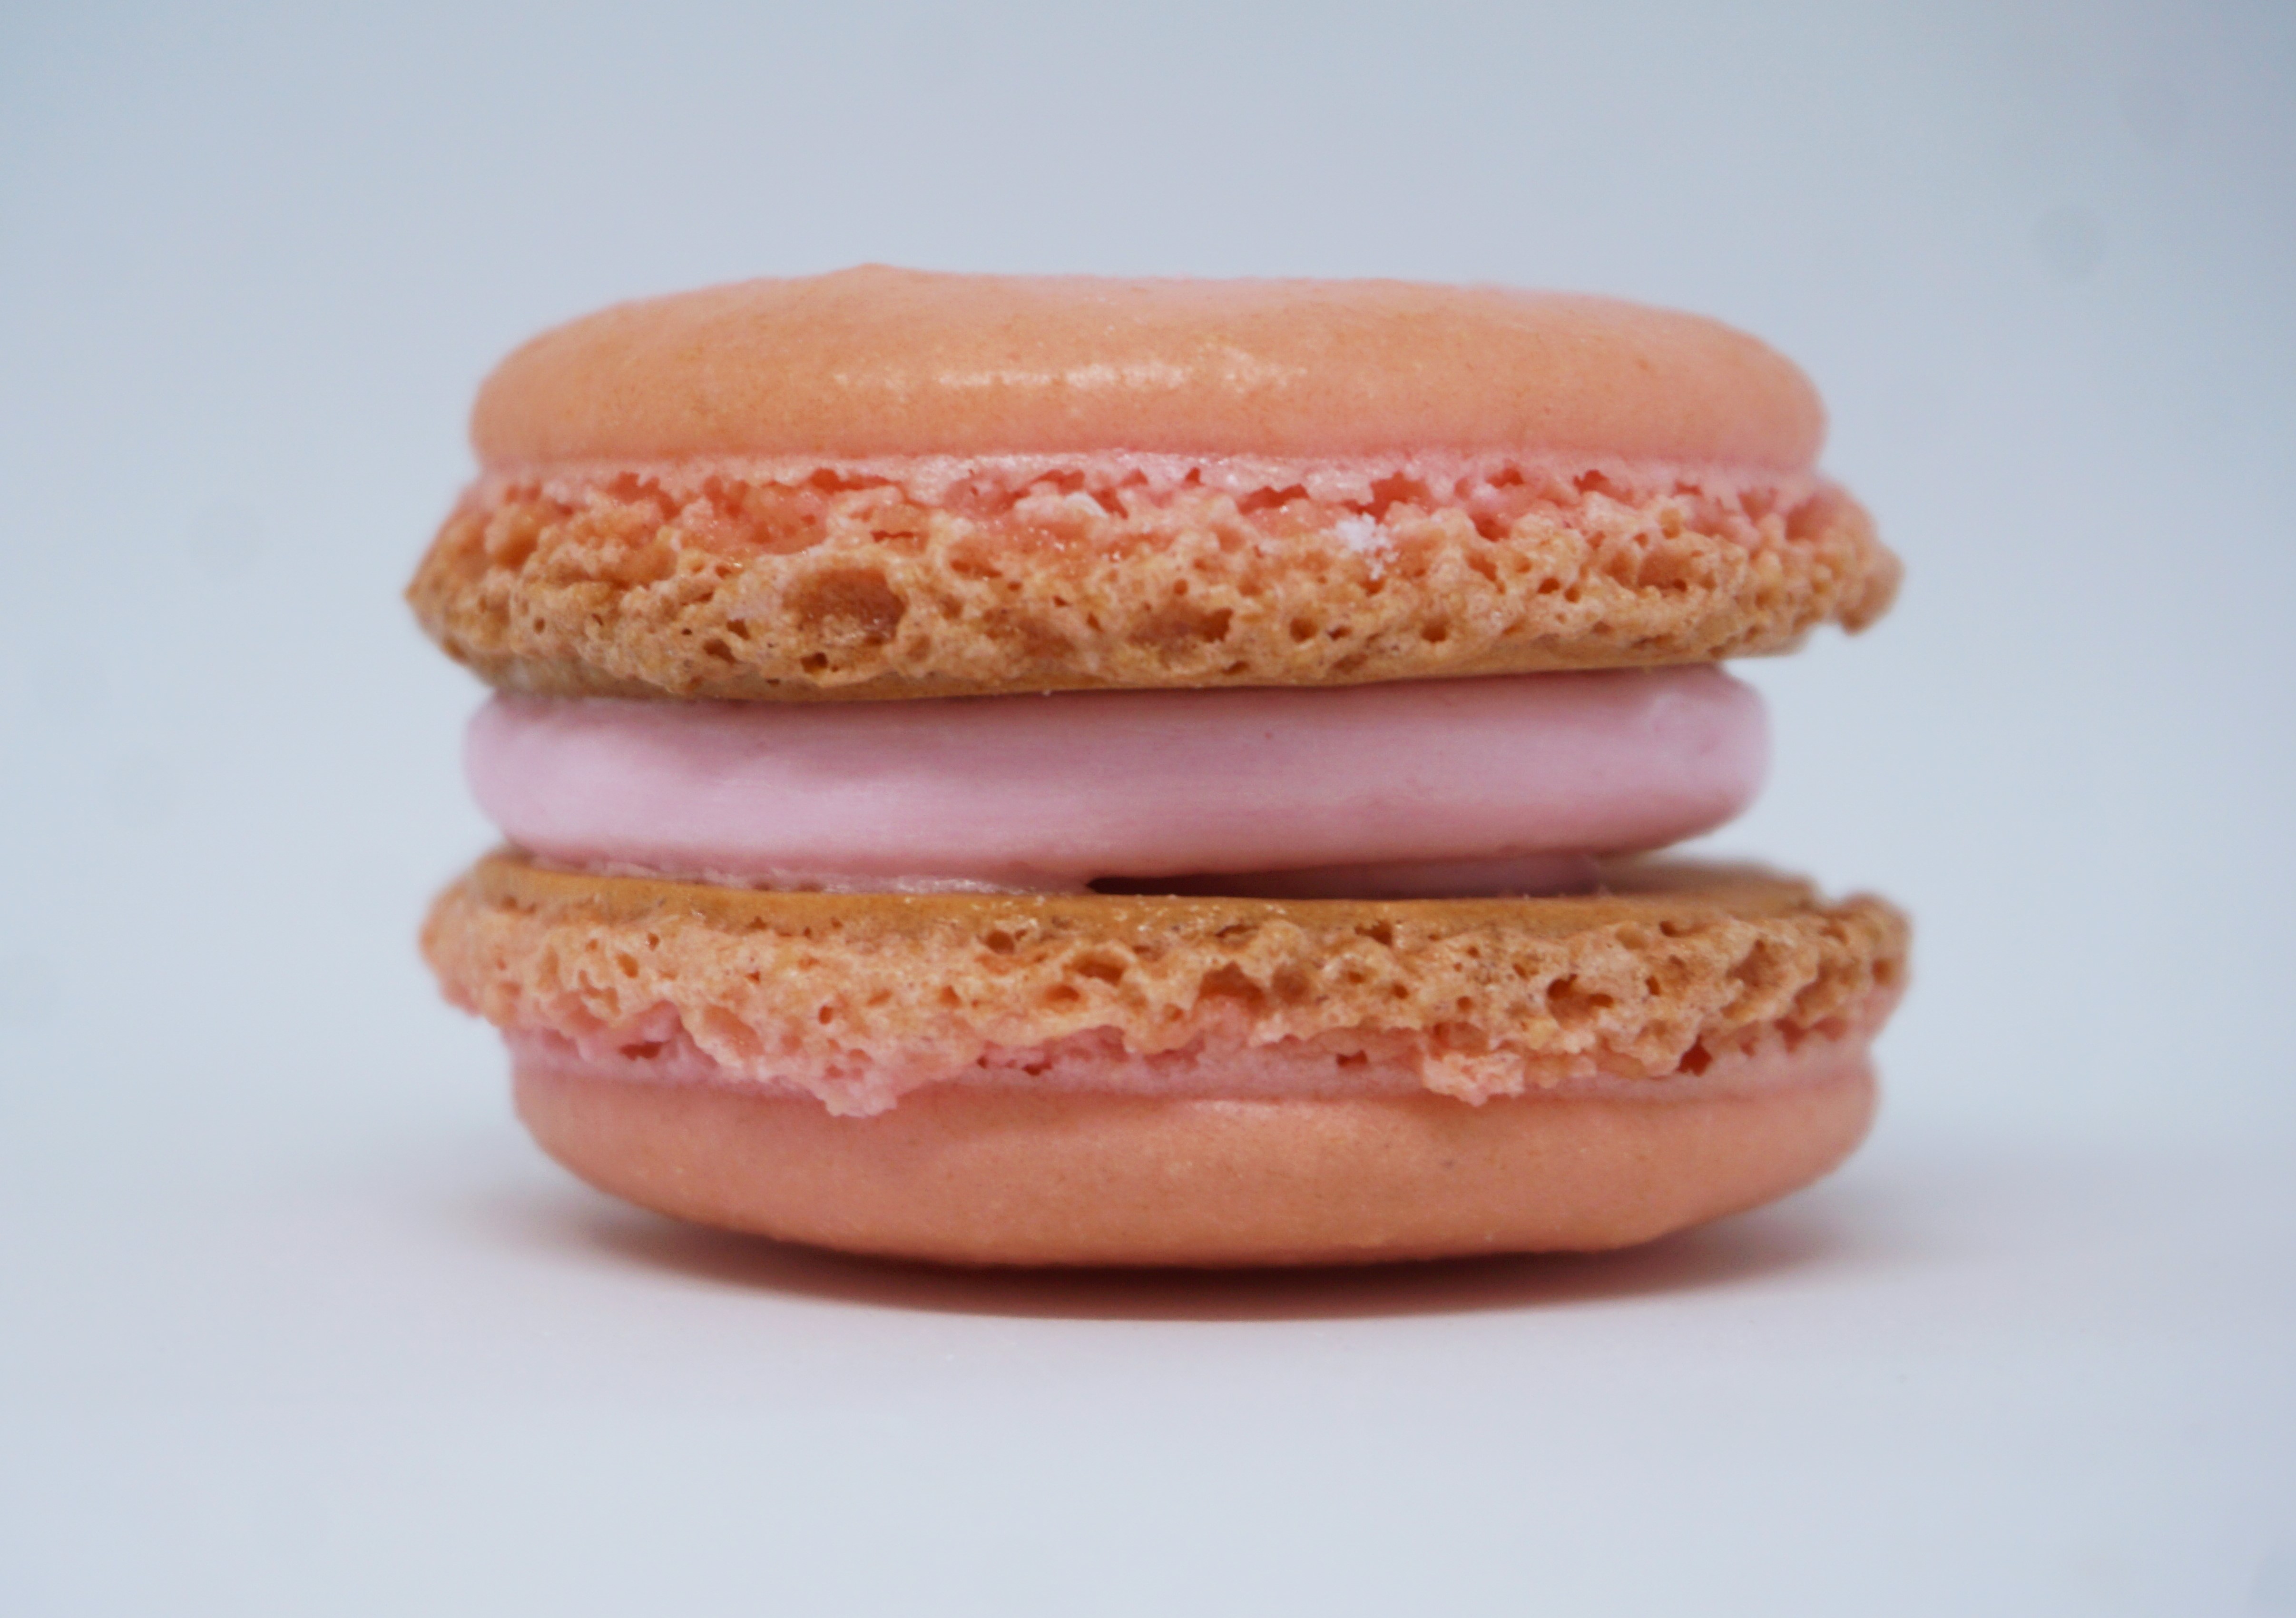
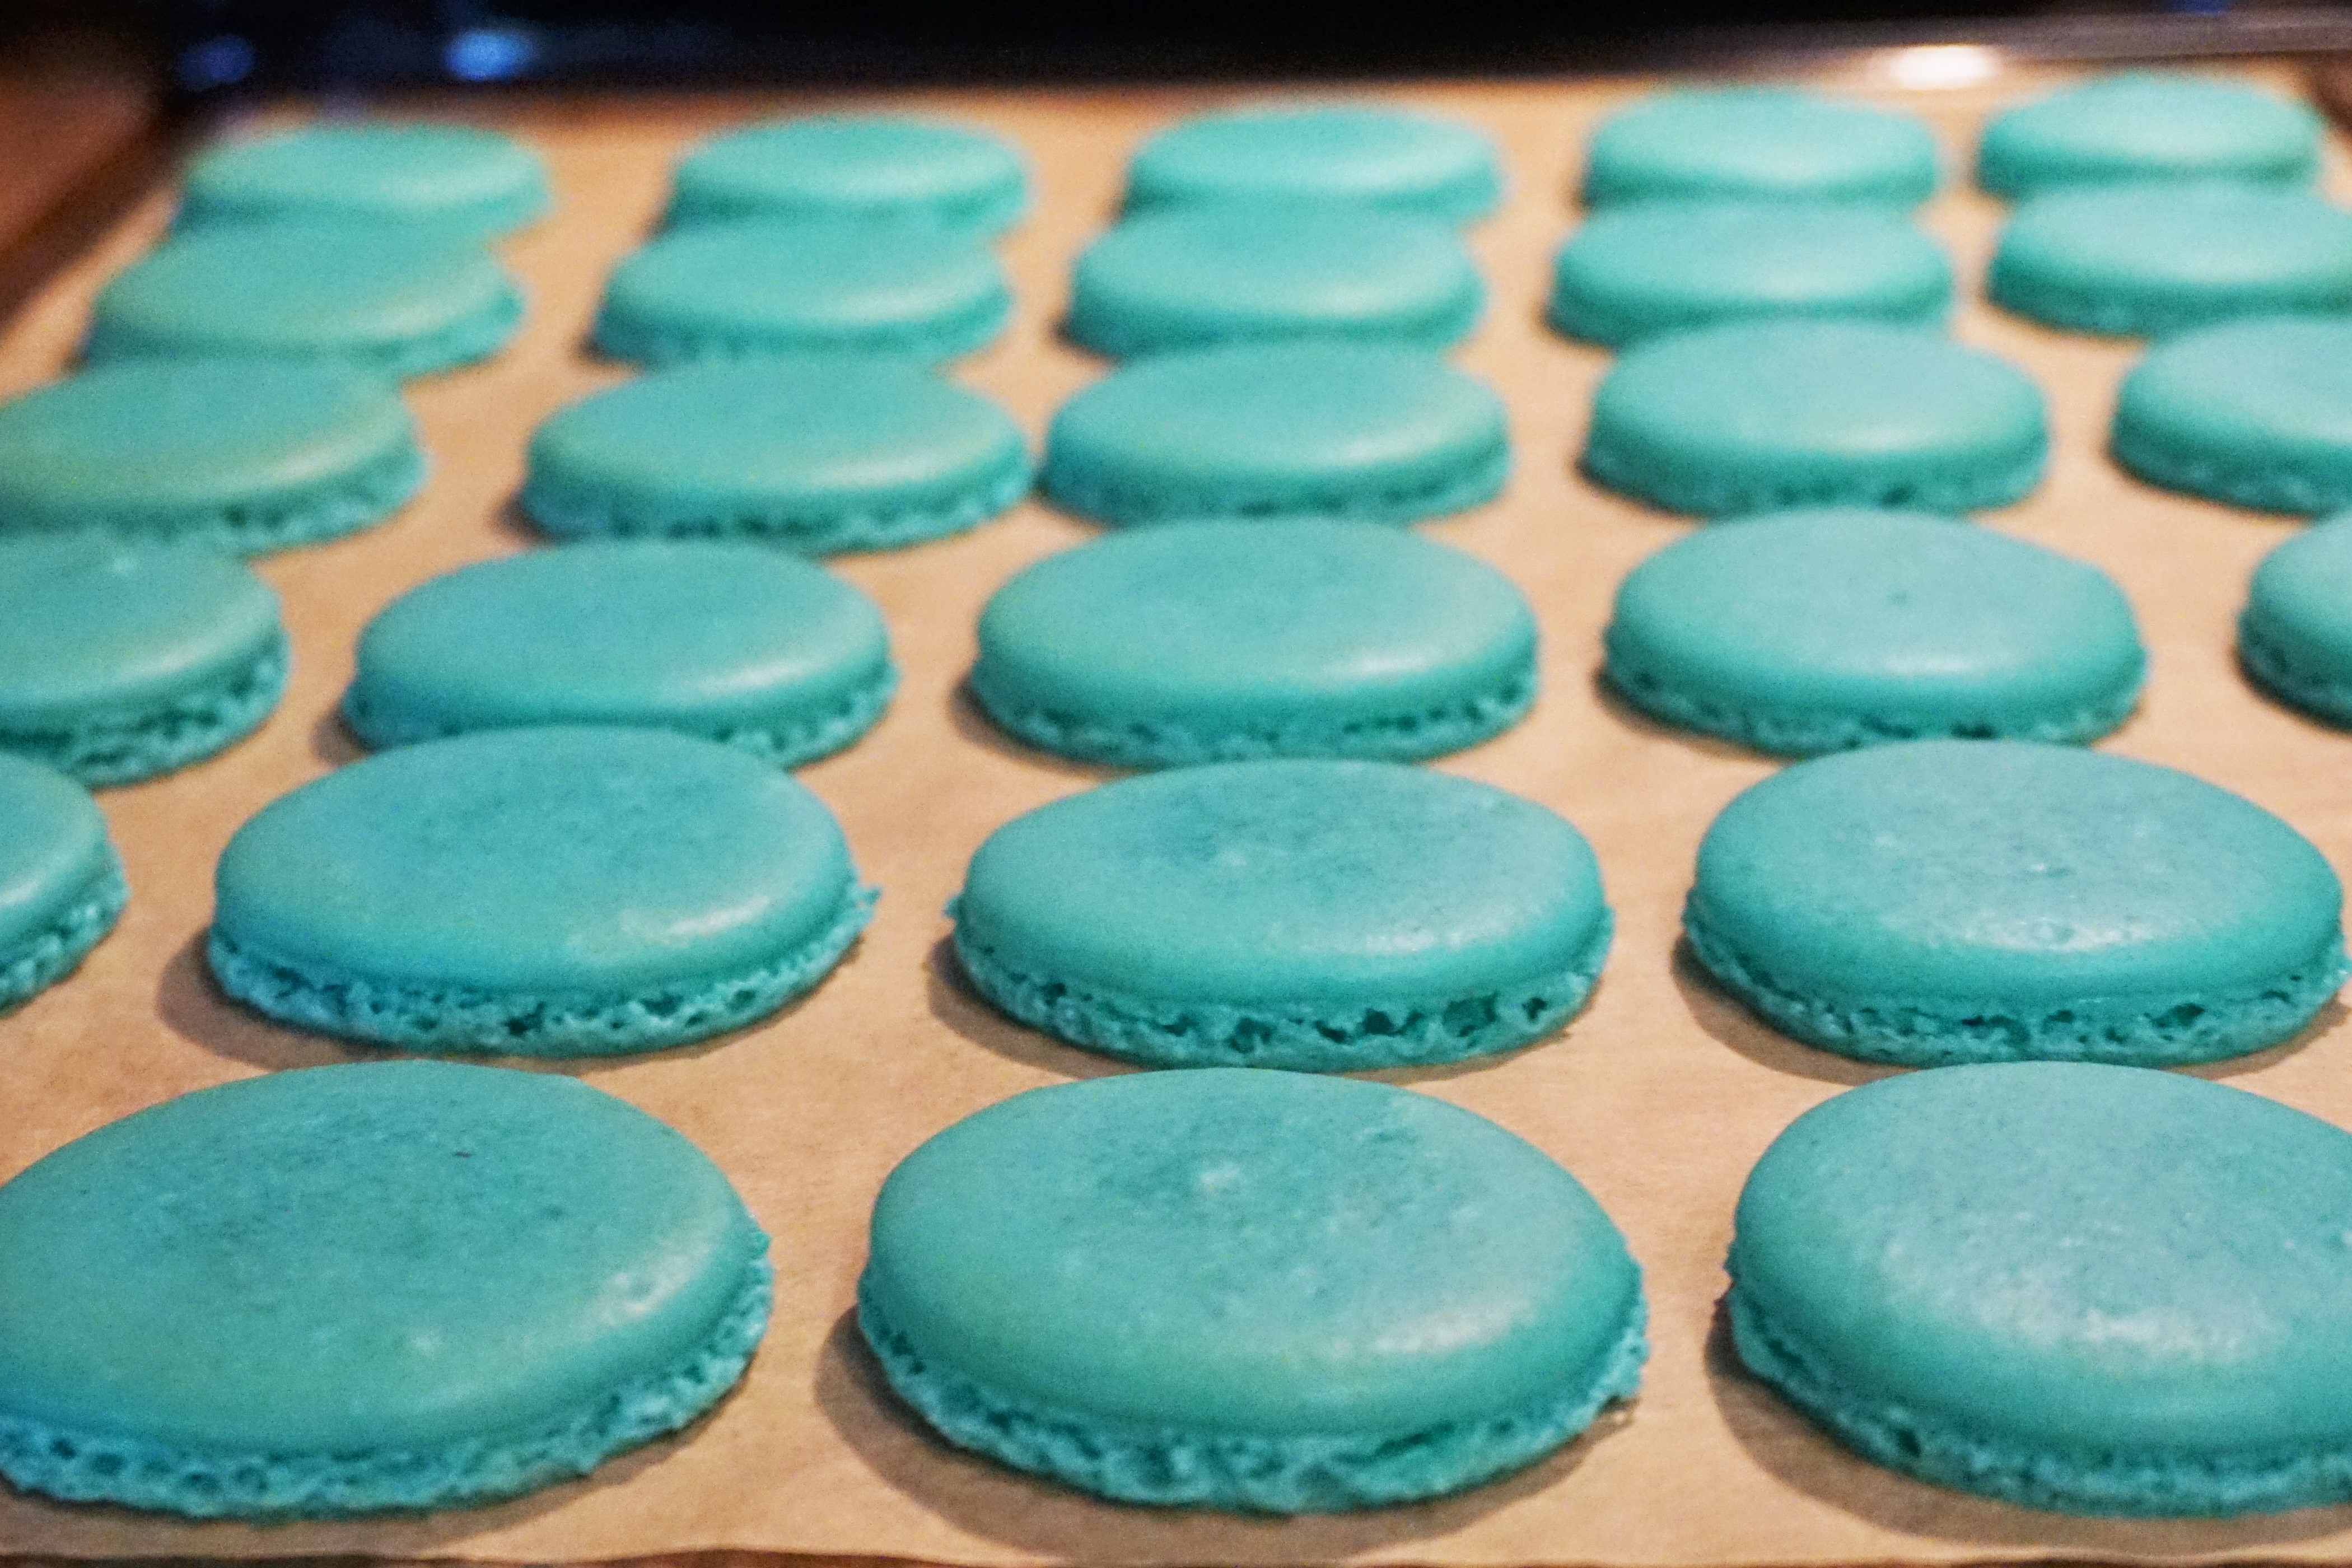
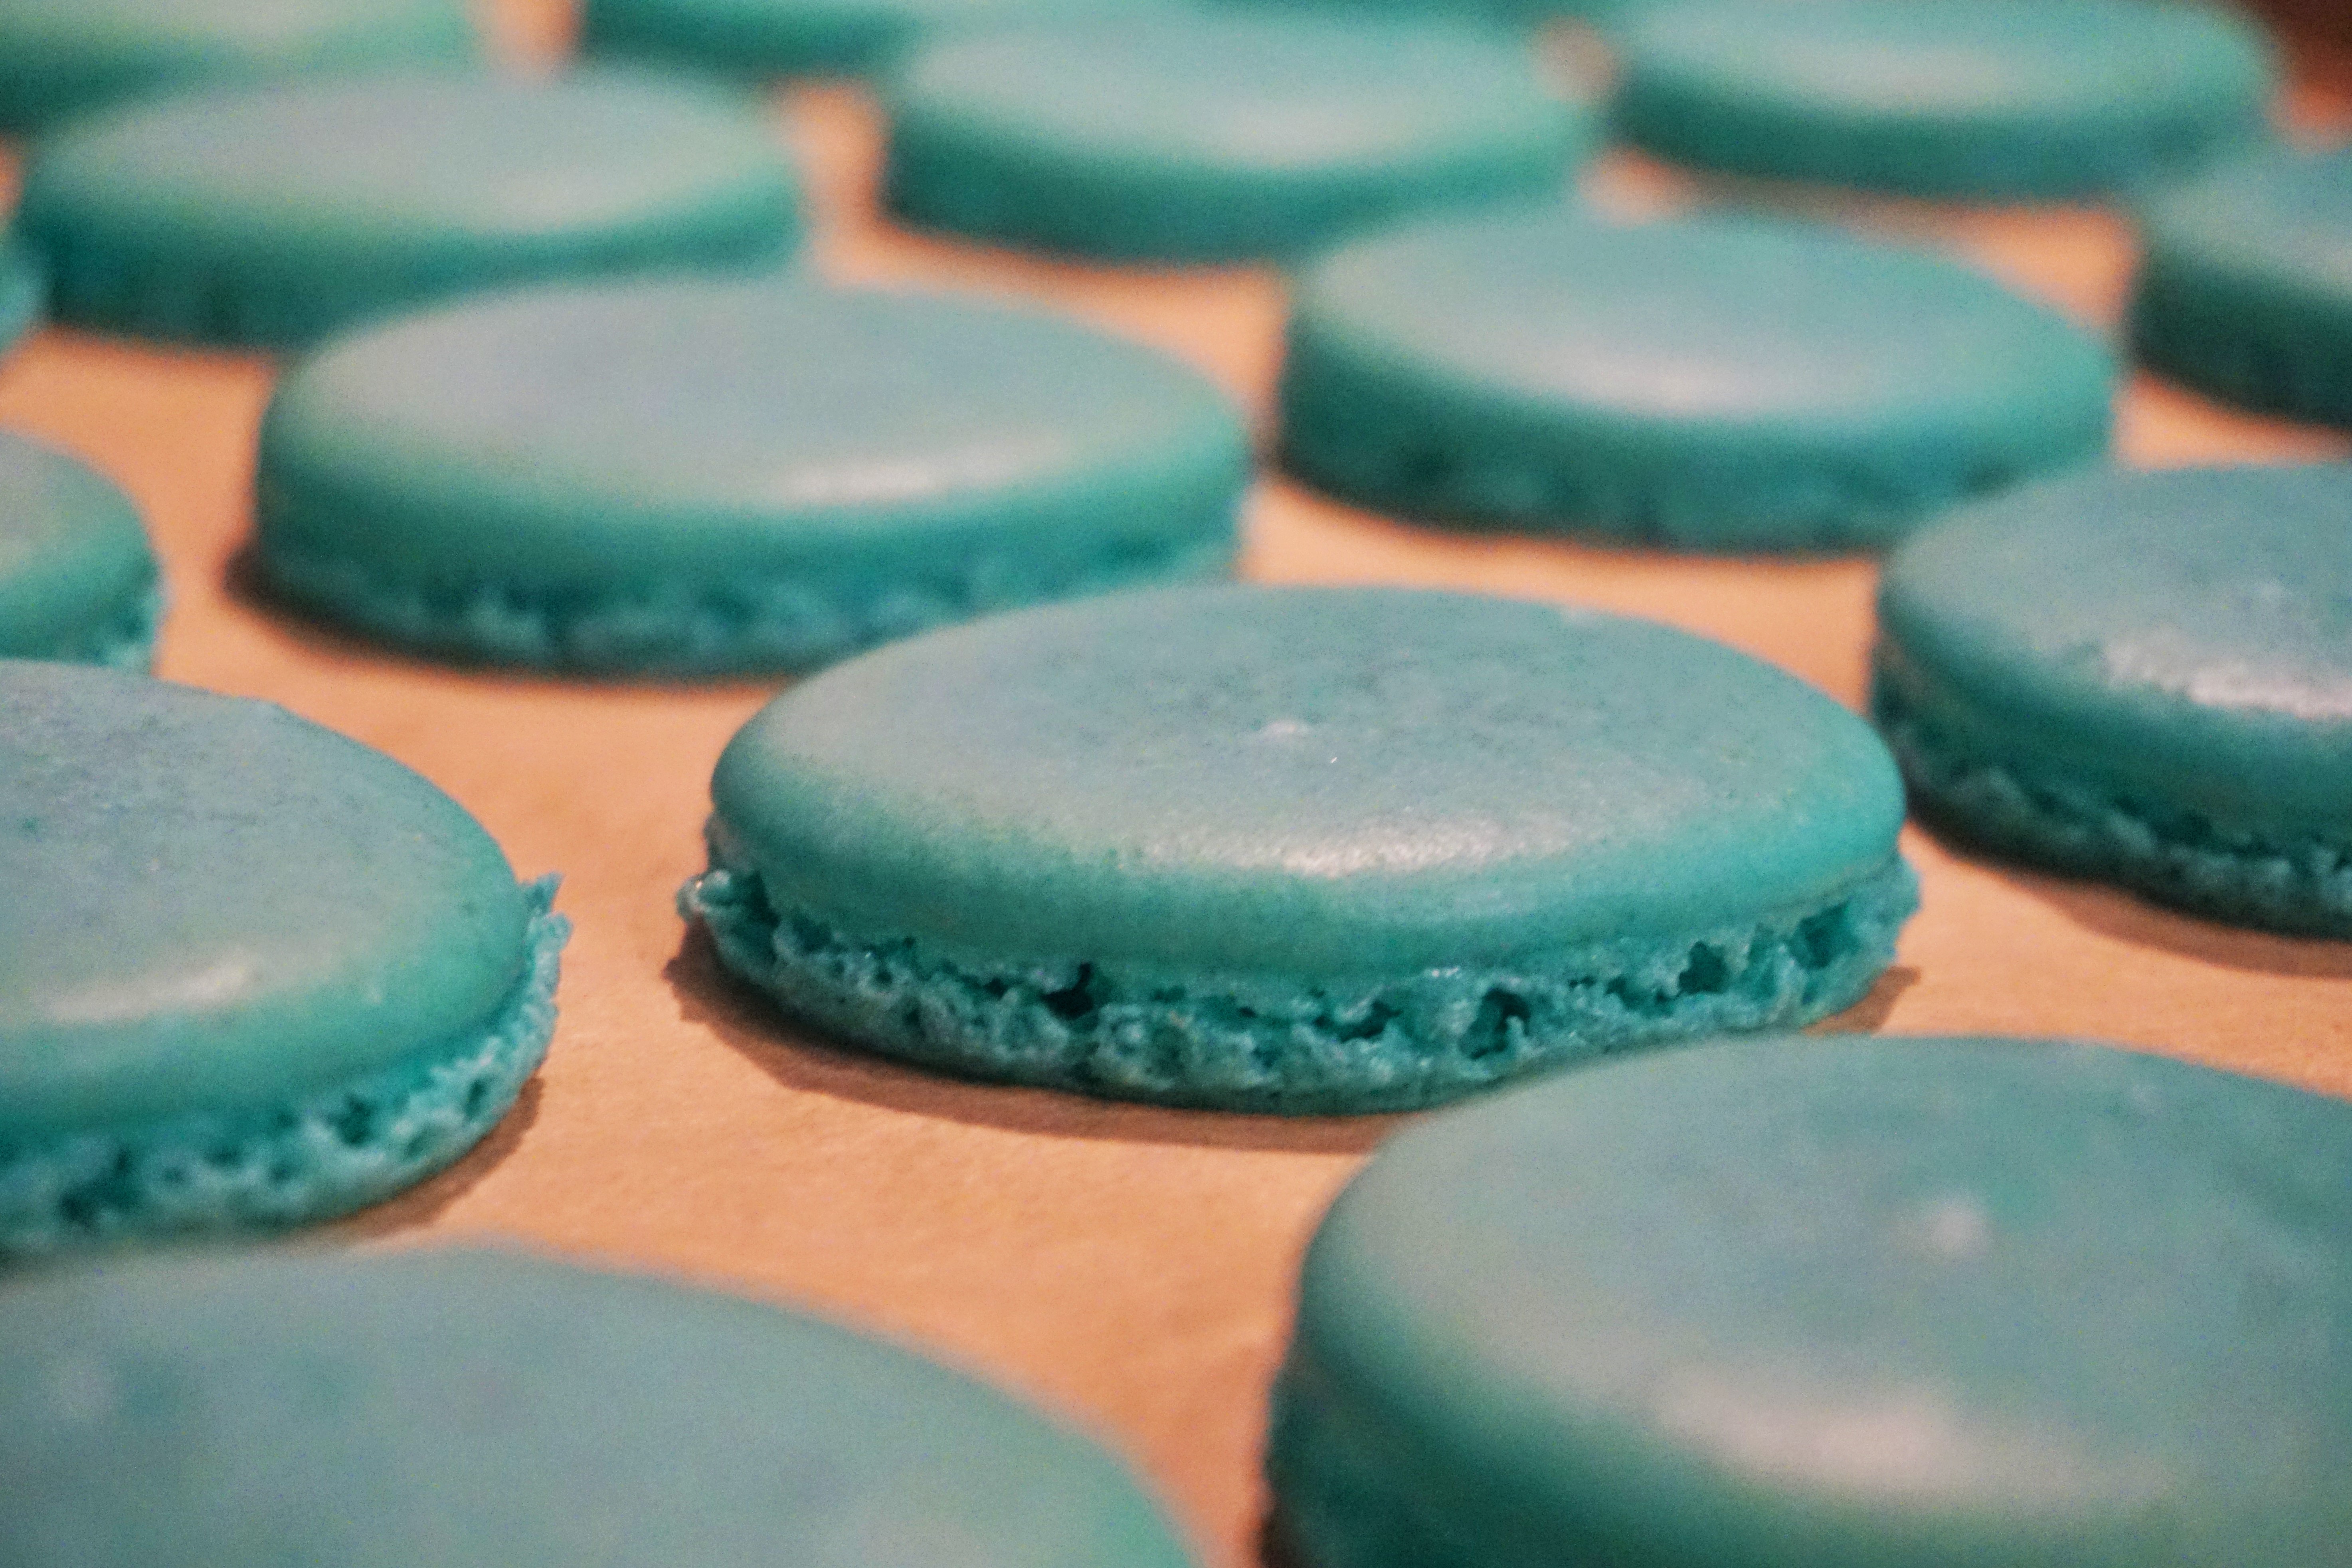
Bake the first batch until the cookies are shiny and rise 1/8 inch to form a “foot,” about anywhere from 13 to 18 minutes (you do not want the cookies to brown, but they should be firm enough to remove from the parchment – this is all dependent on your oven).
Look at those beautiful feet!
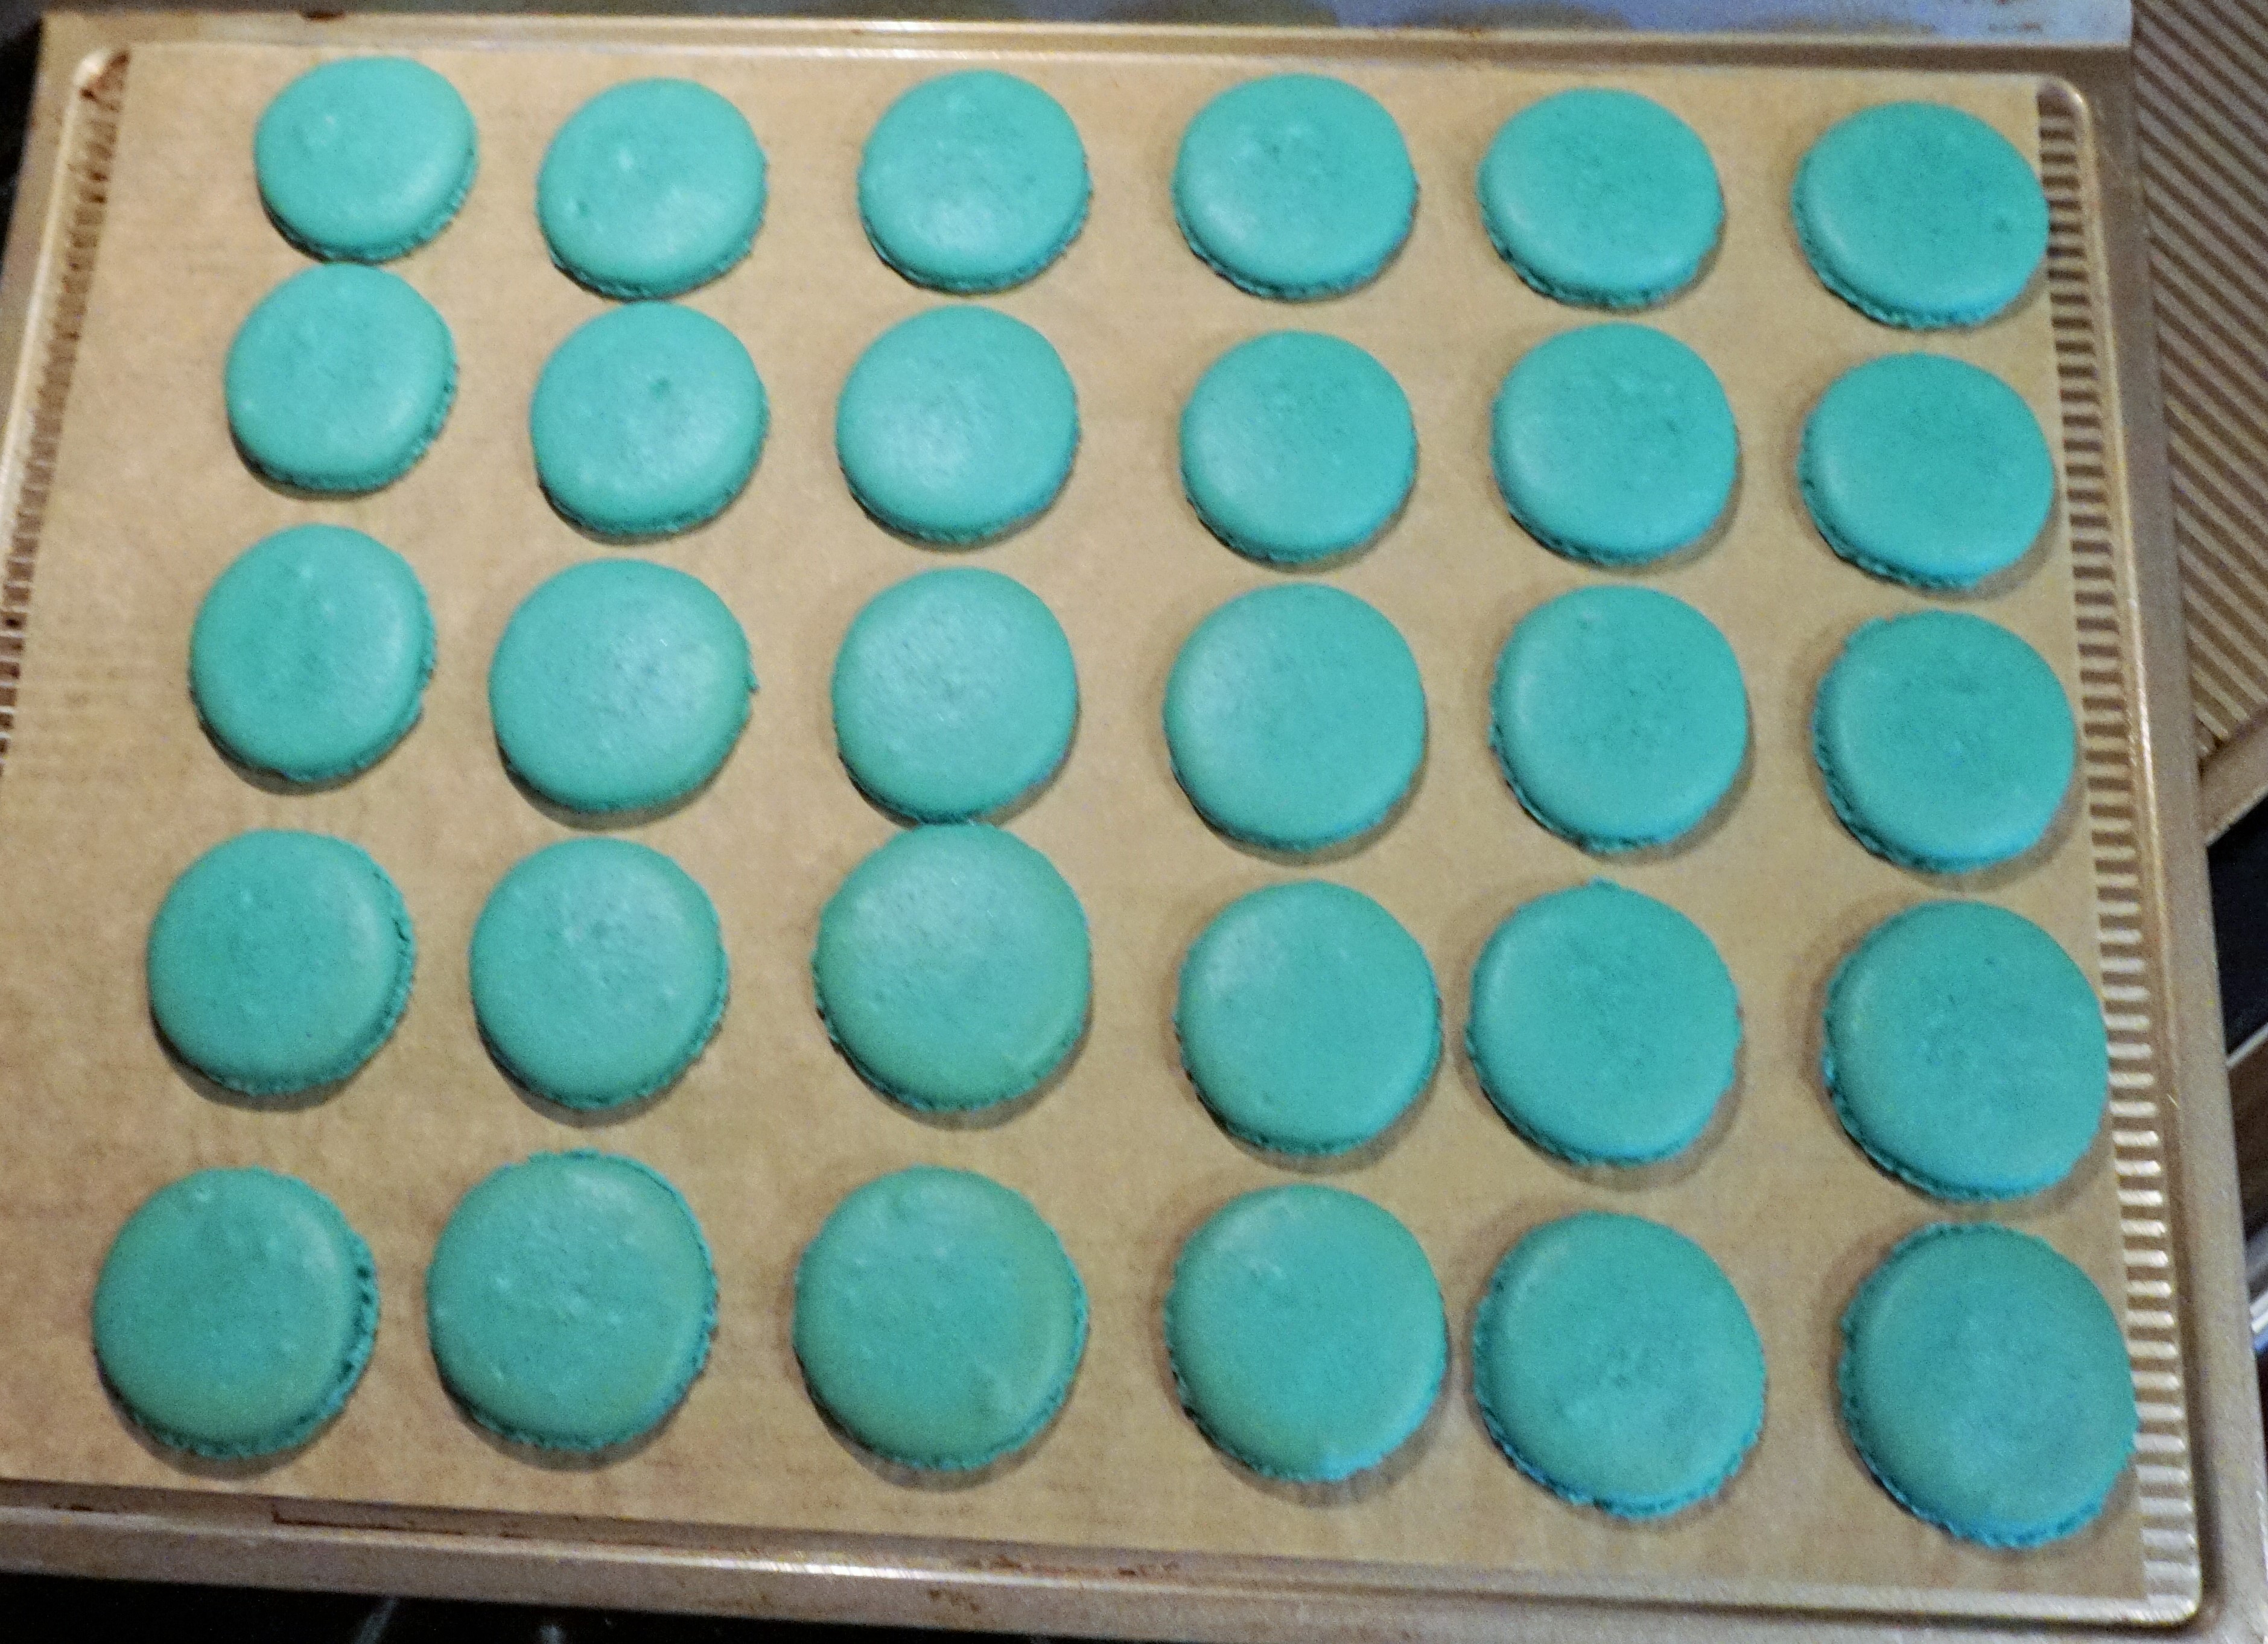
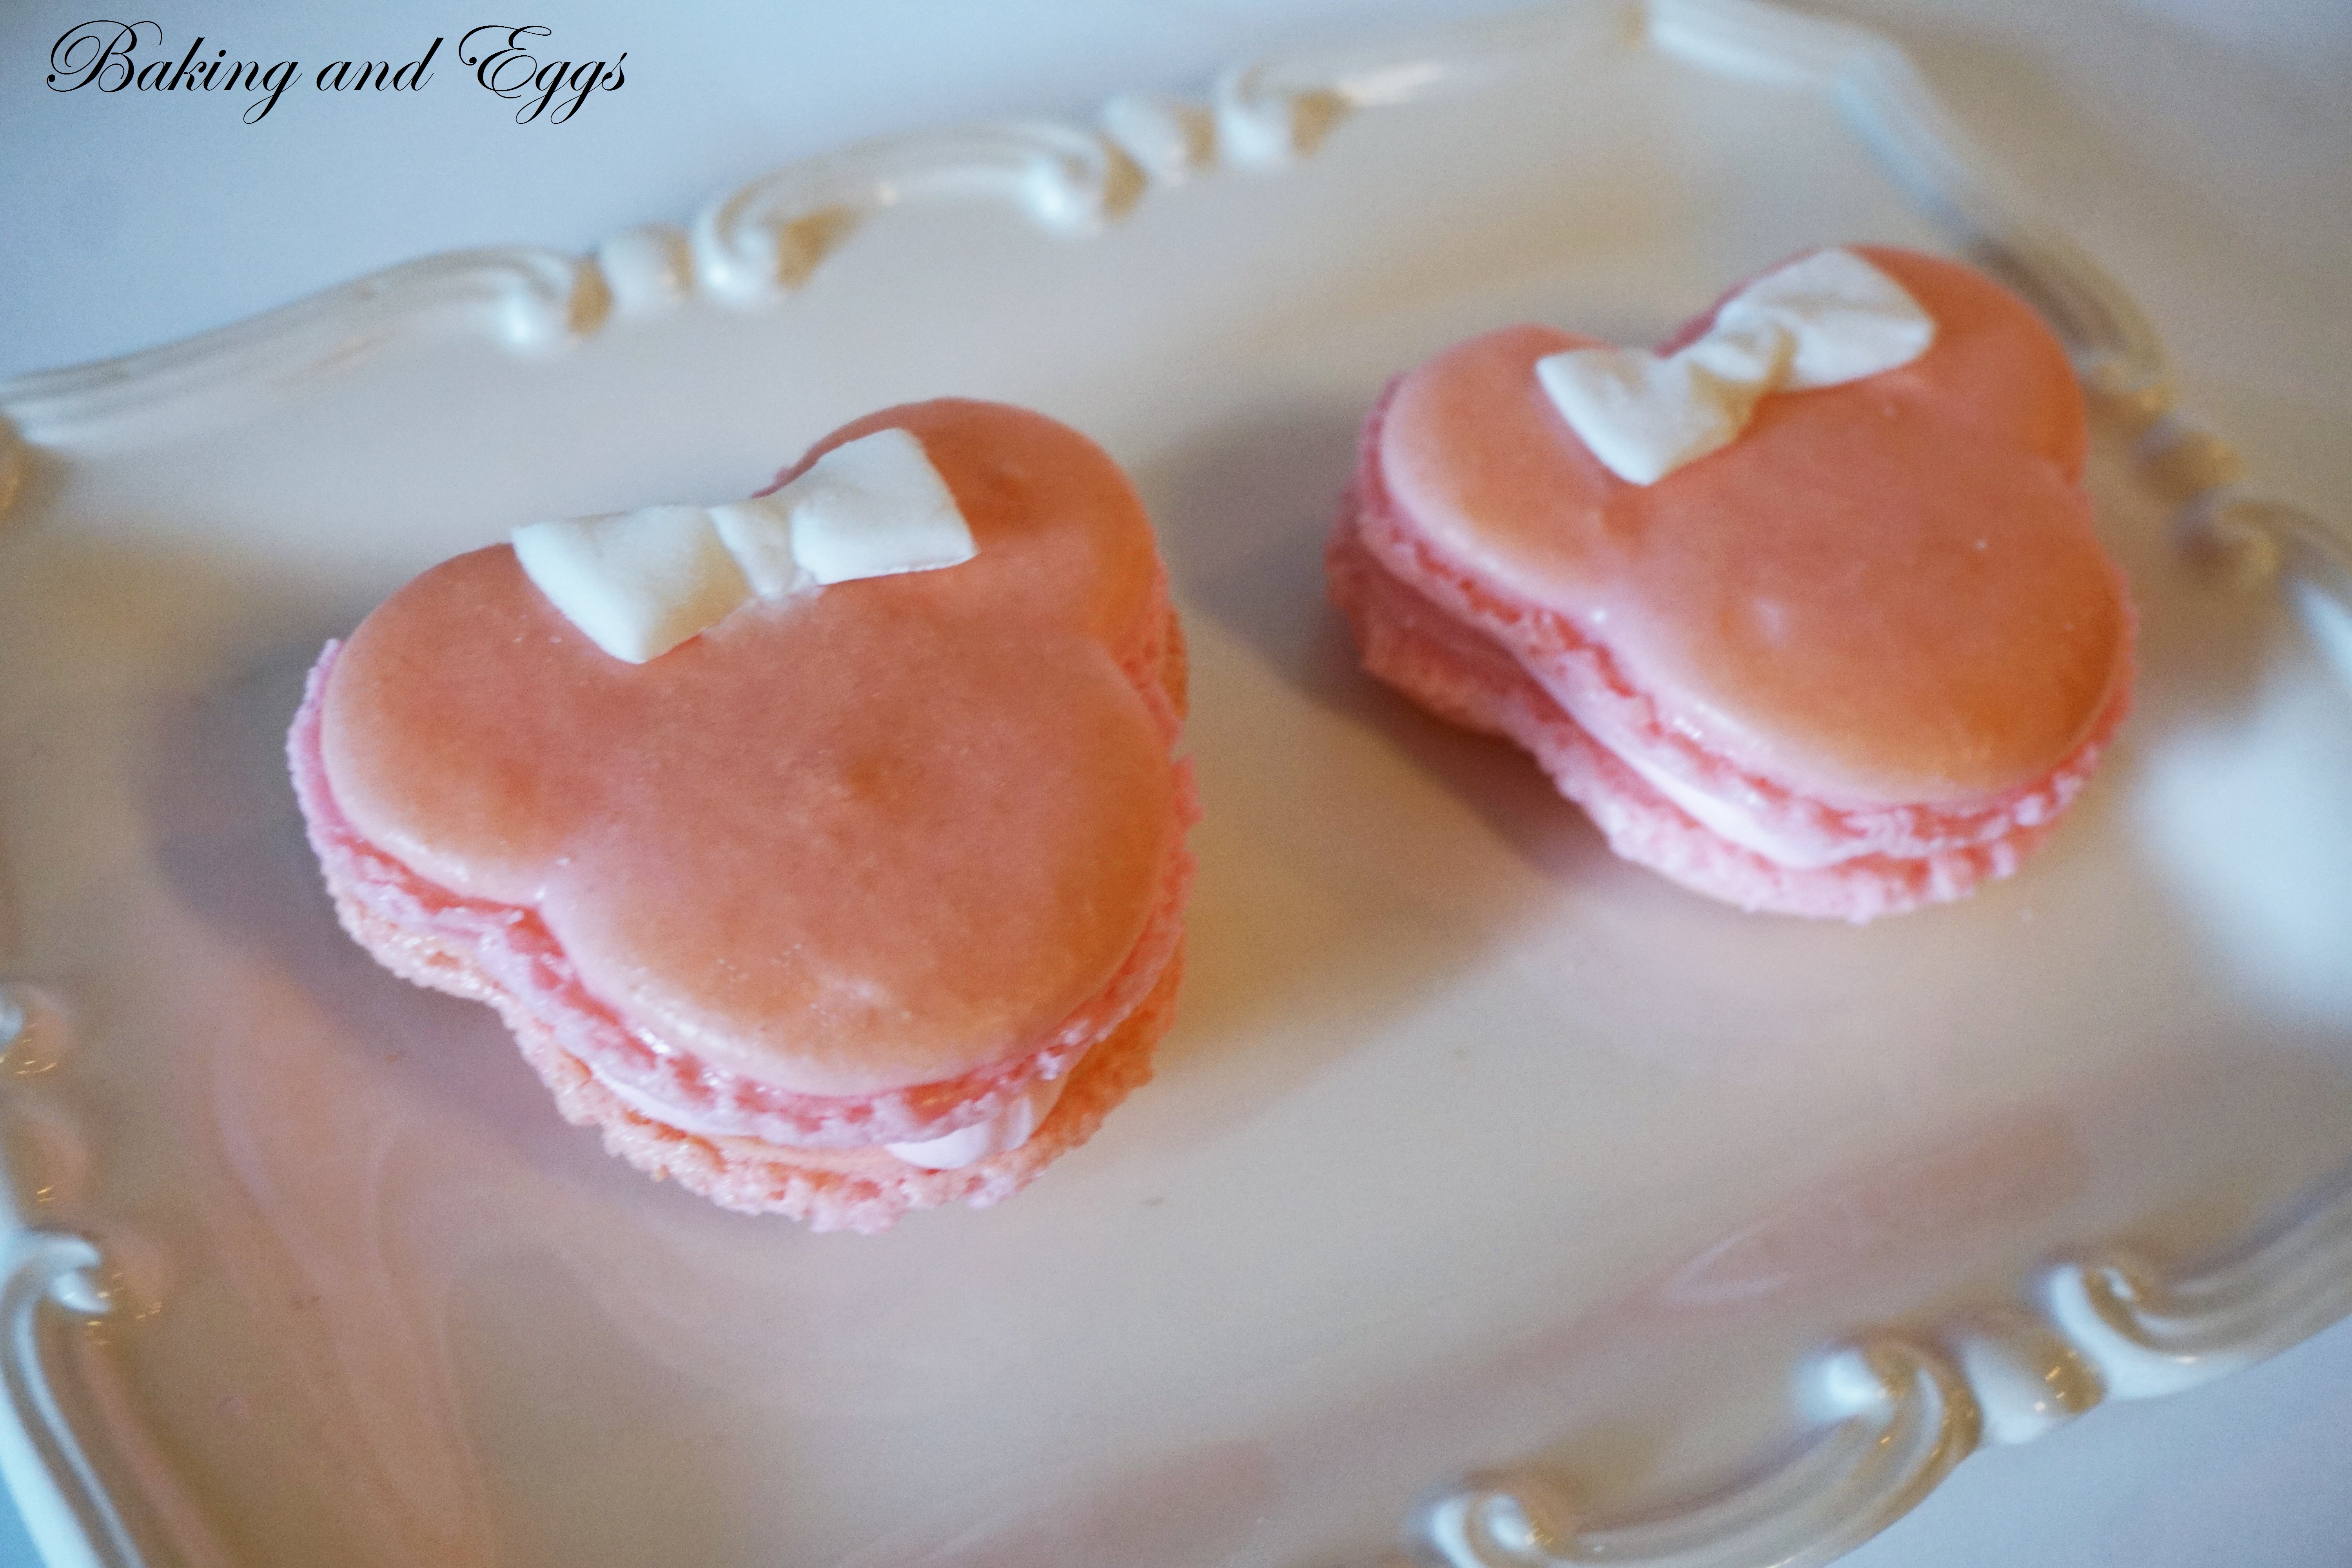
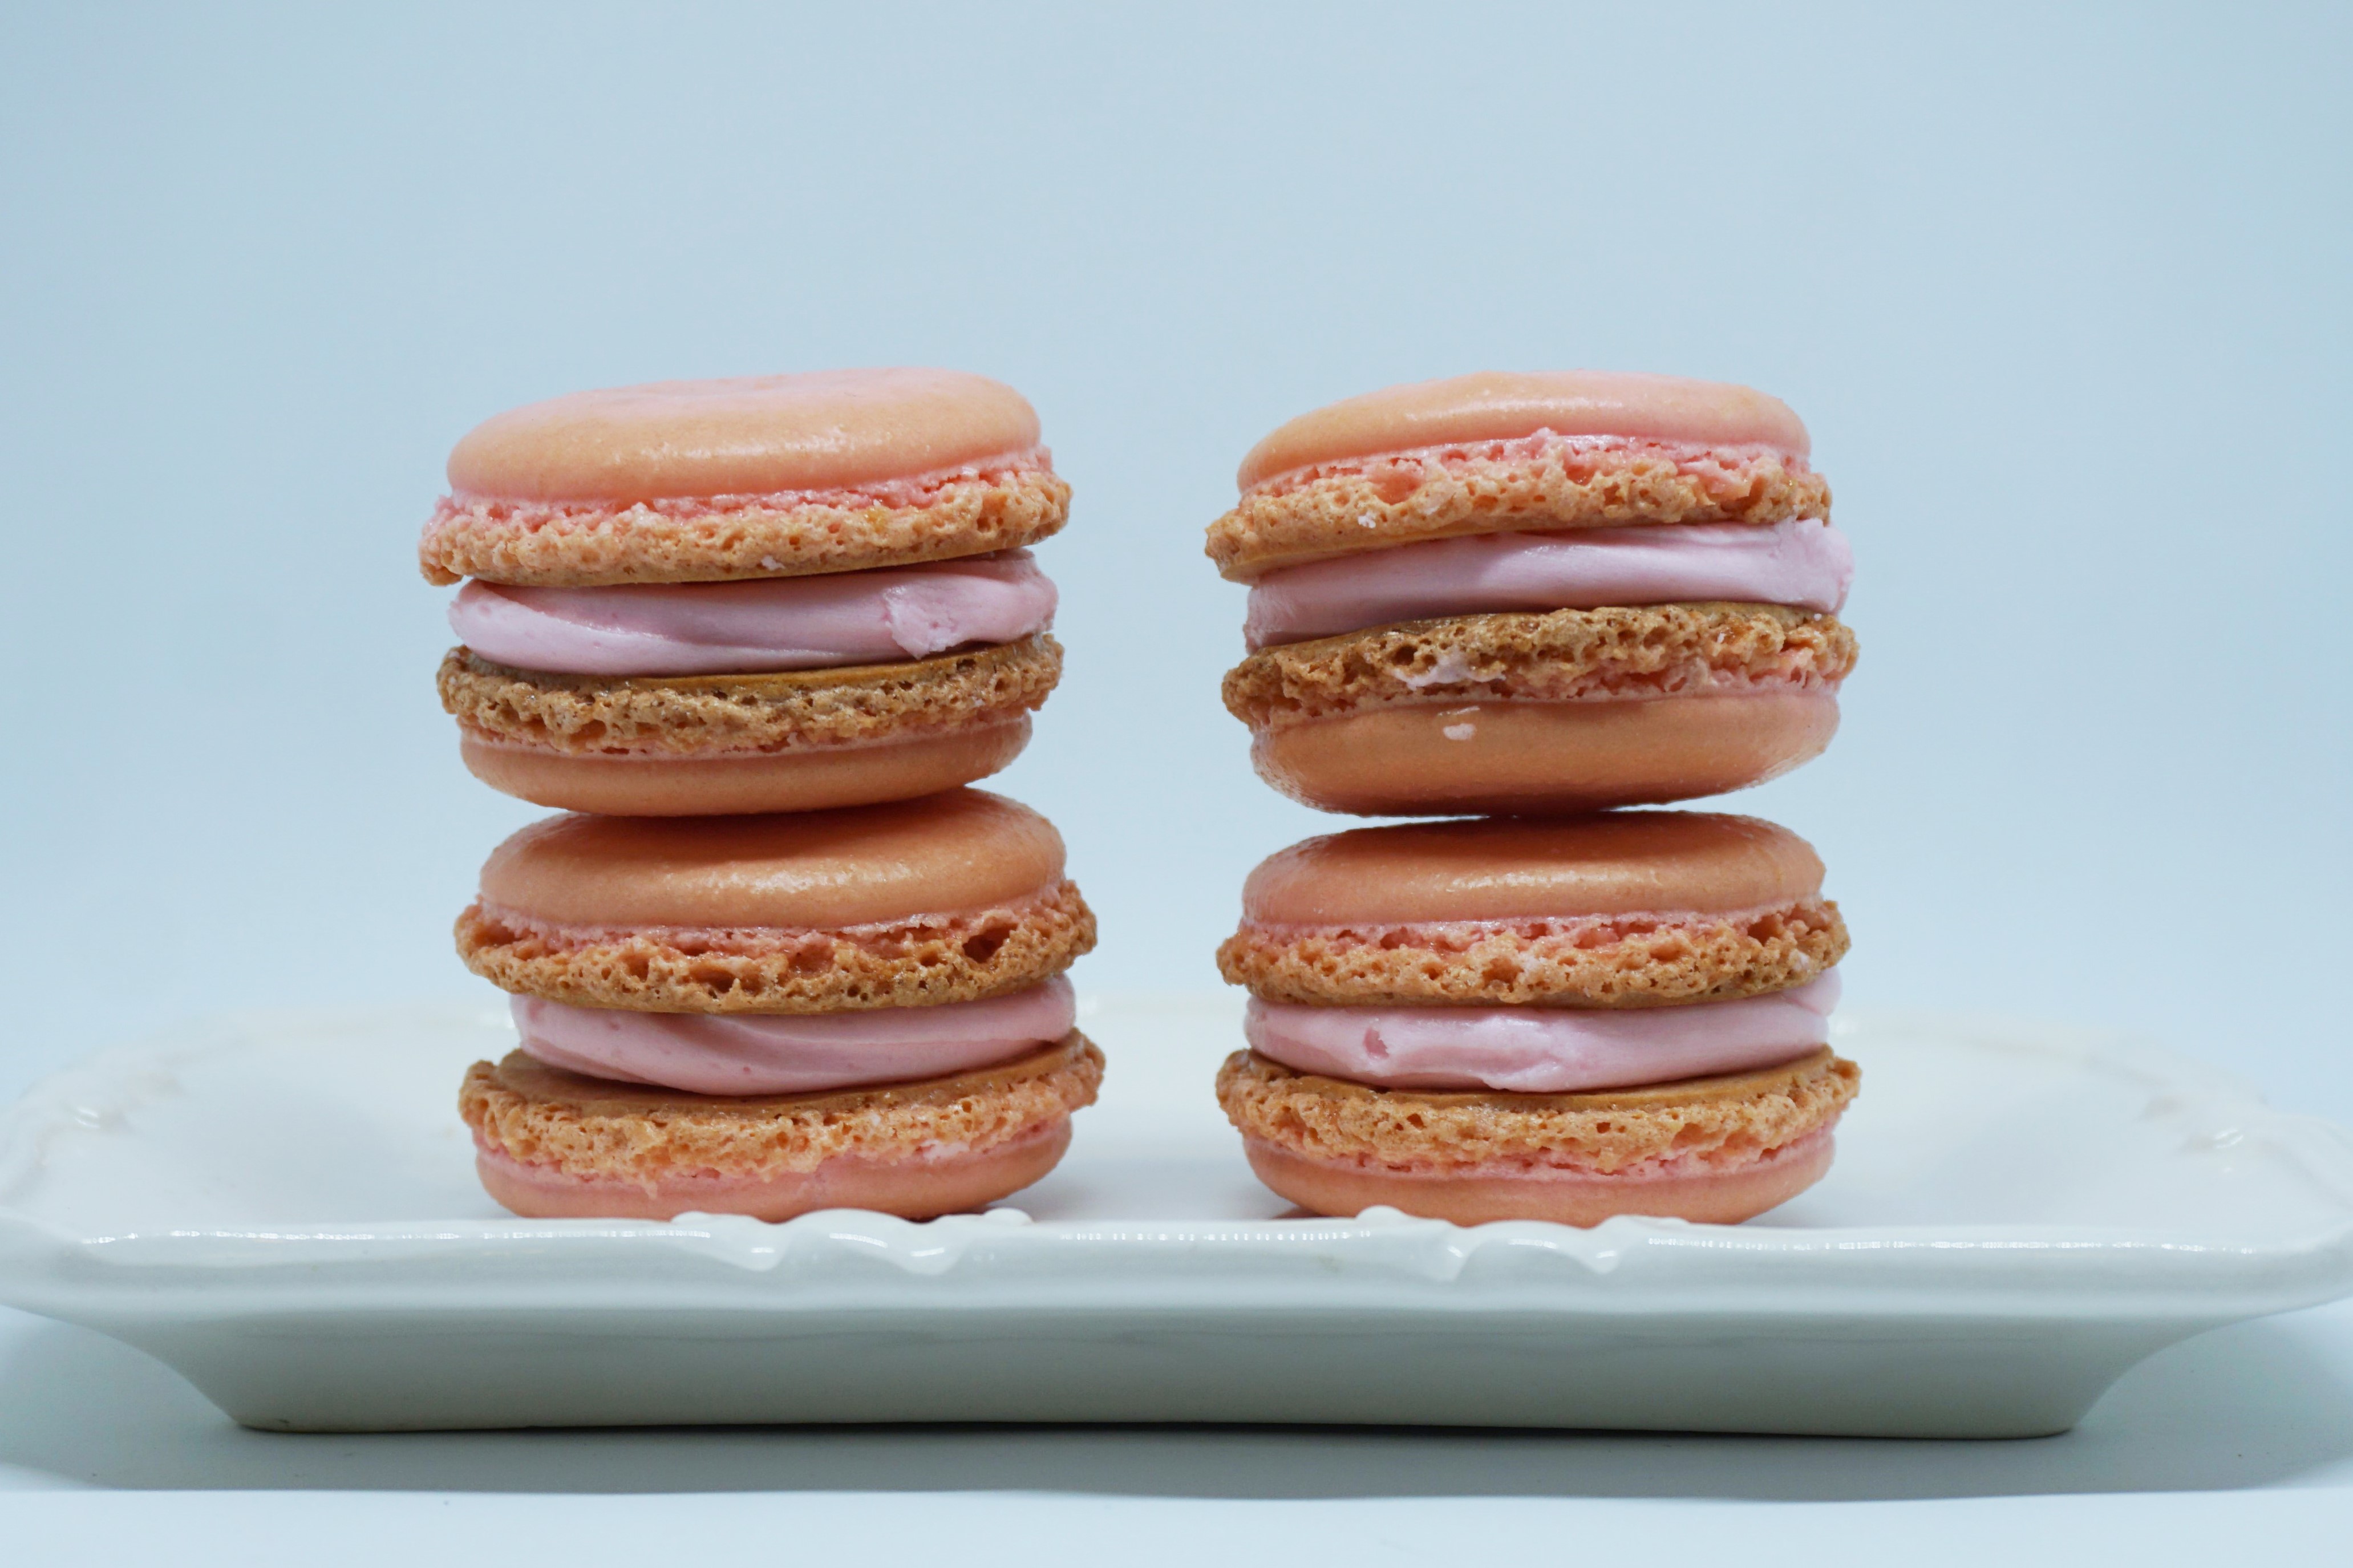
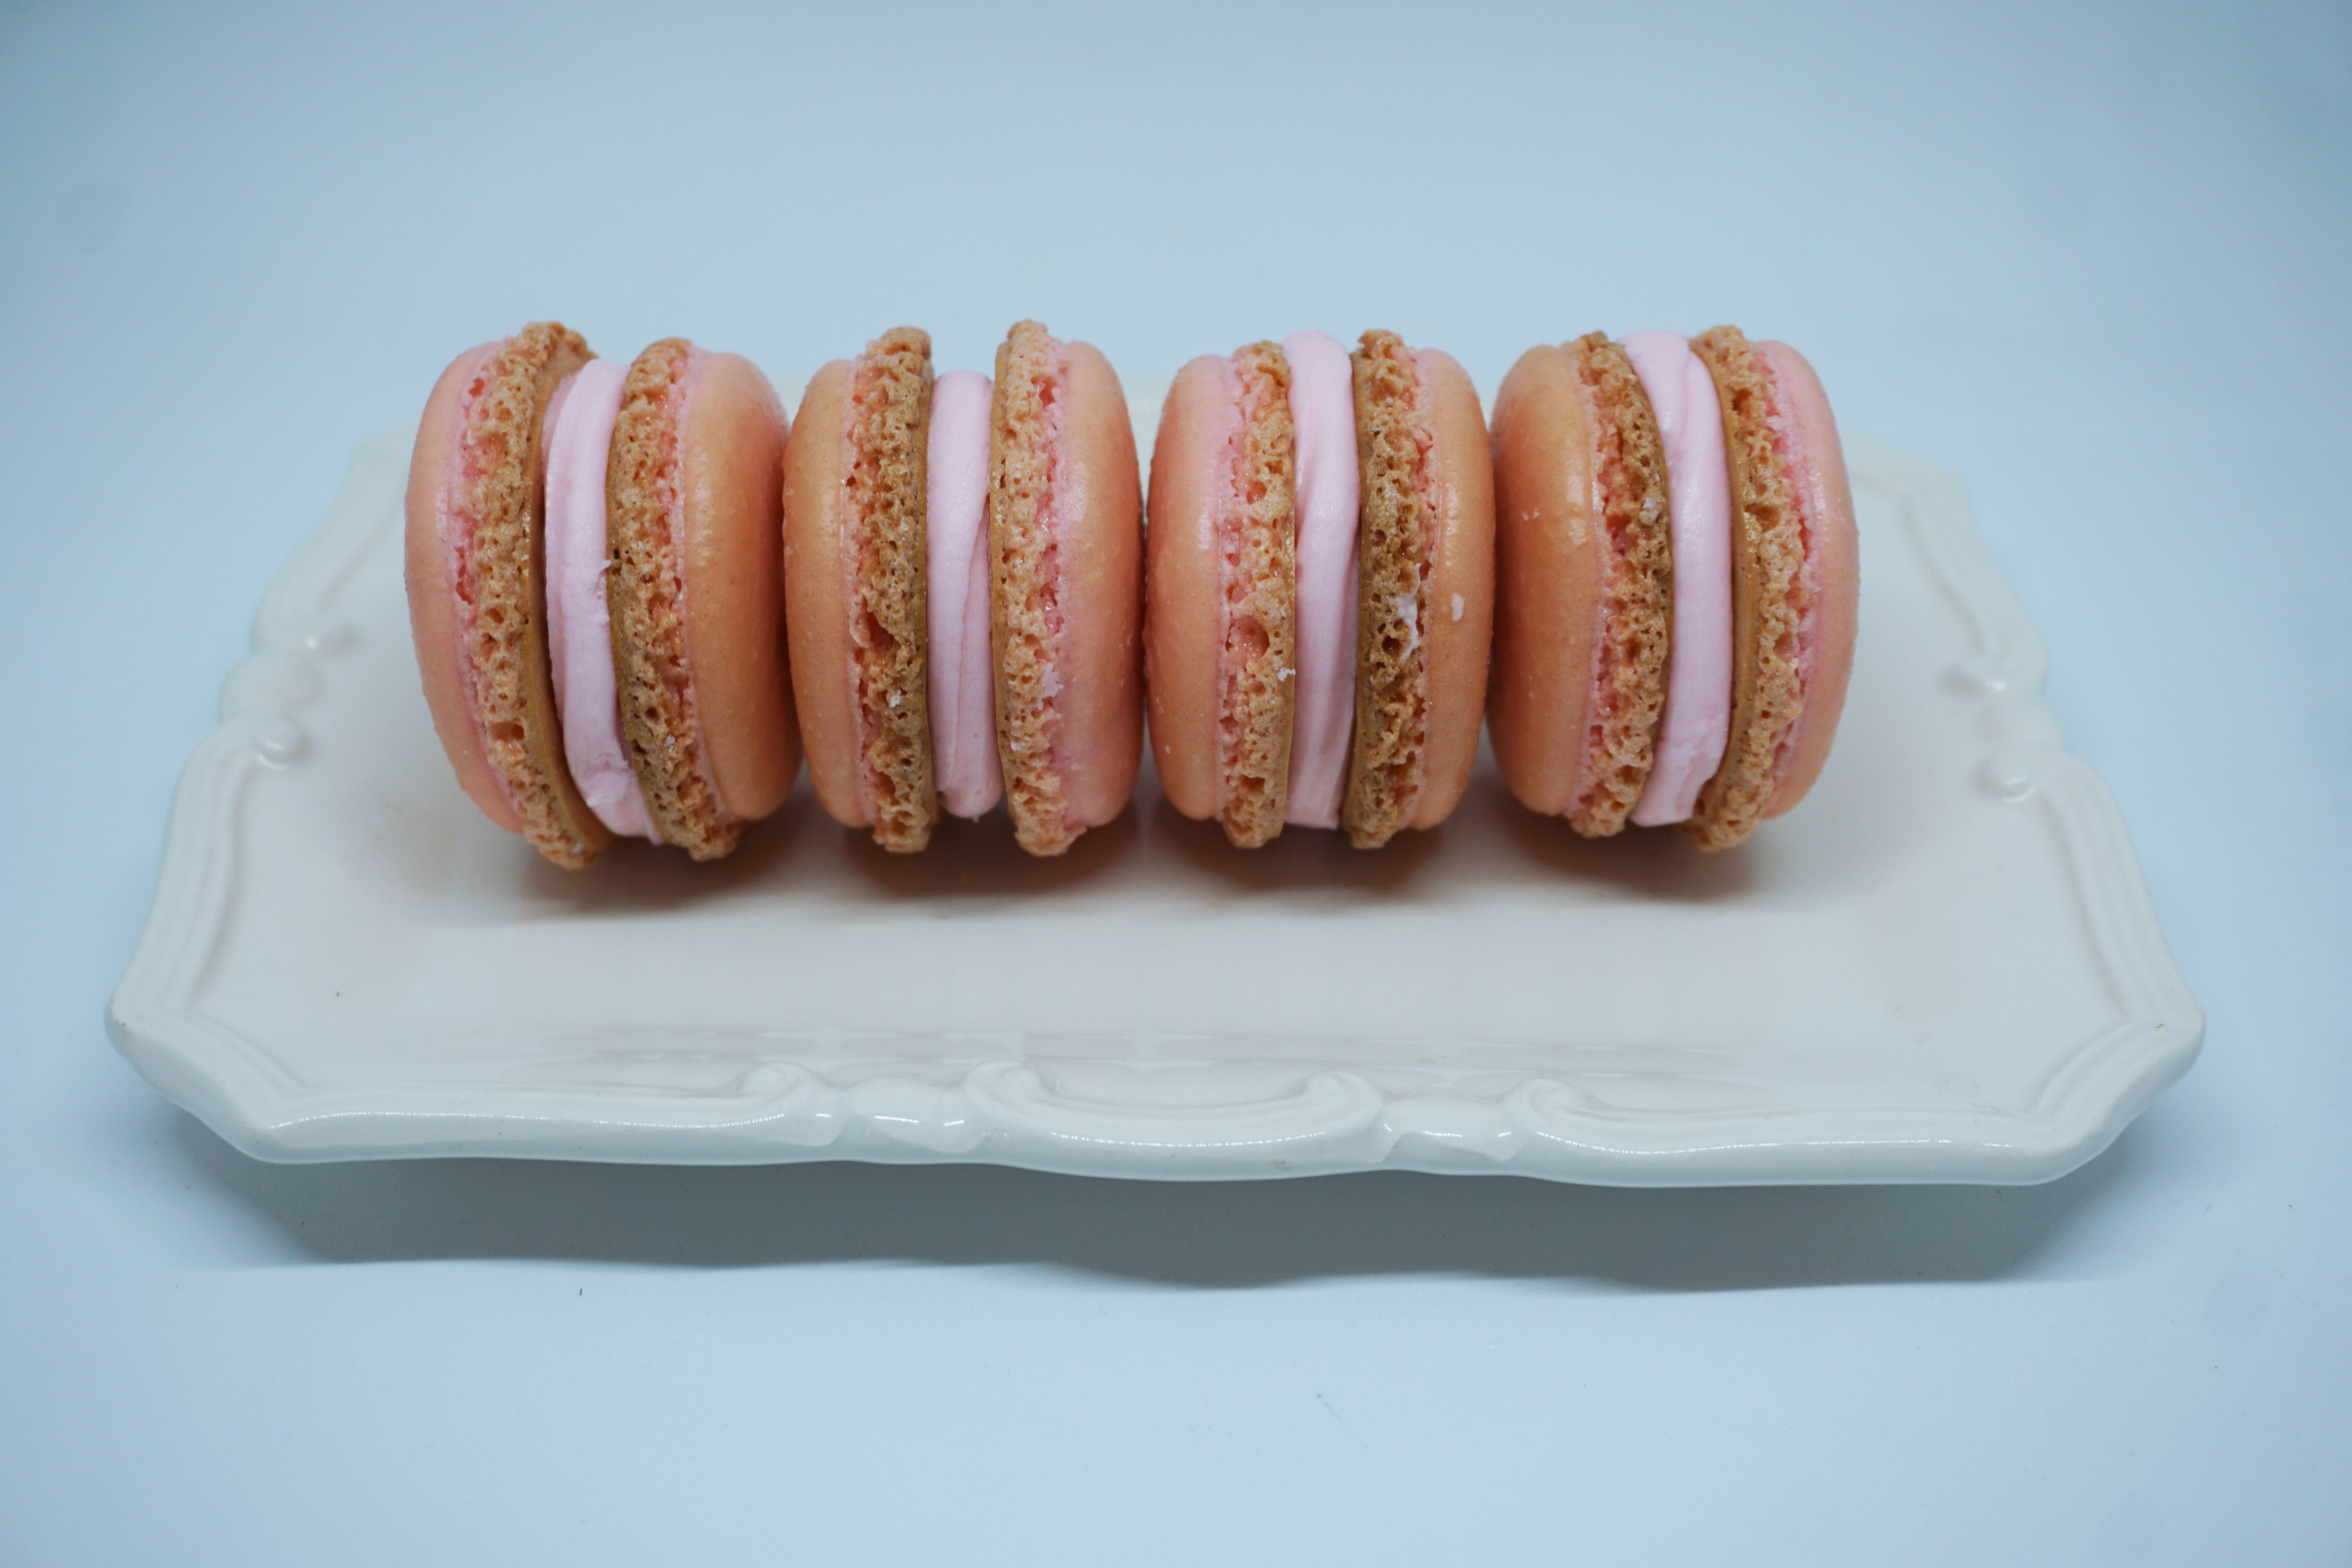
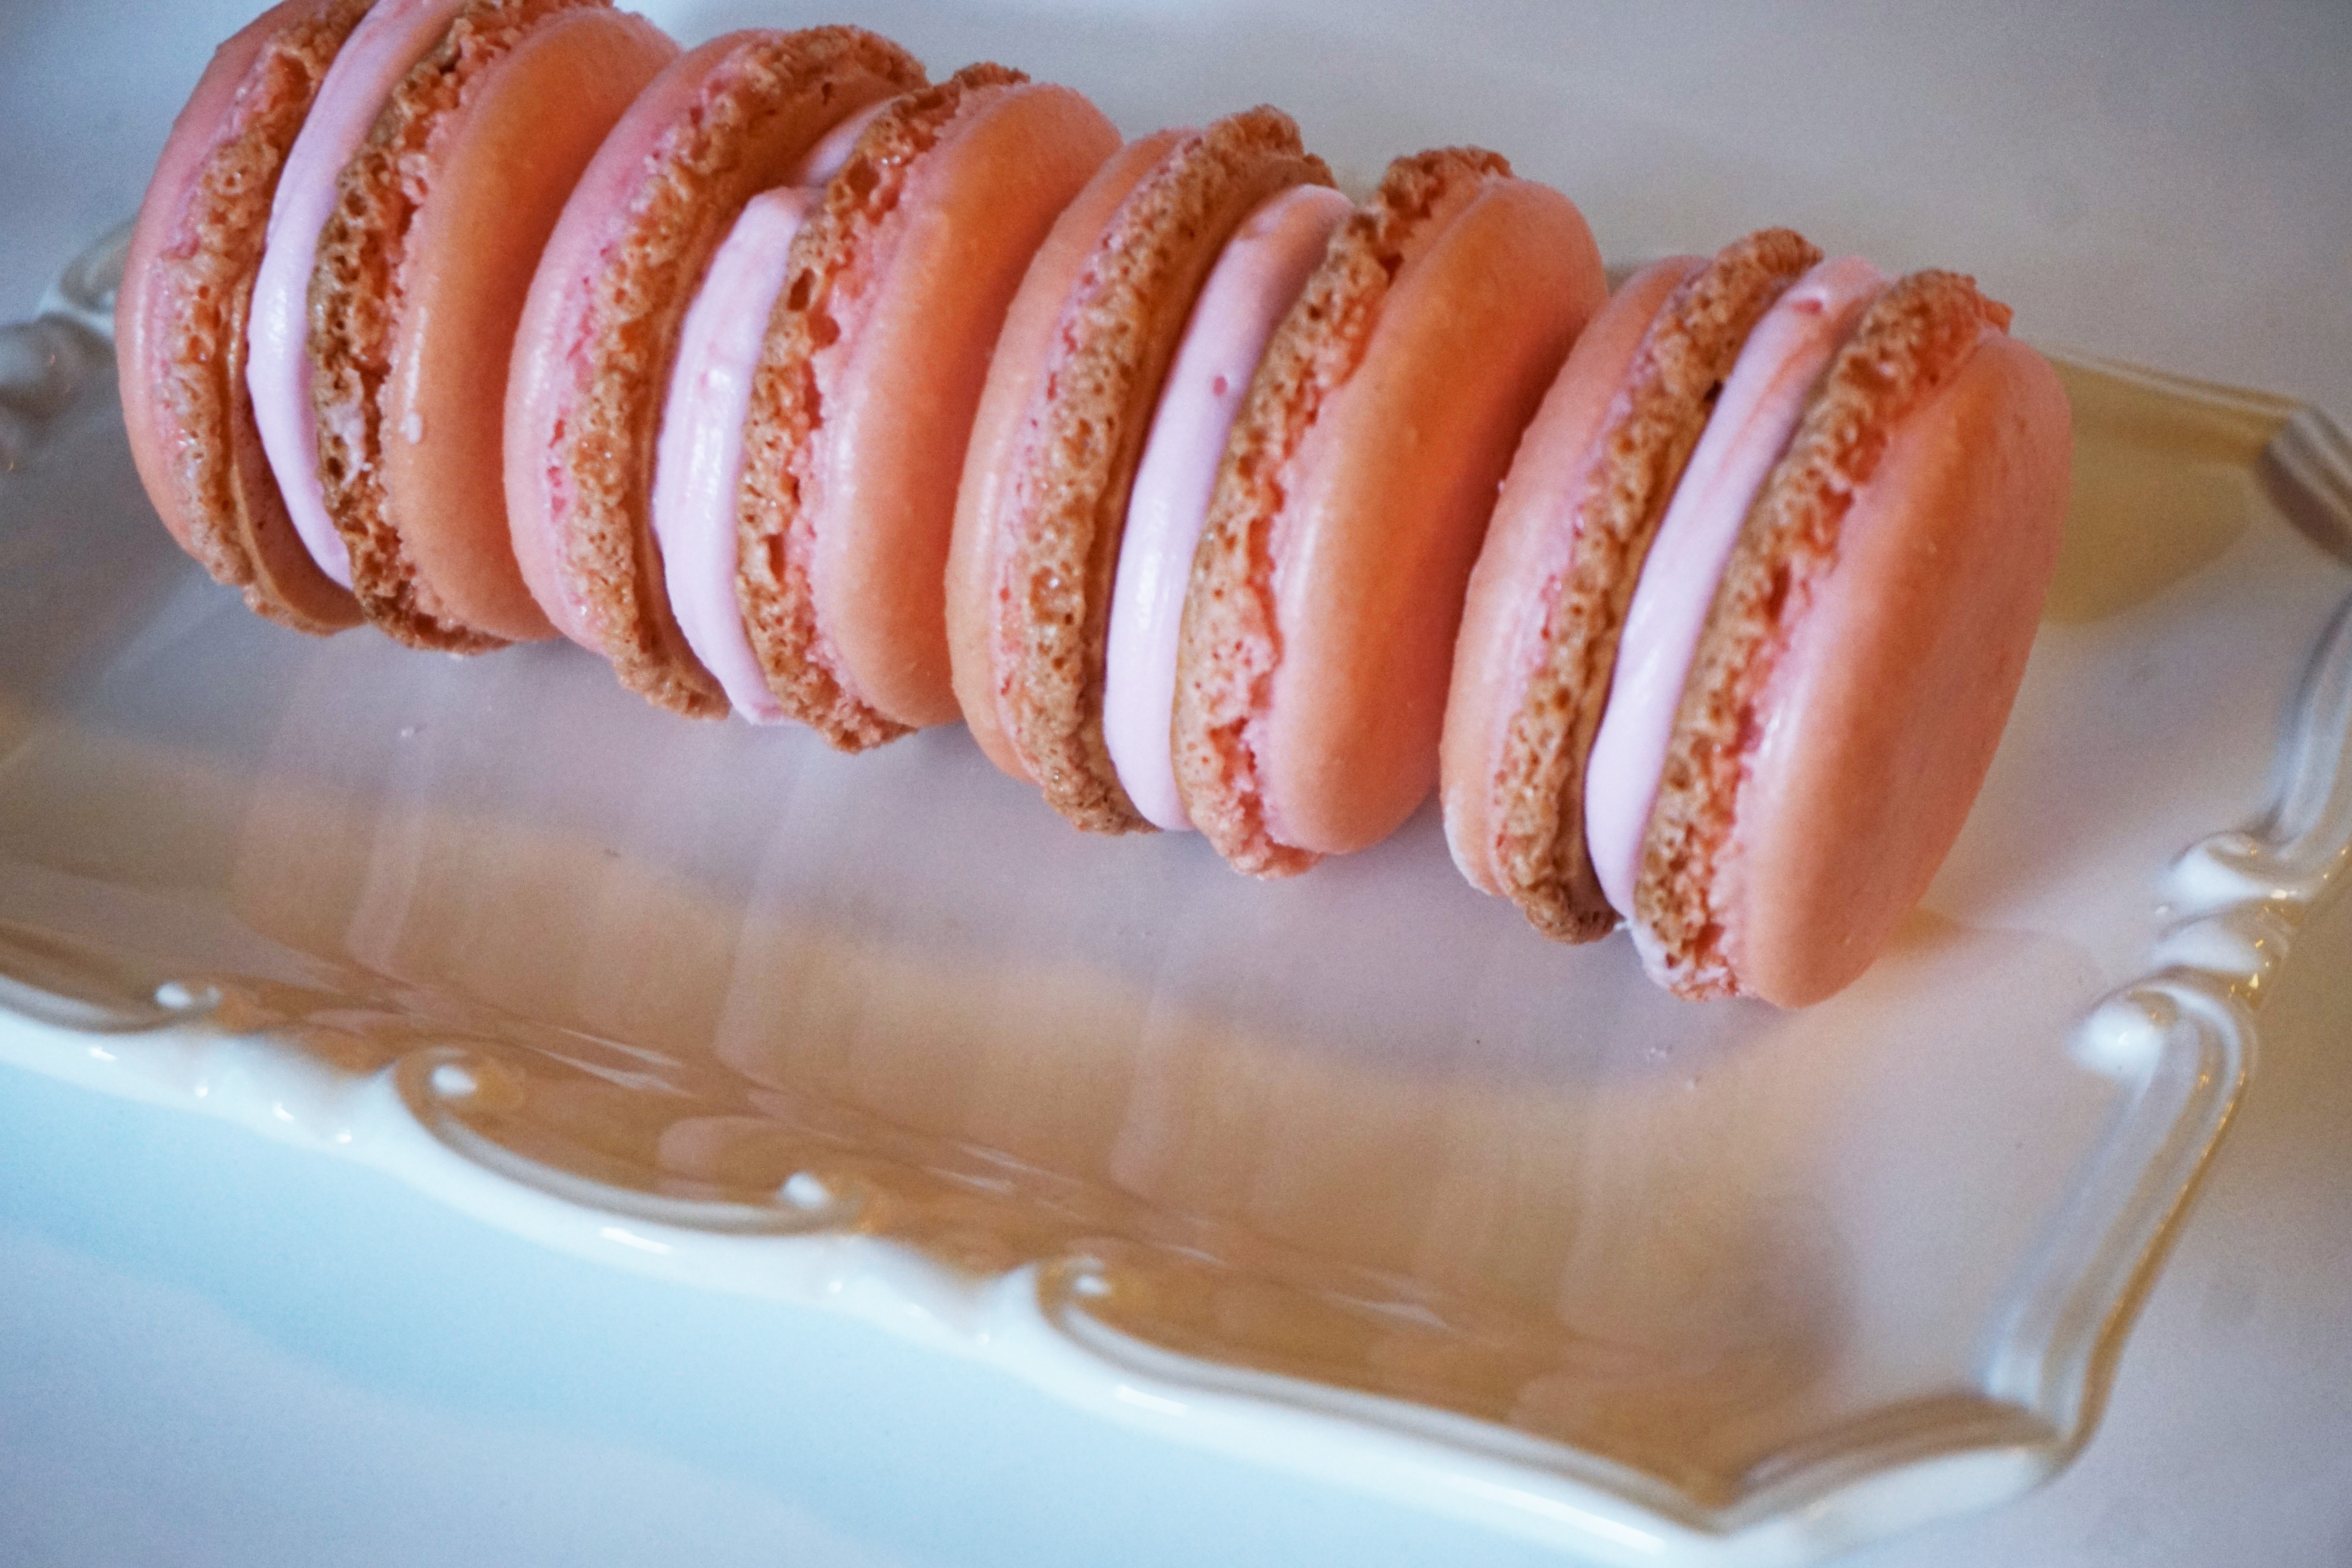
Transfer the baking sheet to a rack to cool completely. Repeat, using a double sheet for each batch. Peel the cooled cookies off the parchment and sandwich with a thin layer of filling (see below). While it’s not absolutely necessary, piping the filling onto the Macarons makes a neater cookie. After the cookies are filled and sandwiched together, place in an airtight container in the refrigerator for 24 to 48 hours prior to serving. Your Macarons are now maturing!

Swiss Buttercream
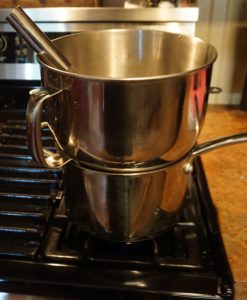
Place egg whites and sugar in a METAL bowl of a stand mixer. If you don’t have a stand mixer, you can use a hand mixer, but it might take longer to get the egg whites whipped to the right consistency. Place the metal bowl of egg whites over a pan of simmering water, not touching the water. Whisk or stir constantly until sugar is dissolved and mixture comes to approximately 185ºF. If attempting without a thermometer, sugar should be dissolved with no graininess when a bit is rubbed between two fingers. It will be hot to the touch.
-
.
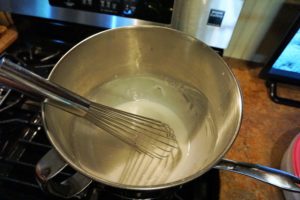
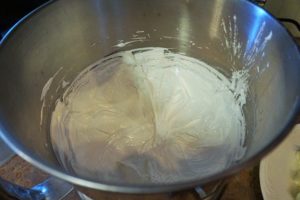
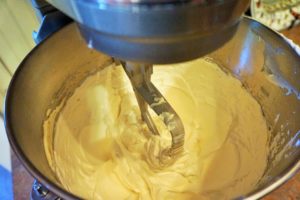
Immediately place the bowl on the stand mixer and whip, beginning on low and gradually increasing to high speed, using the whisk attachment until frosting has become thick and glossy, forming a stiff peak. Continue to whip egg whites until the bowl feels room temperature to the touch, a total of about 10 minutes.
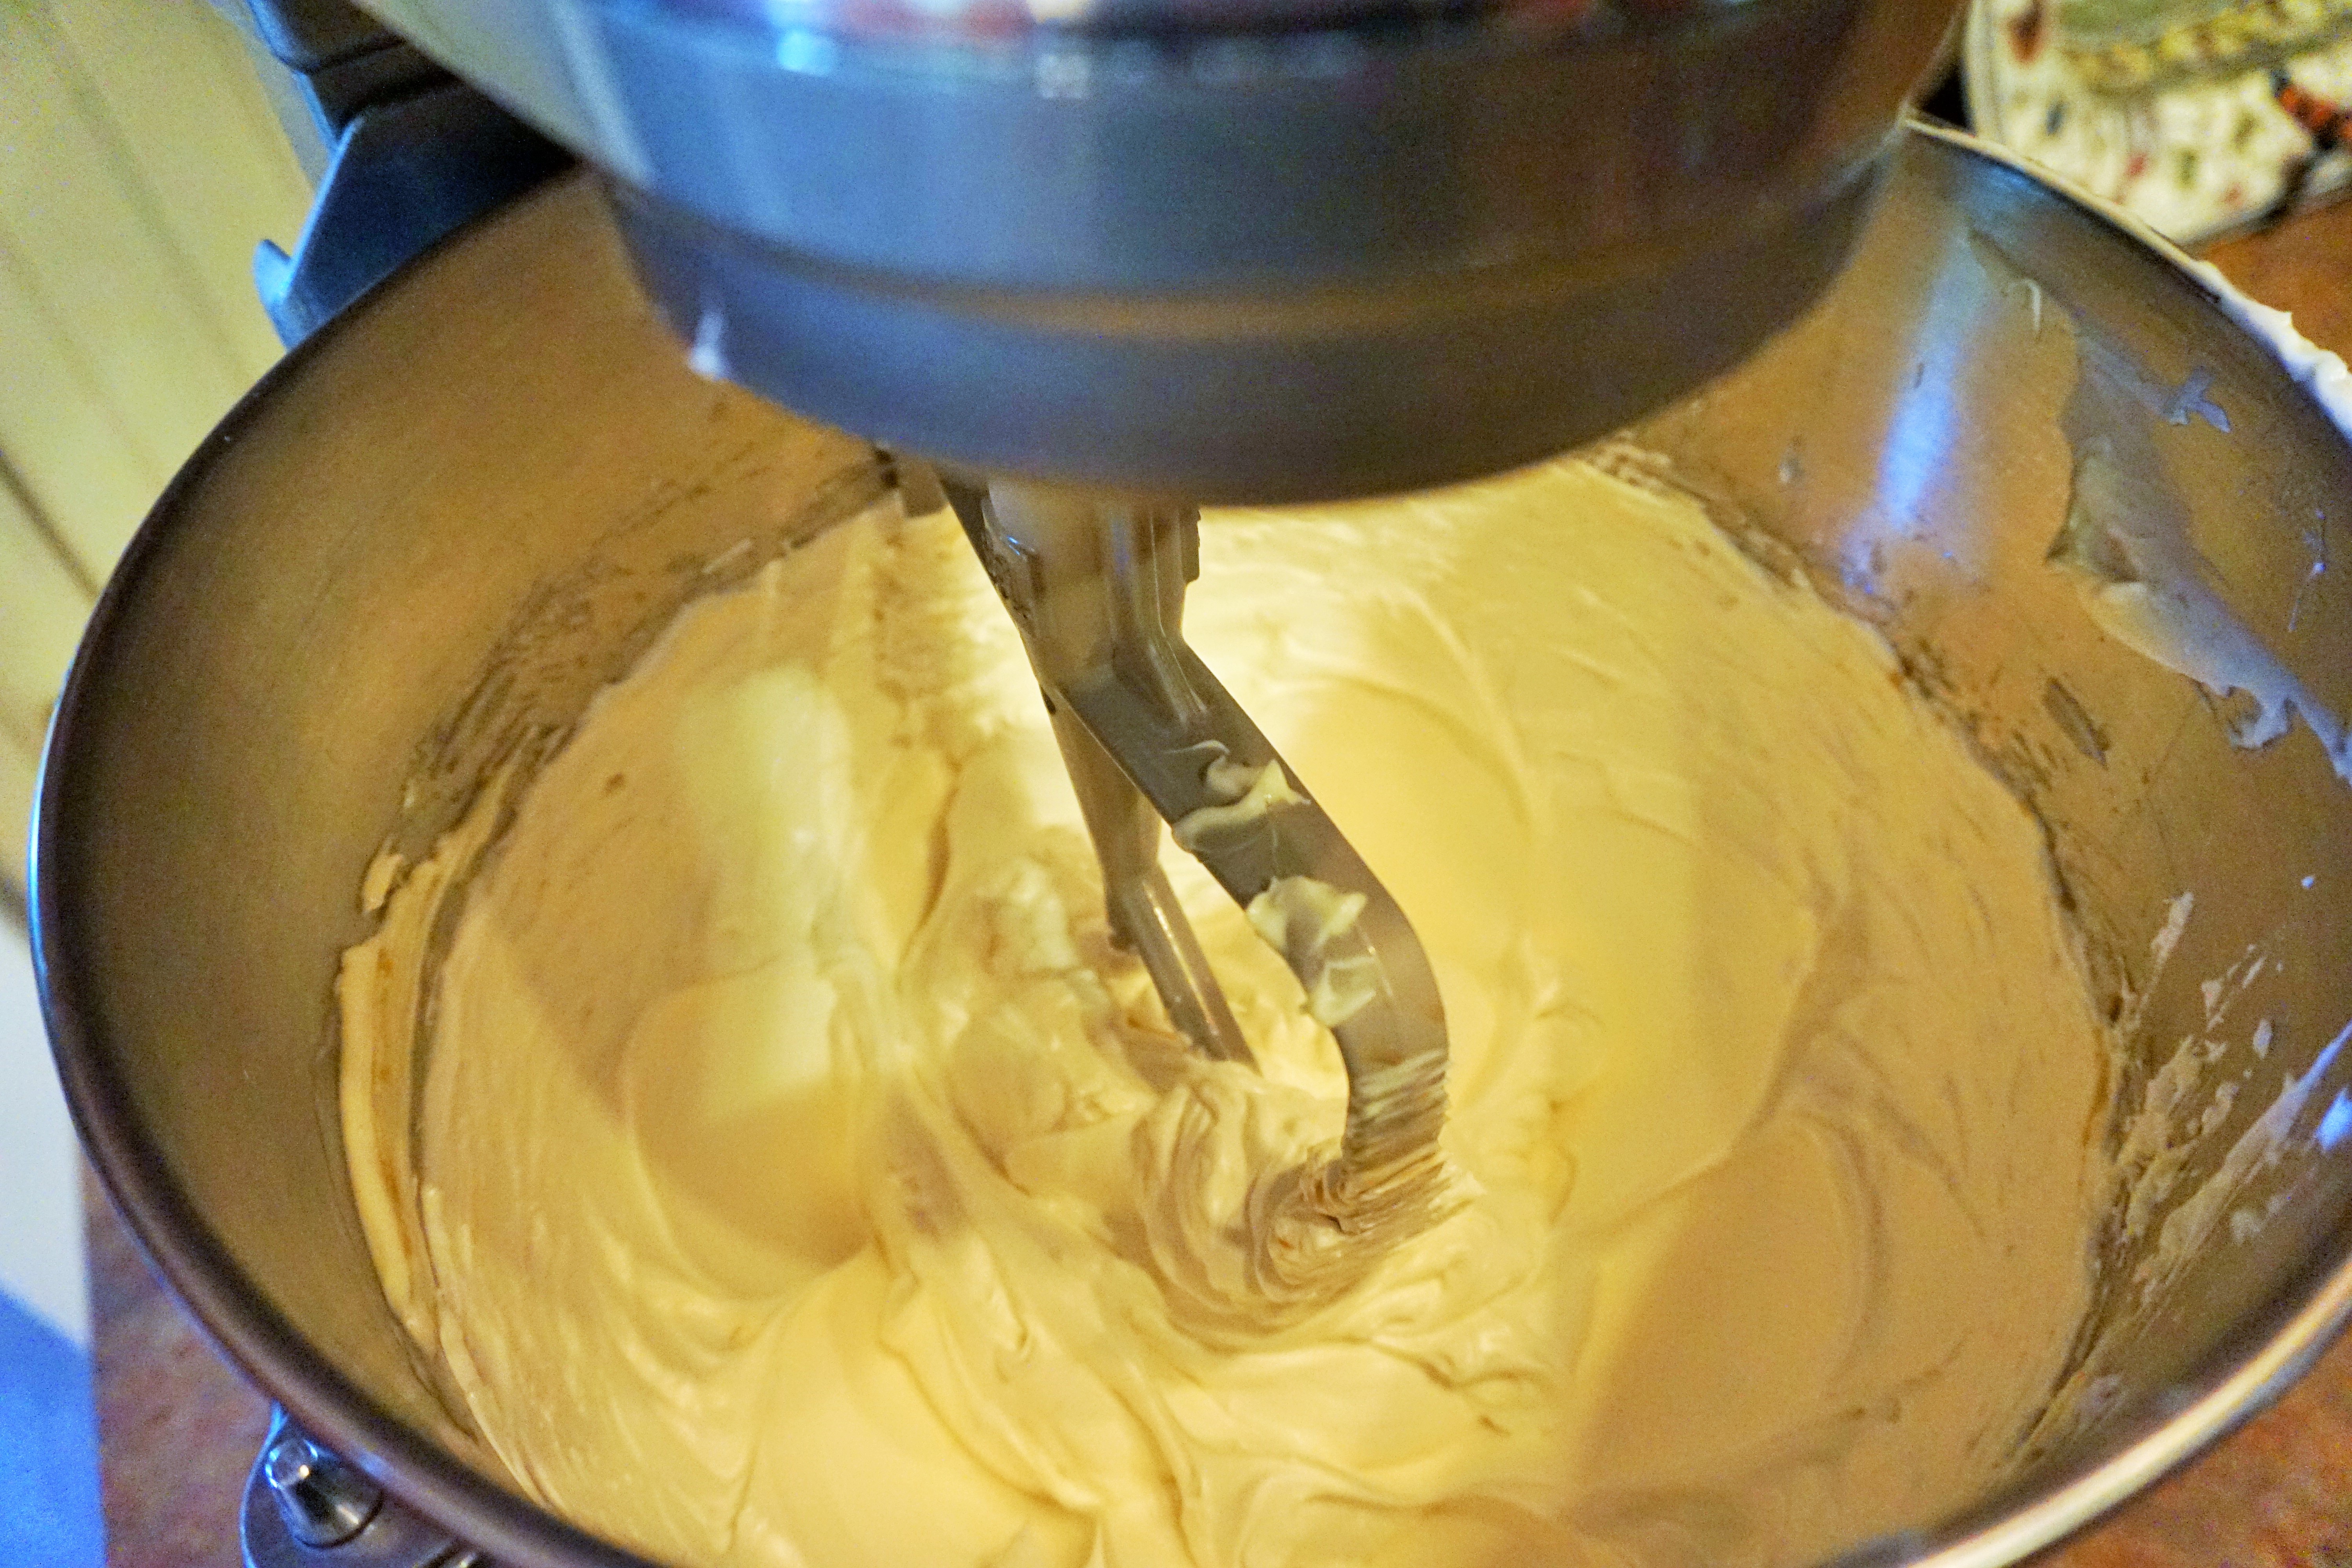
Switch the whisk attachment to the paddle attachment. With the mixer on low, drop in softened butter, 1 to 2 tablespoons at a time, beating until smooth after each addition. If frosting appears curdled or clumpy at any time, increase speed to medium-high and beat until smooth.
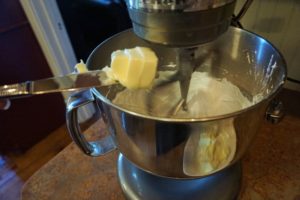

Once all of the butter has been incorporated, mix in the extract(s) and a pinch of salt if desired. Continue beating until smooth.
American Buttercream Frosting
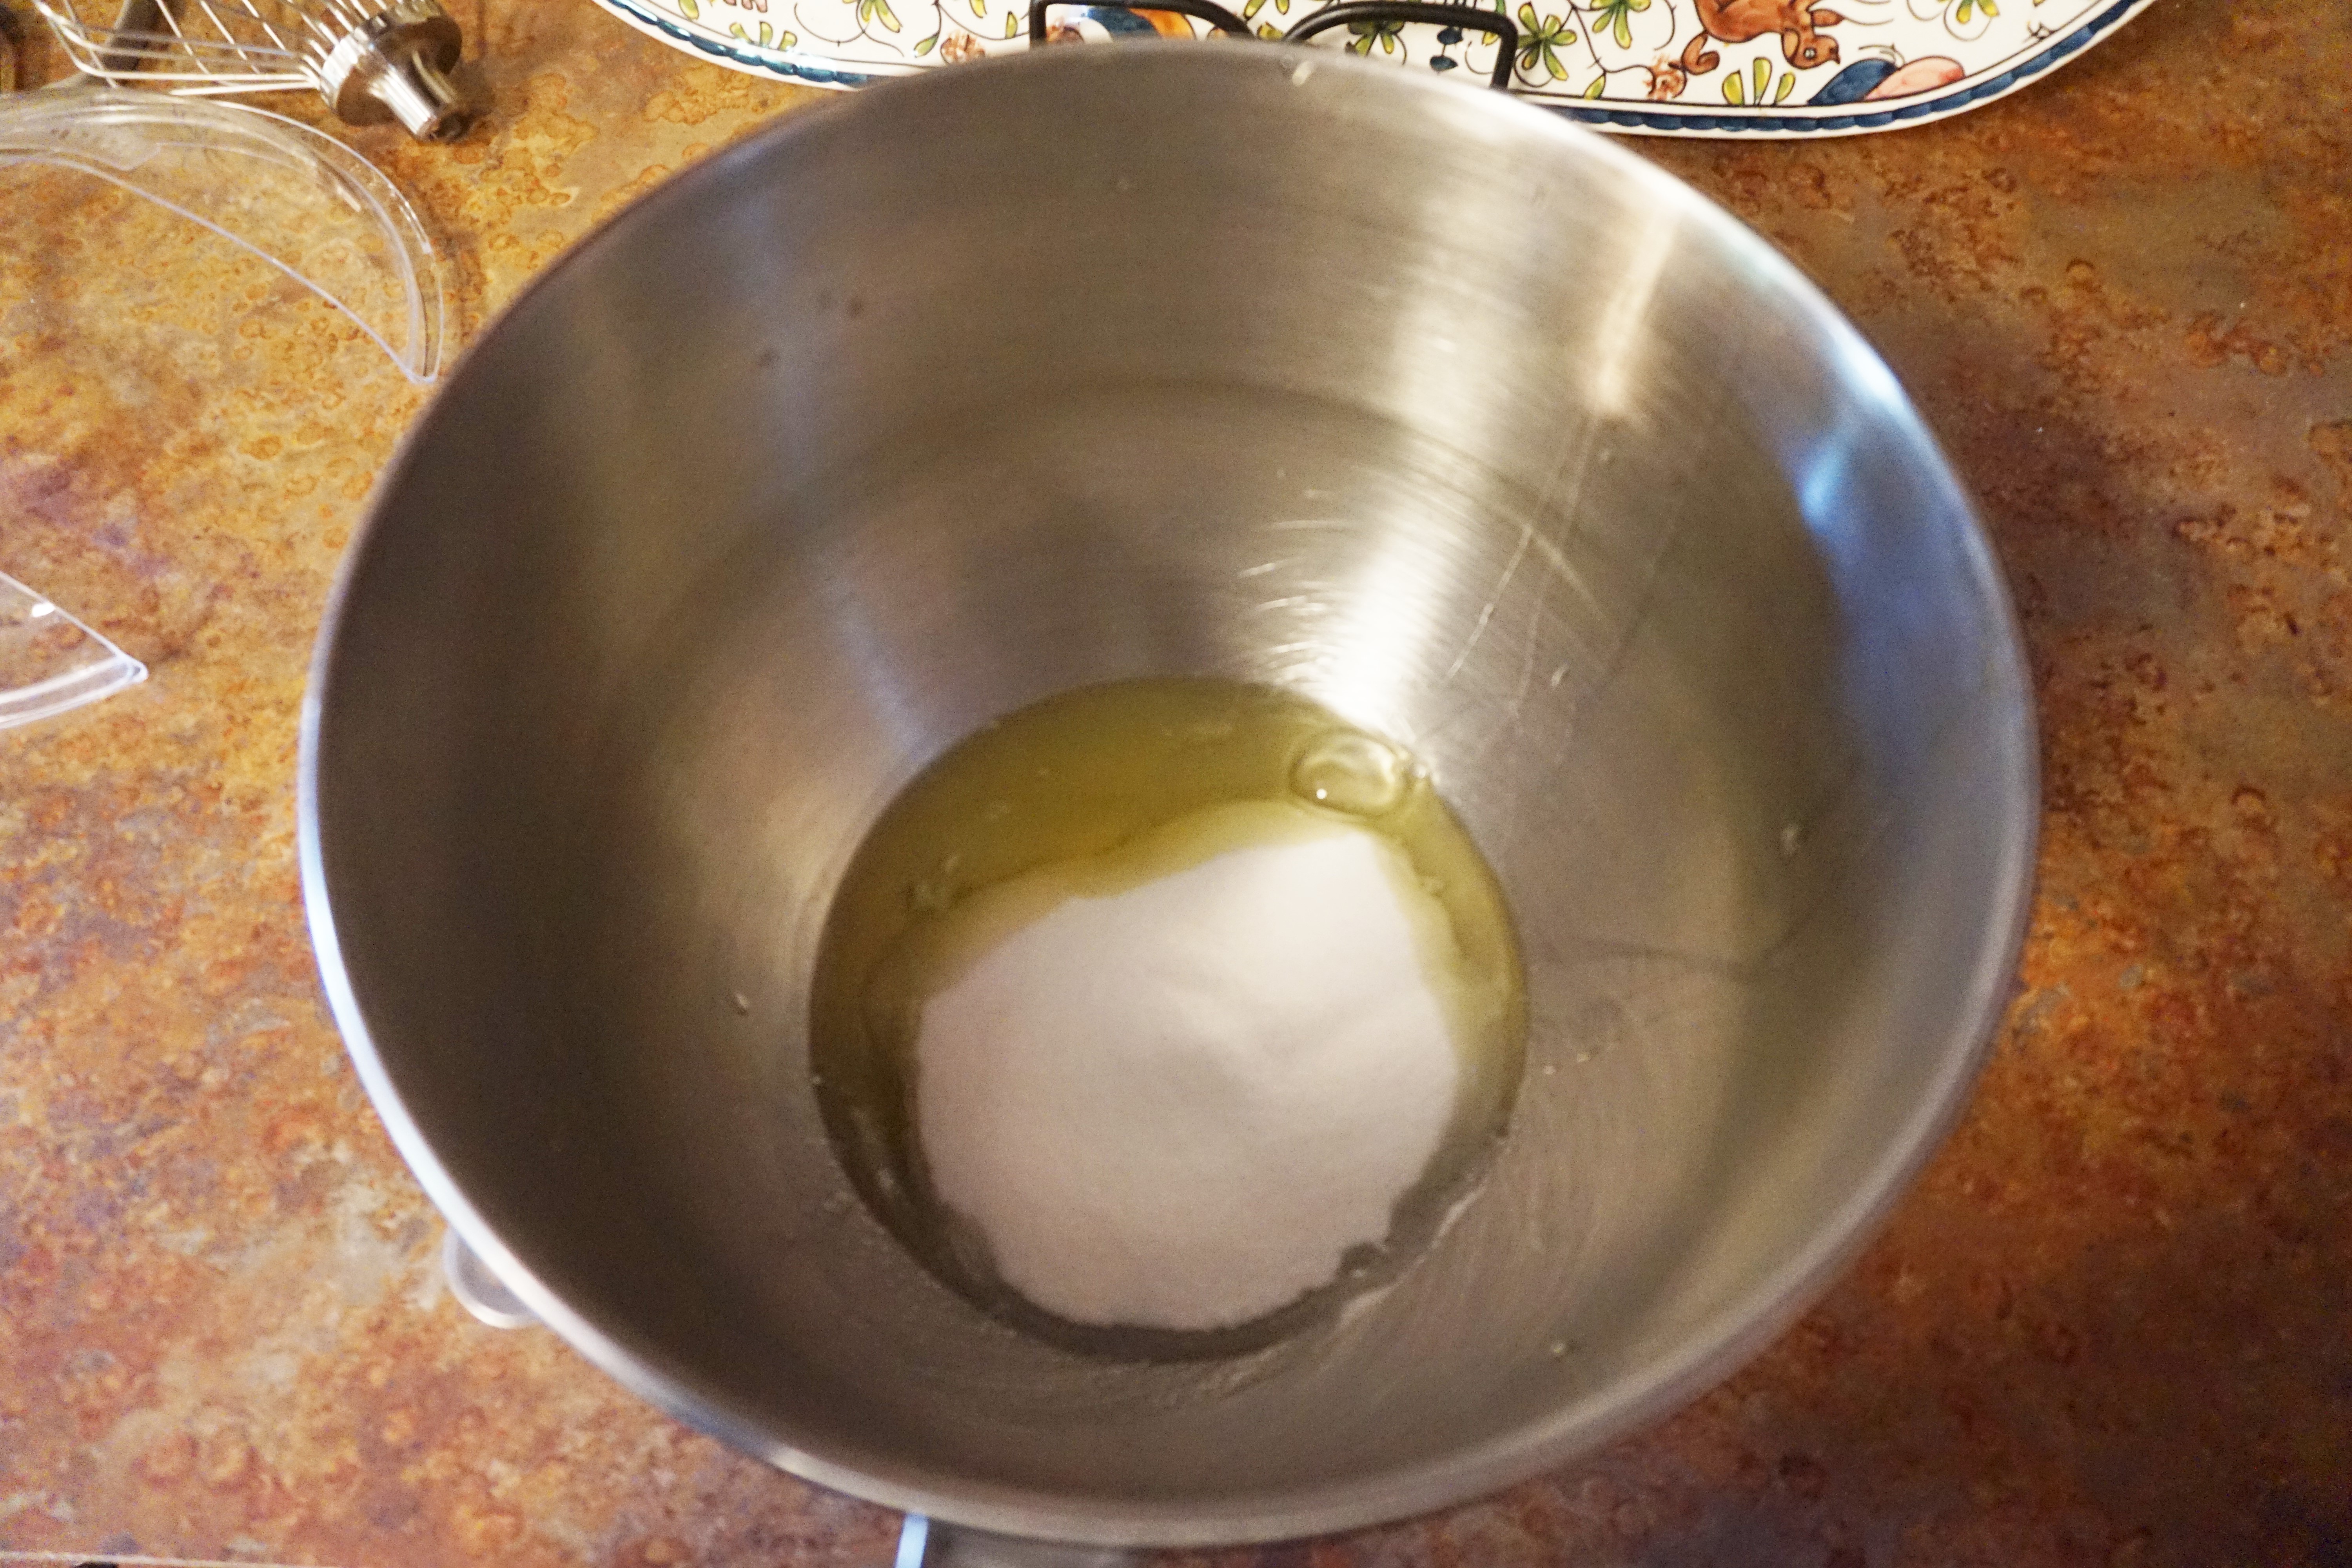
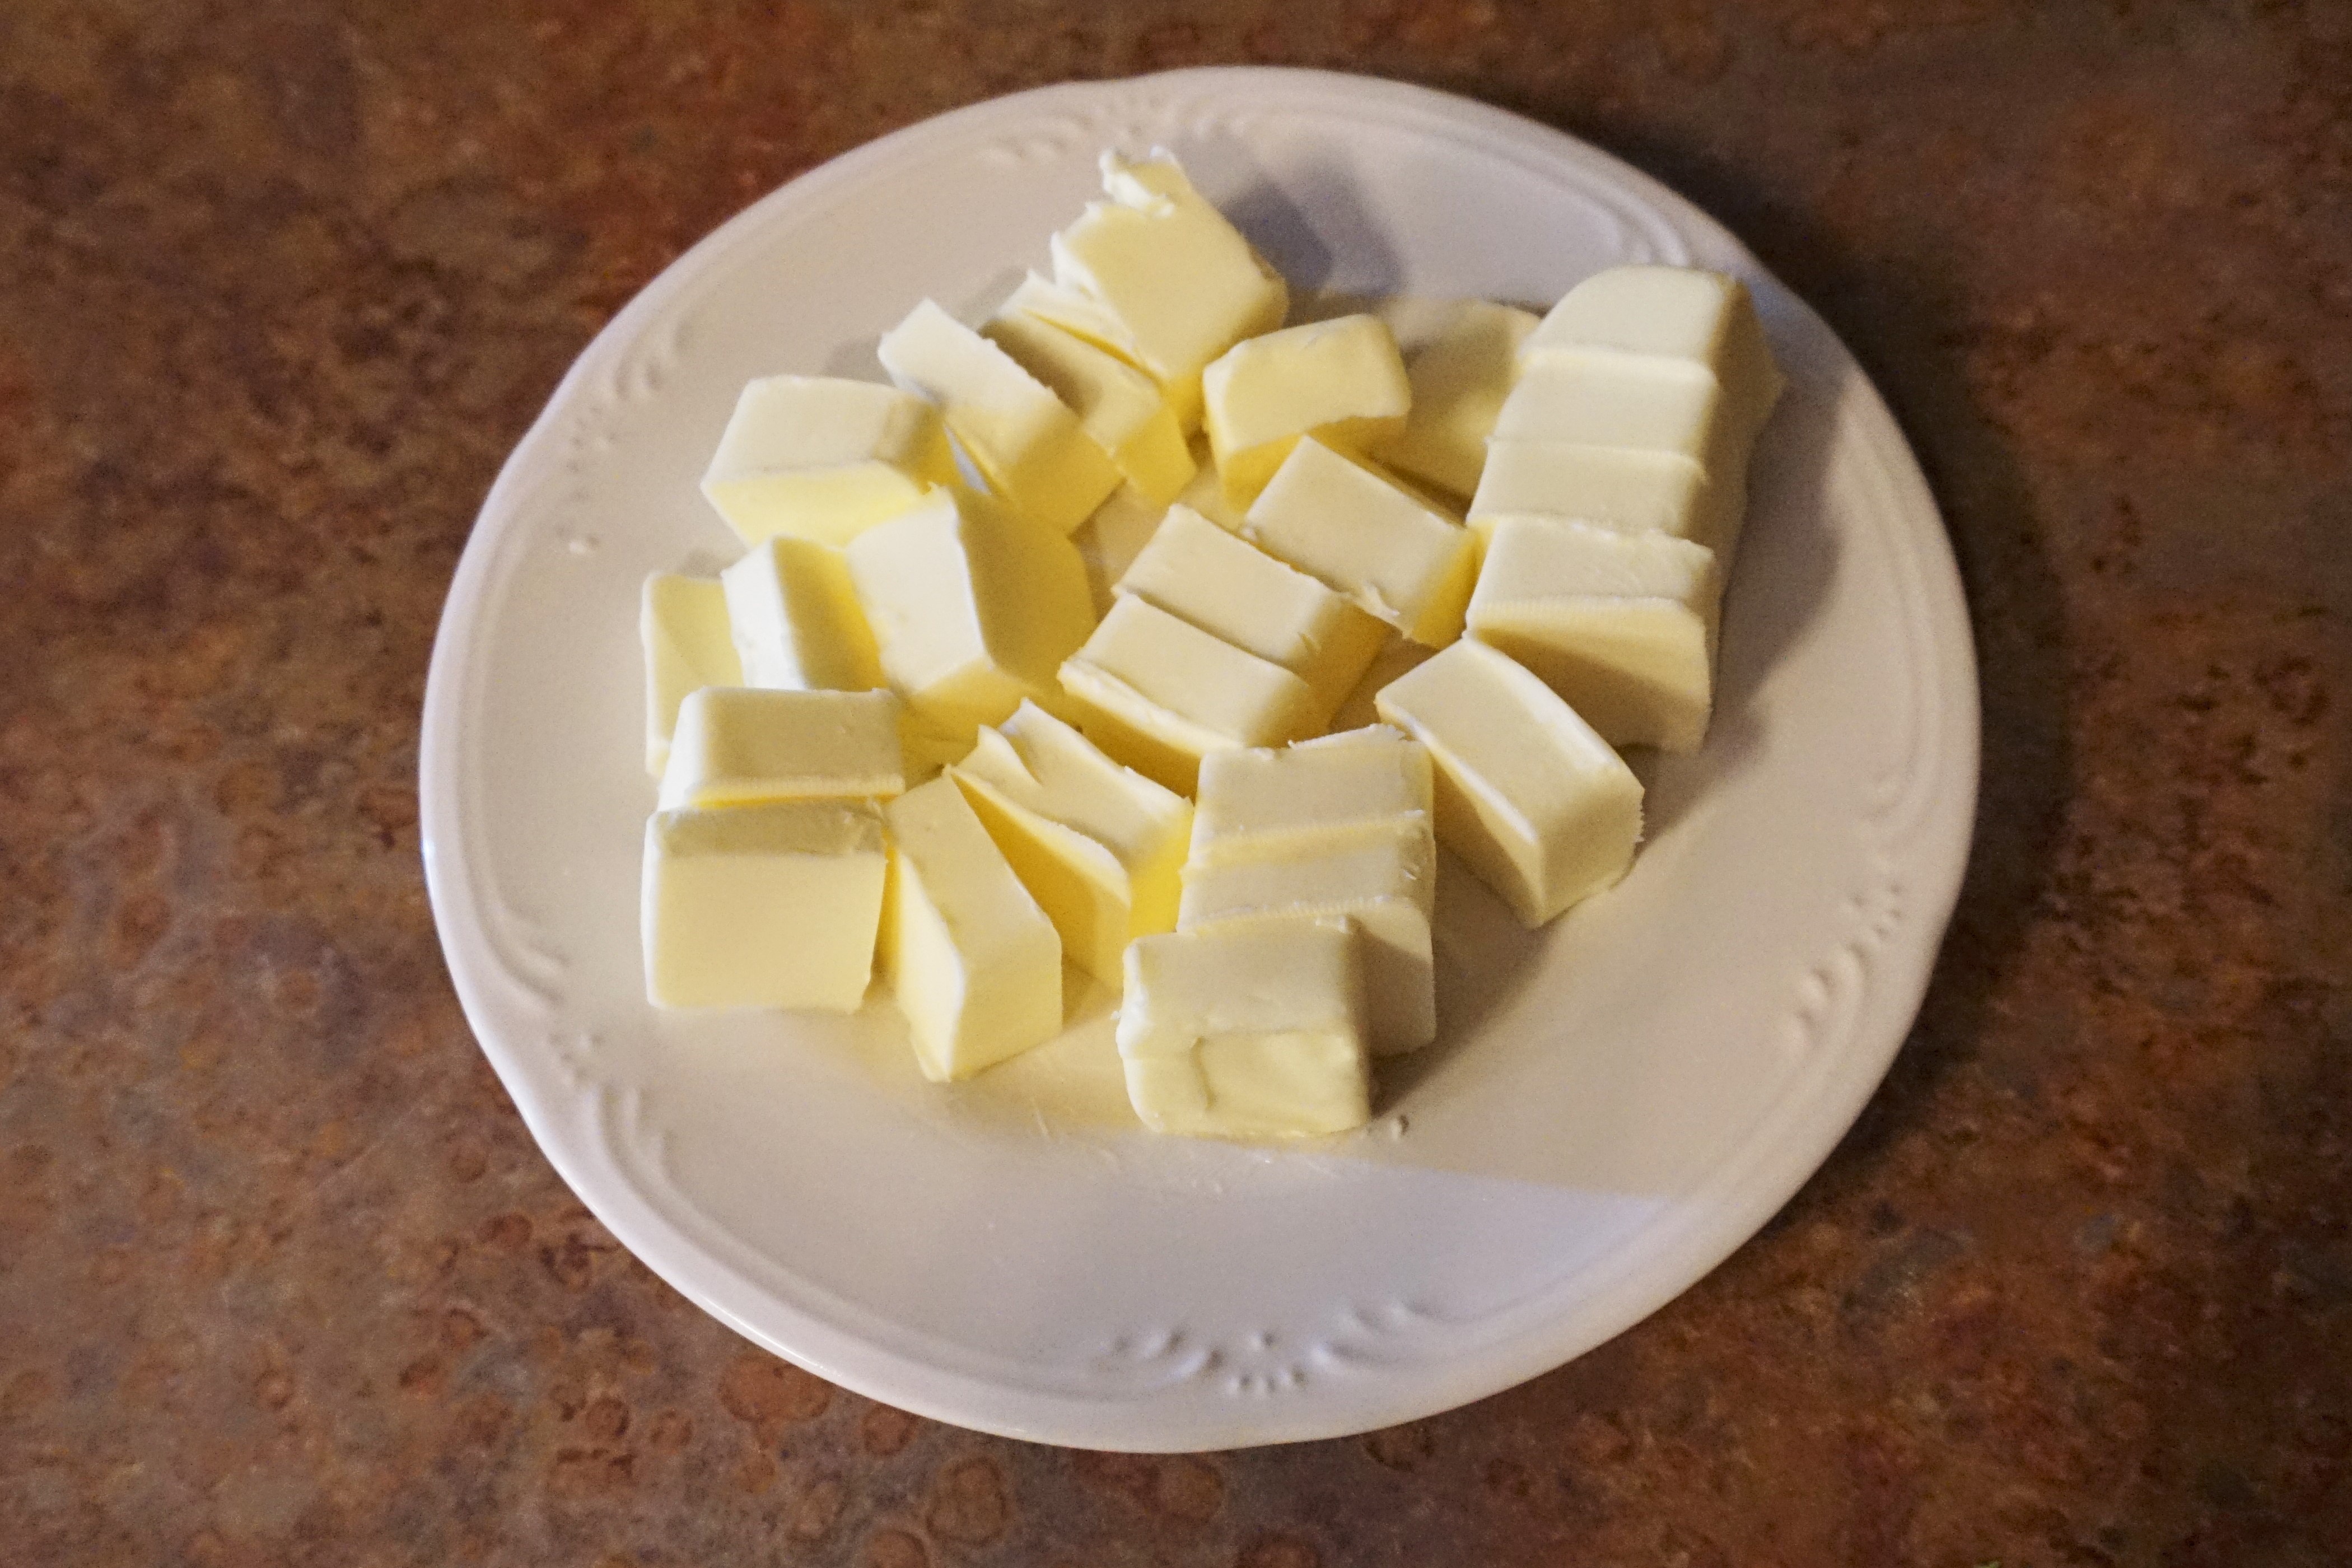
Mix softened butter with paddle attachment until light and fluffy – about 2 minutes. Add powdered sugar, vanilla, and Half and Half; mix until thoroughly combined and smooth.
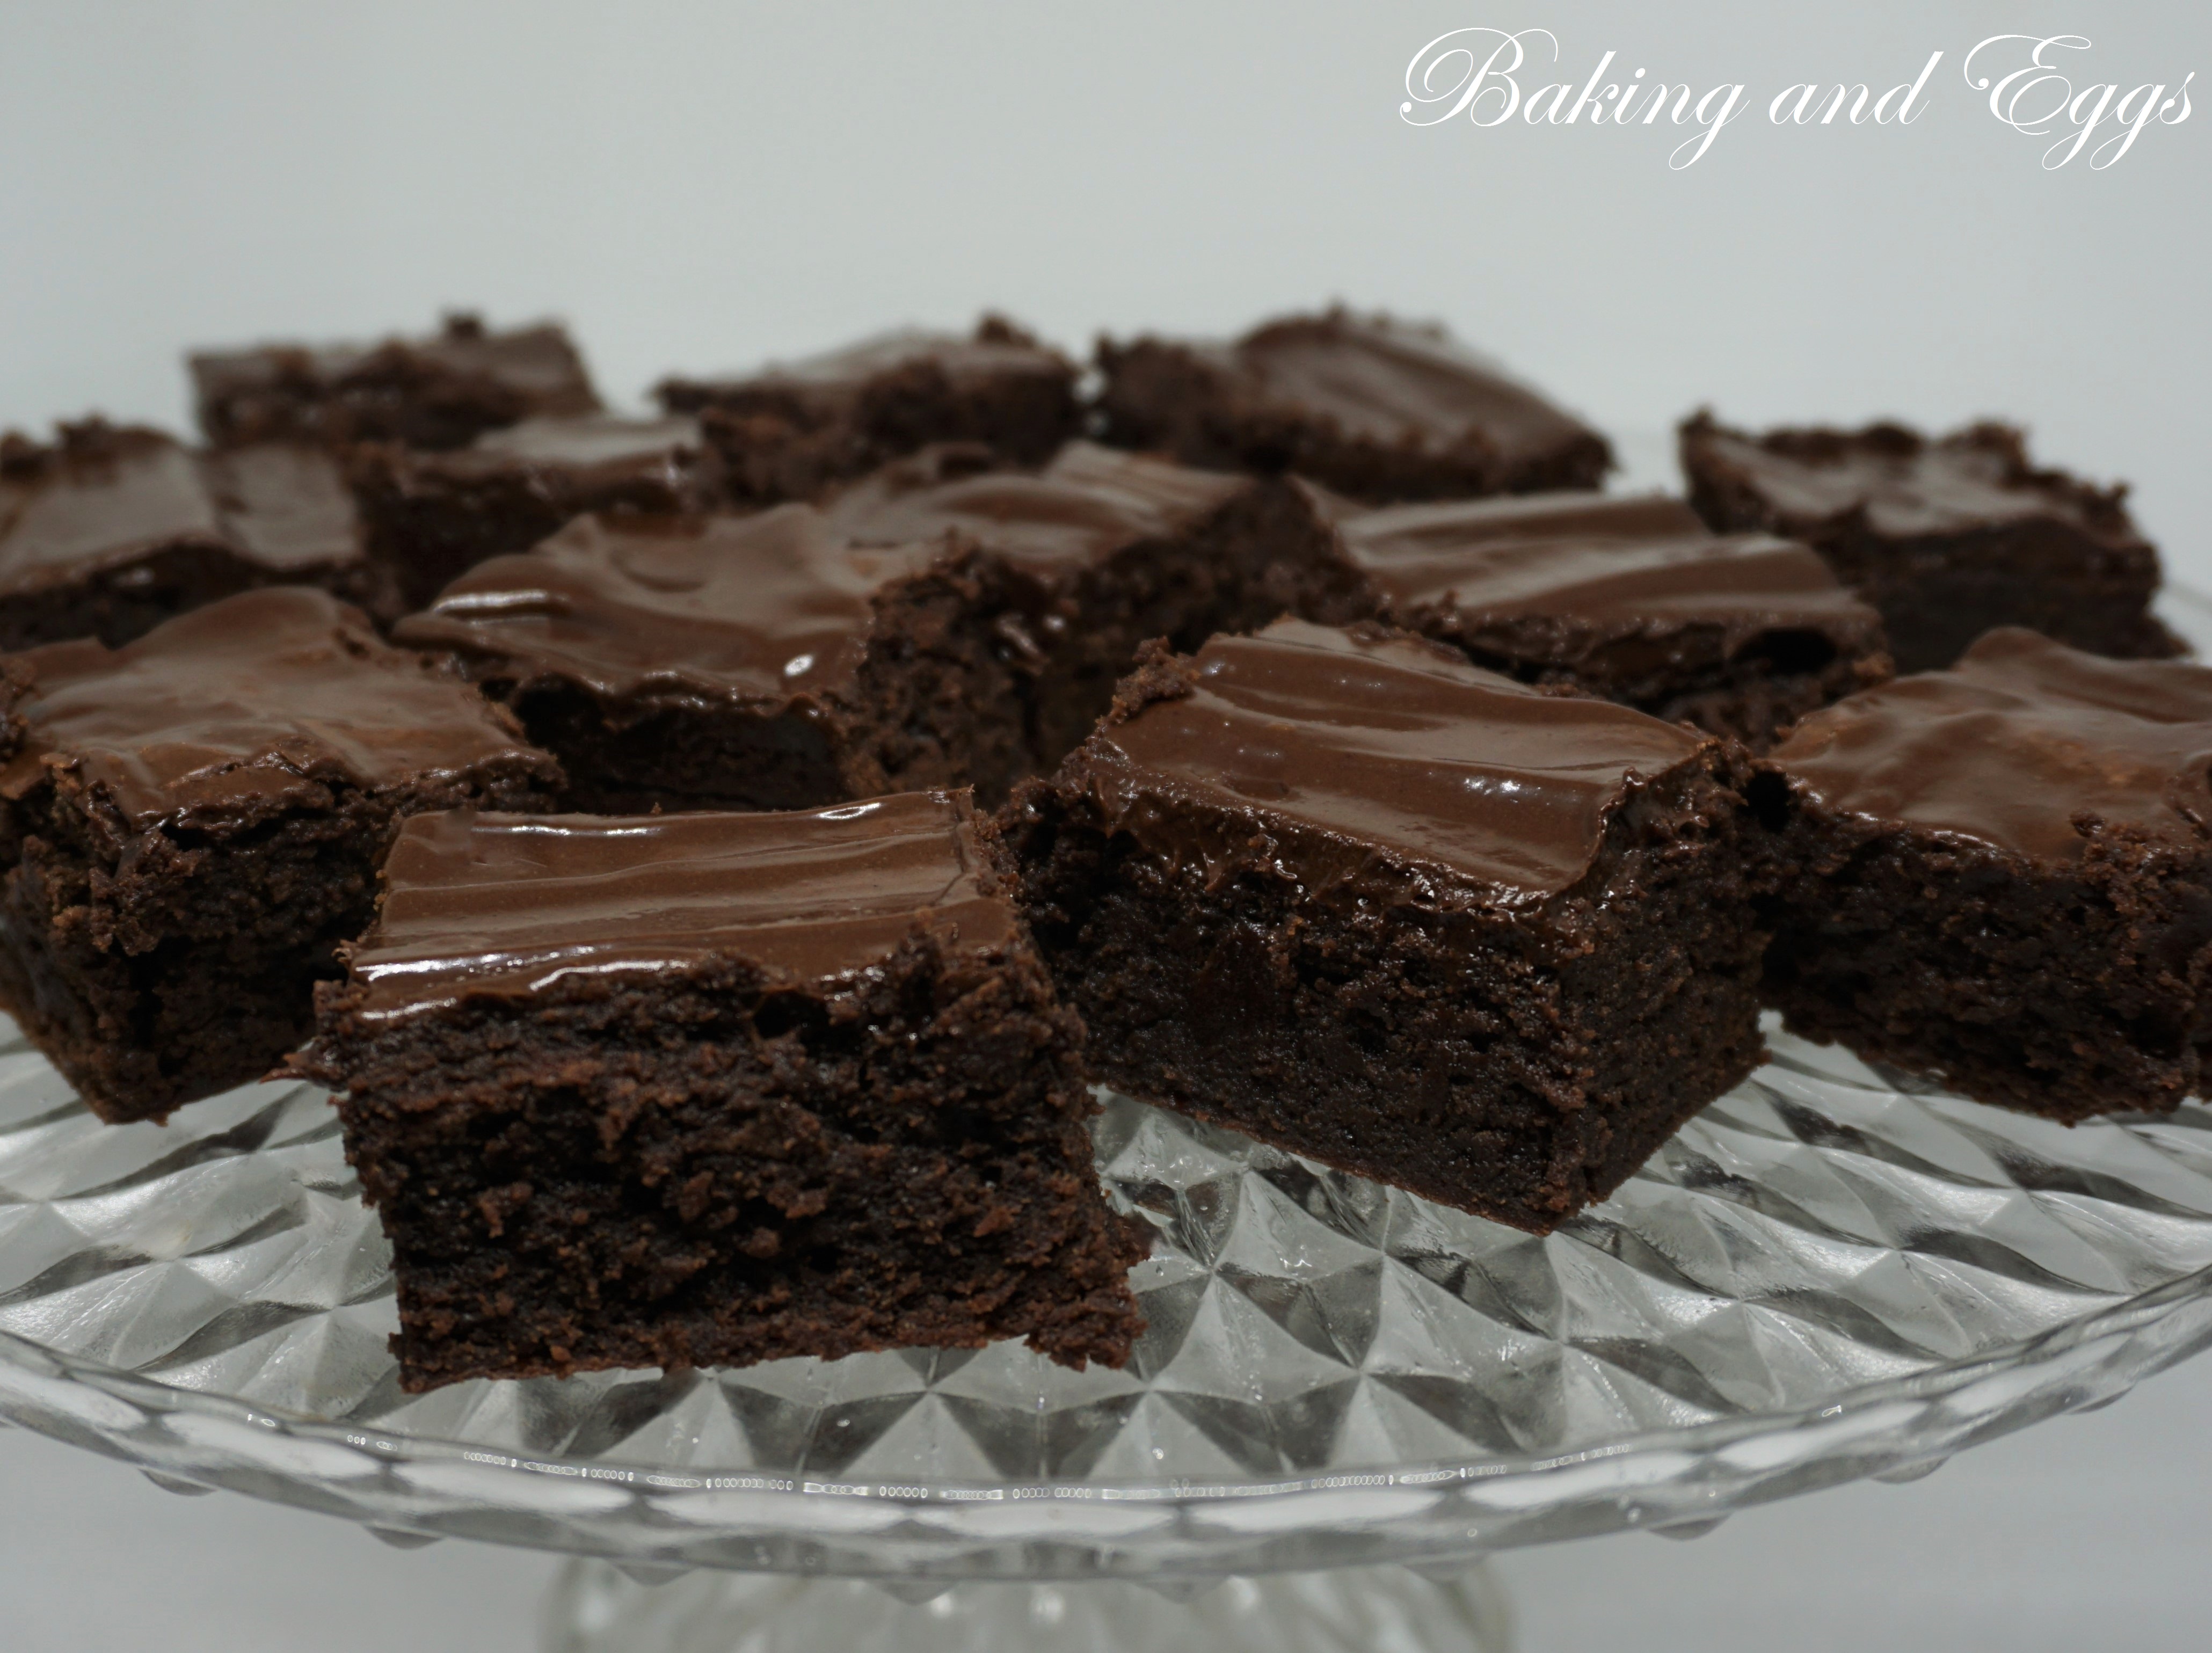
Chocolate Ganache Filling
Bring cream to a boil in a saucepan over medium-high heat. Pour cream over chocolate in a heatproof bowl. Let stand for 2 minutes. Add butter, then whisk mixture until smooth. Let cool, stirring often. Use immediately once cooled; store any leftover in the refrigerator.


") A tender, airy, gluten-free, sweetened meringue-based cookie that is sandwiched between various fillings such as buttercream, ganache, jams, jellies, etc.
A tender, airy, gluten-free, sweetened meringue-based cookie that is sandwiched between various fillings such as buttercream, ganache, jams, jellies, etc.- 1¾ cups confectioners' sugar
- 1 cup almond flour
- 3 large egg whites, at room temperature
- ¼ teaspoon cream of tartar
- Pinch of salt
- ¼ cup superfine sugar
- 2 to 3 drops gel food coloring (see below)
- ½ teaspoon vanilla, almond or mint extract
- Assorted fillings (see below)
- Egg whites from 6 large eggs
- 1⅔ cups granulated sugar
- ¾ teaspoon (3g) Diamond Crystal kosher salt; use half as much if iodized
- ¼ teaspoon cream of tartar
- 5 sticks unsalted butter, softened
- 1 teaspoon vanilla extract
- 4 cups powdered sugar
- 2 sticks butter, softened
- 1 Tablespoon vanilla extract
- 3 Tablespoons Half and Half
- 1 cup heavy cream
- 9 ounces bittersweet or semi-sweet chocolate, chopped
- 2 Tablespoons butter
- Take the eggs out of the refrigerator so that they will be at room temperature when you begin beating them (about an hour before beating).
- Using a bottle cap or other round object that is approximately 1¼" in diameter, begin by making a template of circles on parchment paper about 1" apart. You will place another piece of parchment on top of this sheet to use as a guide. Make your markings dark so that you will see them through the second piece of parchment.
- Preheat the oven to 300 degrees F using the convection setting or 325 using a non-convection oven. Line 2 baking sheets with parchment paper.
- Measure the confectioners' sugar and almond flour by spooning them into measuring cups and leveling with a knife. Transfer to a bowl; whisk to combine. Sift the sugar-almond flour mixture, a little at a time, through a fine-mesh sieve into a large bowl, pressing with a rubber spatula to pass through as much as possible.
- Beat the ROOM TEMPERATURE egg whites, cream of tartar, and salt with a mixer on medium speed until frothy. Increase the speed to medium-high; gradually add the sugar and beat until stiff and shiny, about 5 more minutes.
- Add the almond flour mixture to the beaten egg whites and continue to gently fold the ingredients together by hand. Draw a rubber spatula halfway through the mixture and fold until incorporated, giving the bowl a quarter turn with each fold. Add the food coloring and extract (see below). Continue folding and turning, scraping down the bowl, until the batter is smooth and falls off the spatula in a thin flat ribbon, 2 to 3 minutes.
- Transfer the batter to a pastry bag fitted with a ¼-inch round tip. Holding the bag vertically and close to the baking sheet, pipe 1¼" to 1½" circles Firmly tap the baking sheets twice against the counter to release any air bubbles.
- Let the cookies sit at room temperature until the tops are no longer sticky to the touch, 1 hour or more, depending on the humidity.
- Slip another baking sheet under the first batch (a double baking sheet protects the cookies from the heat). Bake the first batch until the cookies are shiny and rise ⅛ inch to form a "foot," about anywhere from 13 to 18 minutes (you do not want the cookies to brown, but they should be firm enough to remove from the parchment - this is all dependent on your oven). Transfer the baking sheet to a rack to cool completely. Repeat, using a double sheet for each batch. Gently peel the cookies off the parchment paper and sandwich with a thin layer of filling (see below).
- Place a metal bowl over a double boiler on high heat until steaming-hot, then adjust the temperature to maintain a gentle simmer. Combine egg whites, sugar, salt, cream of tartar in the bowl of a stand mixer. Set over steaming water, stirring and scraping constantly with a flexible spatula, until egg whites hold steady at 185°F (85°C). This should take only 10 to 12 minutes, so if mixture seems to be moving slowly, simply turn up the heat. Once ready, transfer to a stand mixer fitted with a whisk attachment and whip at high speed about 10 minutes, until meringue is glossy, stiff, and cool to the touch, around 90°F (32°C).
- With mixer still running, add butter, 1 or 2 tablespoons at a time. Initially, the volume of the meringue will decrease dramatically; it may even seem soupy along the way, but as the cool butter is added, the mixture will begin to thicken and cool. In the end, buttercream should be thick, creamy, and soft but not runny, around 72°F (22°C). Mix in vanilla extract and almond extract (if using) on low speed until well combined.
- Use buttercream right away, or transfer to a large zipper-lock bag, press out the air, and seal. Buttercream can be refrigerated for up to 2 weeks and frozen for up to several months. (The main issue with longer storage in the freezer is odor absorption, not spoilage.) Rewarm to 72°F and re-whip before using.
- Troubleshooting: If warmer than 74°F (23°C), the buttercream will be soft and loose; pop it in the fridge for 15 minutes and re-whip to help it thicken and cool. If colder than 68°F (20°C), the buttercream will be firm and dense, making it difficult to spread over cakes and slow to melt on the tongue, creating a greasy mouthfeel; to warm, briefly set over a pan of steaming water, just until you see the edges melting slightly, then re-whip to help it soften and warm.
- Once butter is room temperature, place in a mixer bowl and
beat until creamy. Add the remaining ingredients and beat on medium-high until blended and creamy. If frosting is too thick, add more Half and Half.
- Place the chopped chocolate in a medium bowl. Over medium heat, bring the cream just to a boil, watching very carefully because if it boils for a few seconds, it will boil out of the pot. When the cream has come to a boil, pour over the chopped chocolate, and whisk until smooth. Stir in the butter.
- Allow the ganache to cool slightly to thicken enough to fill Macarons.