Make a Homemade Crust!
If you are afraid to make a home-made pie crust, don’t be! It is not complicated. It takes a little practice and there are definite rules for success.
Rules for success
- Butter must be very cold (never margarine)
- Ice water to bind dough
- Don’t over mix or over handle
- Refrigerate pie crust before rolling
Butter vs Shortening
Some pie crust recipes call for vegetable shortening, some call for butter, and some call for a combination of both shortening and butter. A shortening crust, or a partial shortening crust, makes a flakier crust and the crimped edges will hold their shape better than all butter. Butter has more fat than shortening and its melting point is lower than that of vegetable shortening, so a 100% butter crust doesn’t always hold its crimp as well as a shortening crust, but the taste is superior.
Pie Crust Recipe
Here is my favorite sweet butter pie crust recipe:
- 1 1/2 cups flour
- 1/4 tsp. salt
- 9 Tablespoons sweet, unsalted butter
- 3 – 4 Tablespoons ice water
Instructions
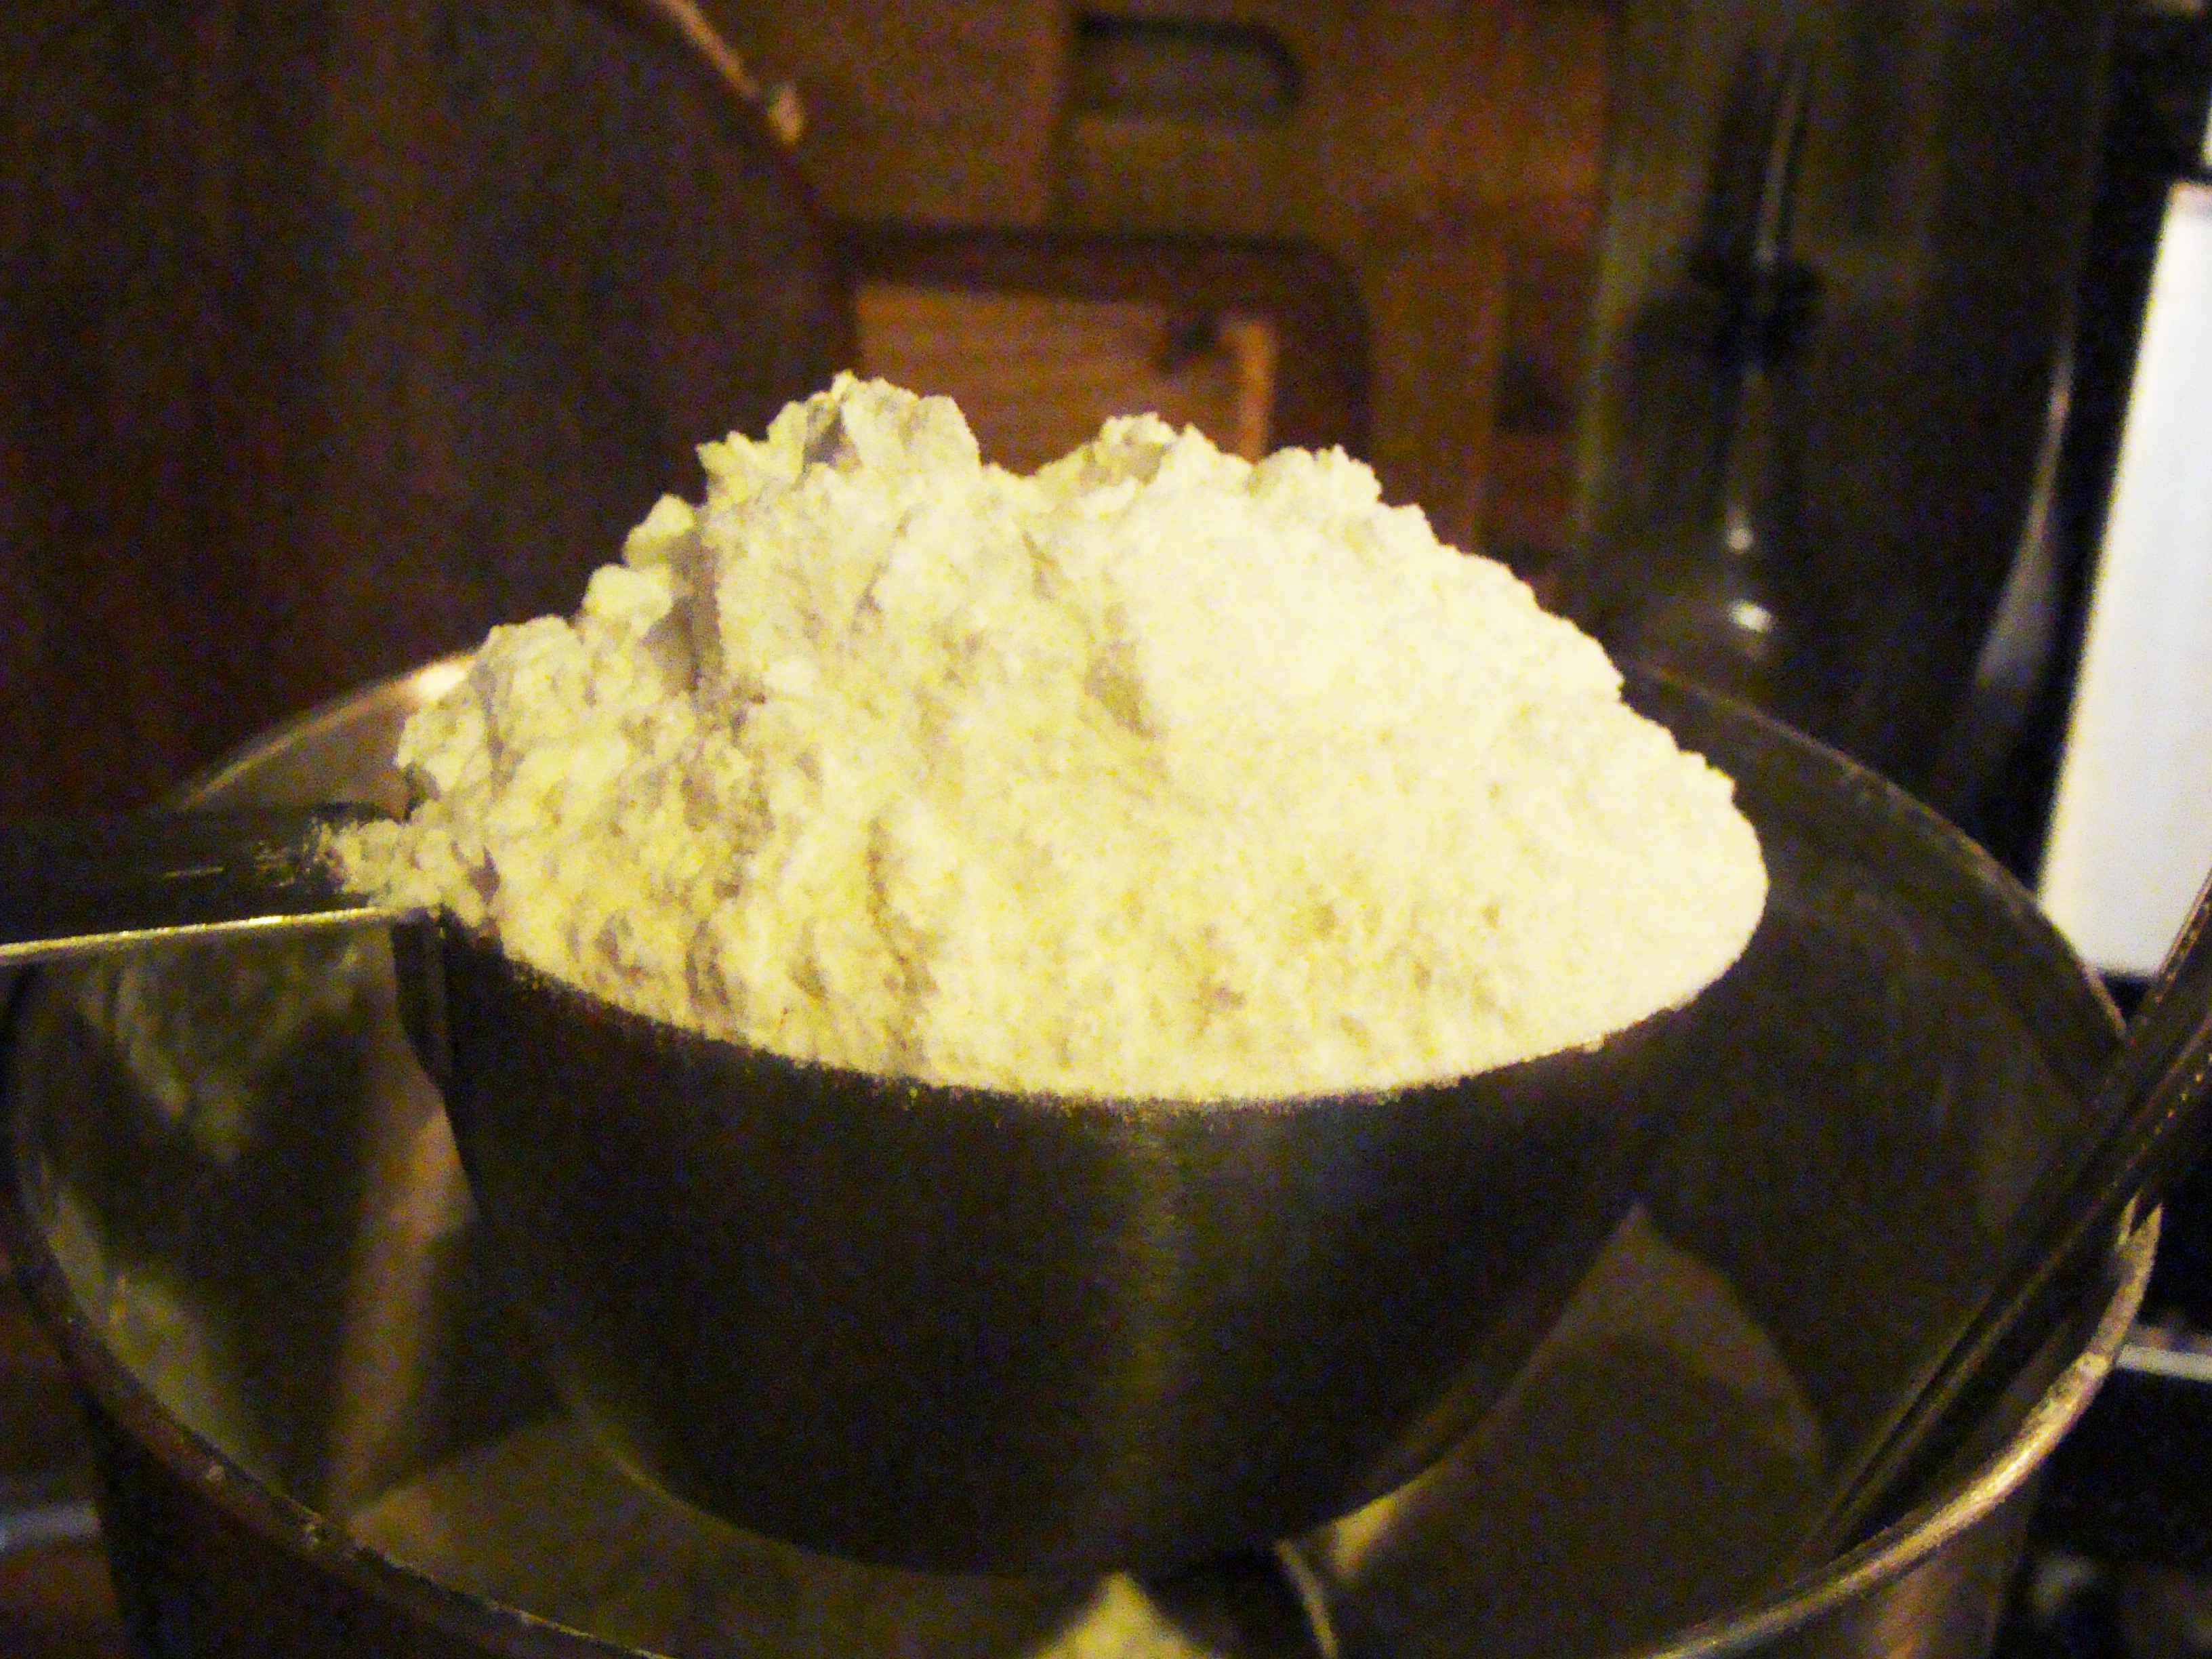
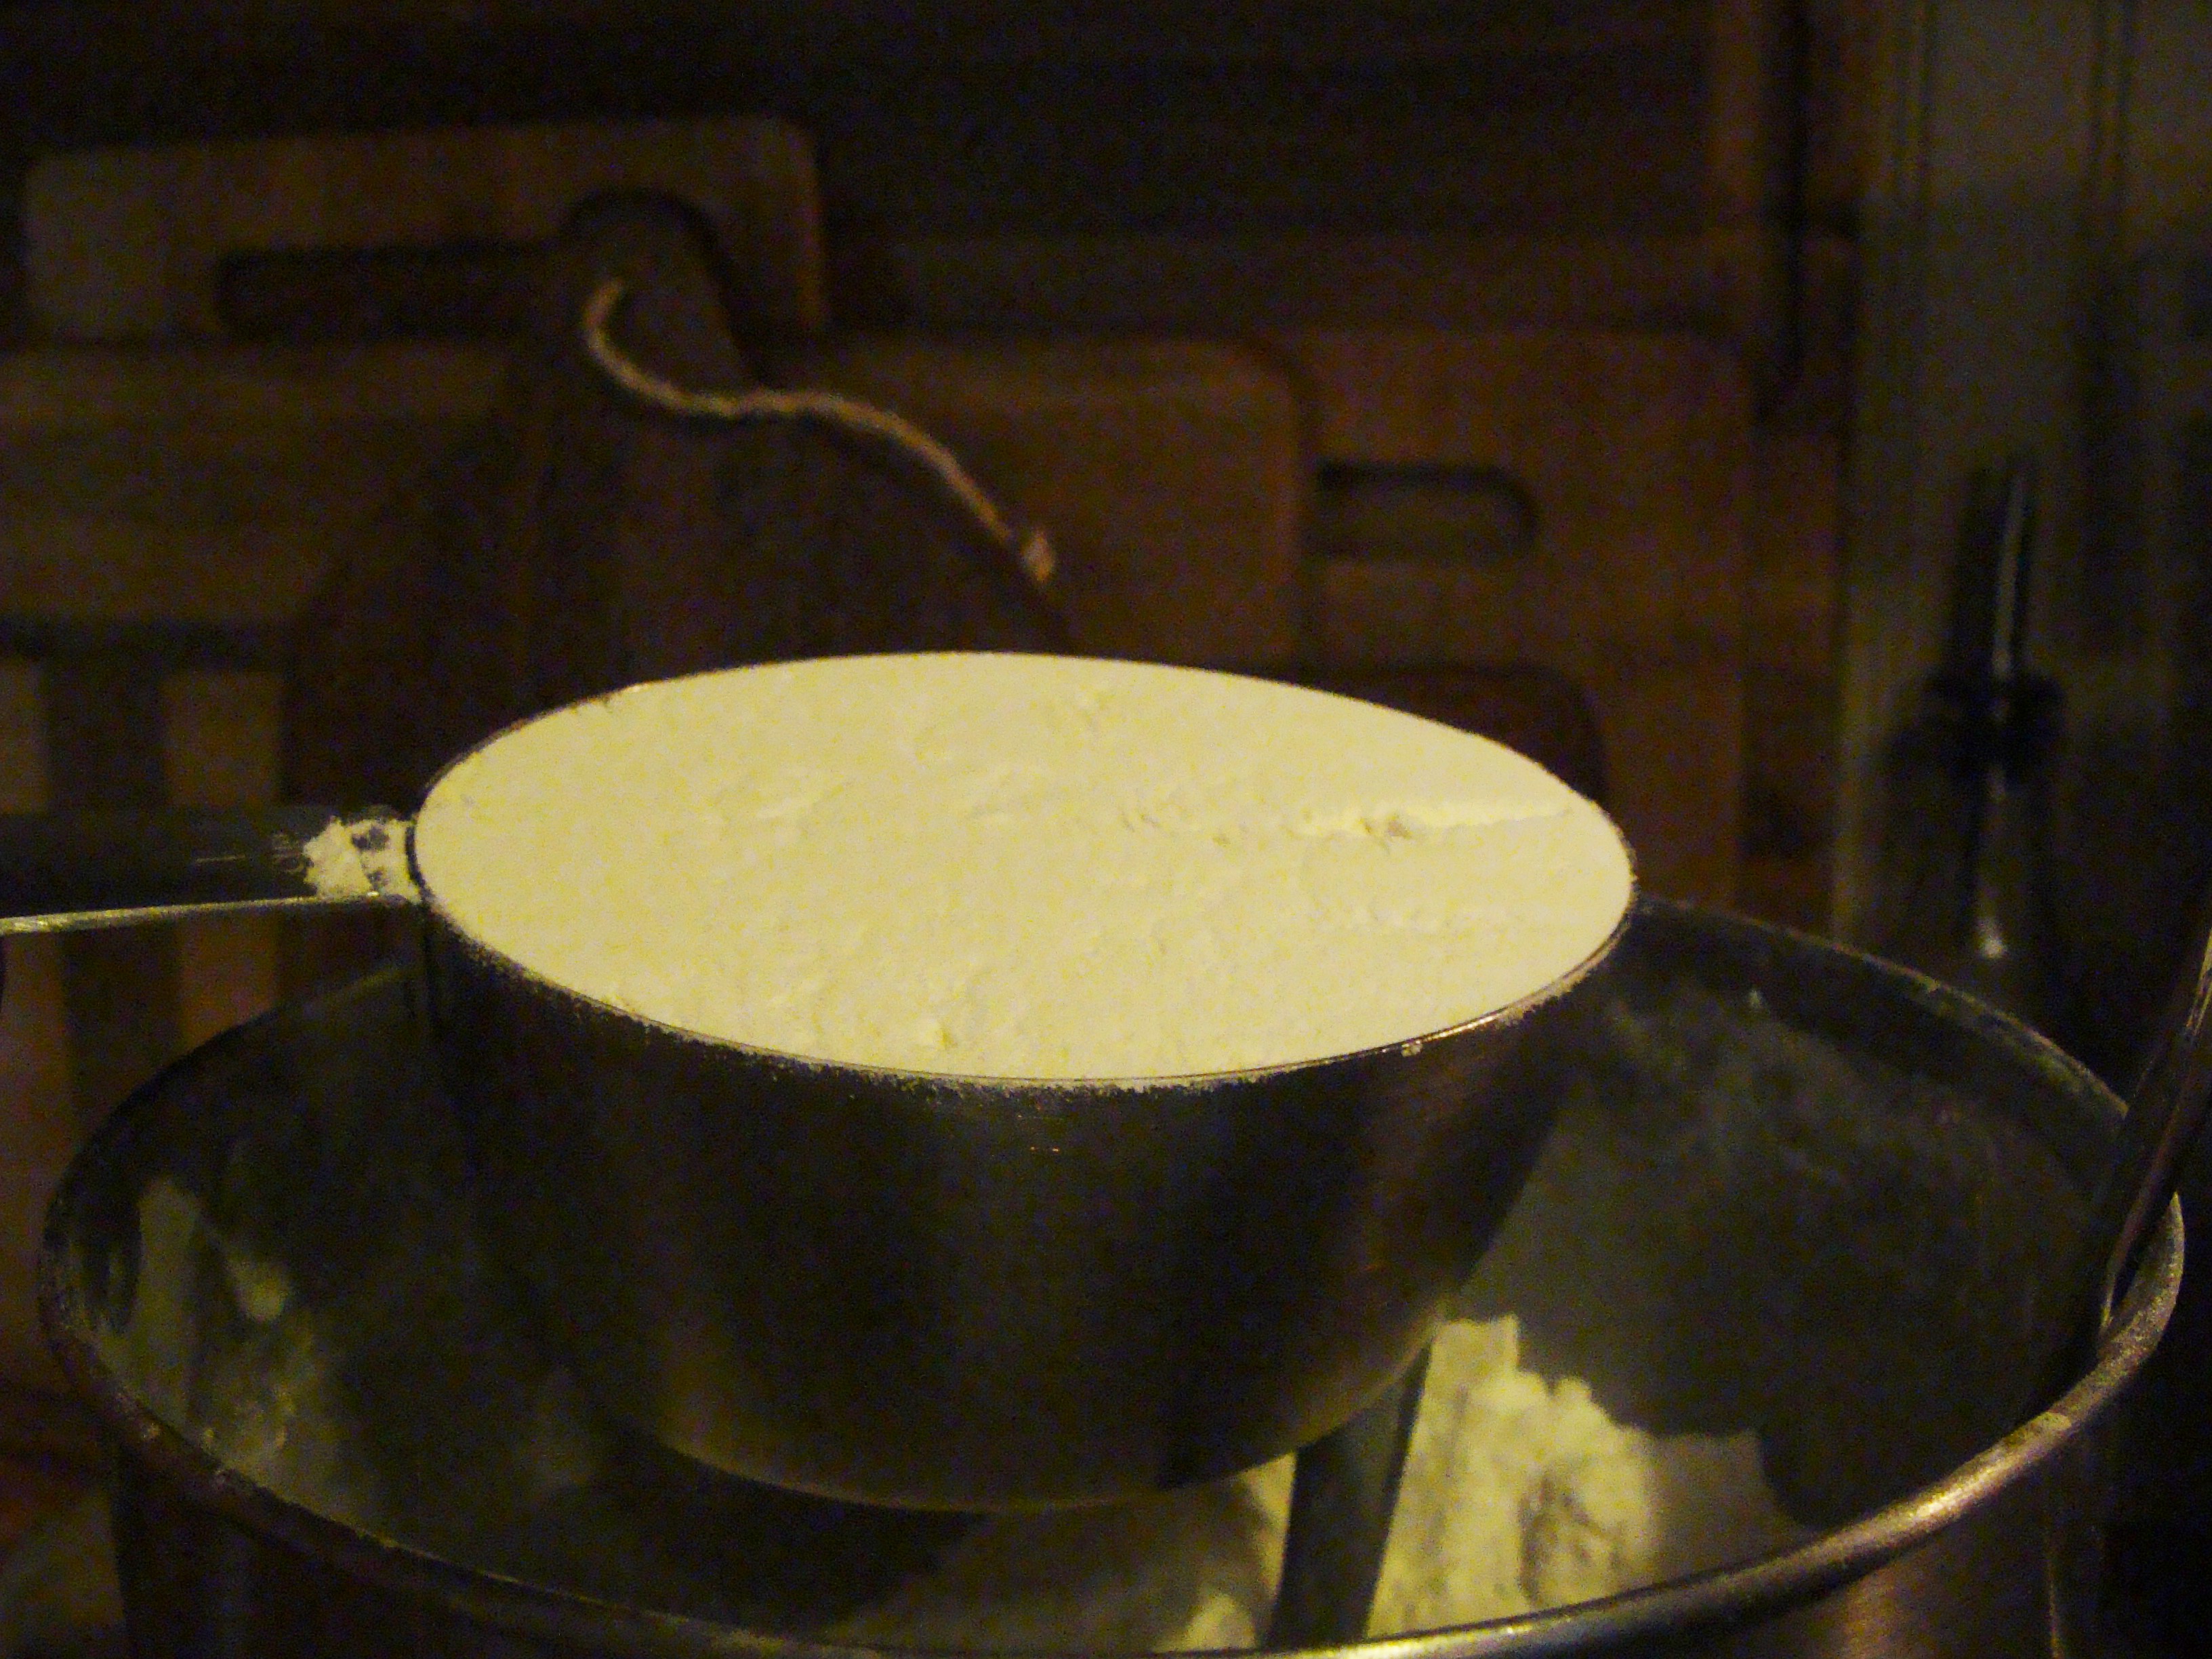
Before food processors, butter had to be “cut in” to the flour with either a fork or a pastry blender. I still like to use a pastry blender, but a really quick and really neat way to blend the butter and flour is with a food processor. Cut 9 Tablespoons of butter into 8 or 9 pieces. Put the cut-up butter back in the fridge to get very cold. In the meantime, measure the flour: Lightly scoop your flour into a dry measuring cup (notice that these measuring cups do not have a spout – spouts are for liquids). Mound the flour with a scoop or spoon and do not tap down (photo 2). Level with the flat side of a butter knife (photo 3).
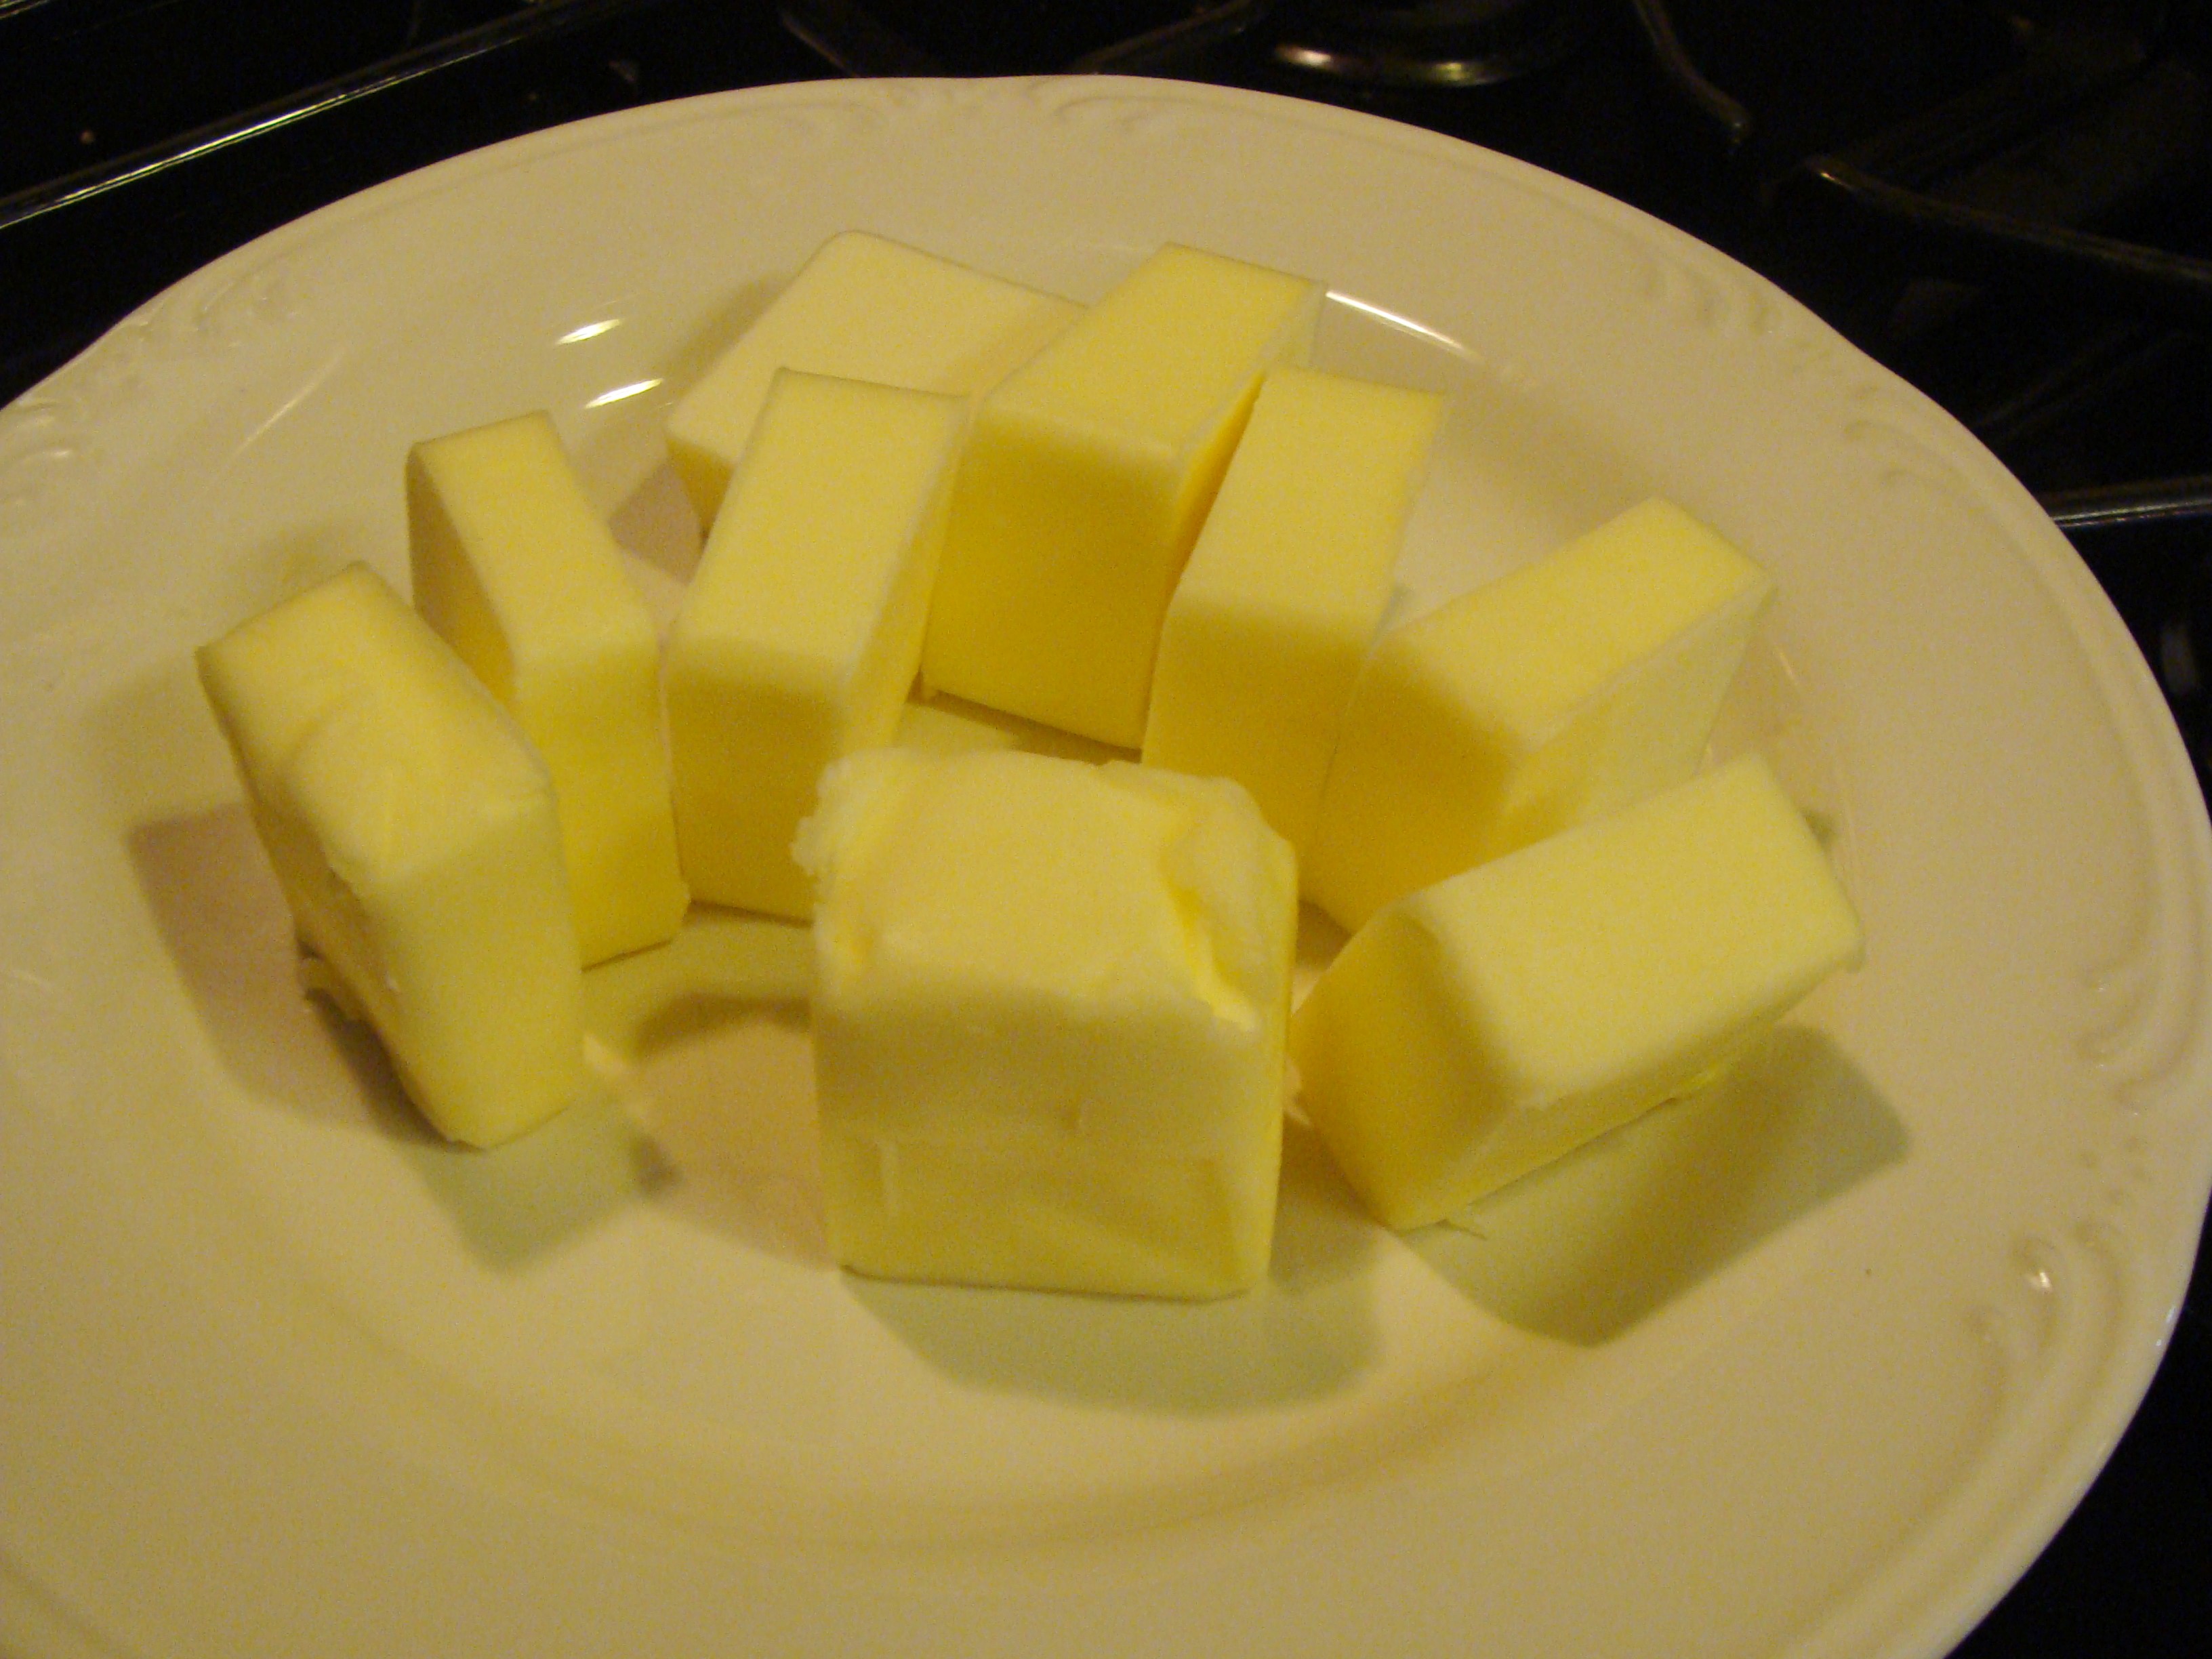
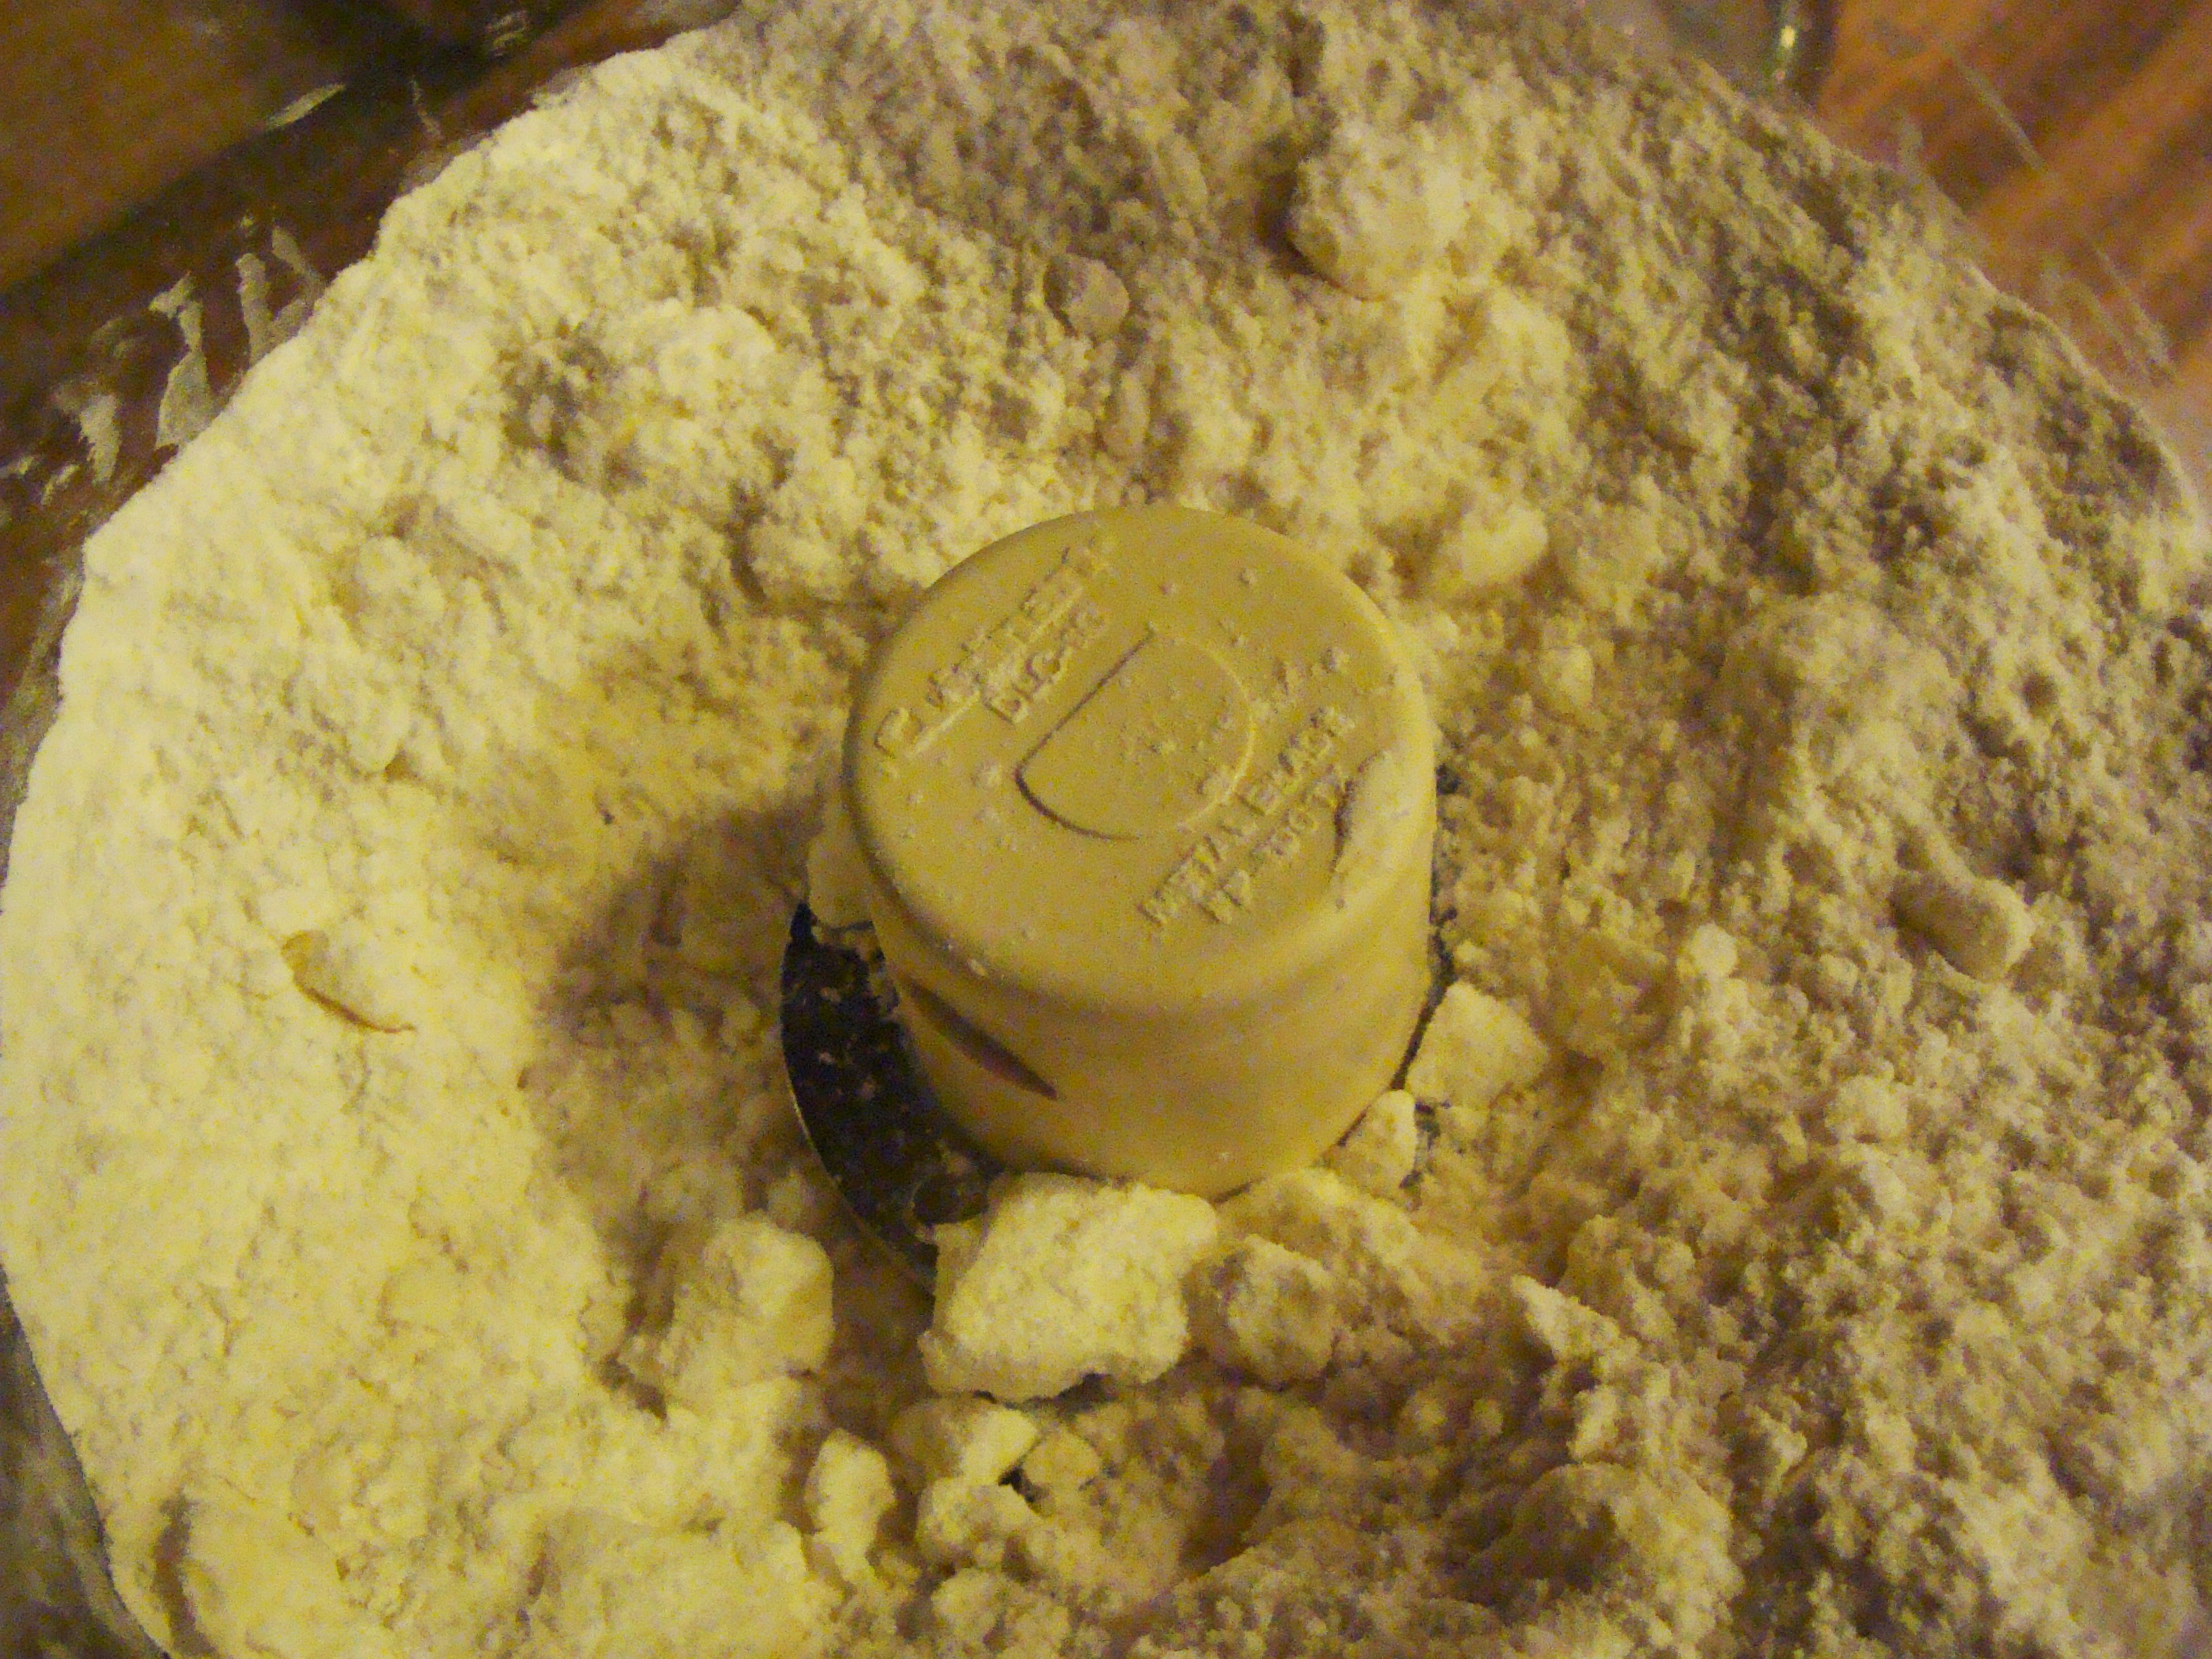
Place flour, salt, and cold butter into the food processor and pulse 18 – 20 quick pulses. Your goal is to get something that resembles pea-size pieces of butter into the flour (photo 2 below). You want to see visible small pieces of butter in the flour as this is what creates the air pockets and makes a flaky crust. Next, add 3 Tablespoons ice water to the mixture and pulse only until the mixture begins to come together (photo 3 below).
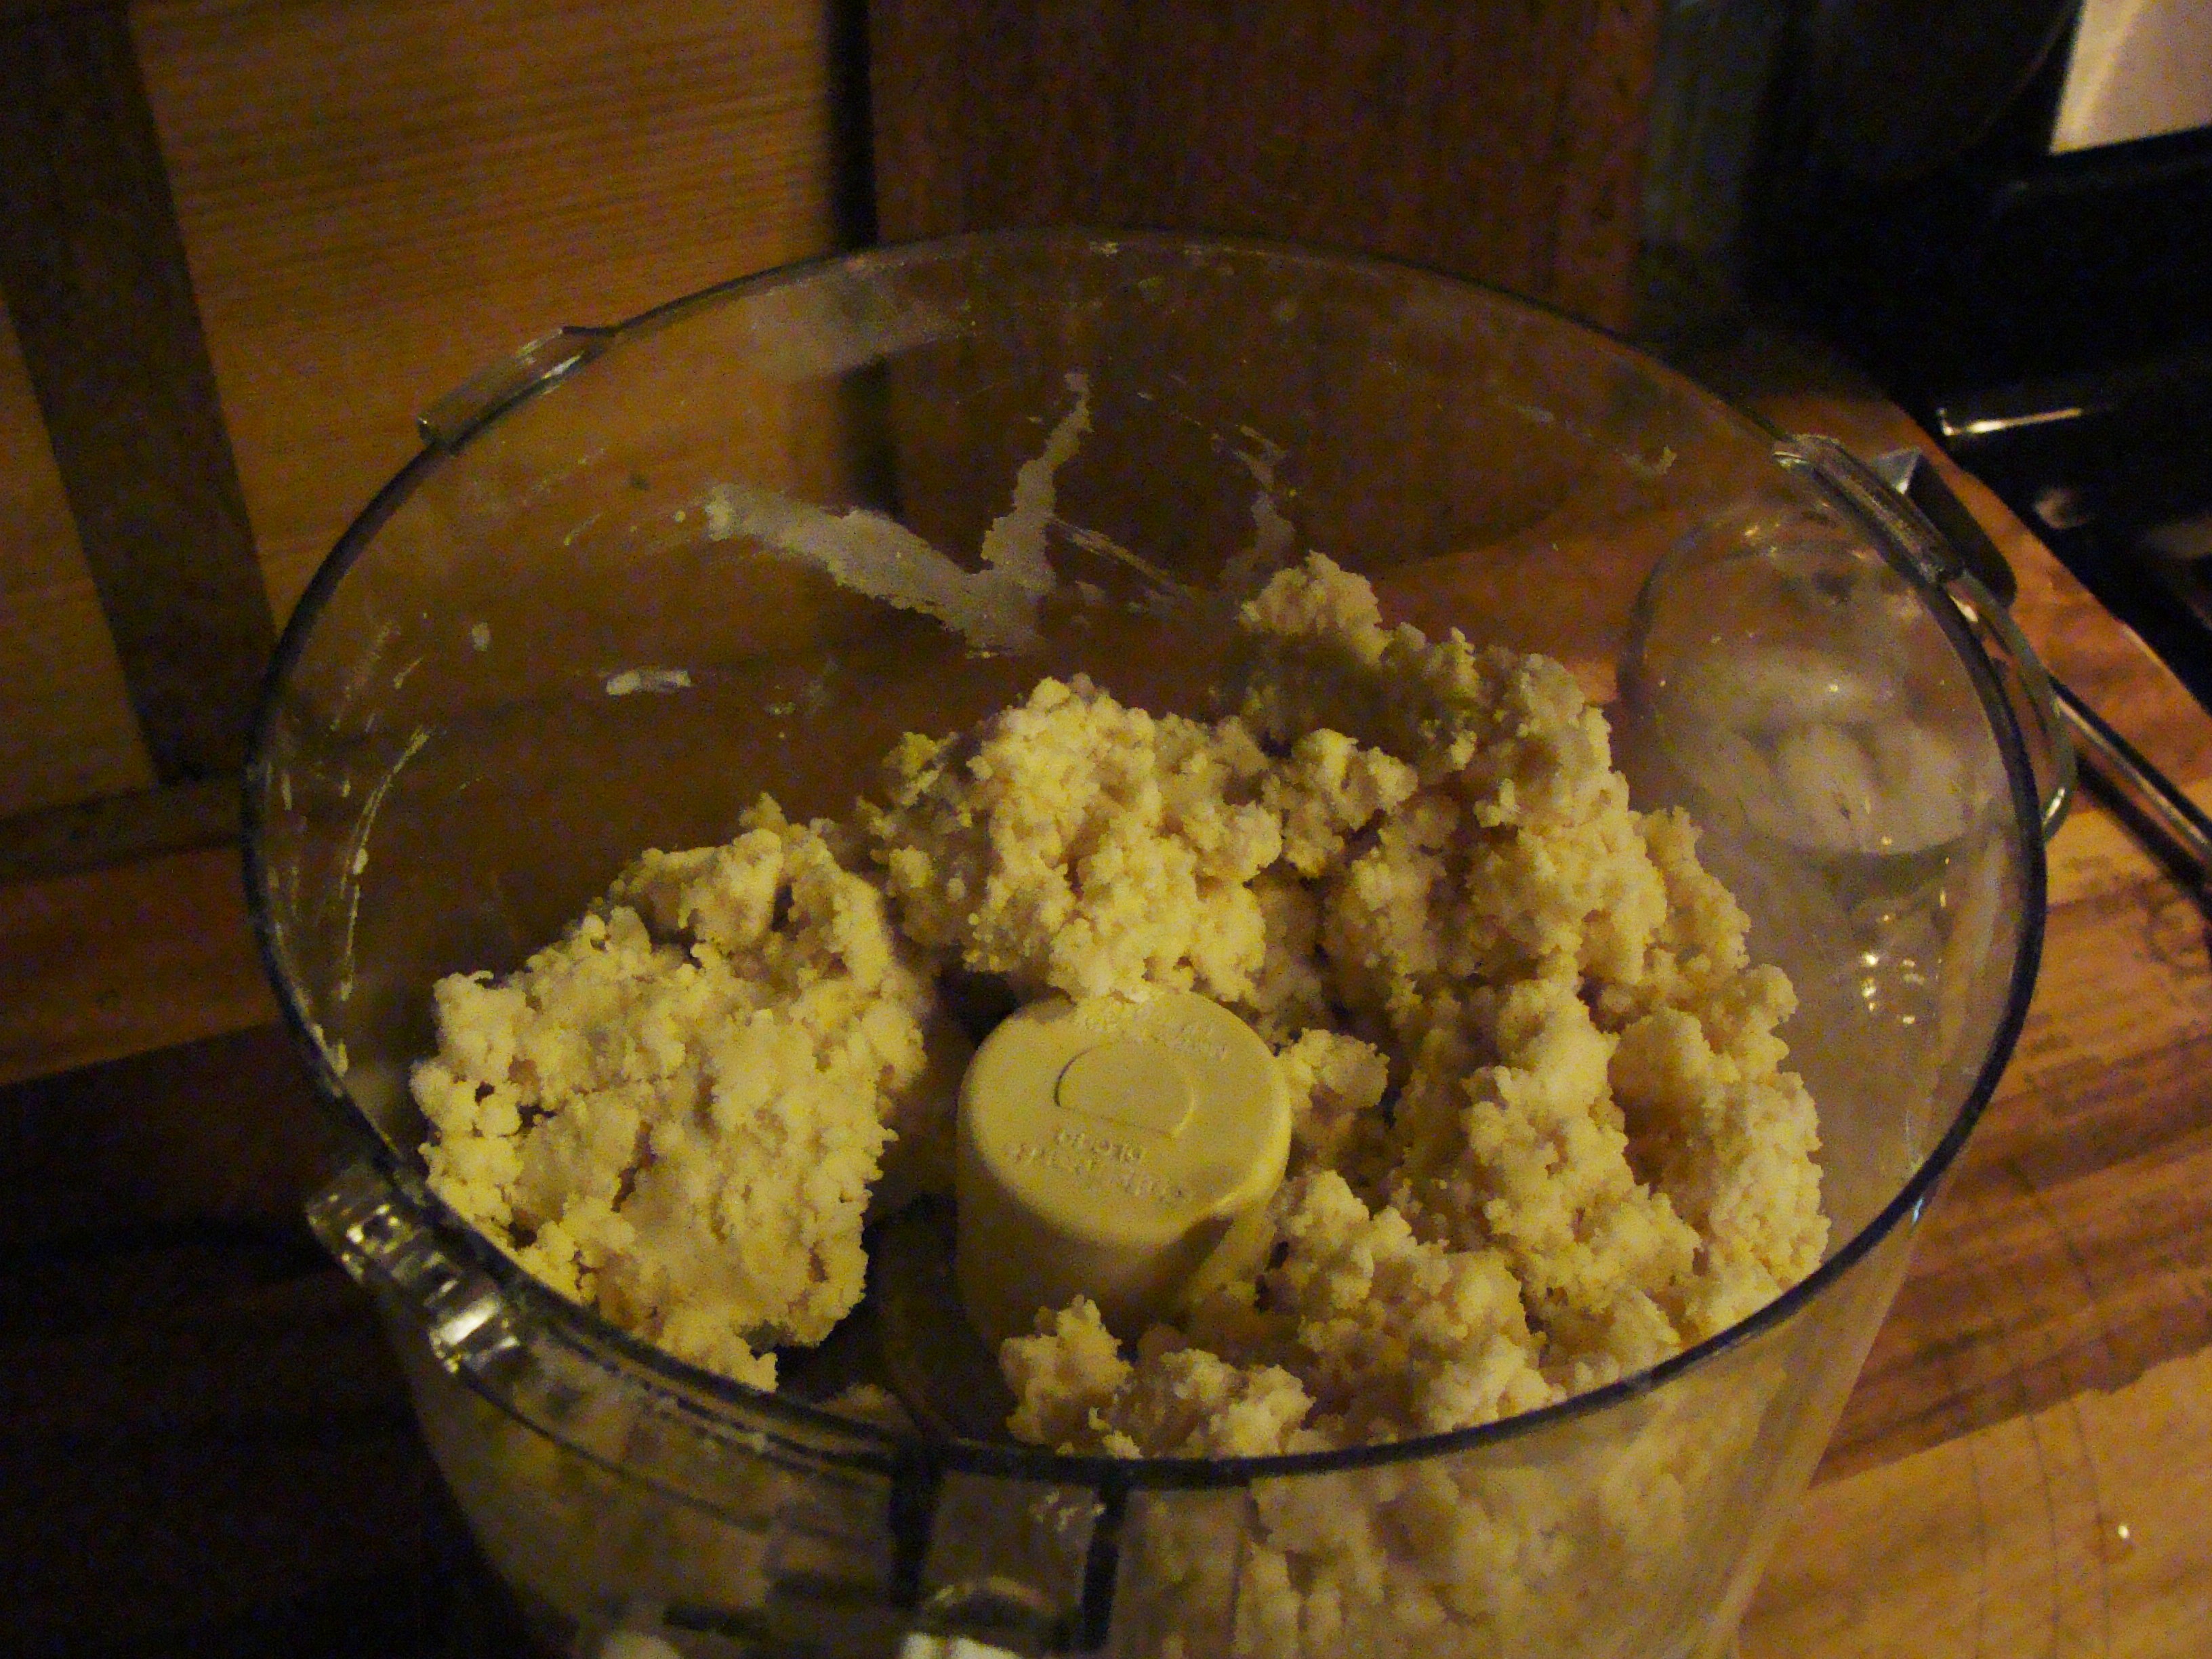
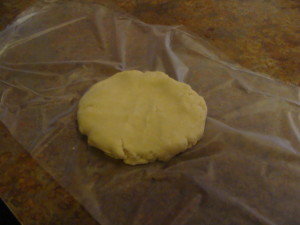
Take the dough out of the food processer and handle as little as possible. No more mixing, not even by hand. Just pat the dough together and form into a disc and wrap with plastic wrap. Refrigerate for 30 – 60 minutes.
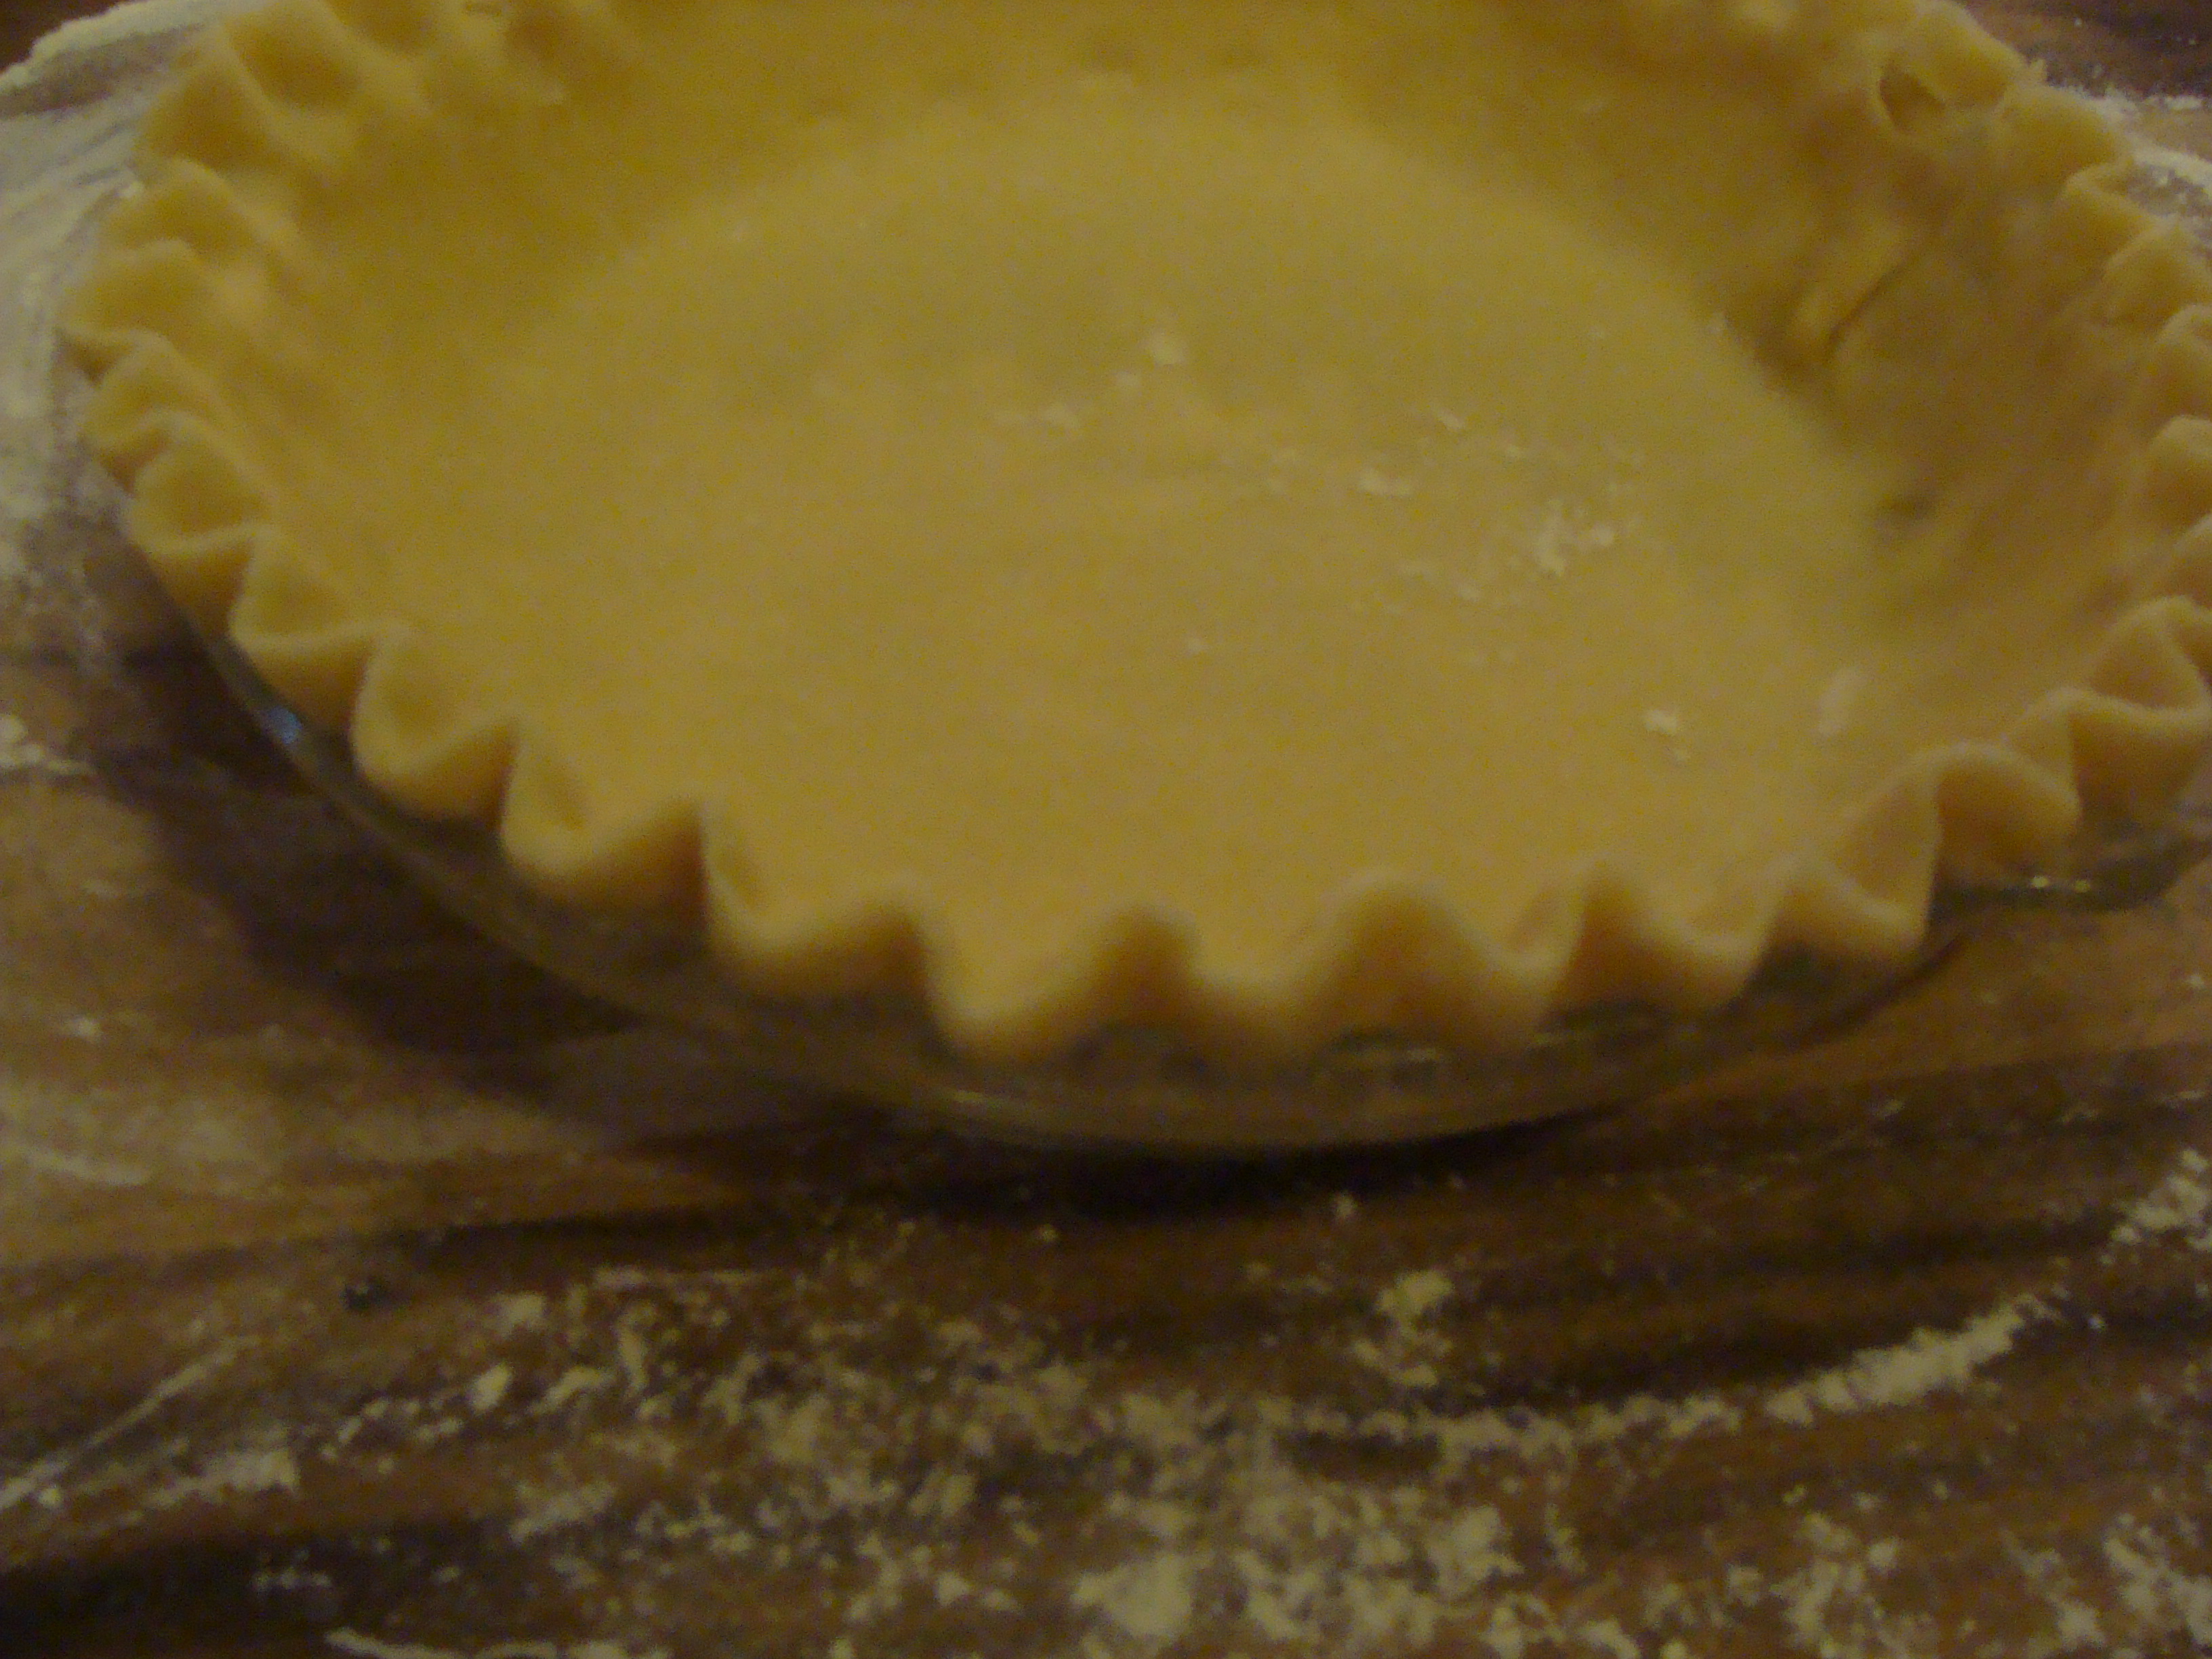
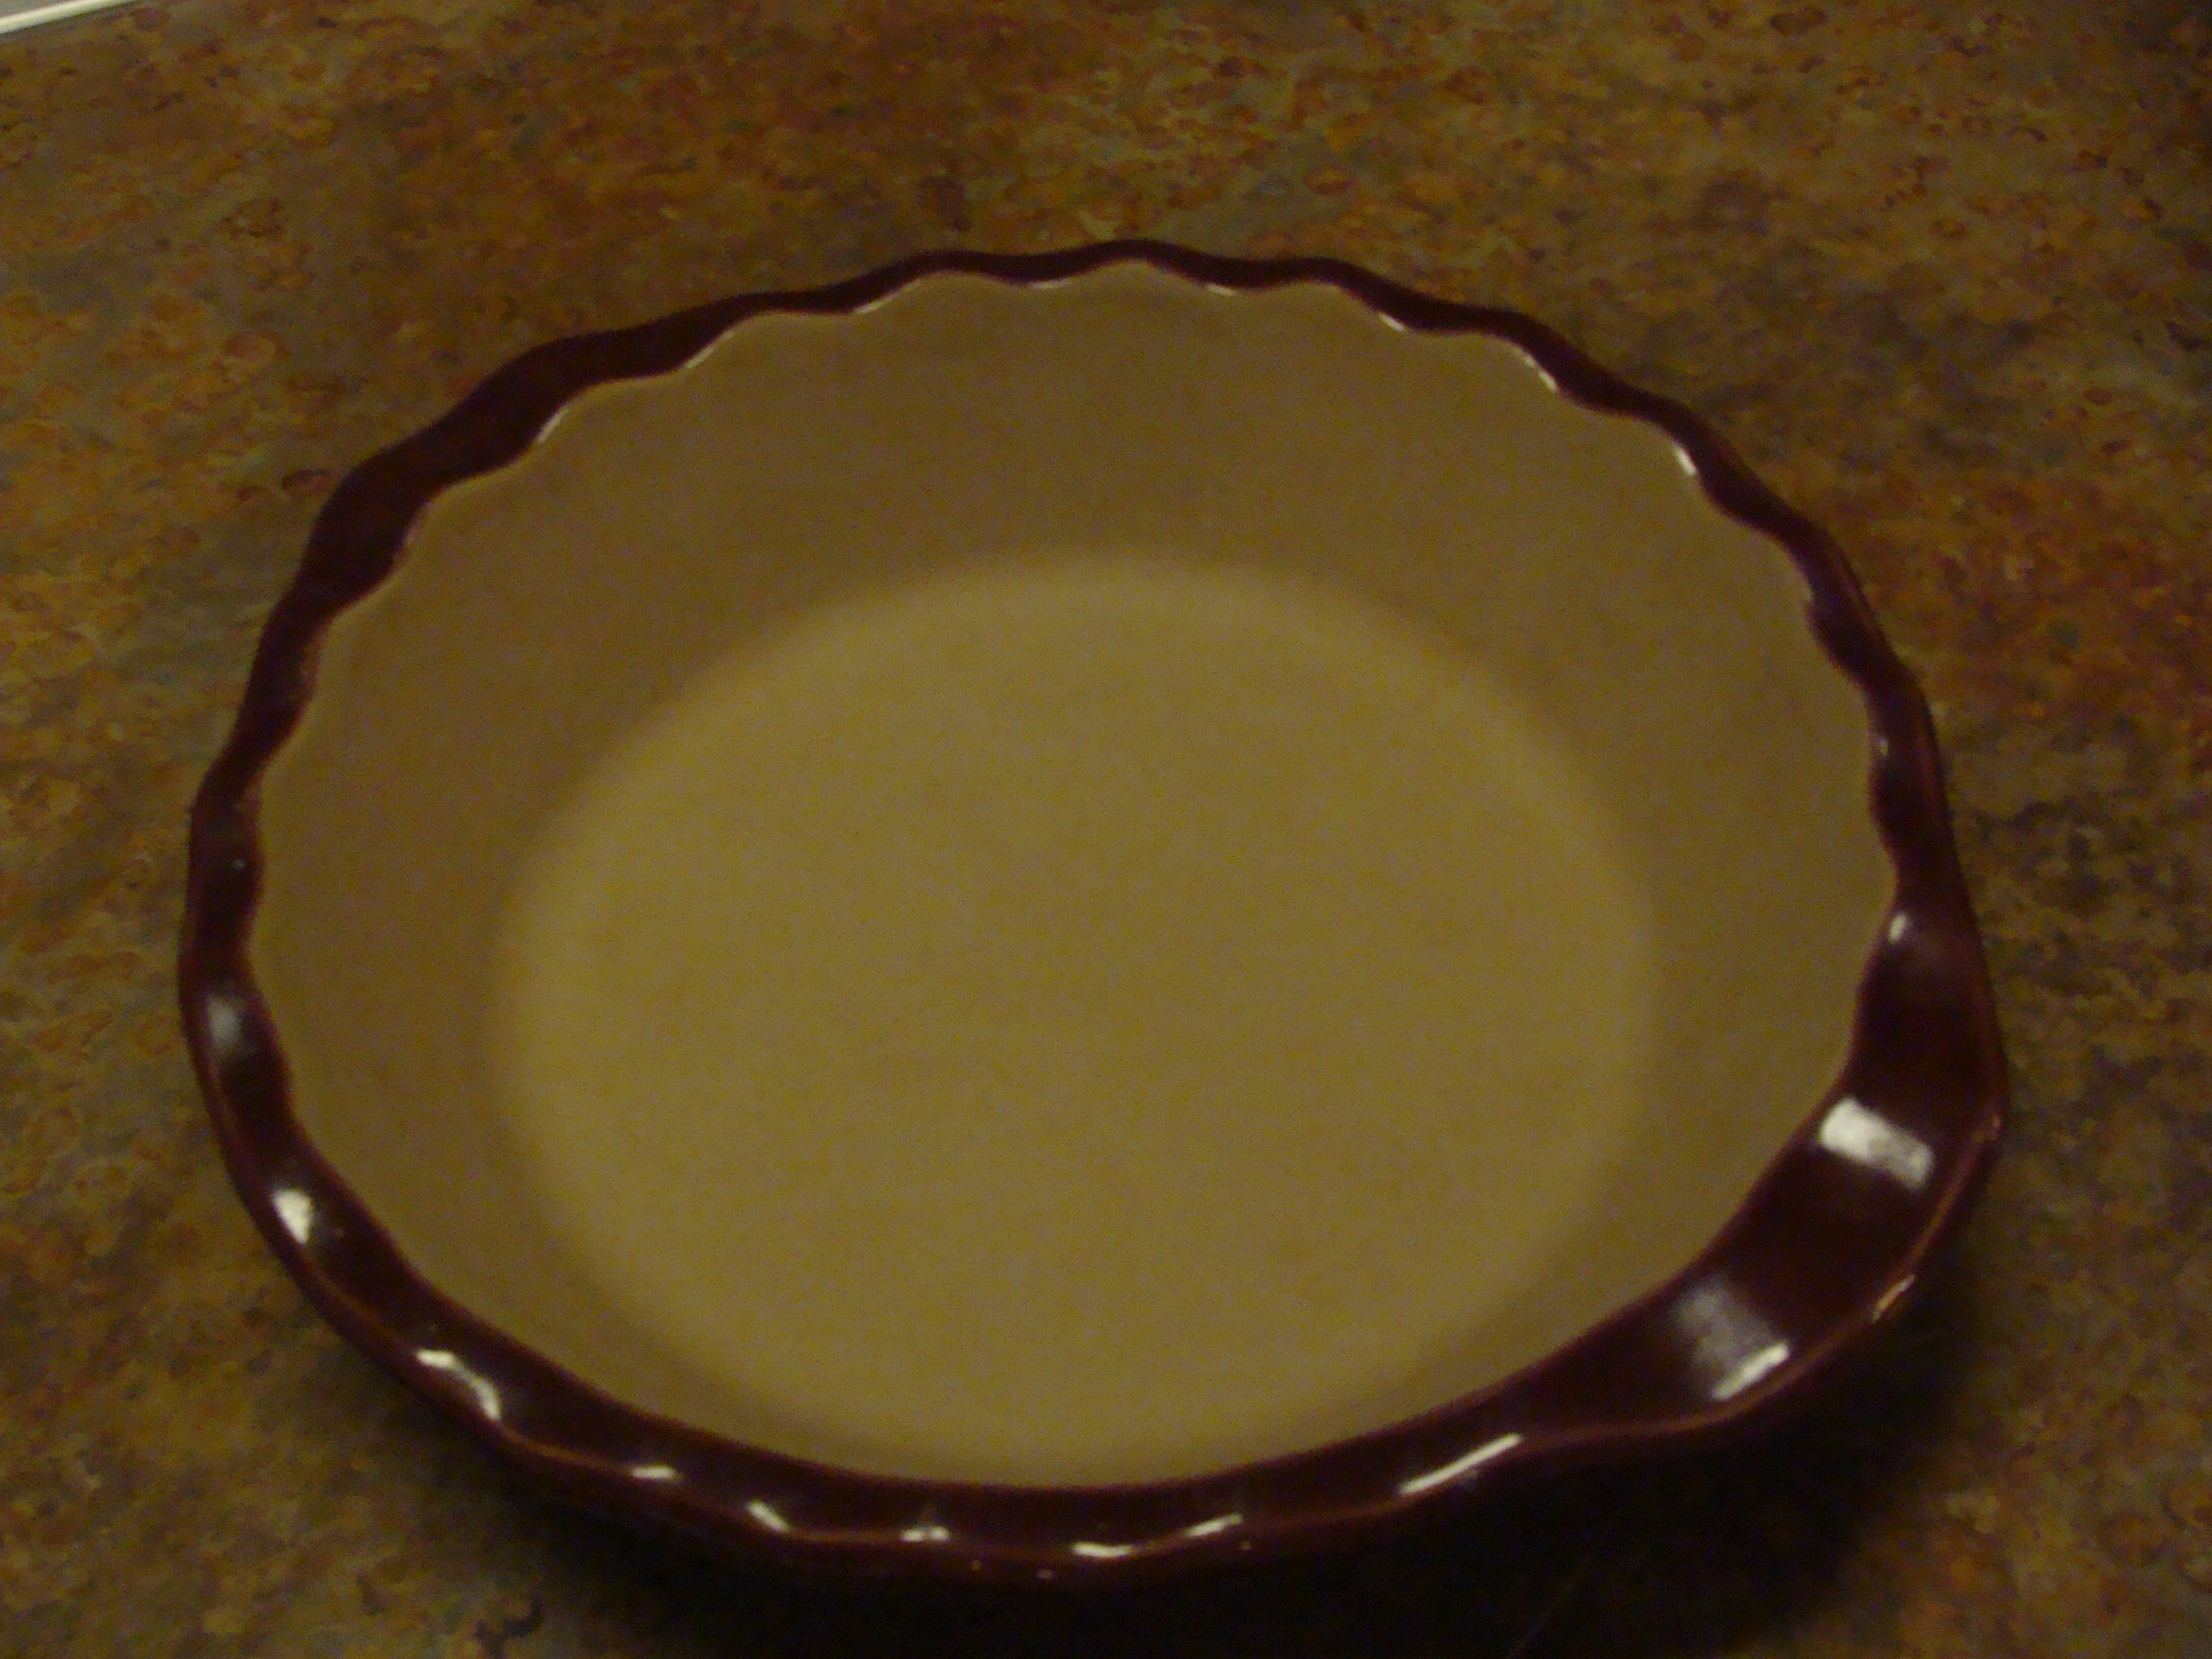
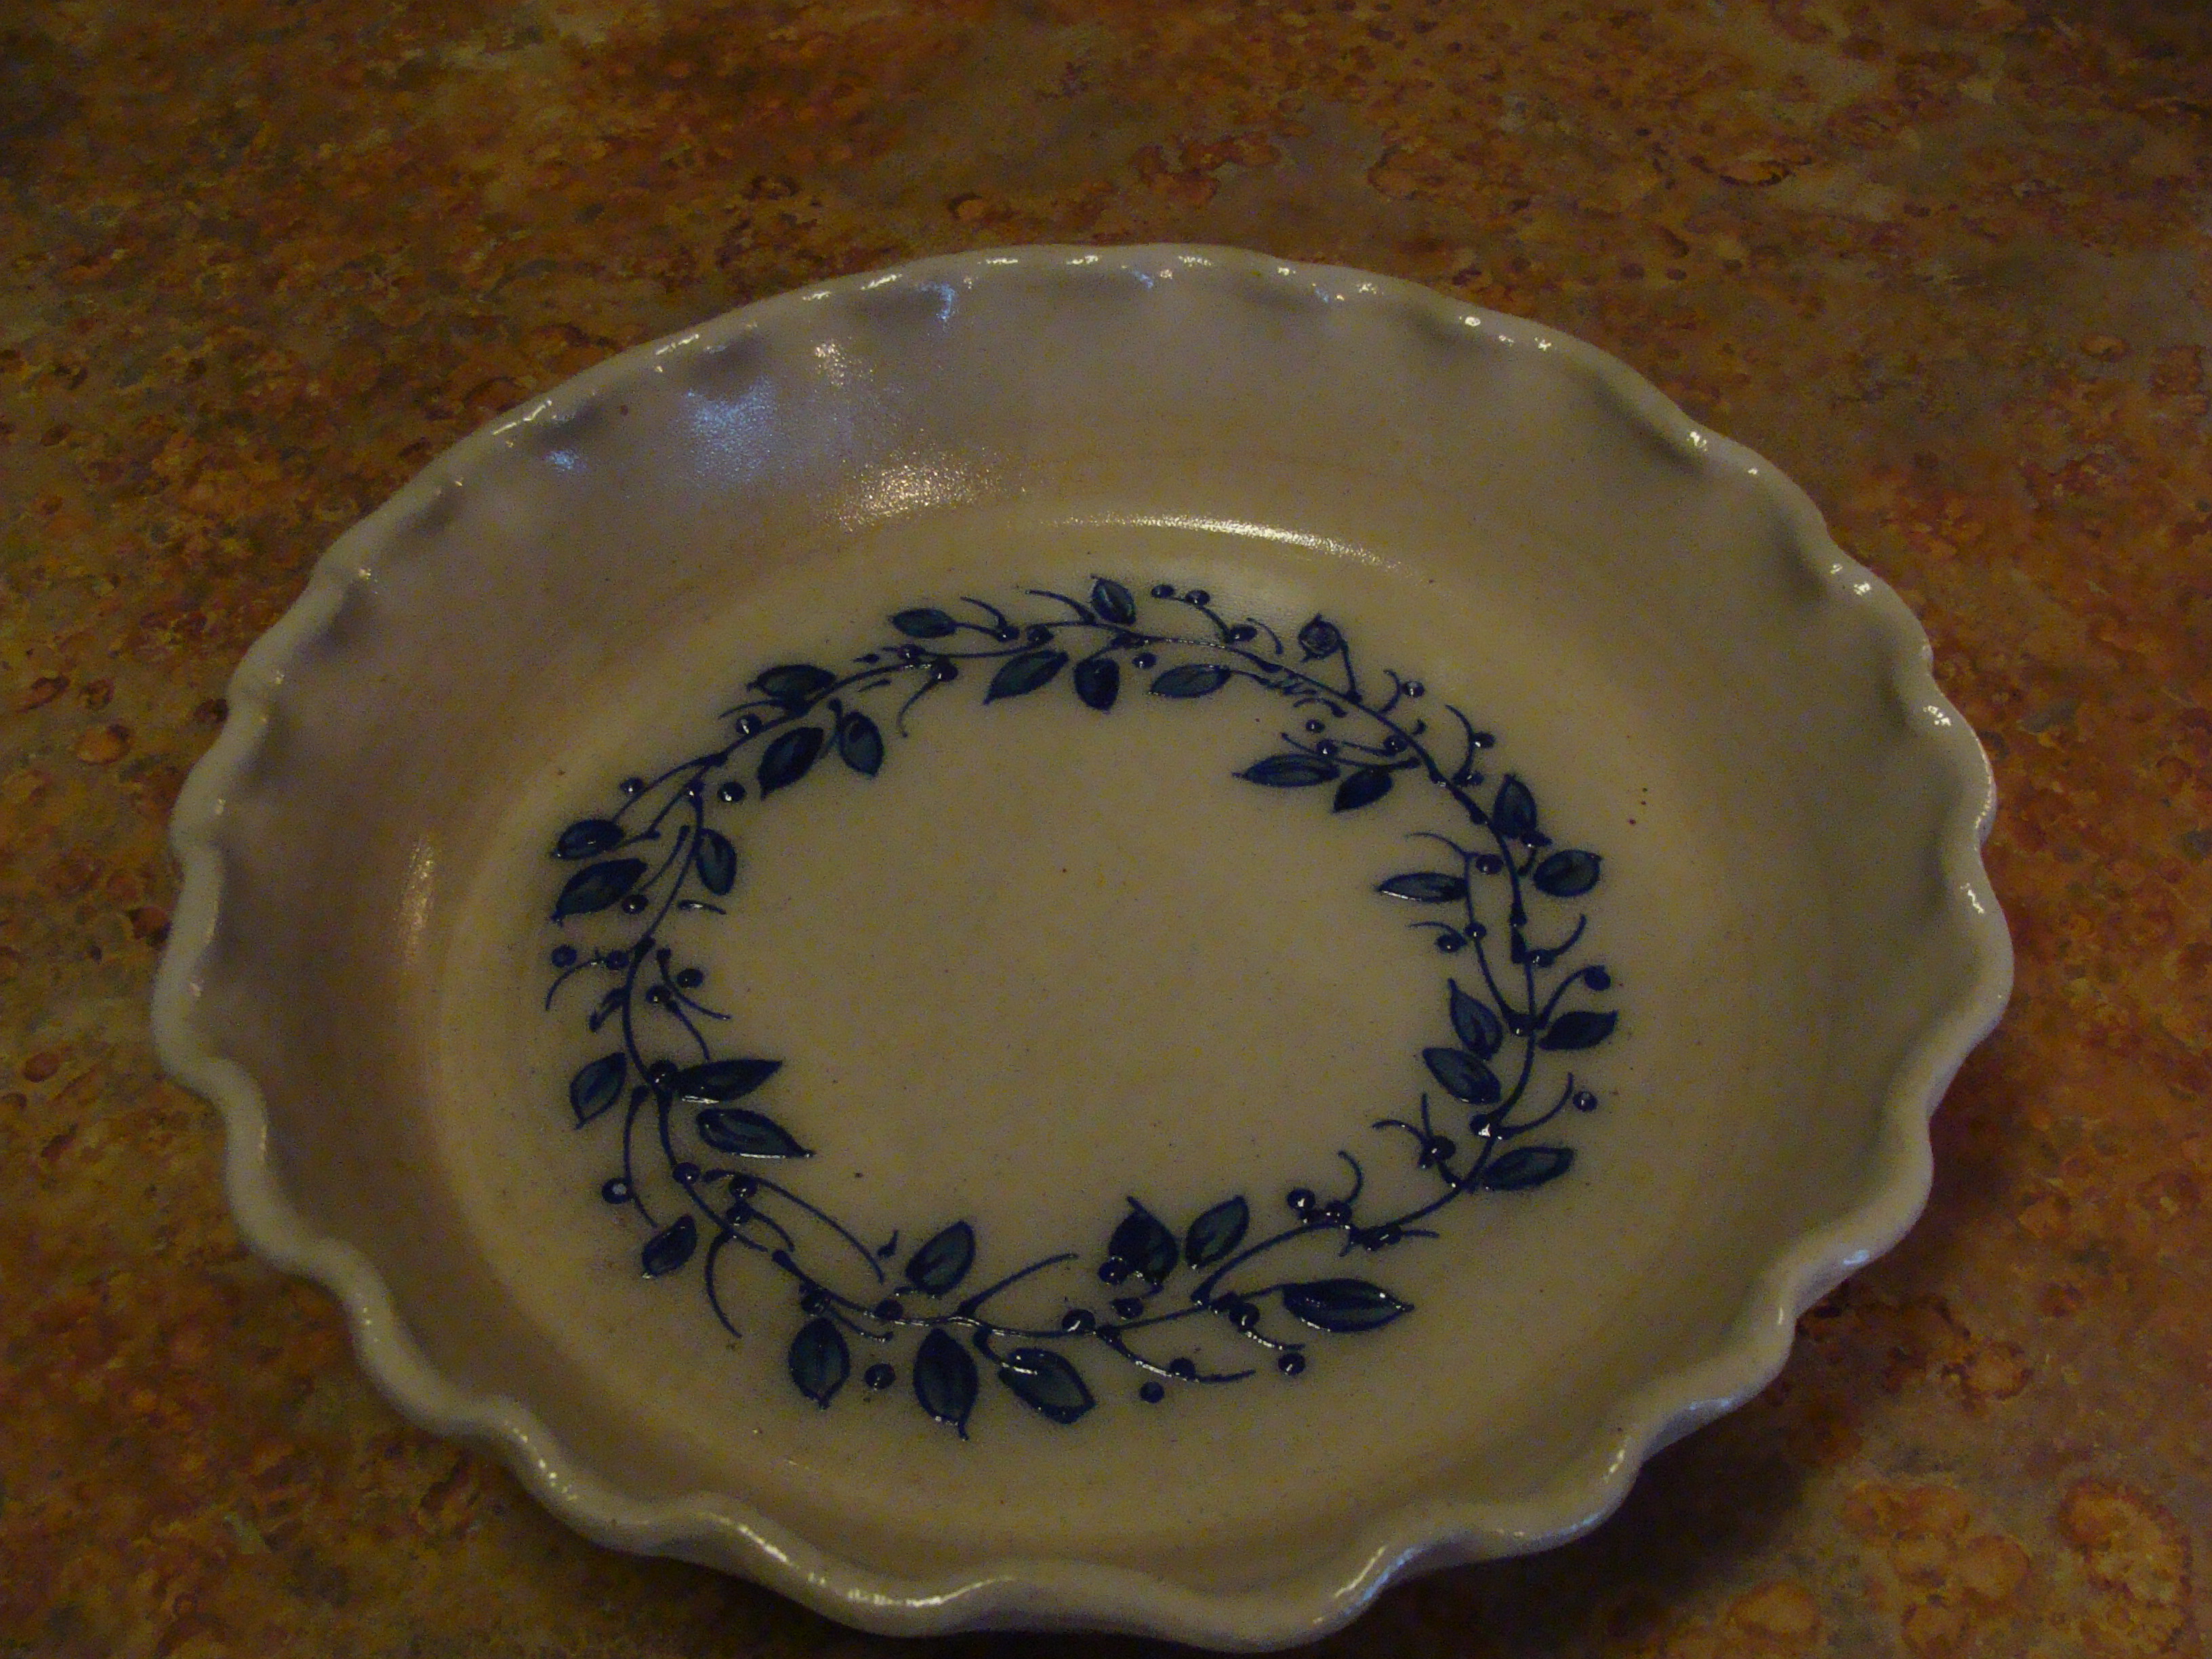
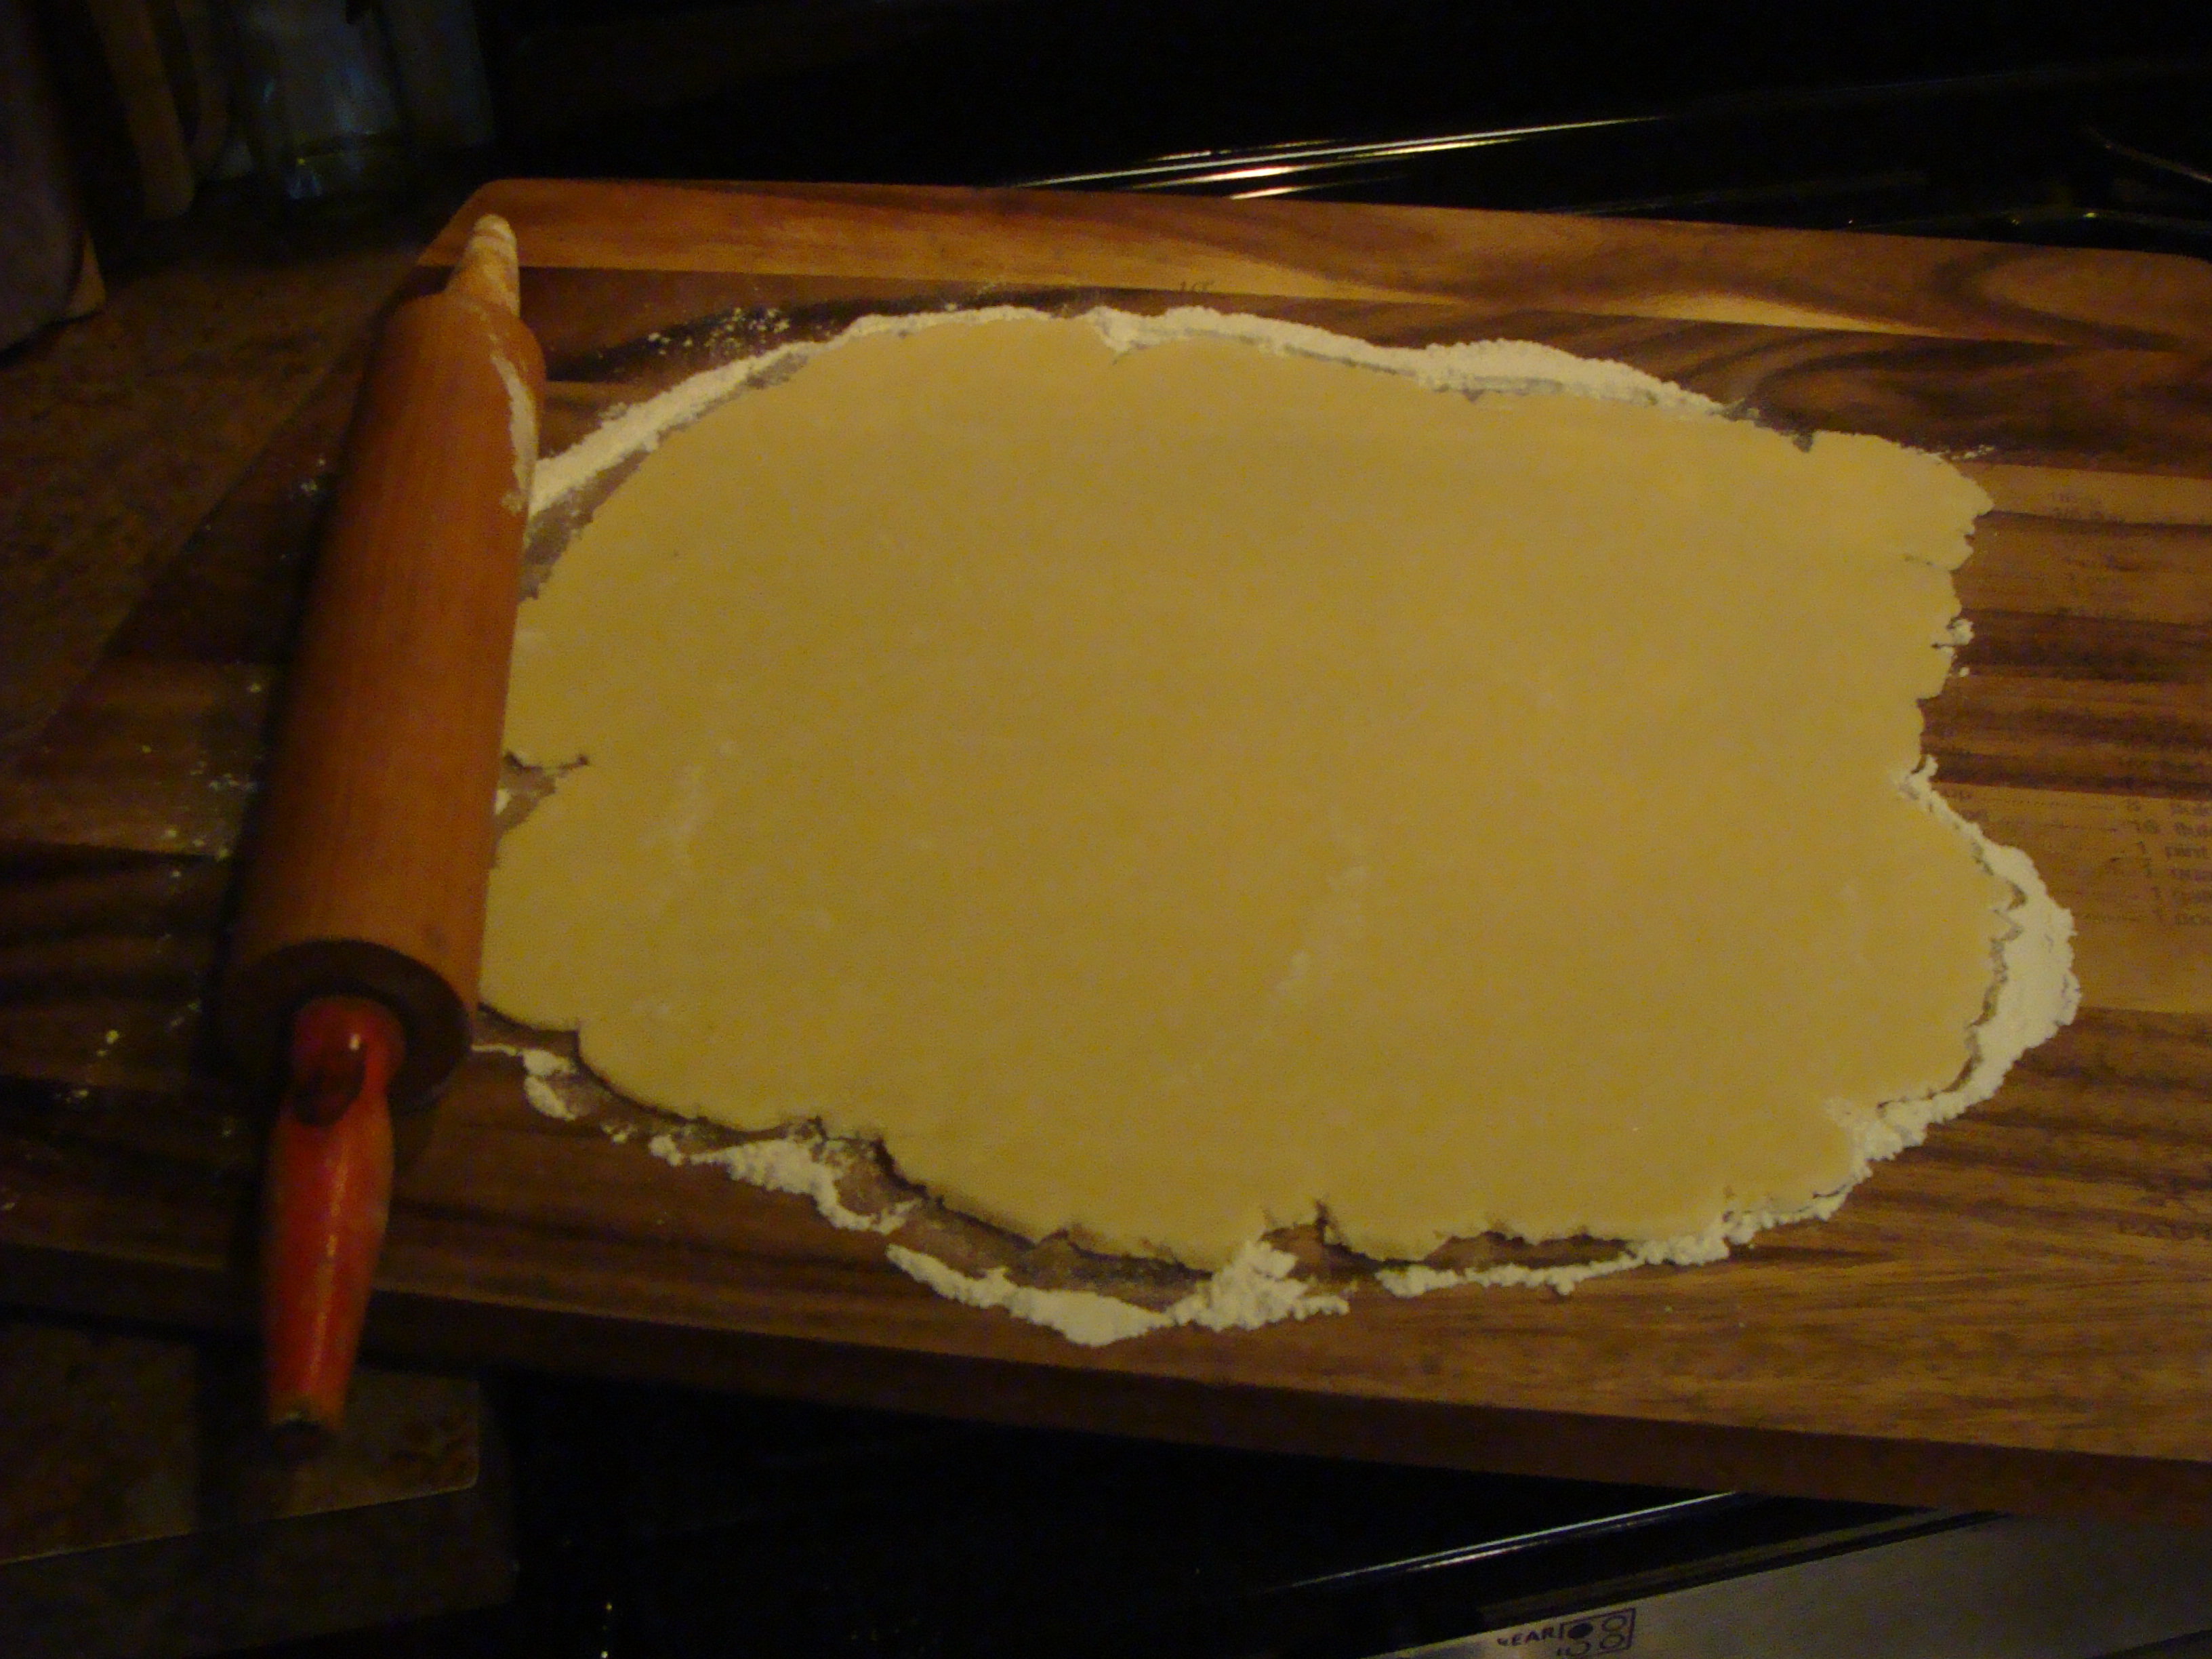
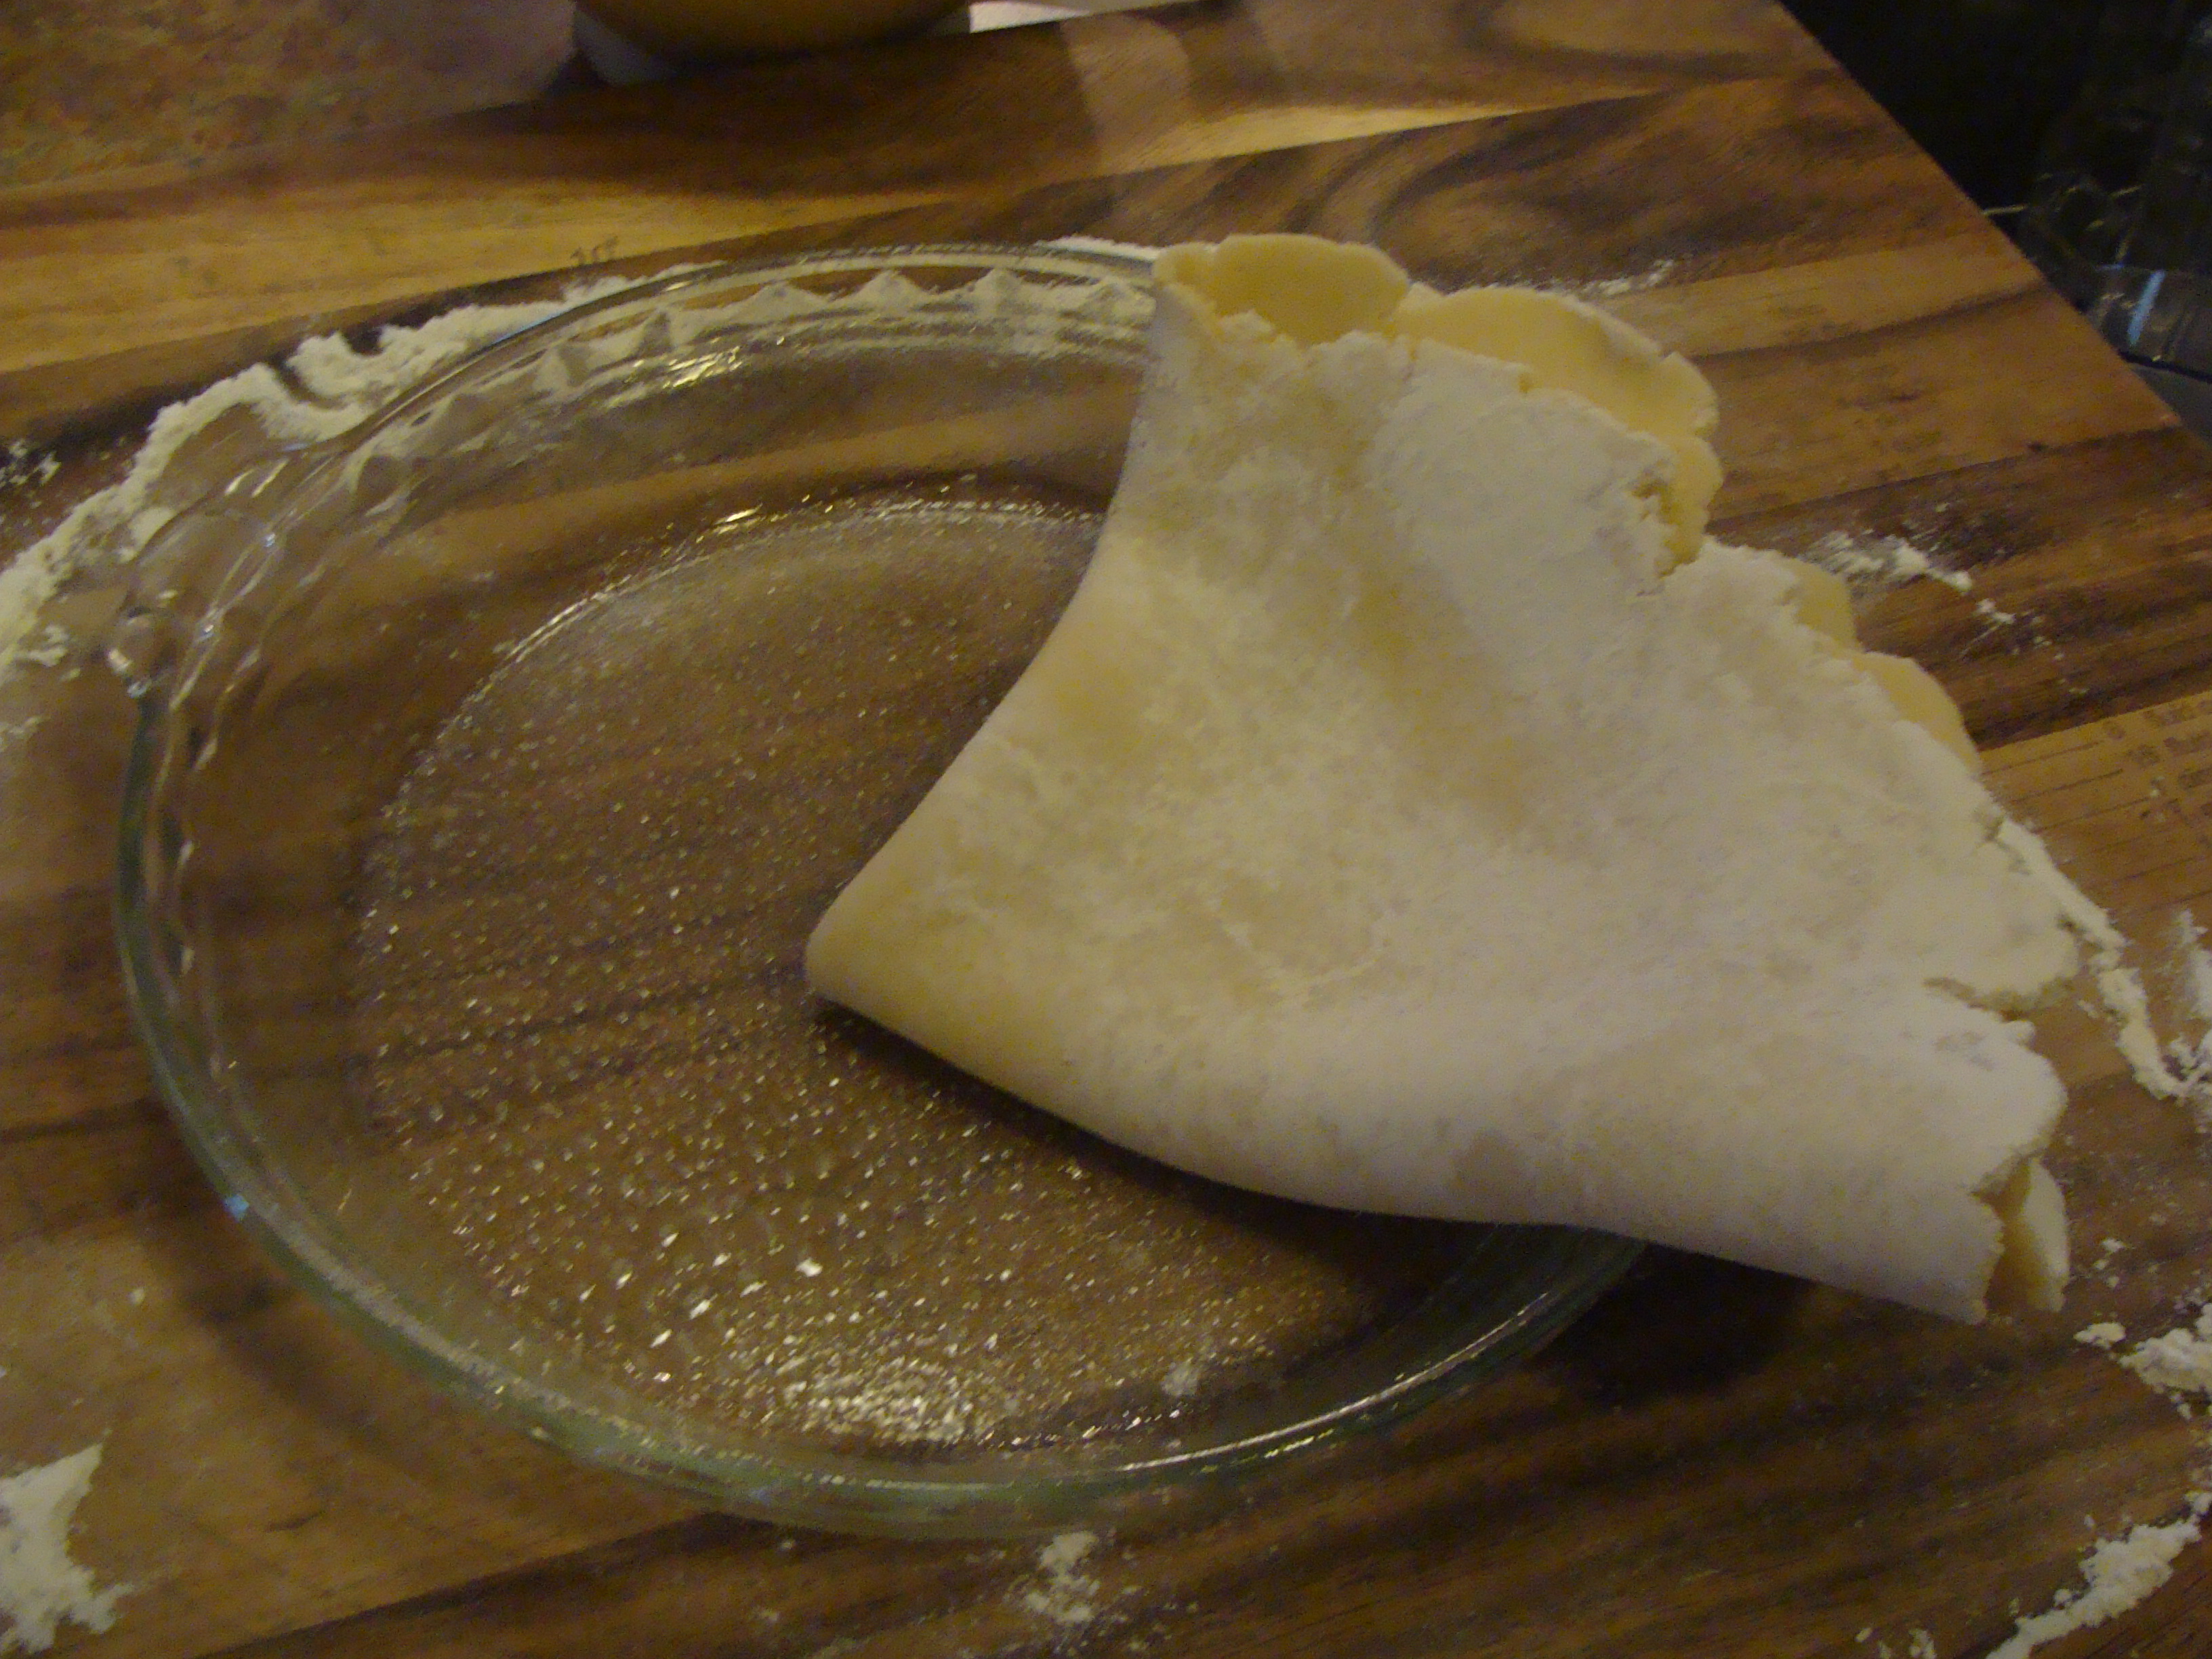
Now it’s time to roll! Lightly flour your surface (I usually roll directly onto the counter top) and place your chilled disk on the flour. Sprinkle a little flour on your rolling pin and on the top of the disc (very little) and begin rolling from the center out. Continue rolling until your crust is about 2 inches larger than your pie pan. If your dough tears, just pinch it back together with your fingers. Lightly spray your pie pan with butter or vegetable spray. If you don’t want to mess with making your pie crust pretty, purchase a pie plate that has fluted edges like the ones below and just force that dough into the indententions on the pan. Your pie will still be stunning! Actually, this is more fool proof than making a stand-up fluted edge.
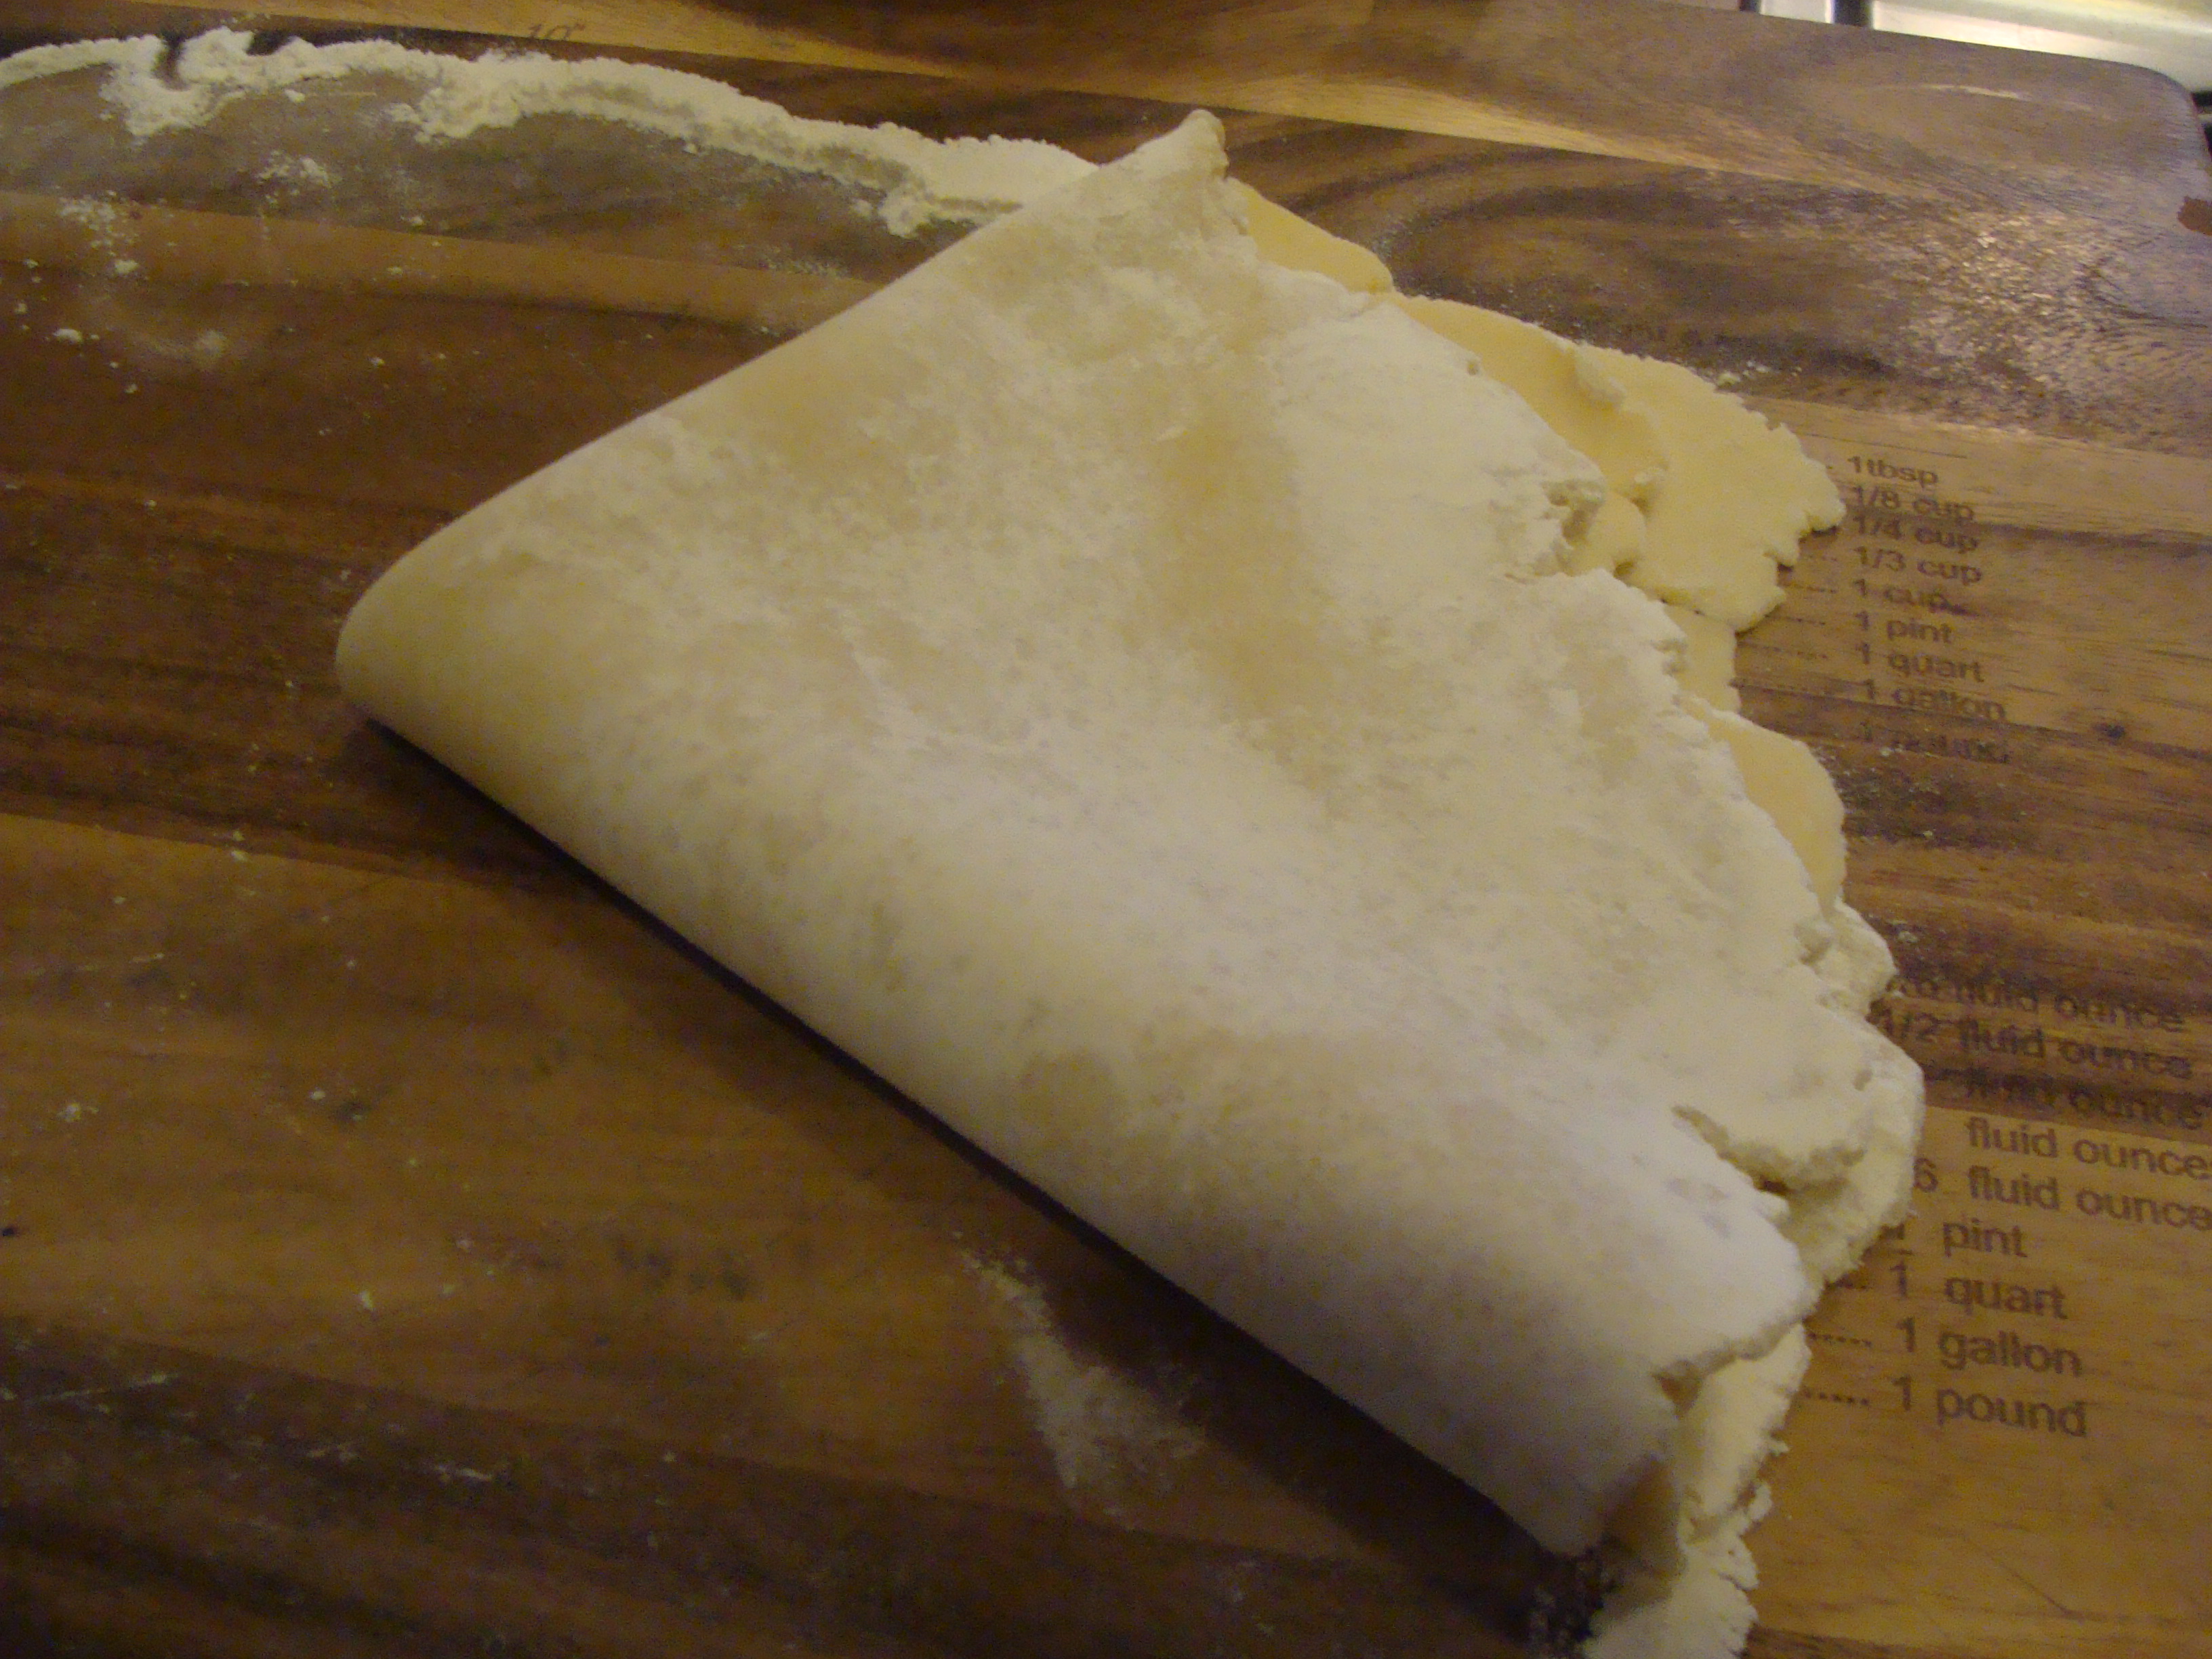
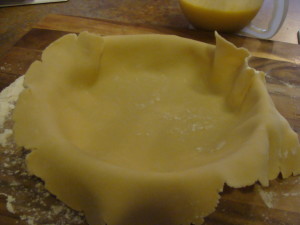
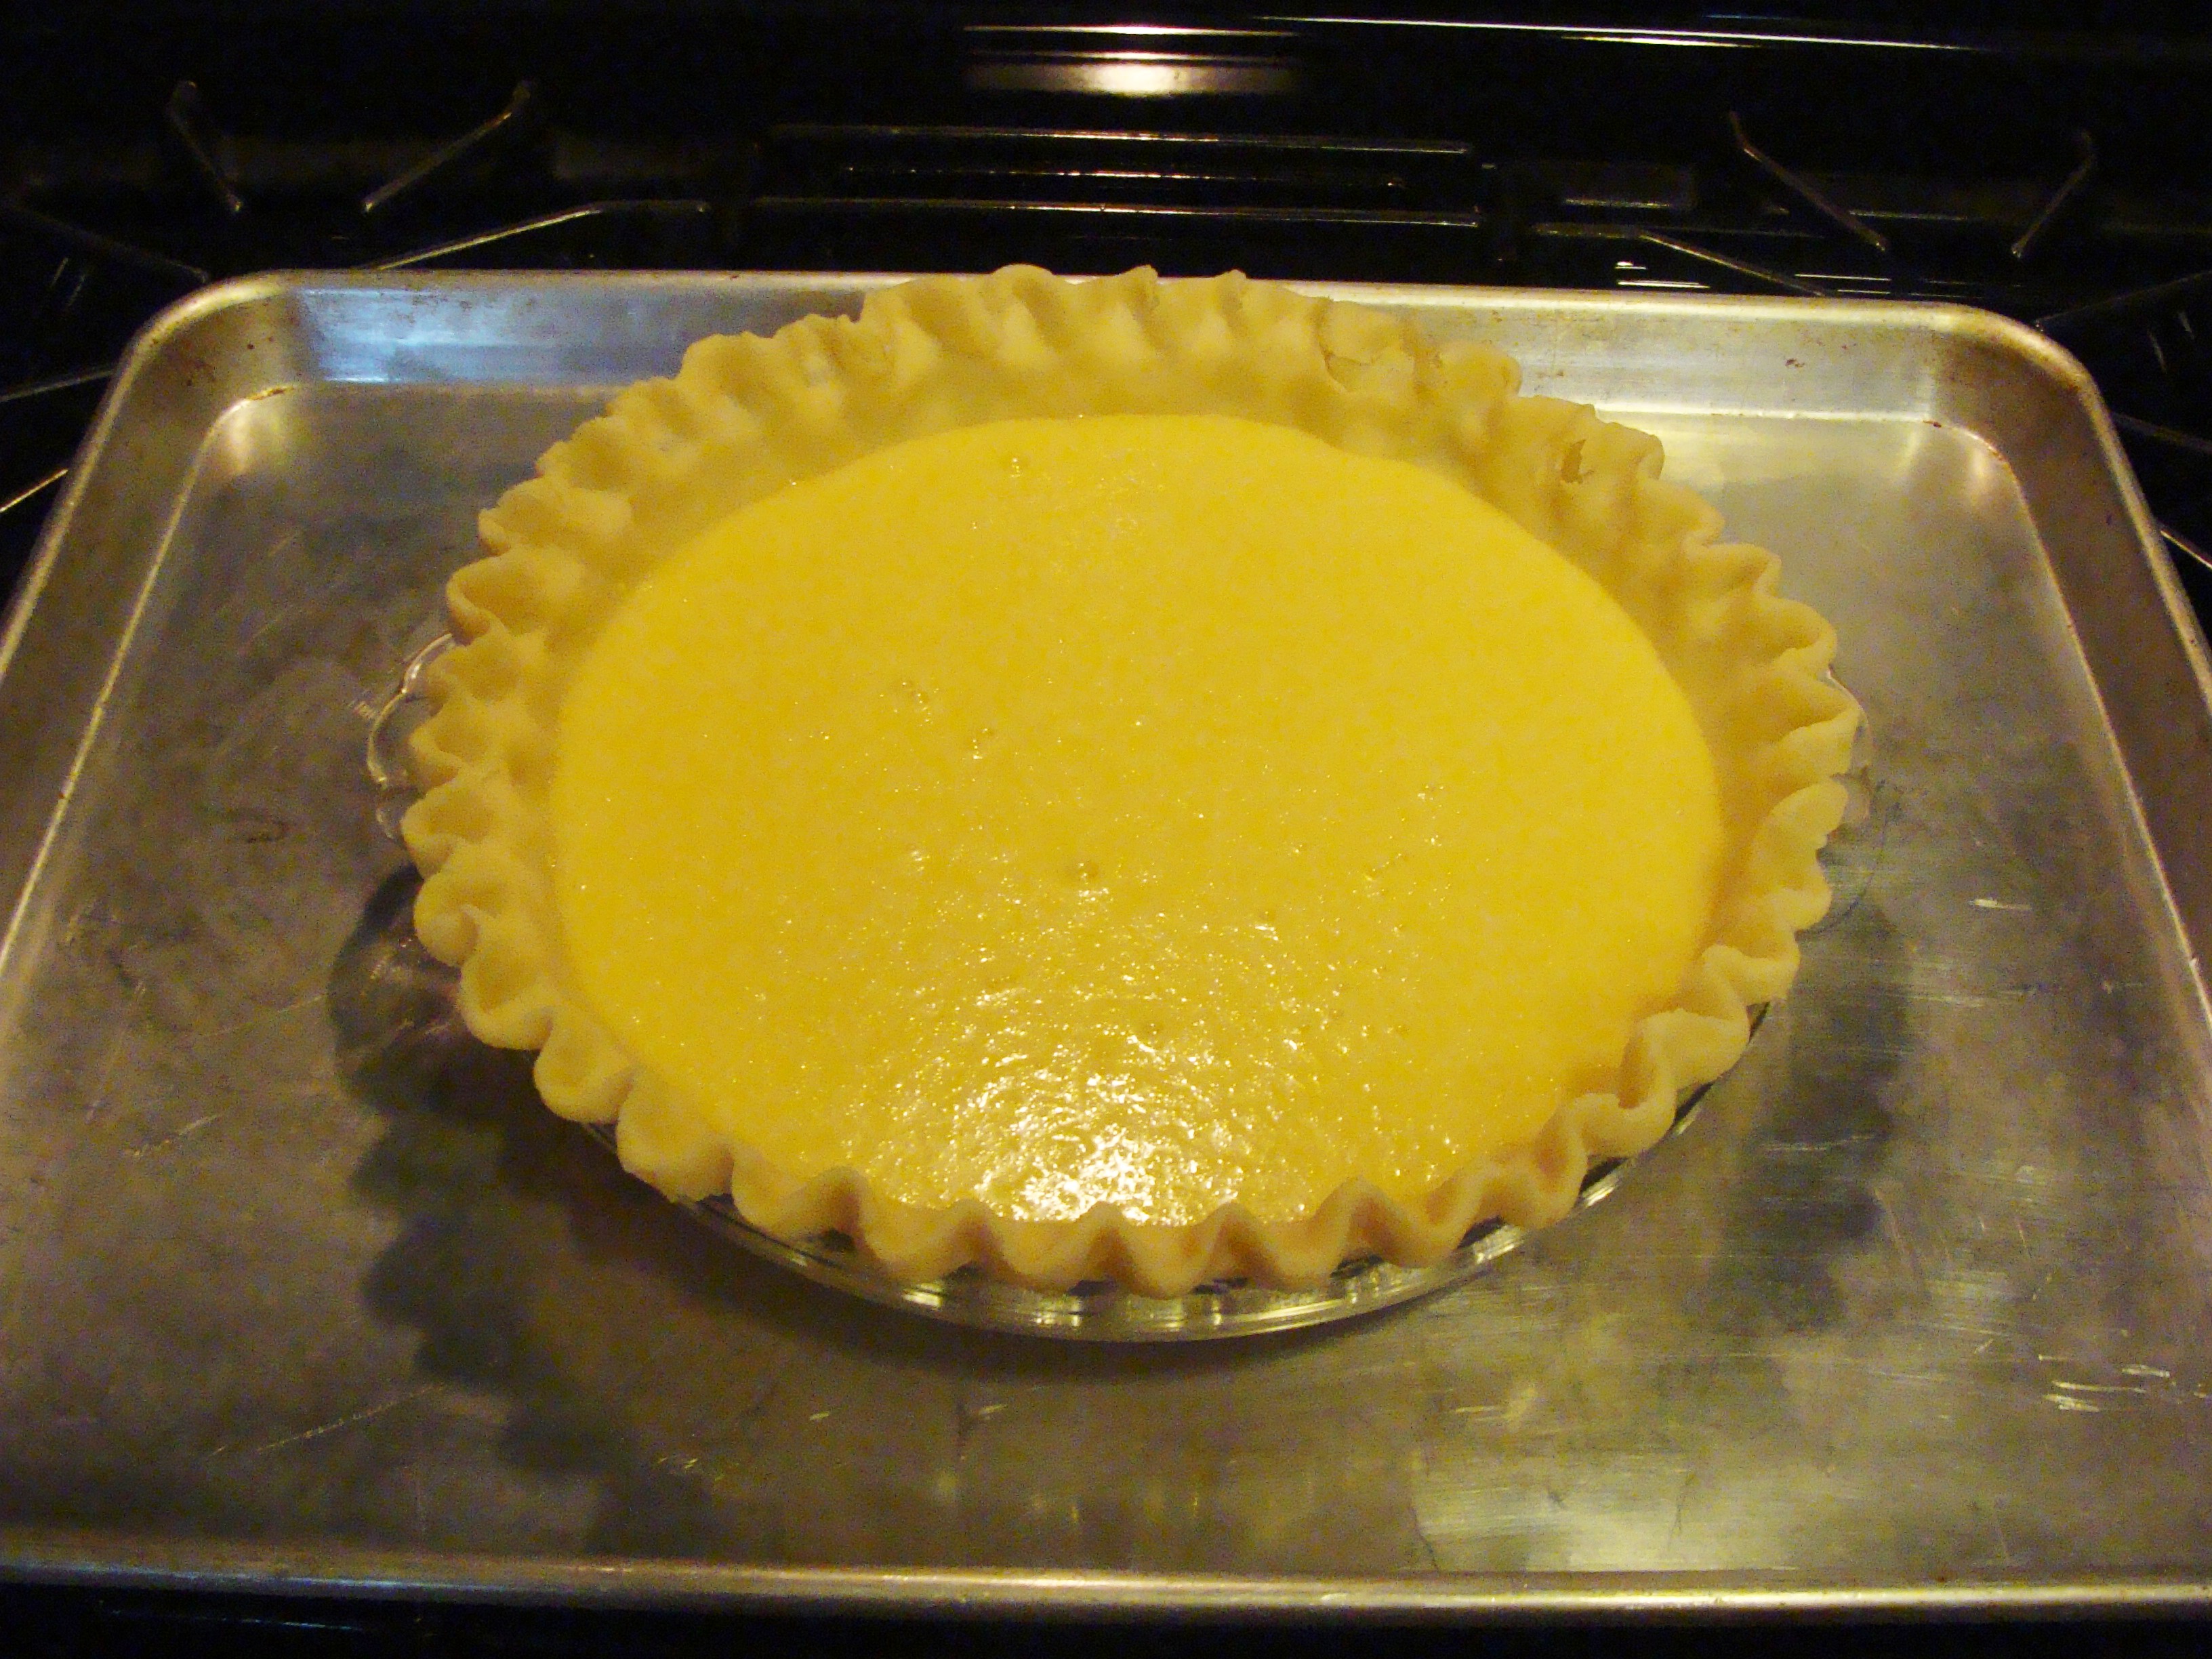
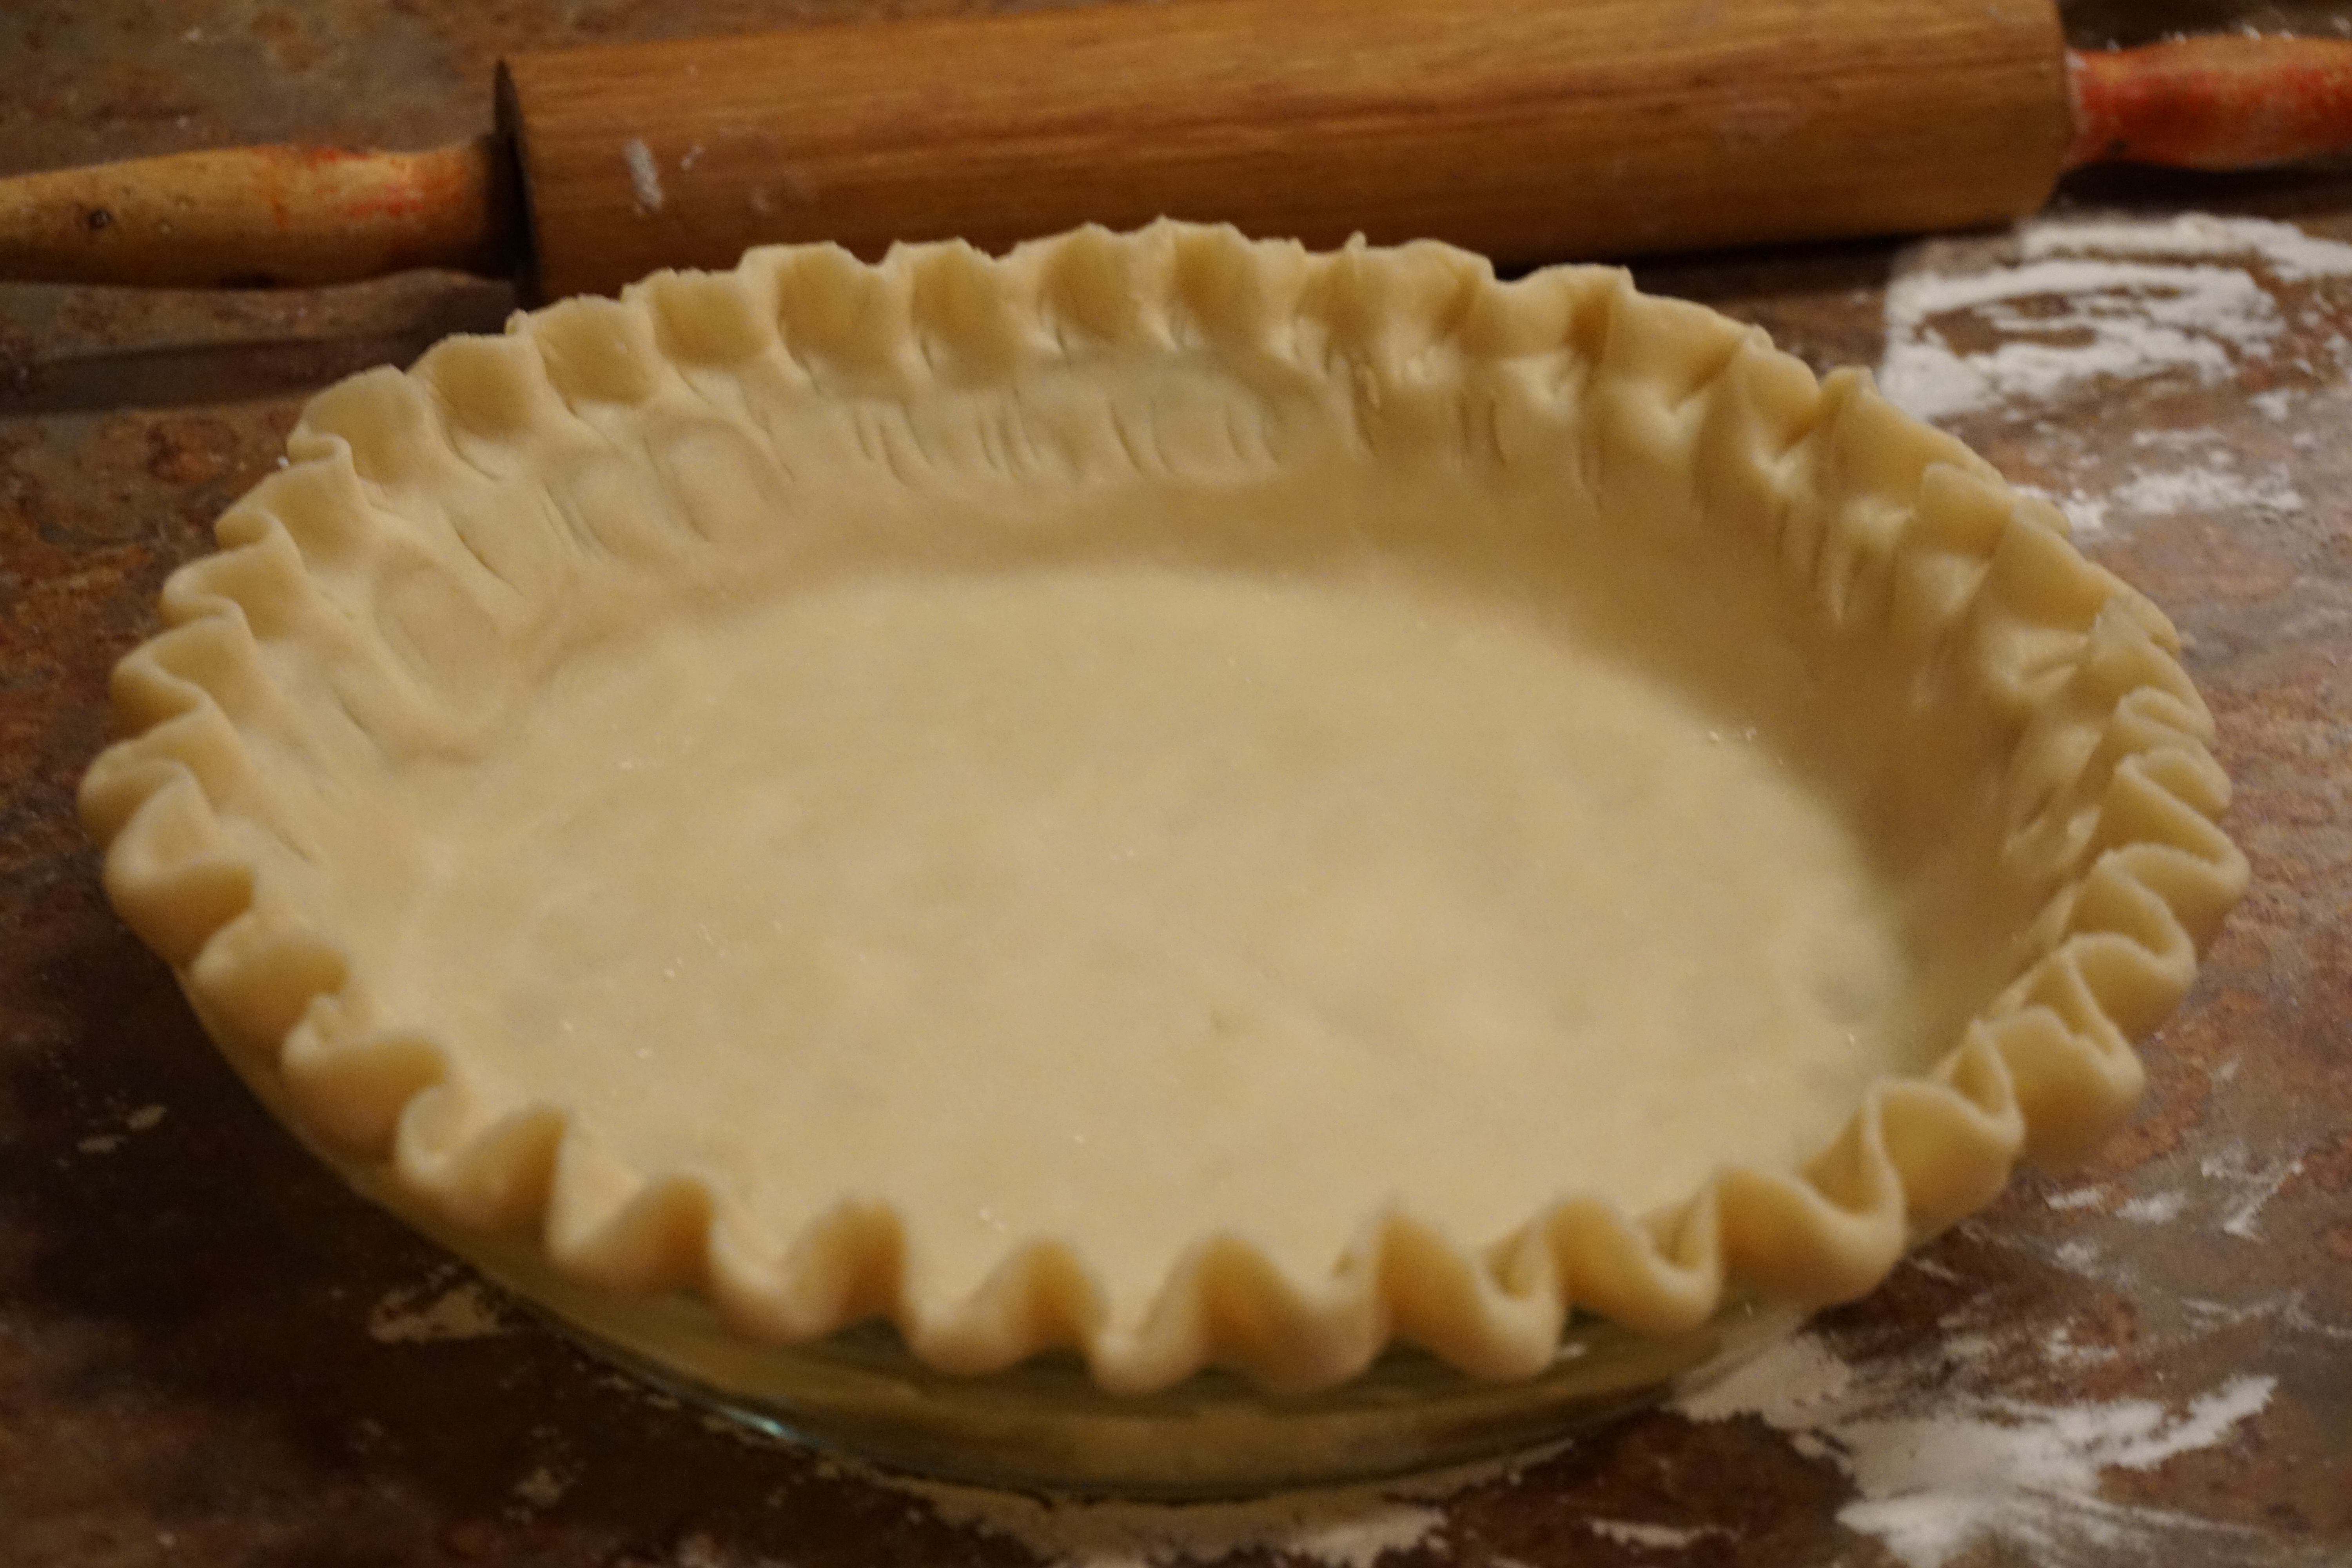
Being very careful, fold the dough in half. I grab the dough at the top two corners and pull it toward me. Don’t press; fold in half again to form a quarter of a circle (photo 2 below). Place your folded crust into your pan and trim the excess with scissors leaving approximately 1″ around the plate. Turn the cut edges under (photo 5) and either (1) flute the edges, (2) press the edges down with the tines of a fork, or (3) press the dough into a scalloped pie dish. After I’ve fluted my shell, I put it back into the refrigerator for about an hour to give it time to set up prior to baking. I like to put my pies on an old cookie sheet in case they bubble over – I’ve caused a few oven fires in my day from pies! Fill with your favorite filling and bake! Easy fillings include pumpkin, pecan or buttermilk (which I’ll post the recipe for in another post). This one is Buttermilk Pie filling.

Pre-baking a Pie Crust (blind baking)
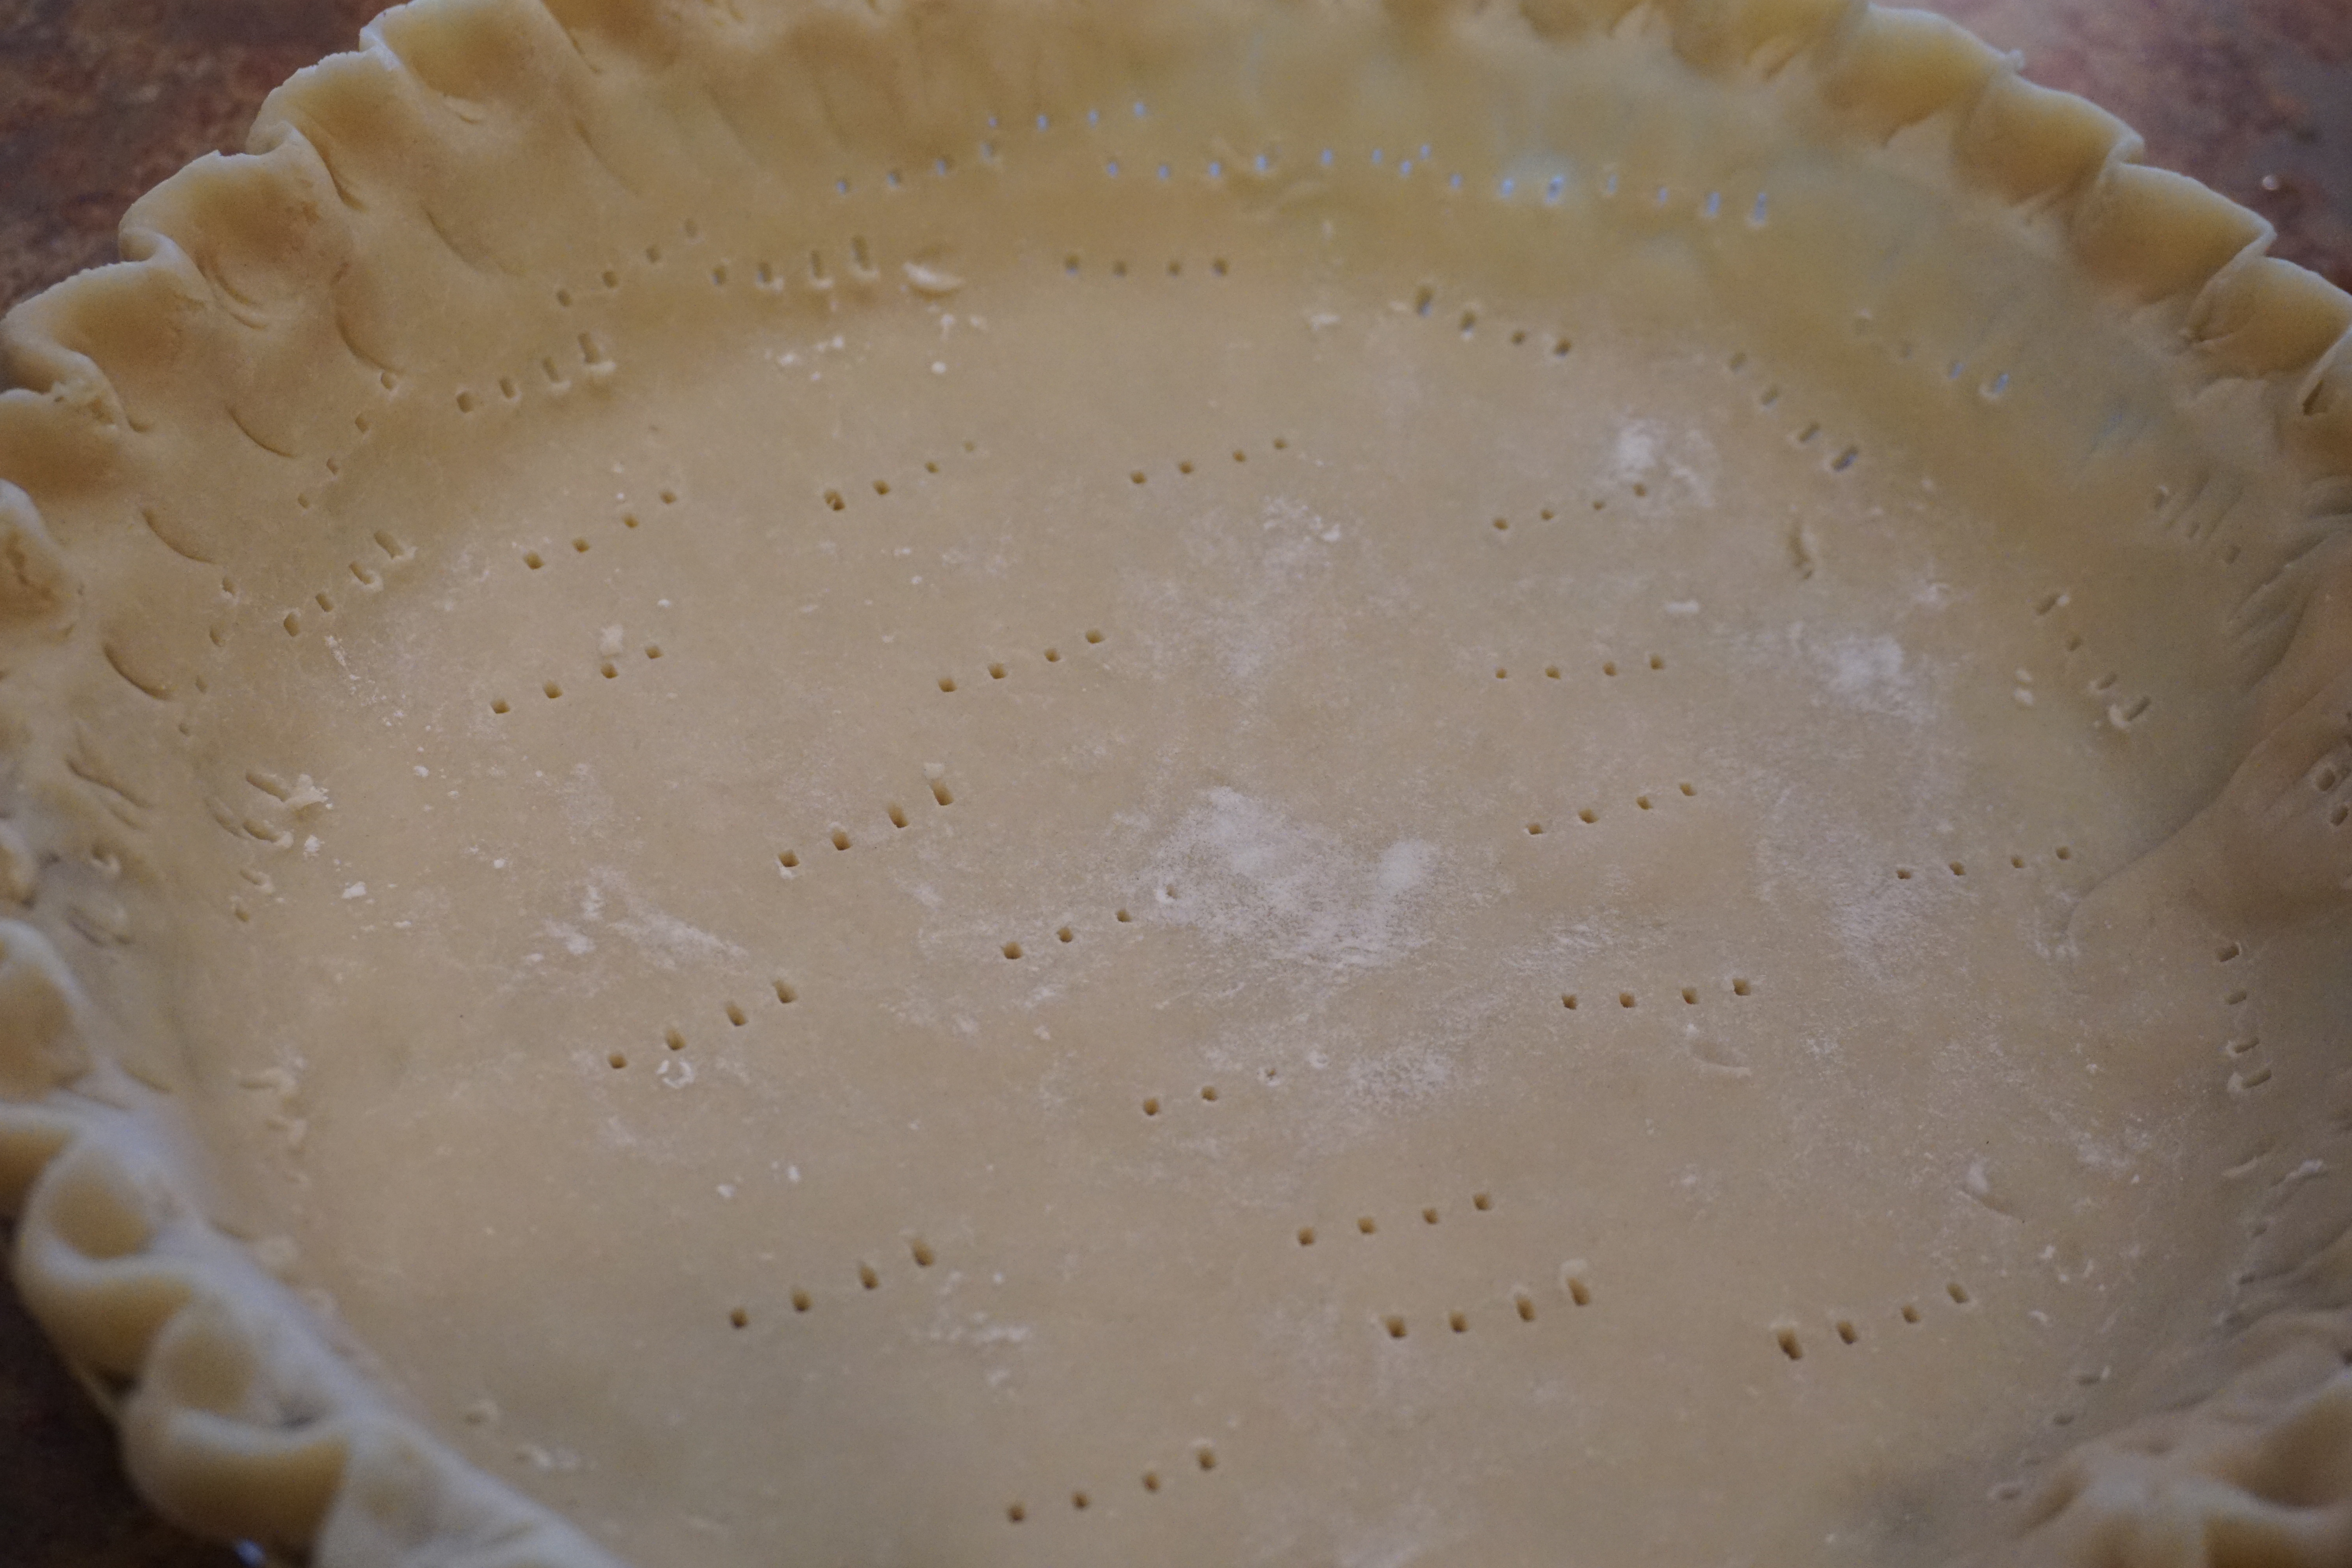
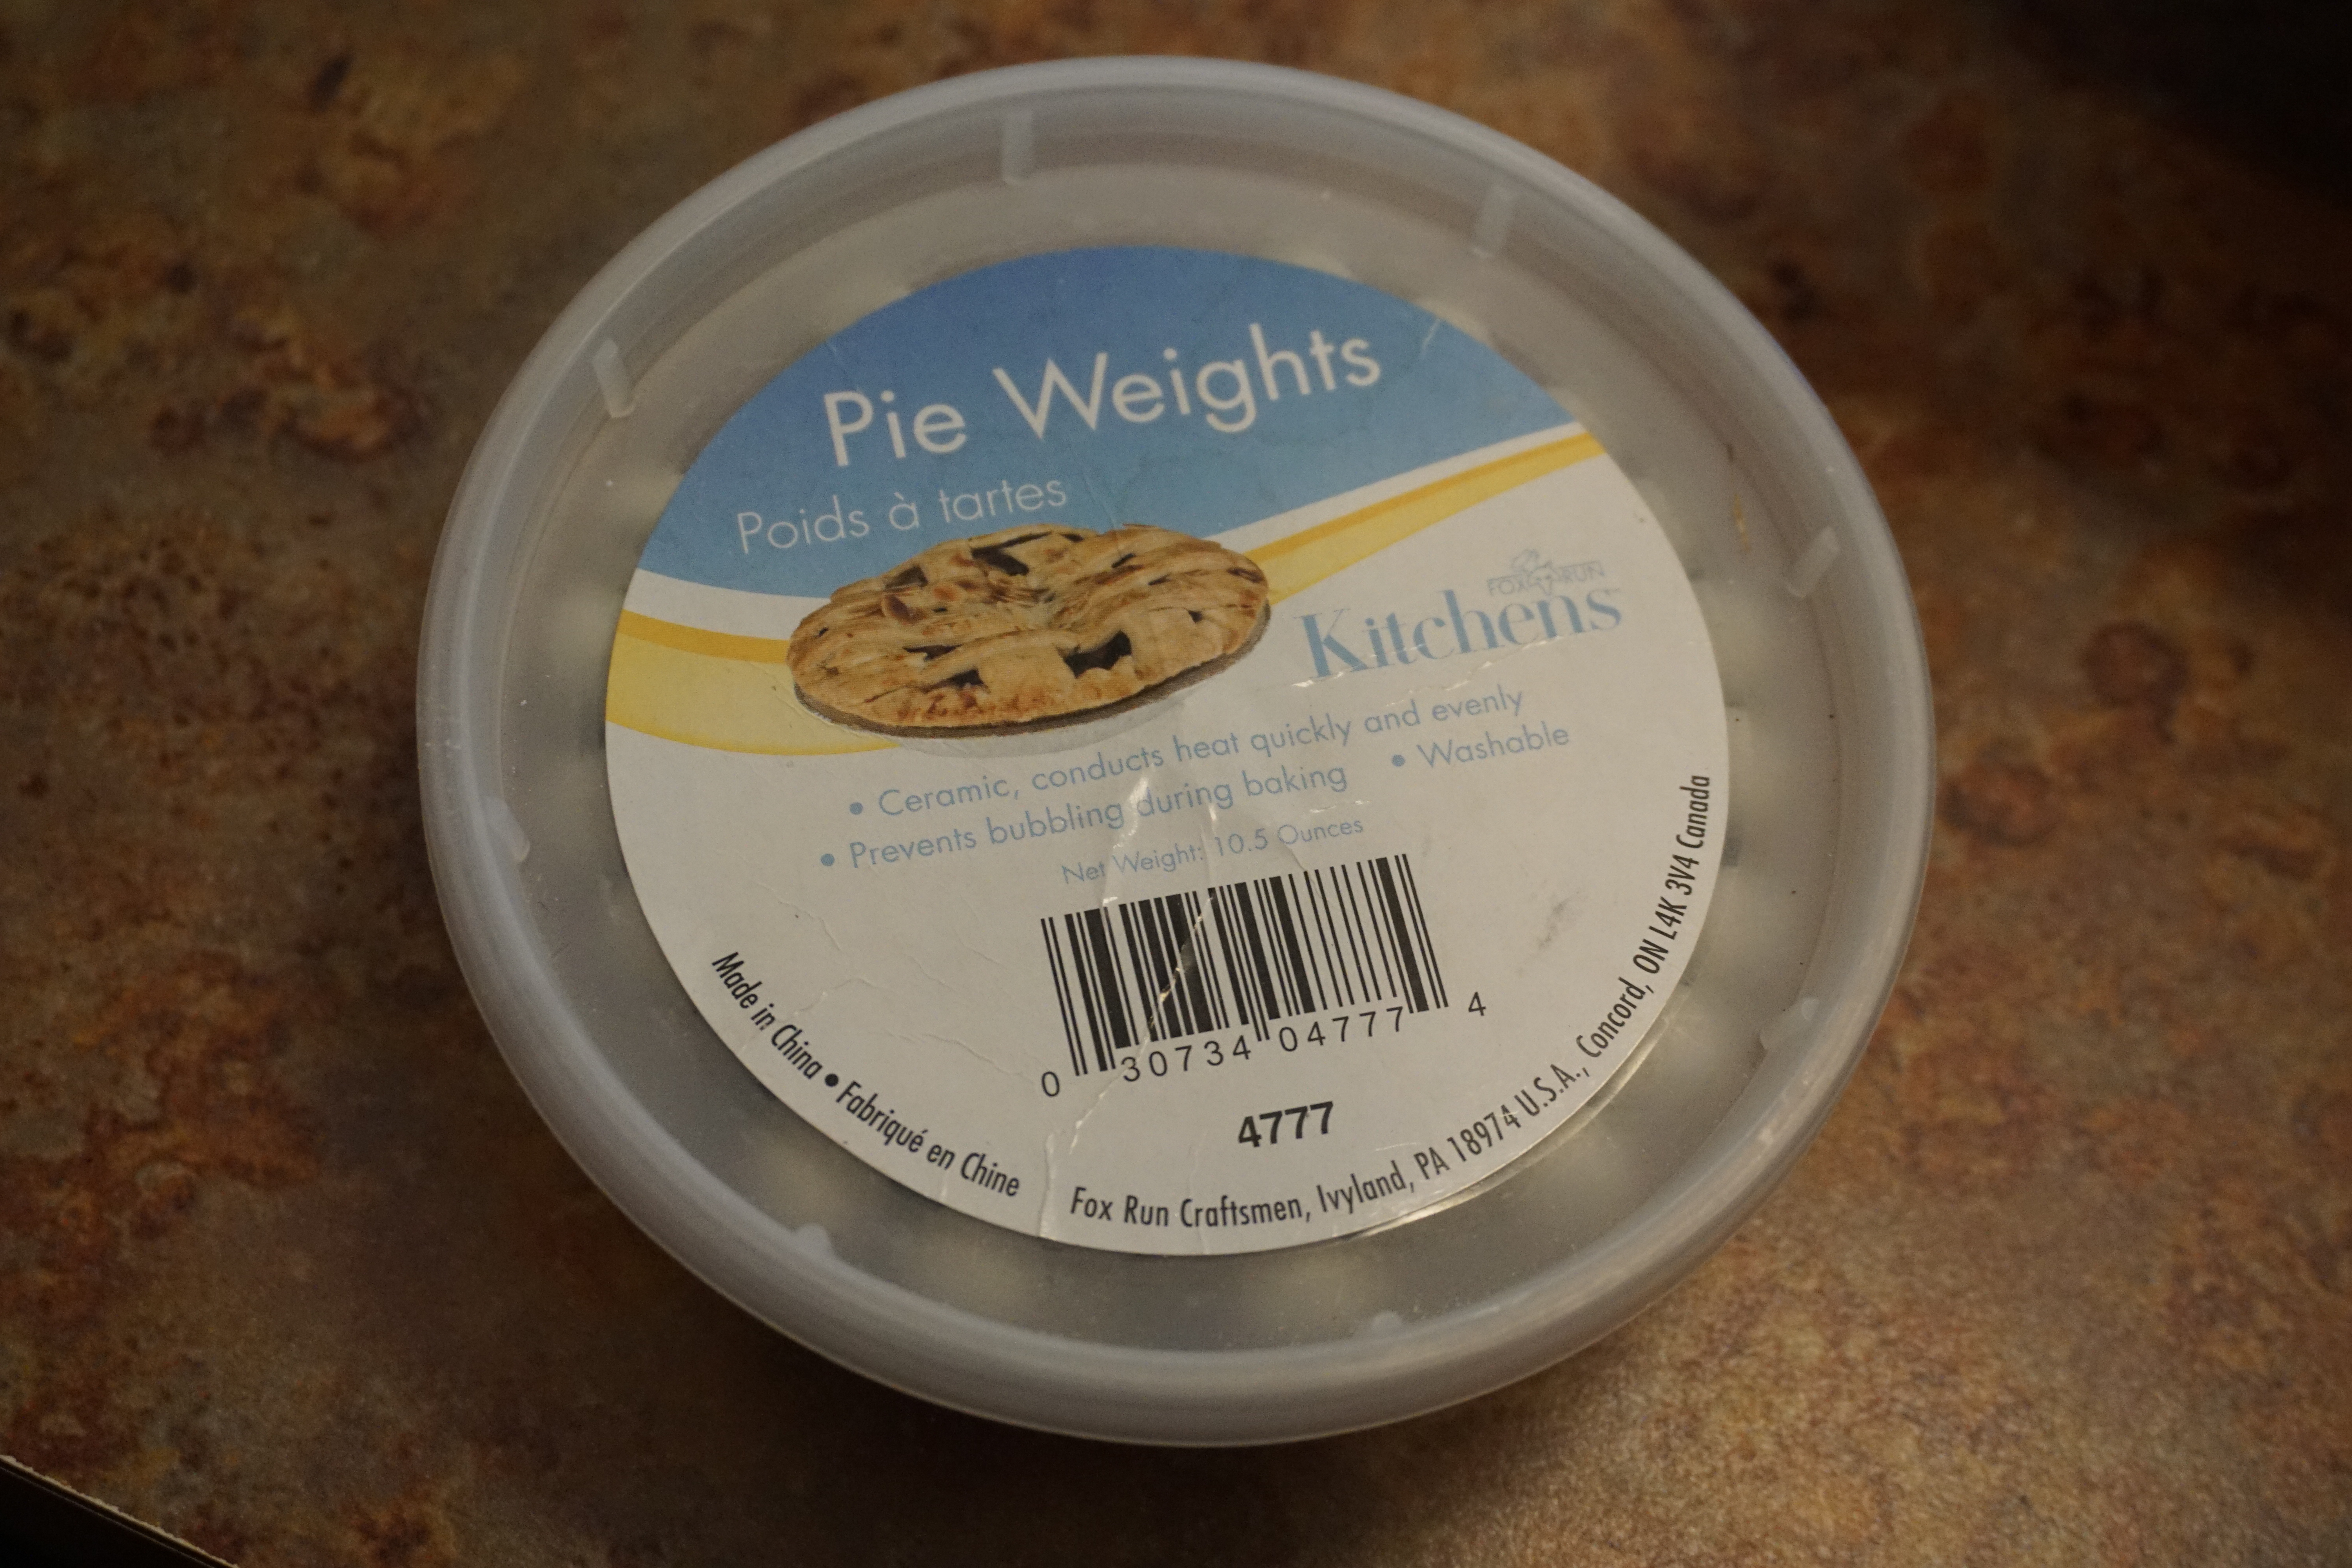
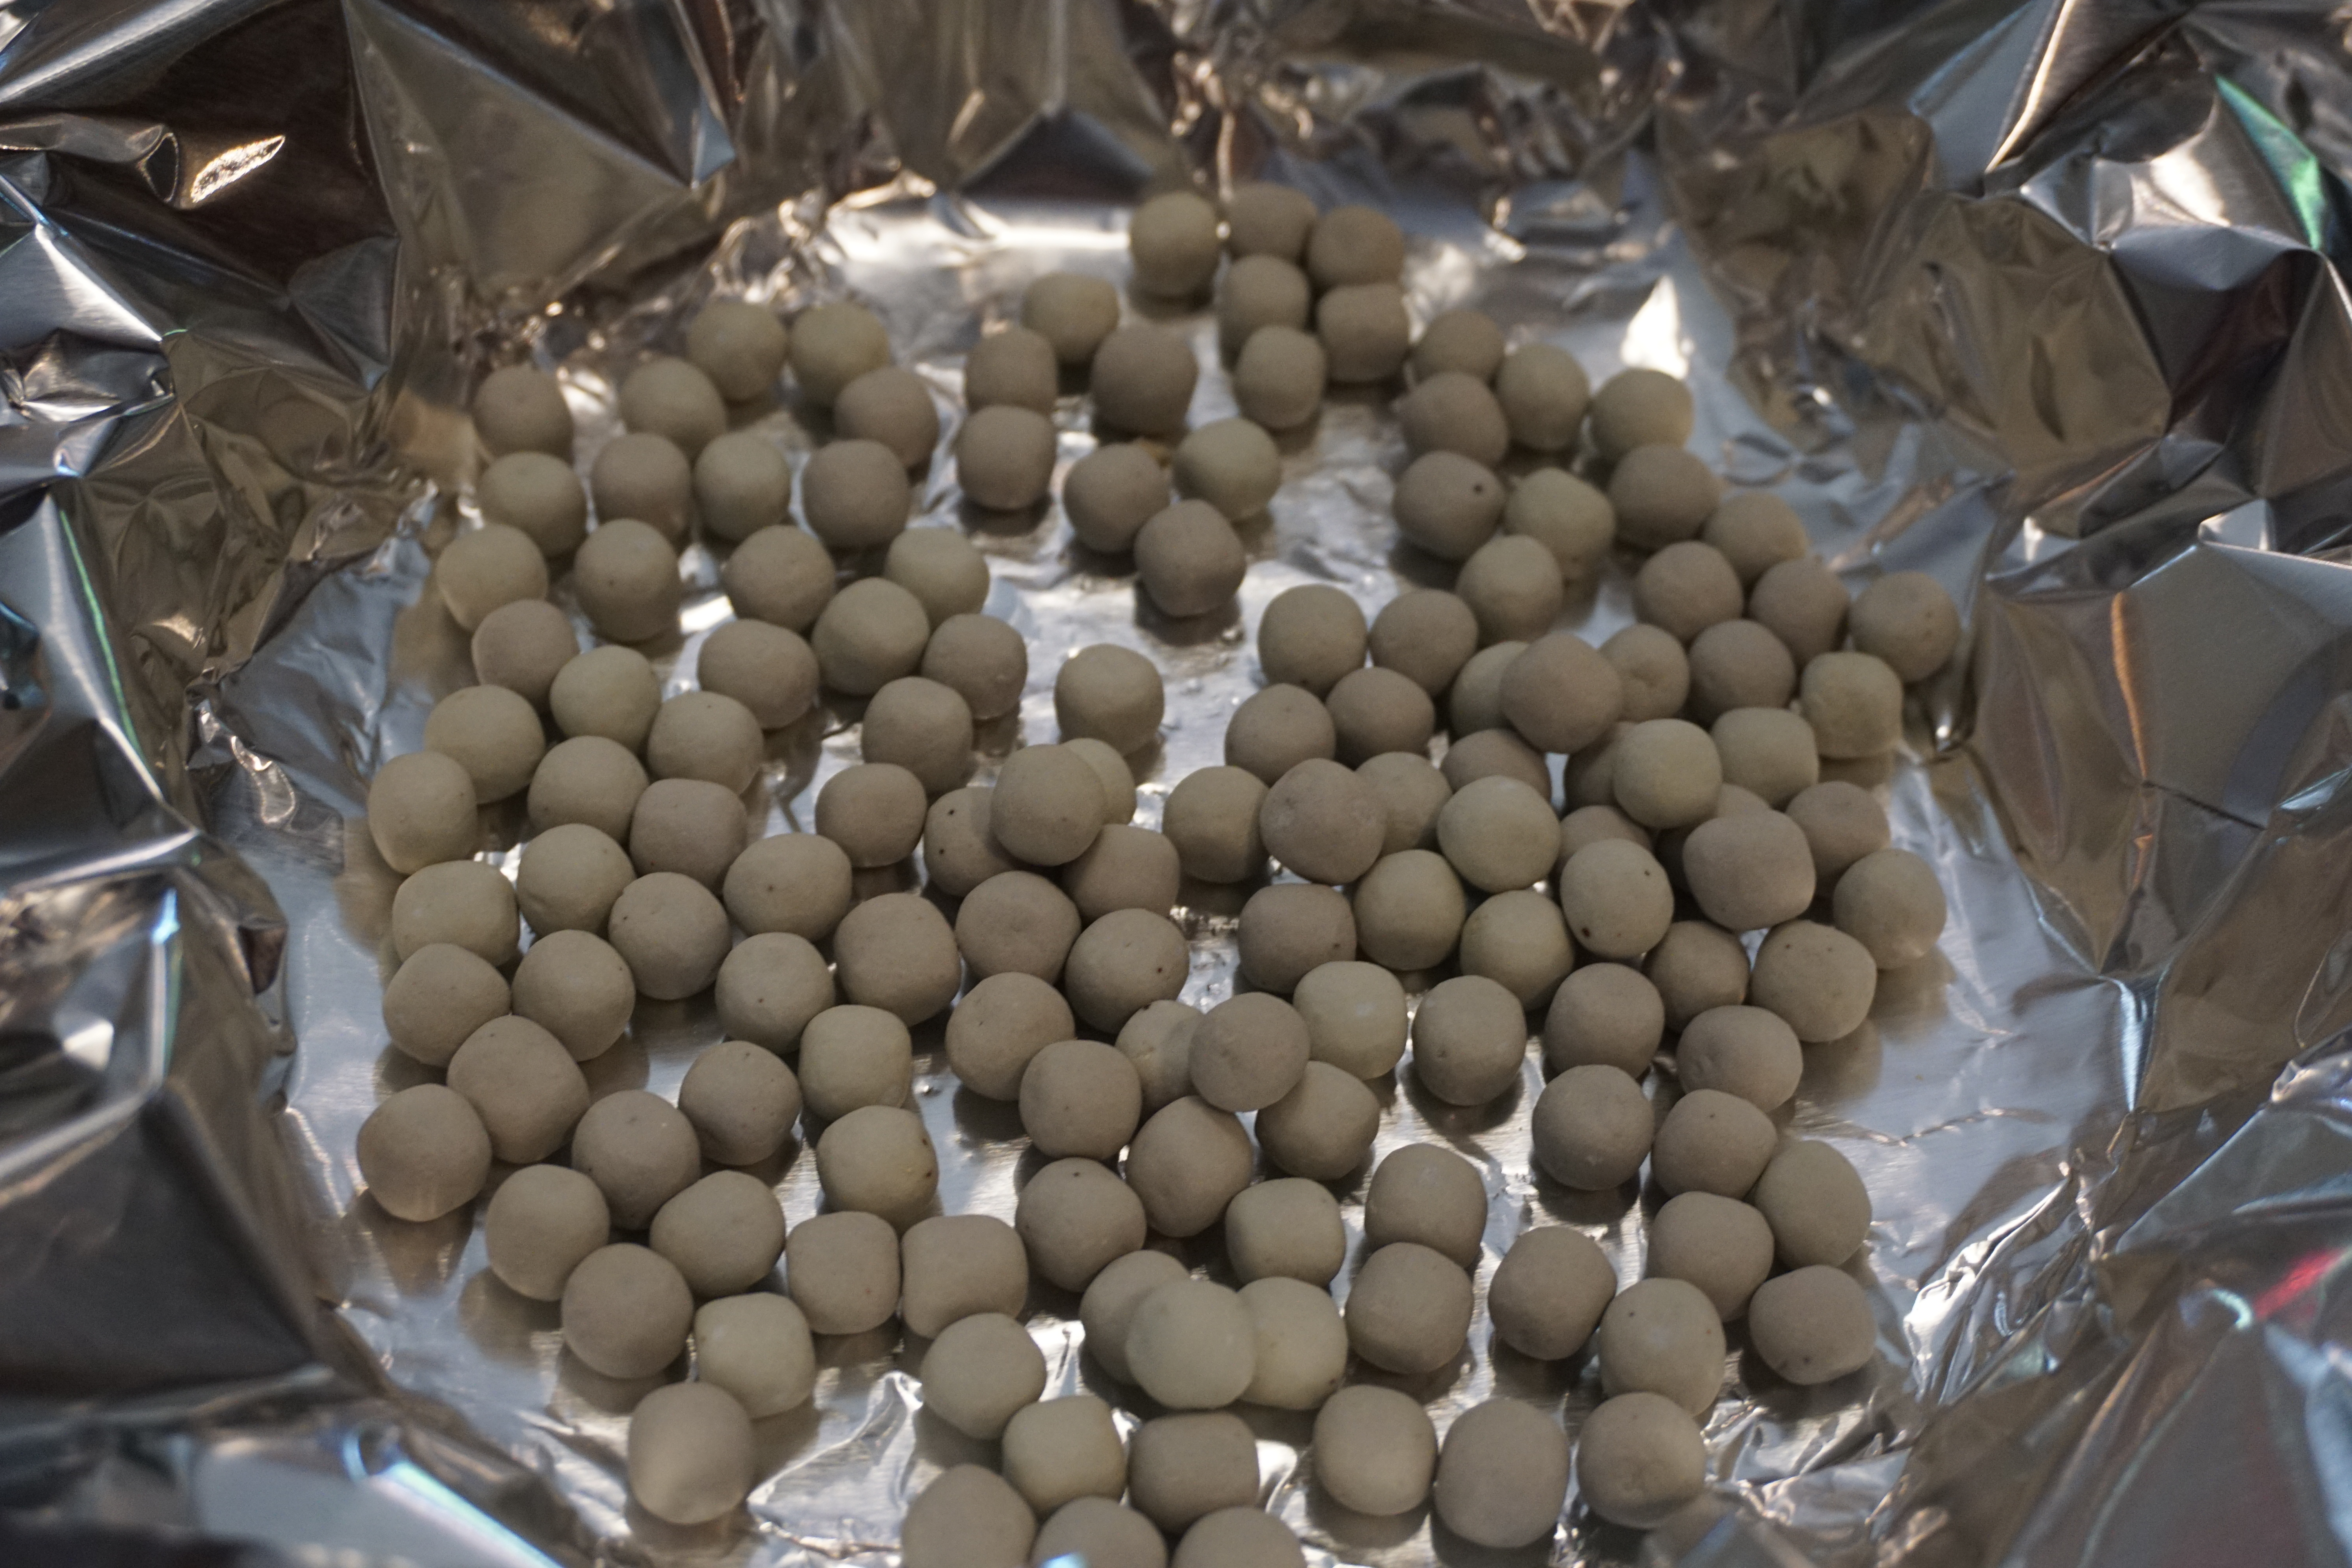
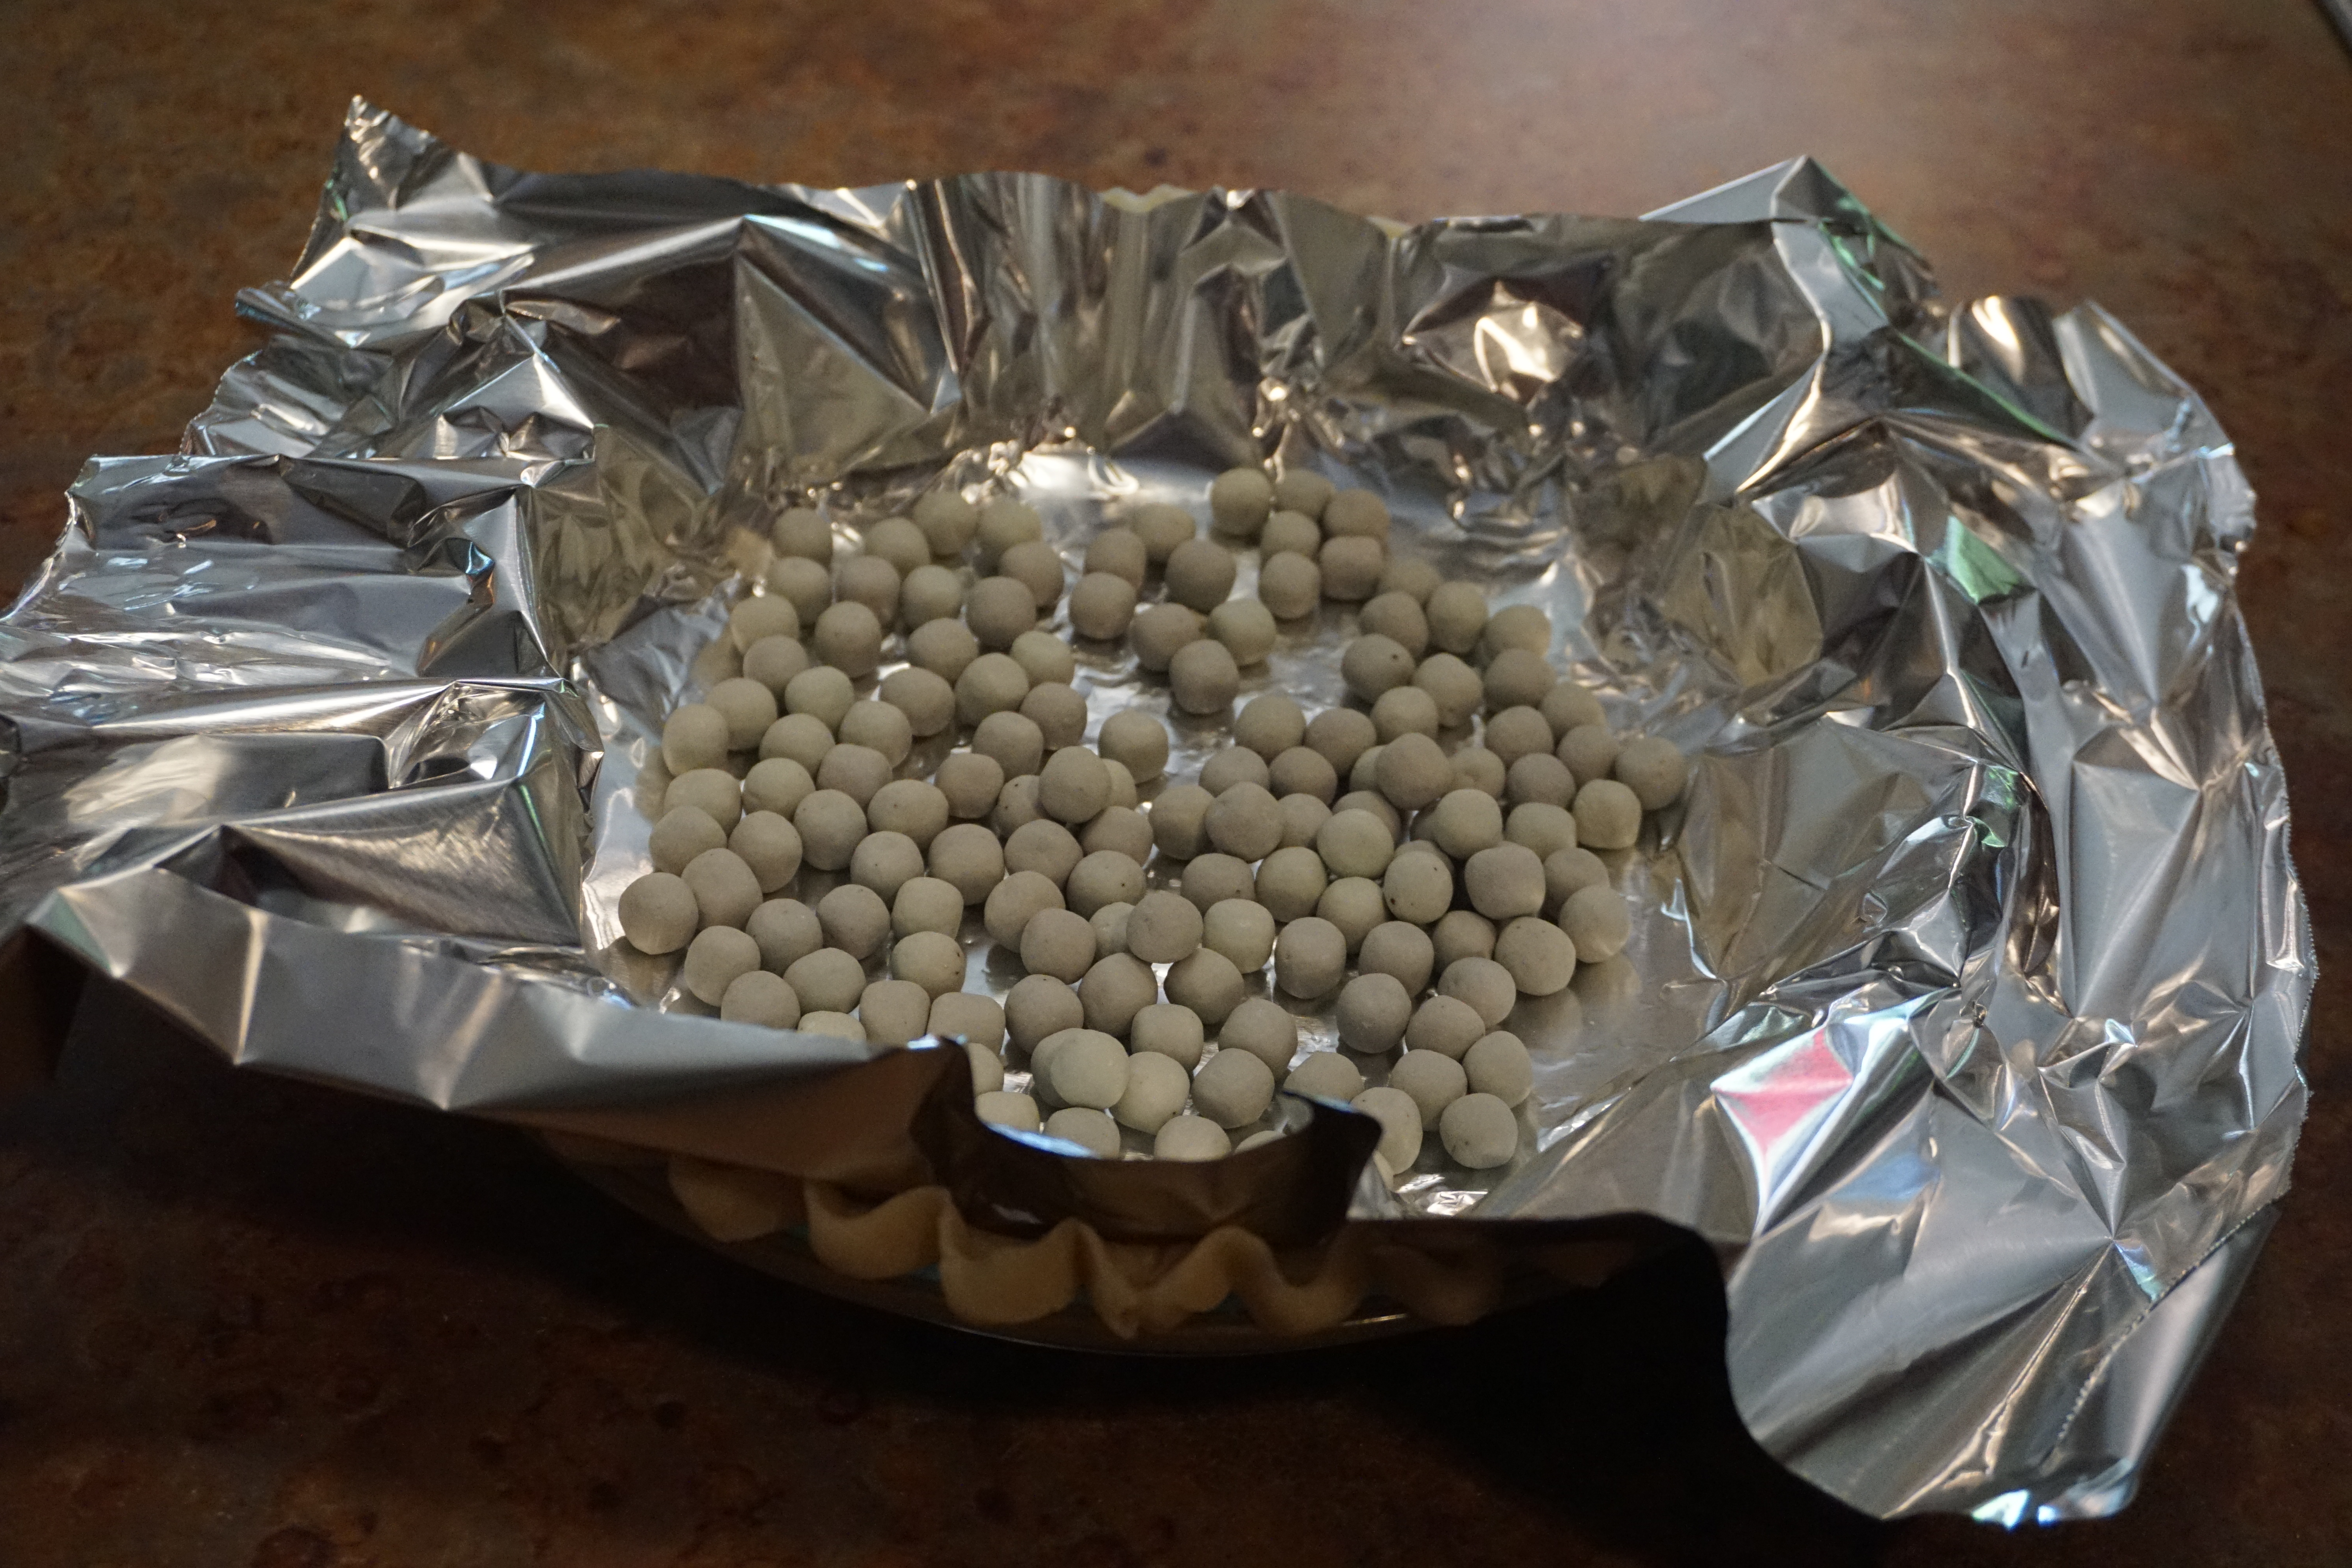
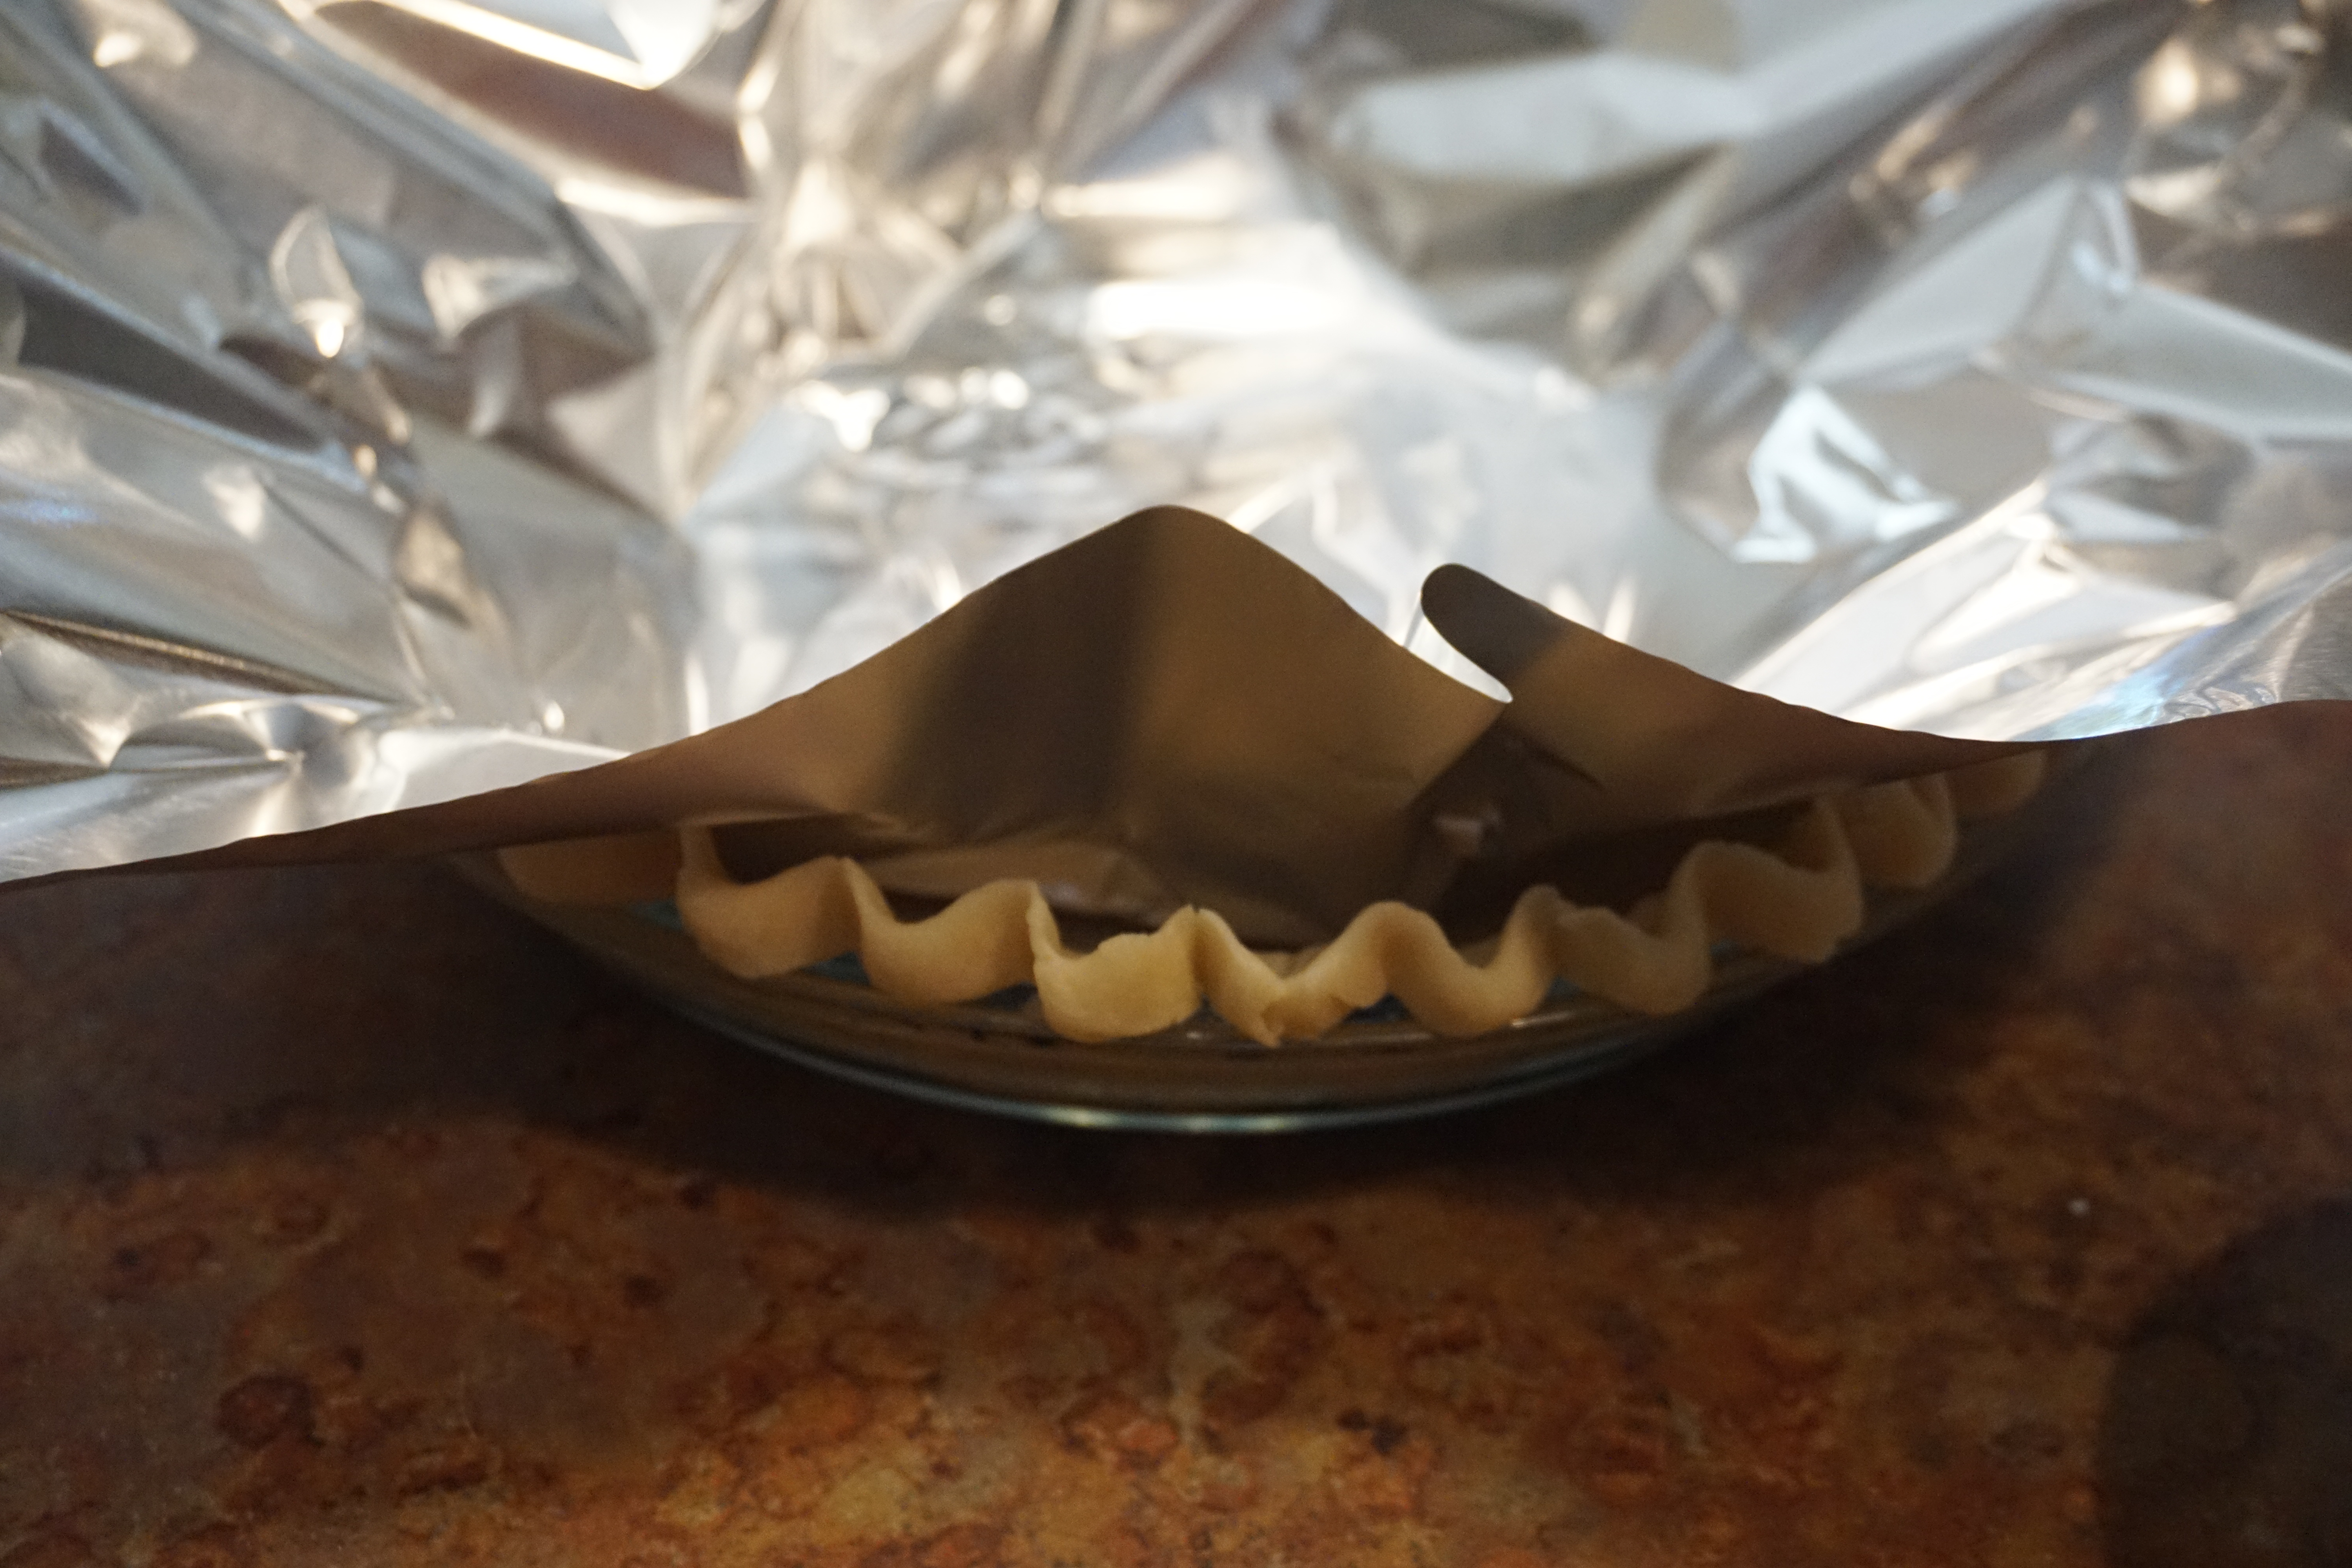
Some pies call for a pre-baked crust, also known as blind baking. Pre-baking is required when you are adding a cooked filling such as pudding. Follow all the steps above, place your pie crust in a pie pan and flute the edges as desired. Prick the bottom and sides of the crust with a fork. This allows steam to escape and helps prevent shrinkage. Place aluminum foil in the bottom of the shell and fill with either pie weights or dried beans. The weight of the pie weights or beans will help prevent the bottom crust from puffing up and the sides from collapsing. Bake the crust at 375 degrees for approximately 20 minutes or until the crust begins to brown. Remove the pie from the oven and lift out the aluminum foil and weights. Return to the pie to the oven to continue cooking until the bottom crust has baked and is golden, 15 to 20 minutes longer.
It sounds like a lot of steps and it seems intimidating, but once you’ve made this a couple of times, you will get the hang of it. It doesn’t have to be beautiful; there’s beauty in a rustic pie crust! But you will become a believer once you taste it. Don’t despair if your dough tears when you handle it. Just get it into your pan and press it together. No one will ever know and your secret is safe with me♥.
So, there it is…four ingredients and a few steps and soooooo worthwhile. There’s nothing like a homemade butter crust! Pie fillings in another post.


Great Information Cindy! I love to cook, but not much of a baker. This gives me inspiration!
Thank you! I am loving sharing my passion and hope to inspire everyone to step out of their box and attempt something new. XOXOXO
I use a similar recipe from a 100-year-old cookbook. It is truly the best part of the pie and making crust gets easy with practice. Thanks for this wonderful read.